How to use different menus on pages using the Custom Layouts
This article will present step by step how to create different menus on pages, using Custom Layouts.
📝 Note: Here is a dedicated doc about the Custom Layouts Module.
In this article
Tools needed
- the Neve theme - here is a doc that will help with the installation.
- the Neve PRO Addon - here is a doc that contains instructions regarding purchasing it.
Creating Menus
In order to use and display certain menus, you have to first create them. In this example, we have presented you how to create a custom menu for the News page. Follow these steps to accomplish this part of the process:
1. Navigate to Dashboard > Appearance > Menus.
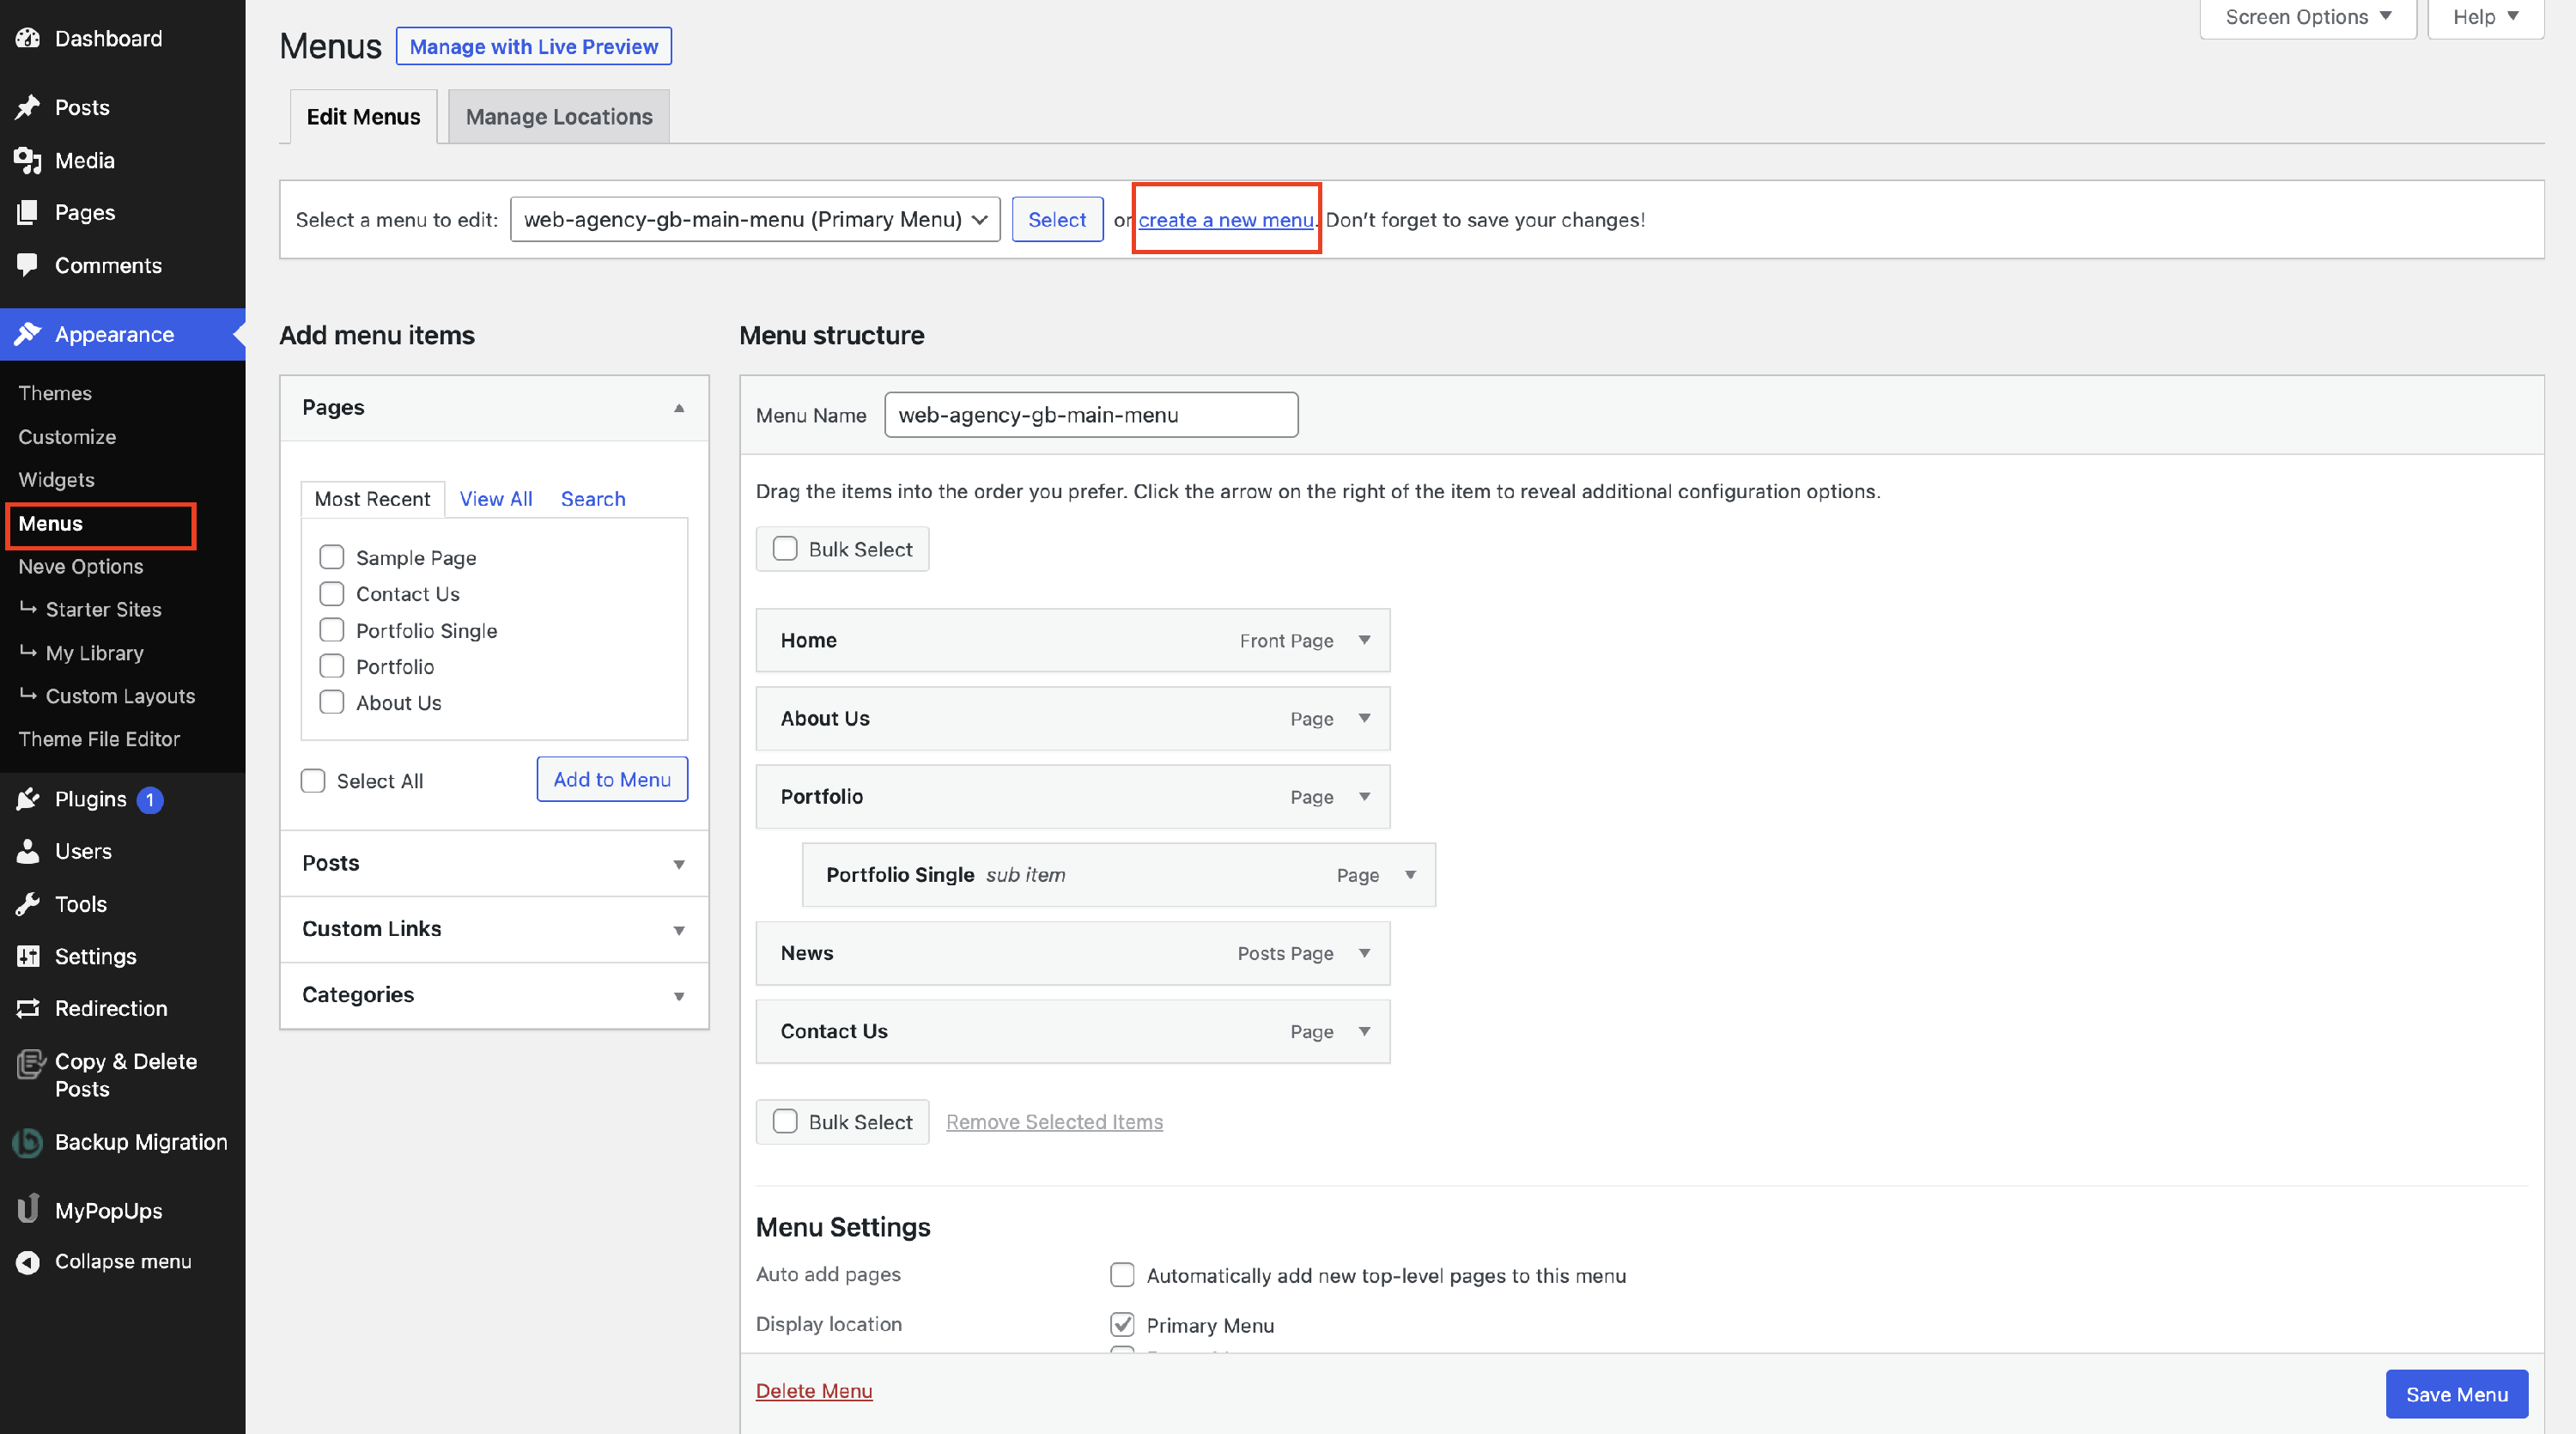
2. Click to create a new menu, insert a suggestive name for it, and click on the Create Menu button.
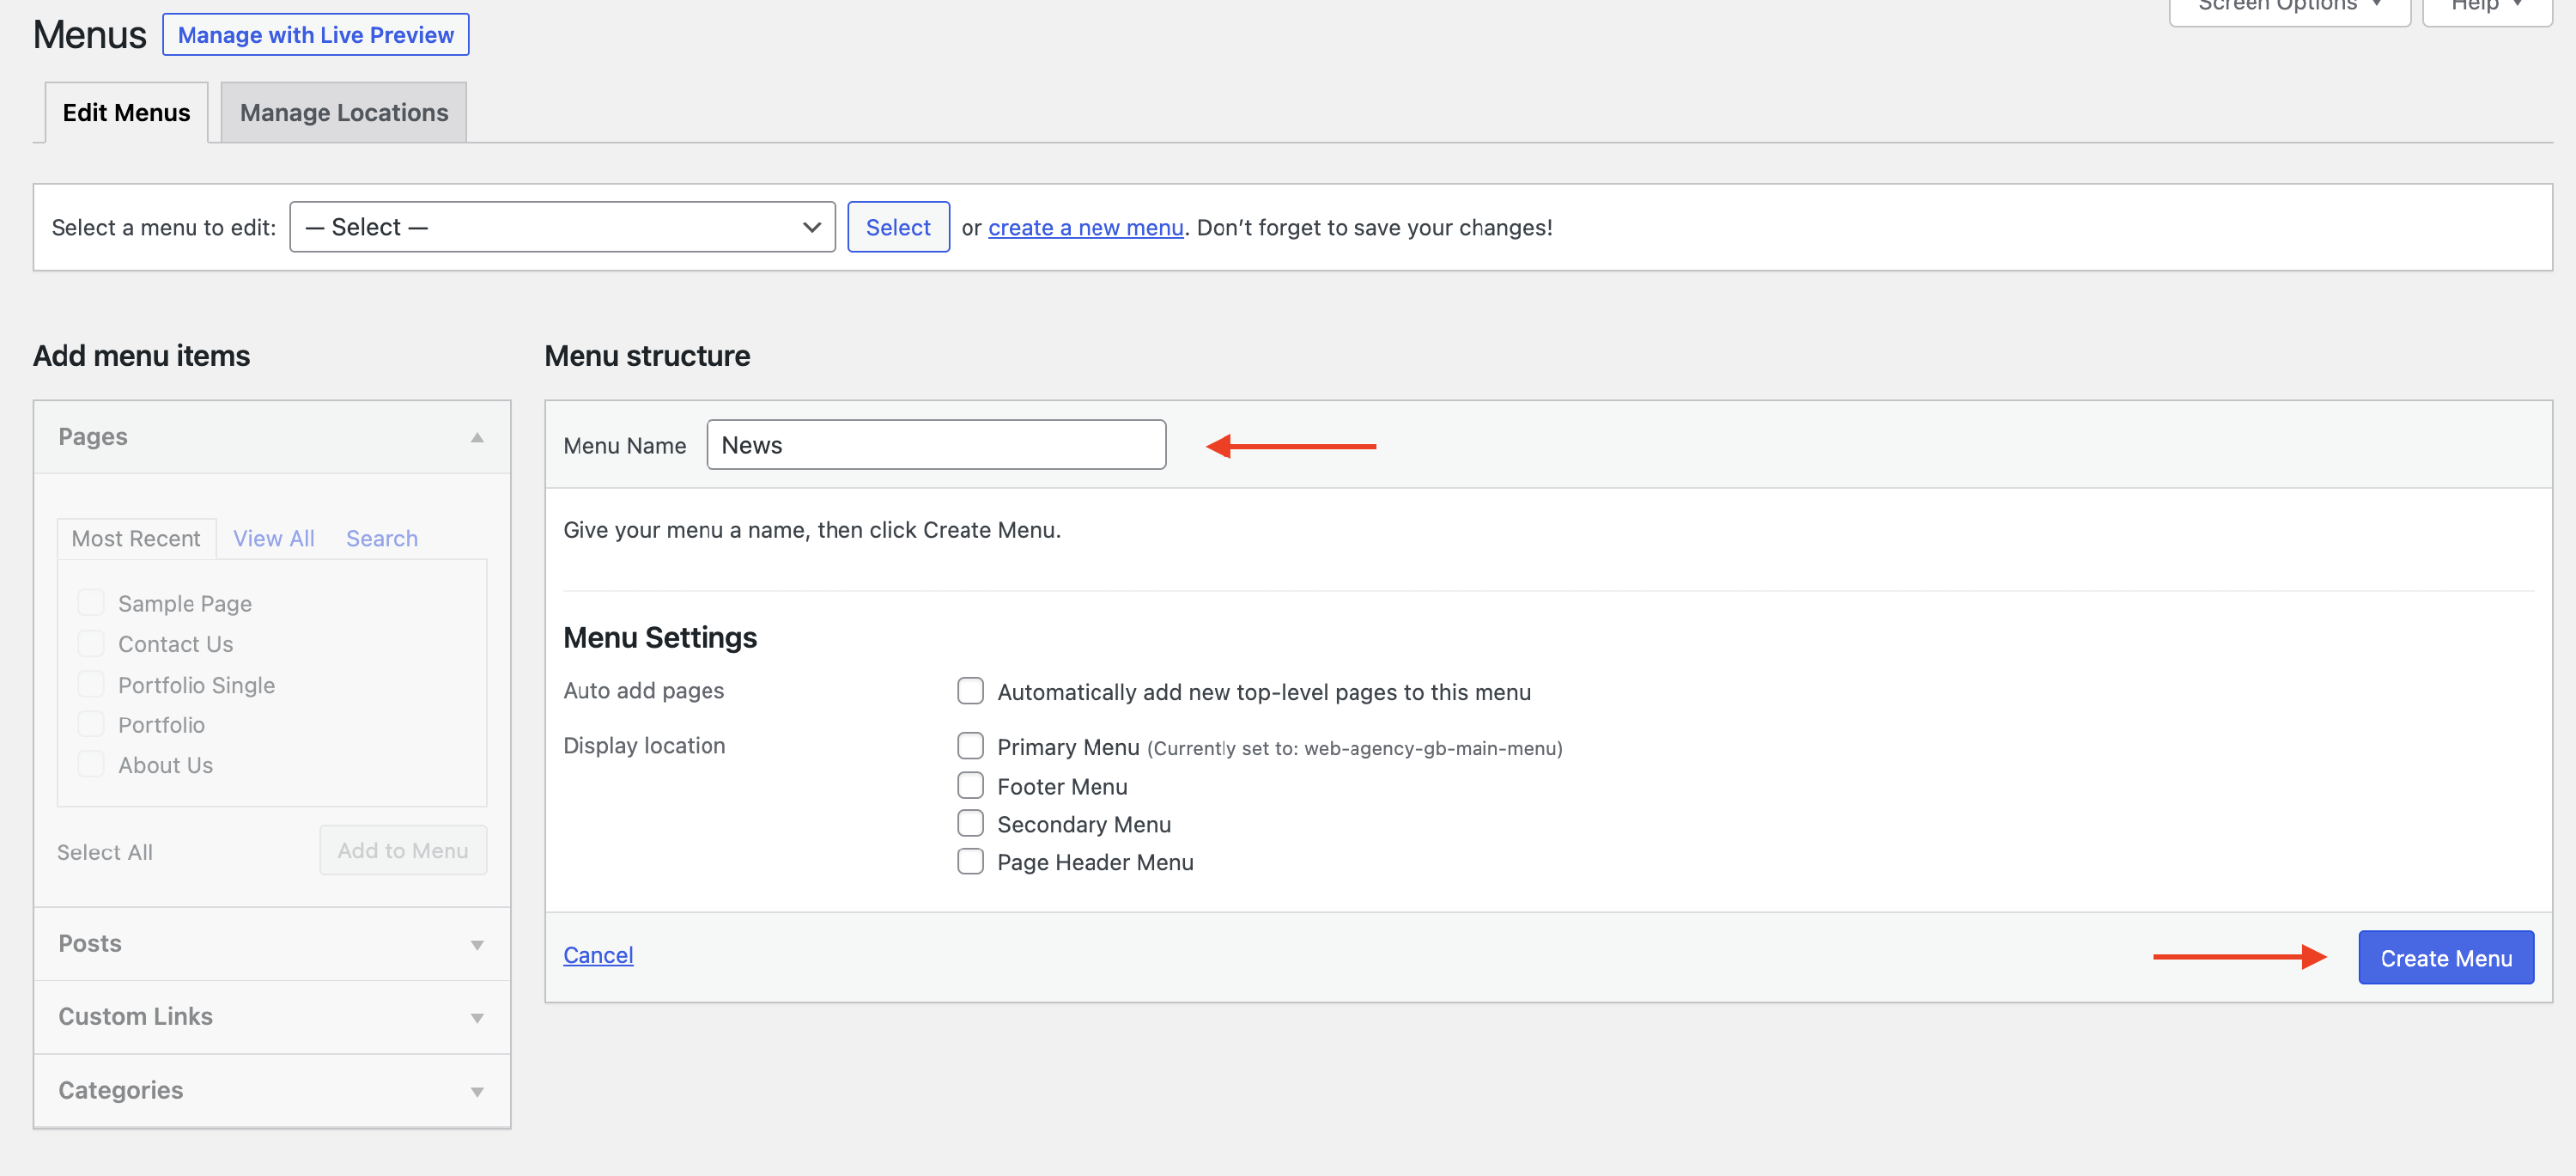
3. Start adding the desired pages / posts / categories to your menu, by picking them from the Add Menu Items section and clicking on Add to Menu.
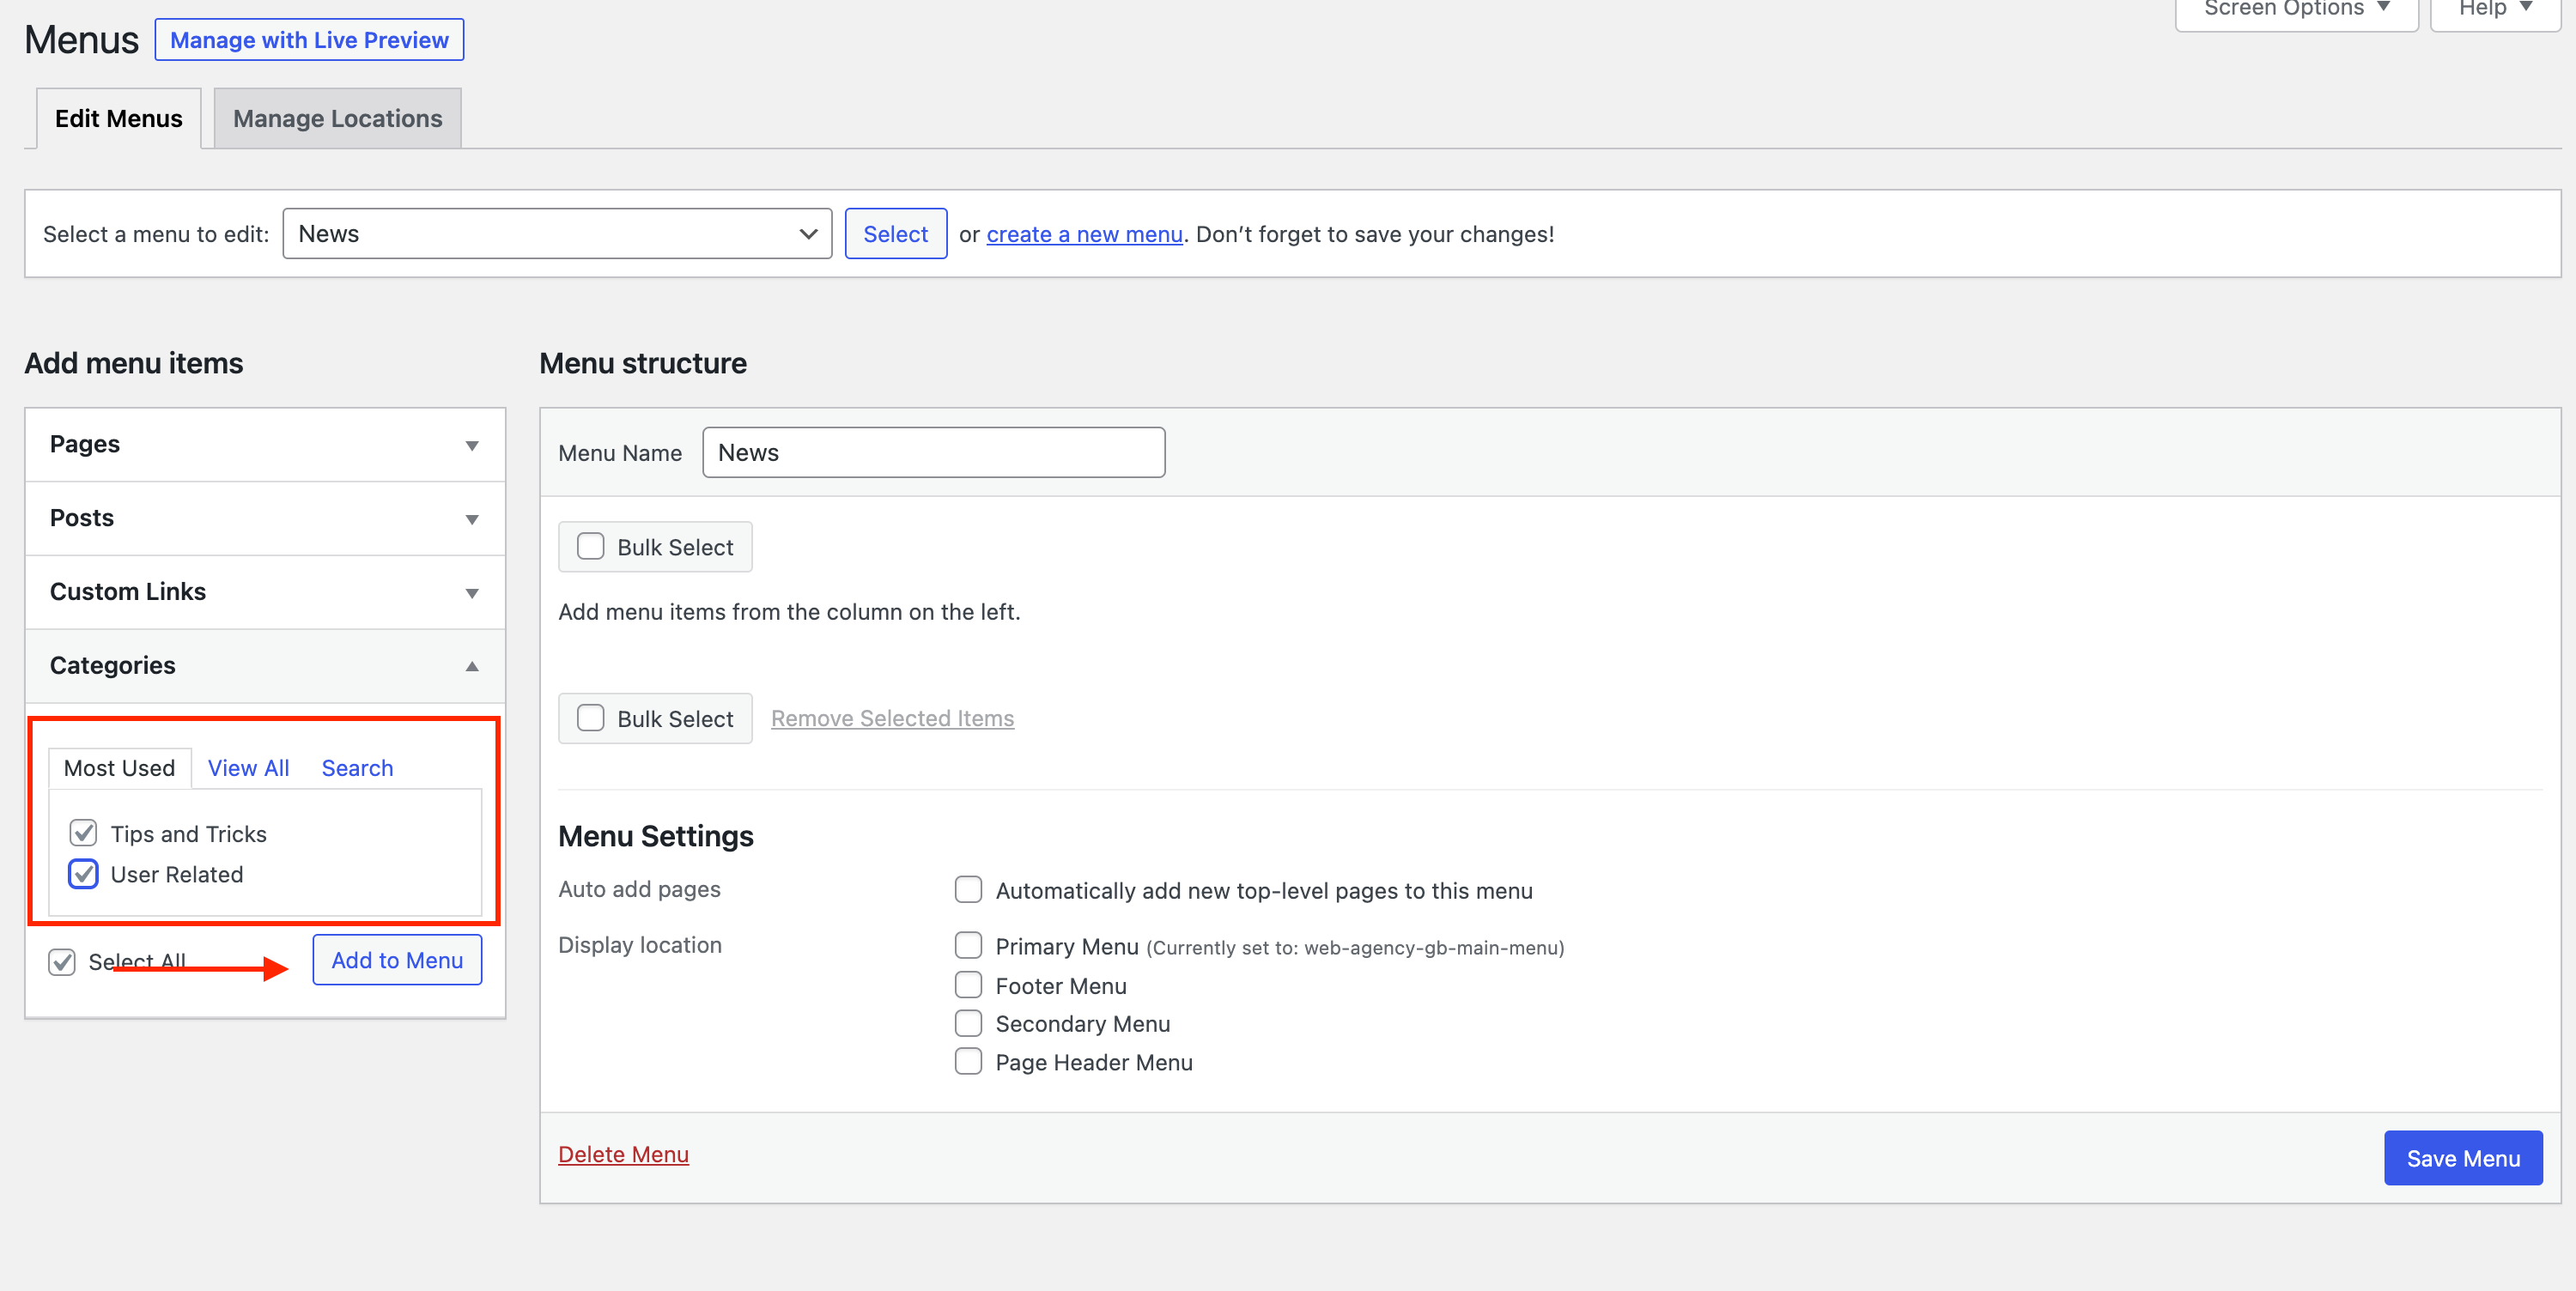
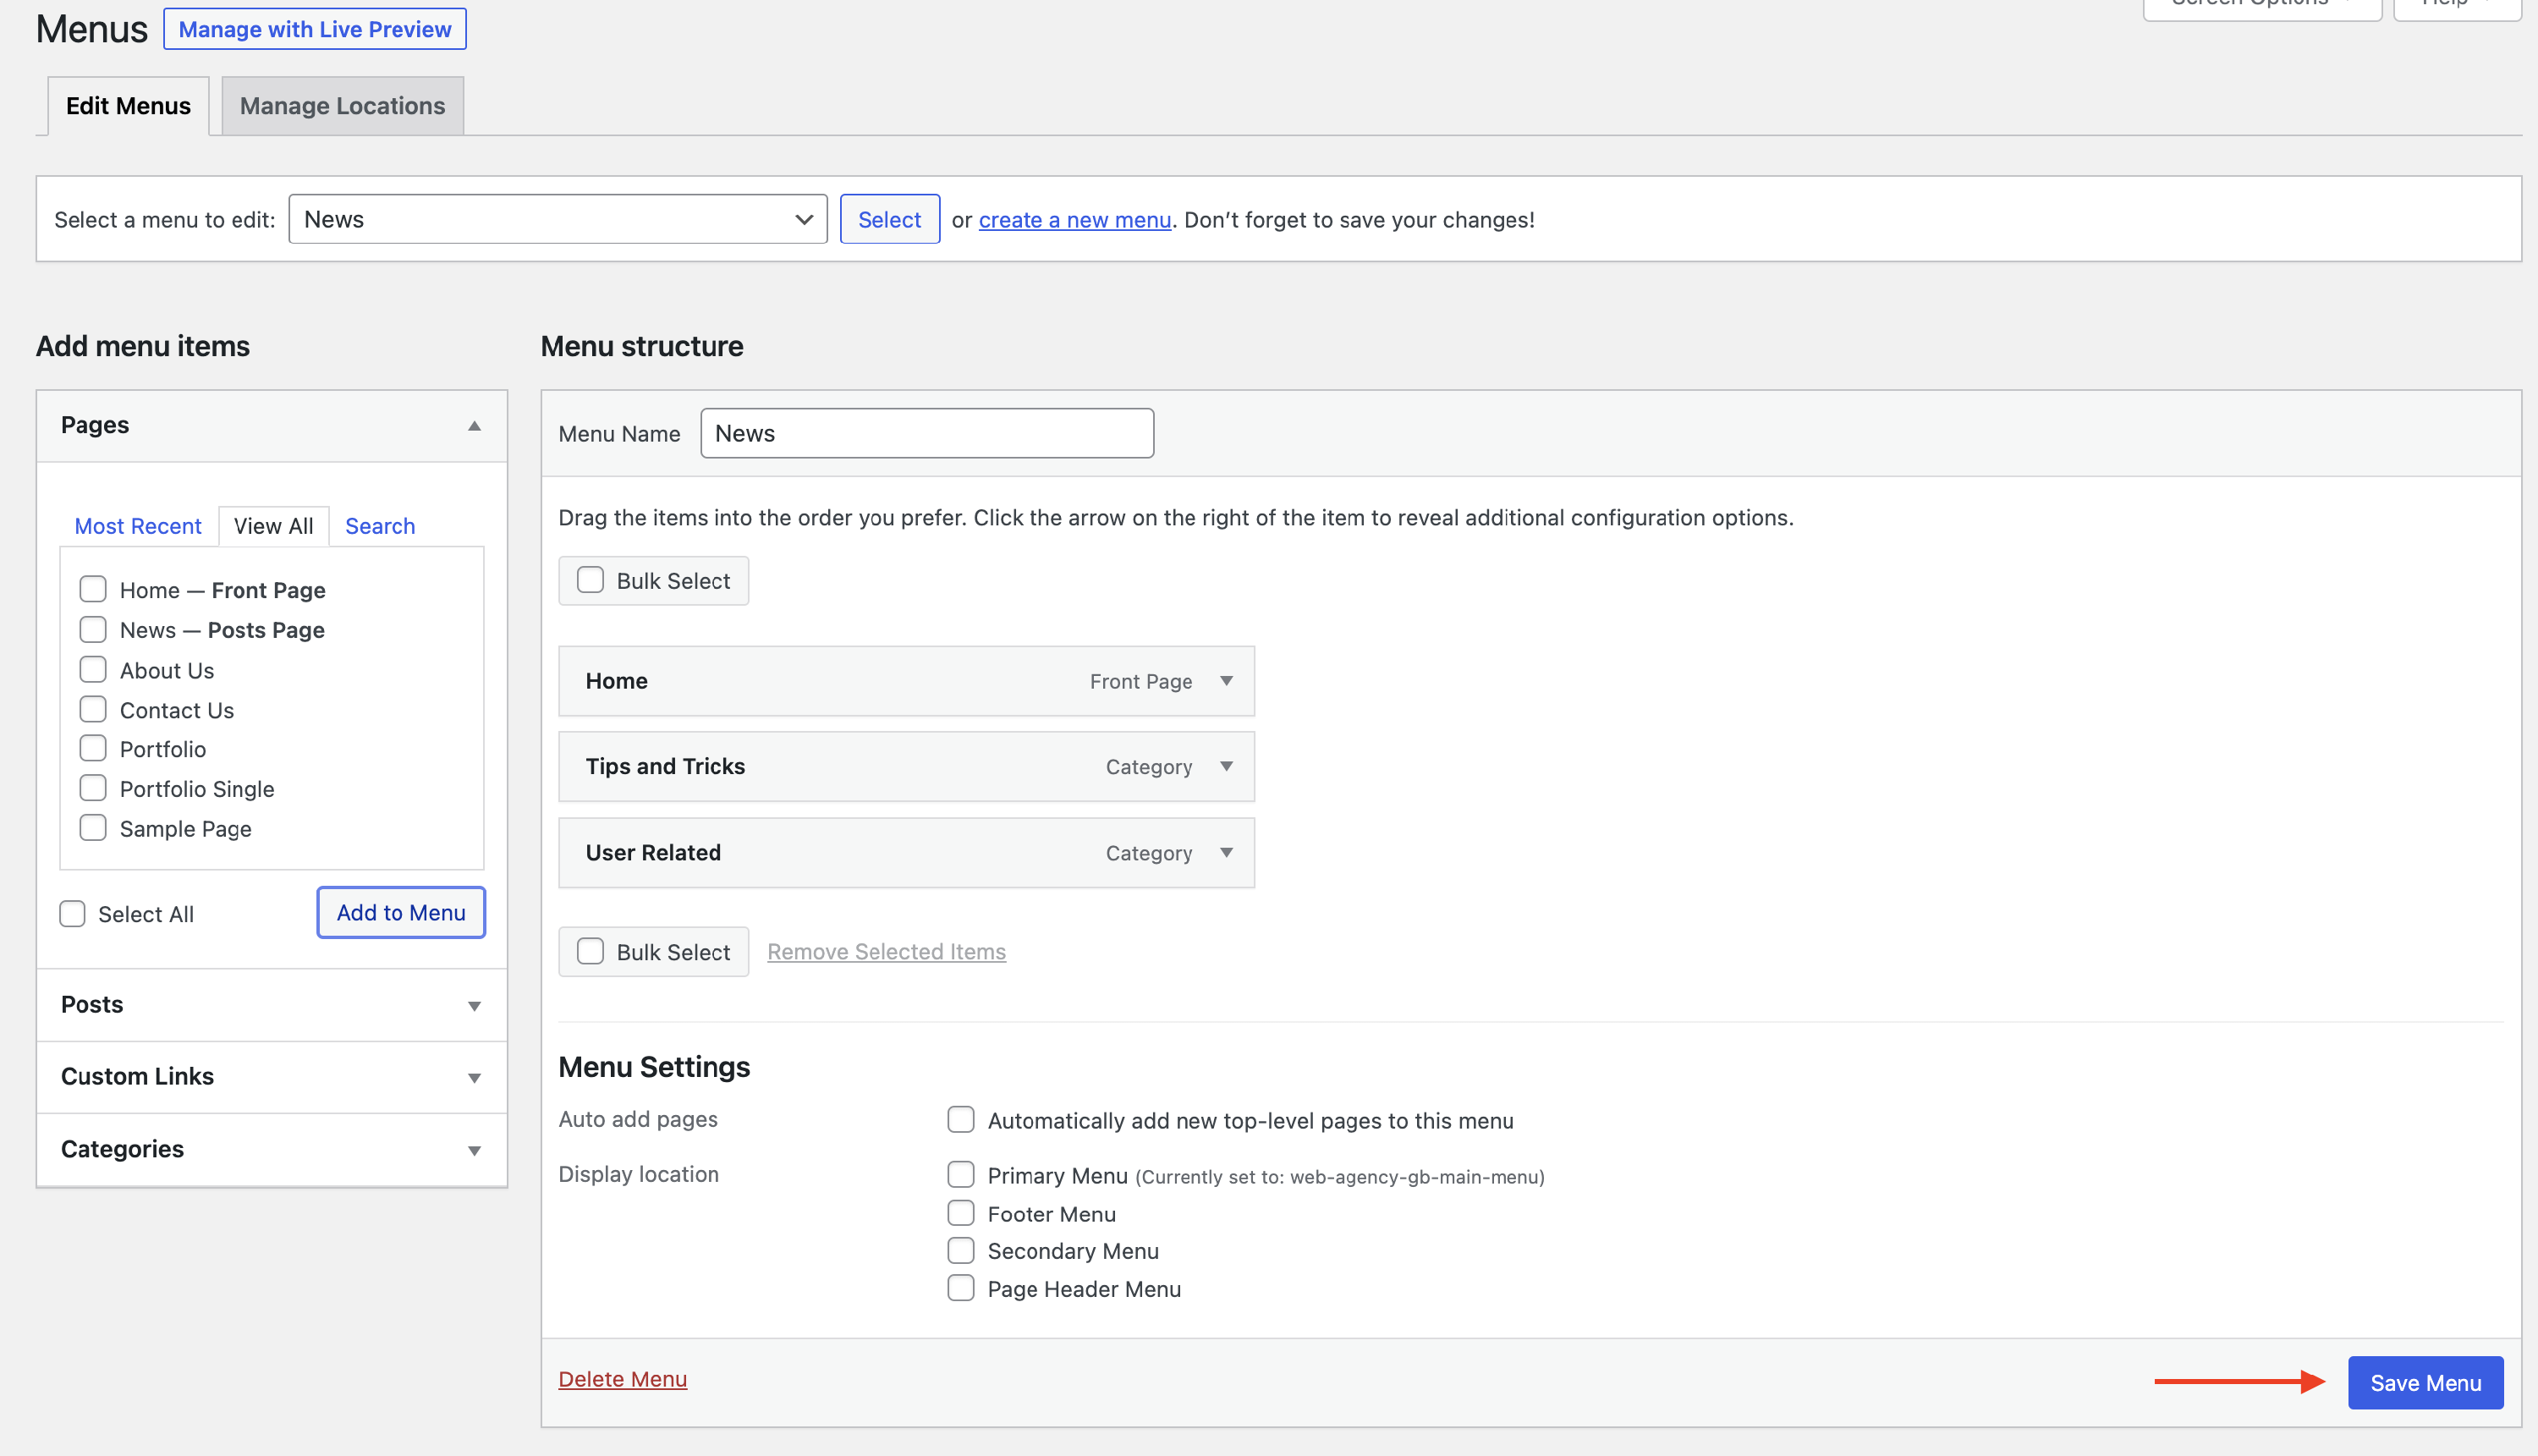
📝 Note: In this example, we have added the Posts Categories and the Home page to the menu.
4. When you have finished doing this, click to Save the Menu.
Using the Menus
Before staring using the menu that you have created, make sure you have activated the Custom Layouts module. For this, navigate to Neve > Dashboard (the Modules tab) and scroll down until you will find the Custom Layouts module ( it is activated by default ).
1. Navigate to Neve > Custom Layouts.
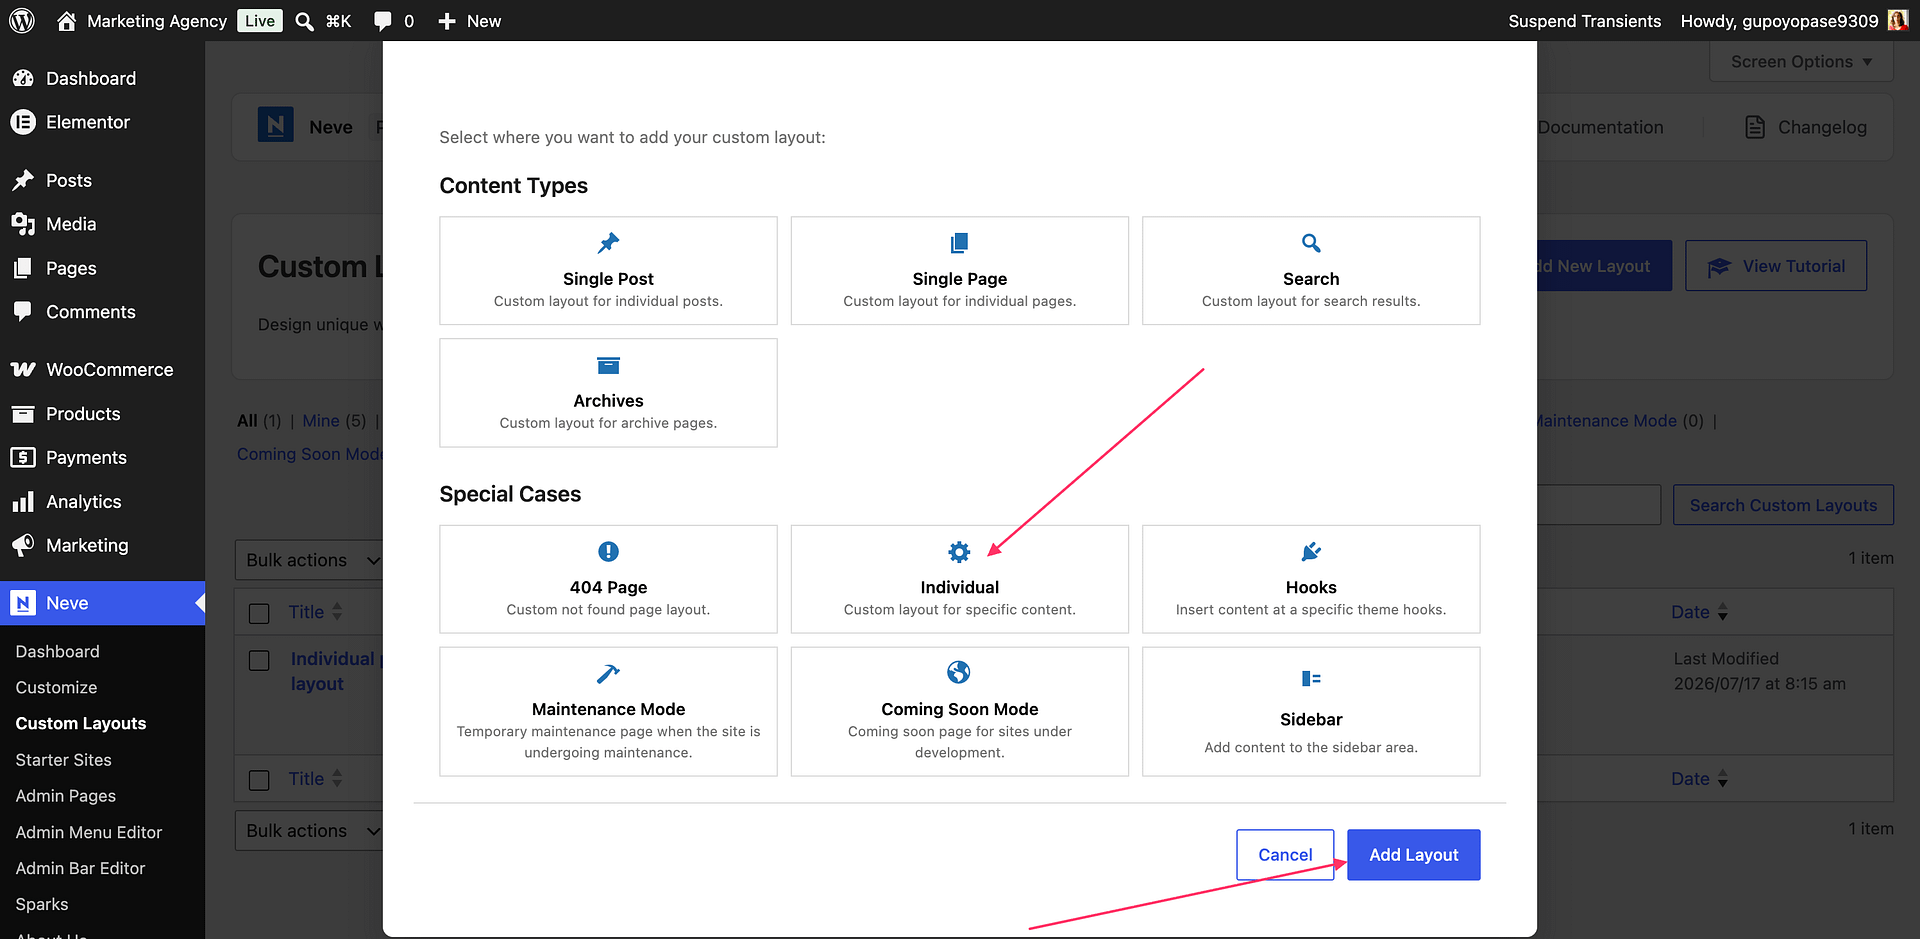
2. Create a custom layout, by clicking on the Add New Layout button.
3. In the opened modal, choose the Individual type.
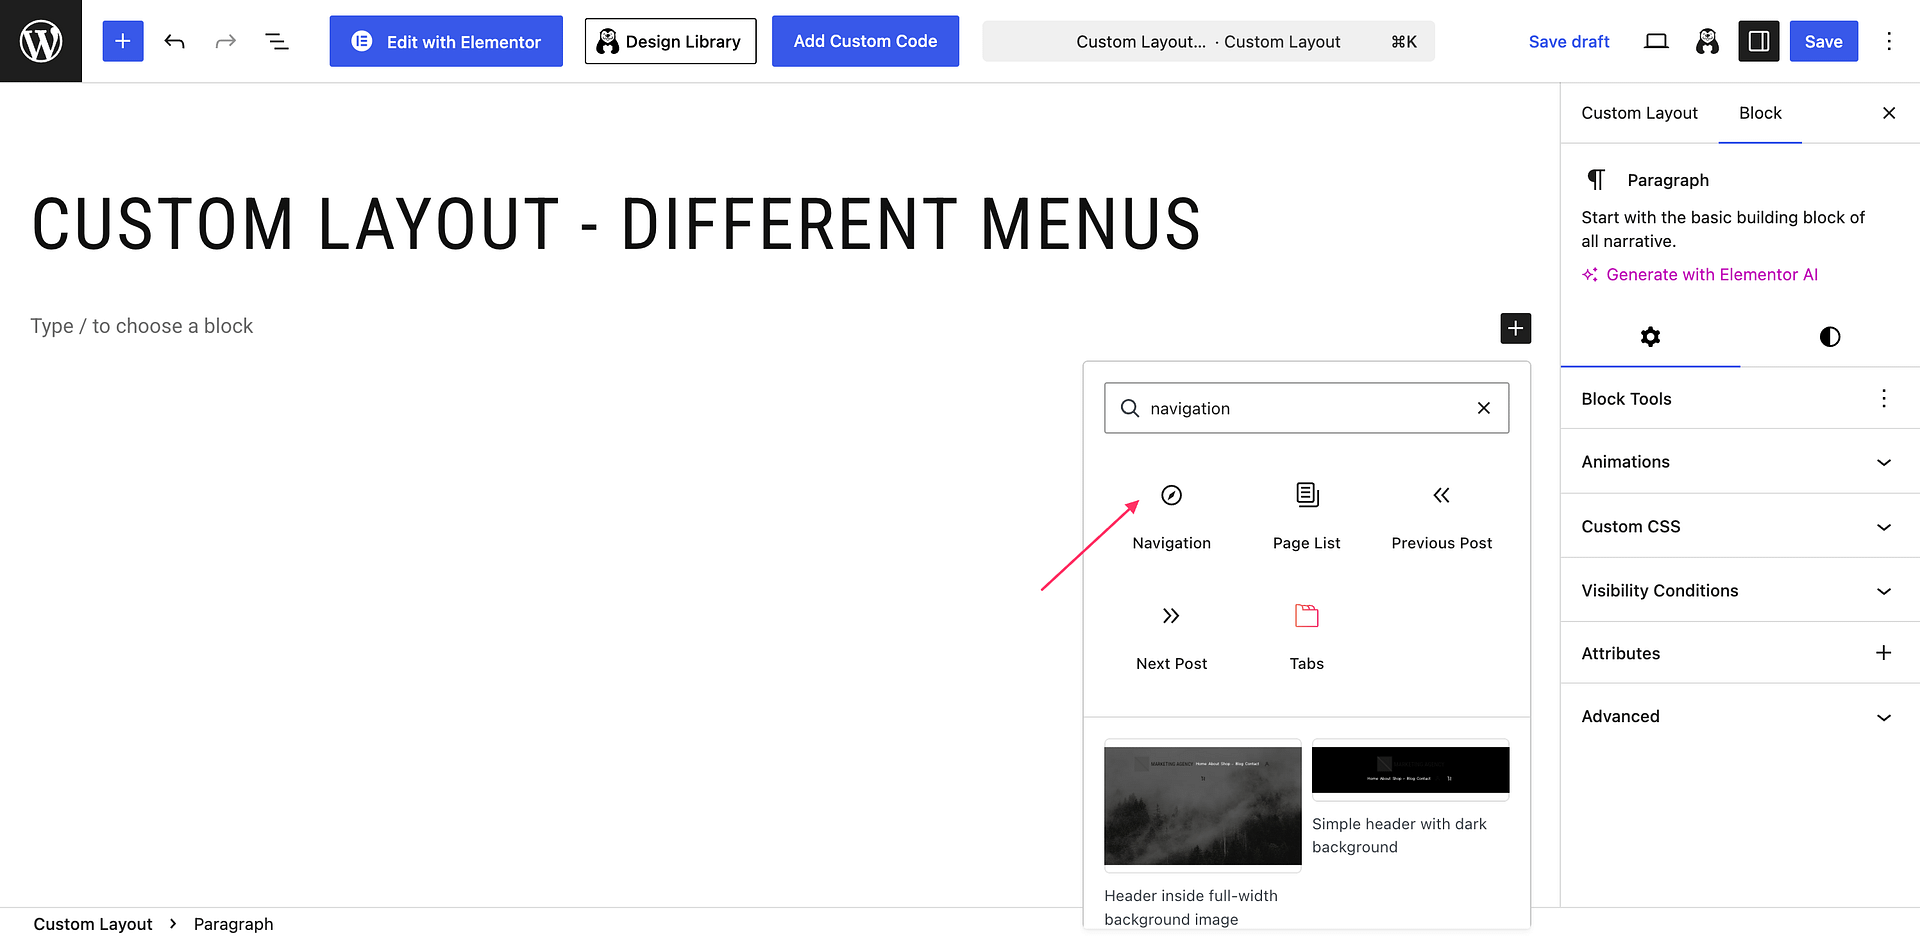
4. Add the Navigation block and choose the menu of your choice.
Displaying the menus
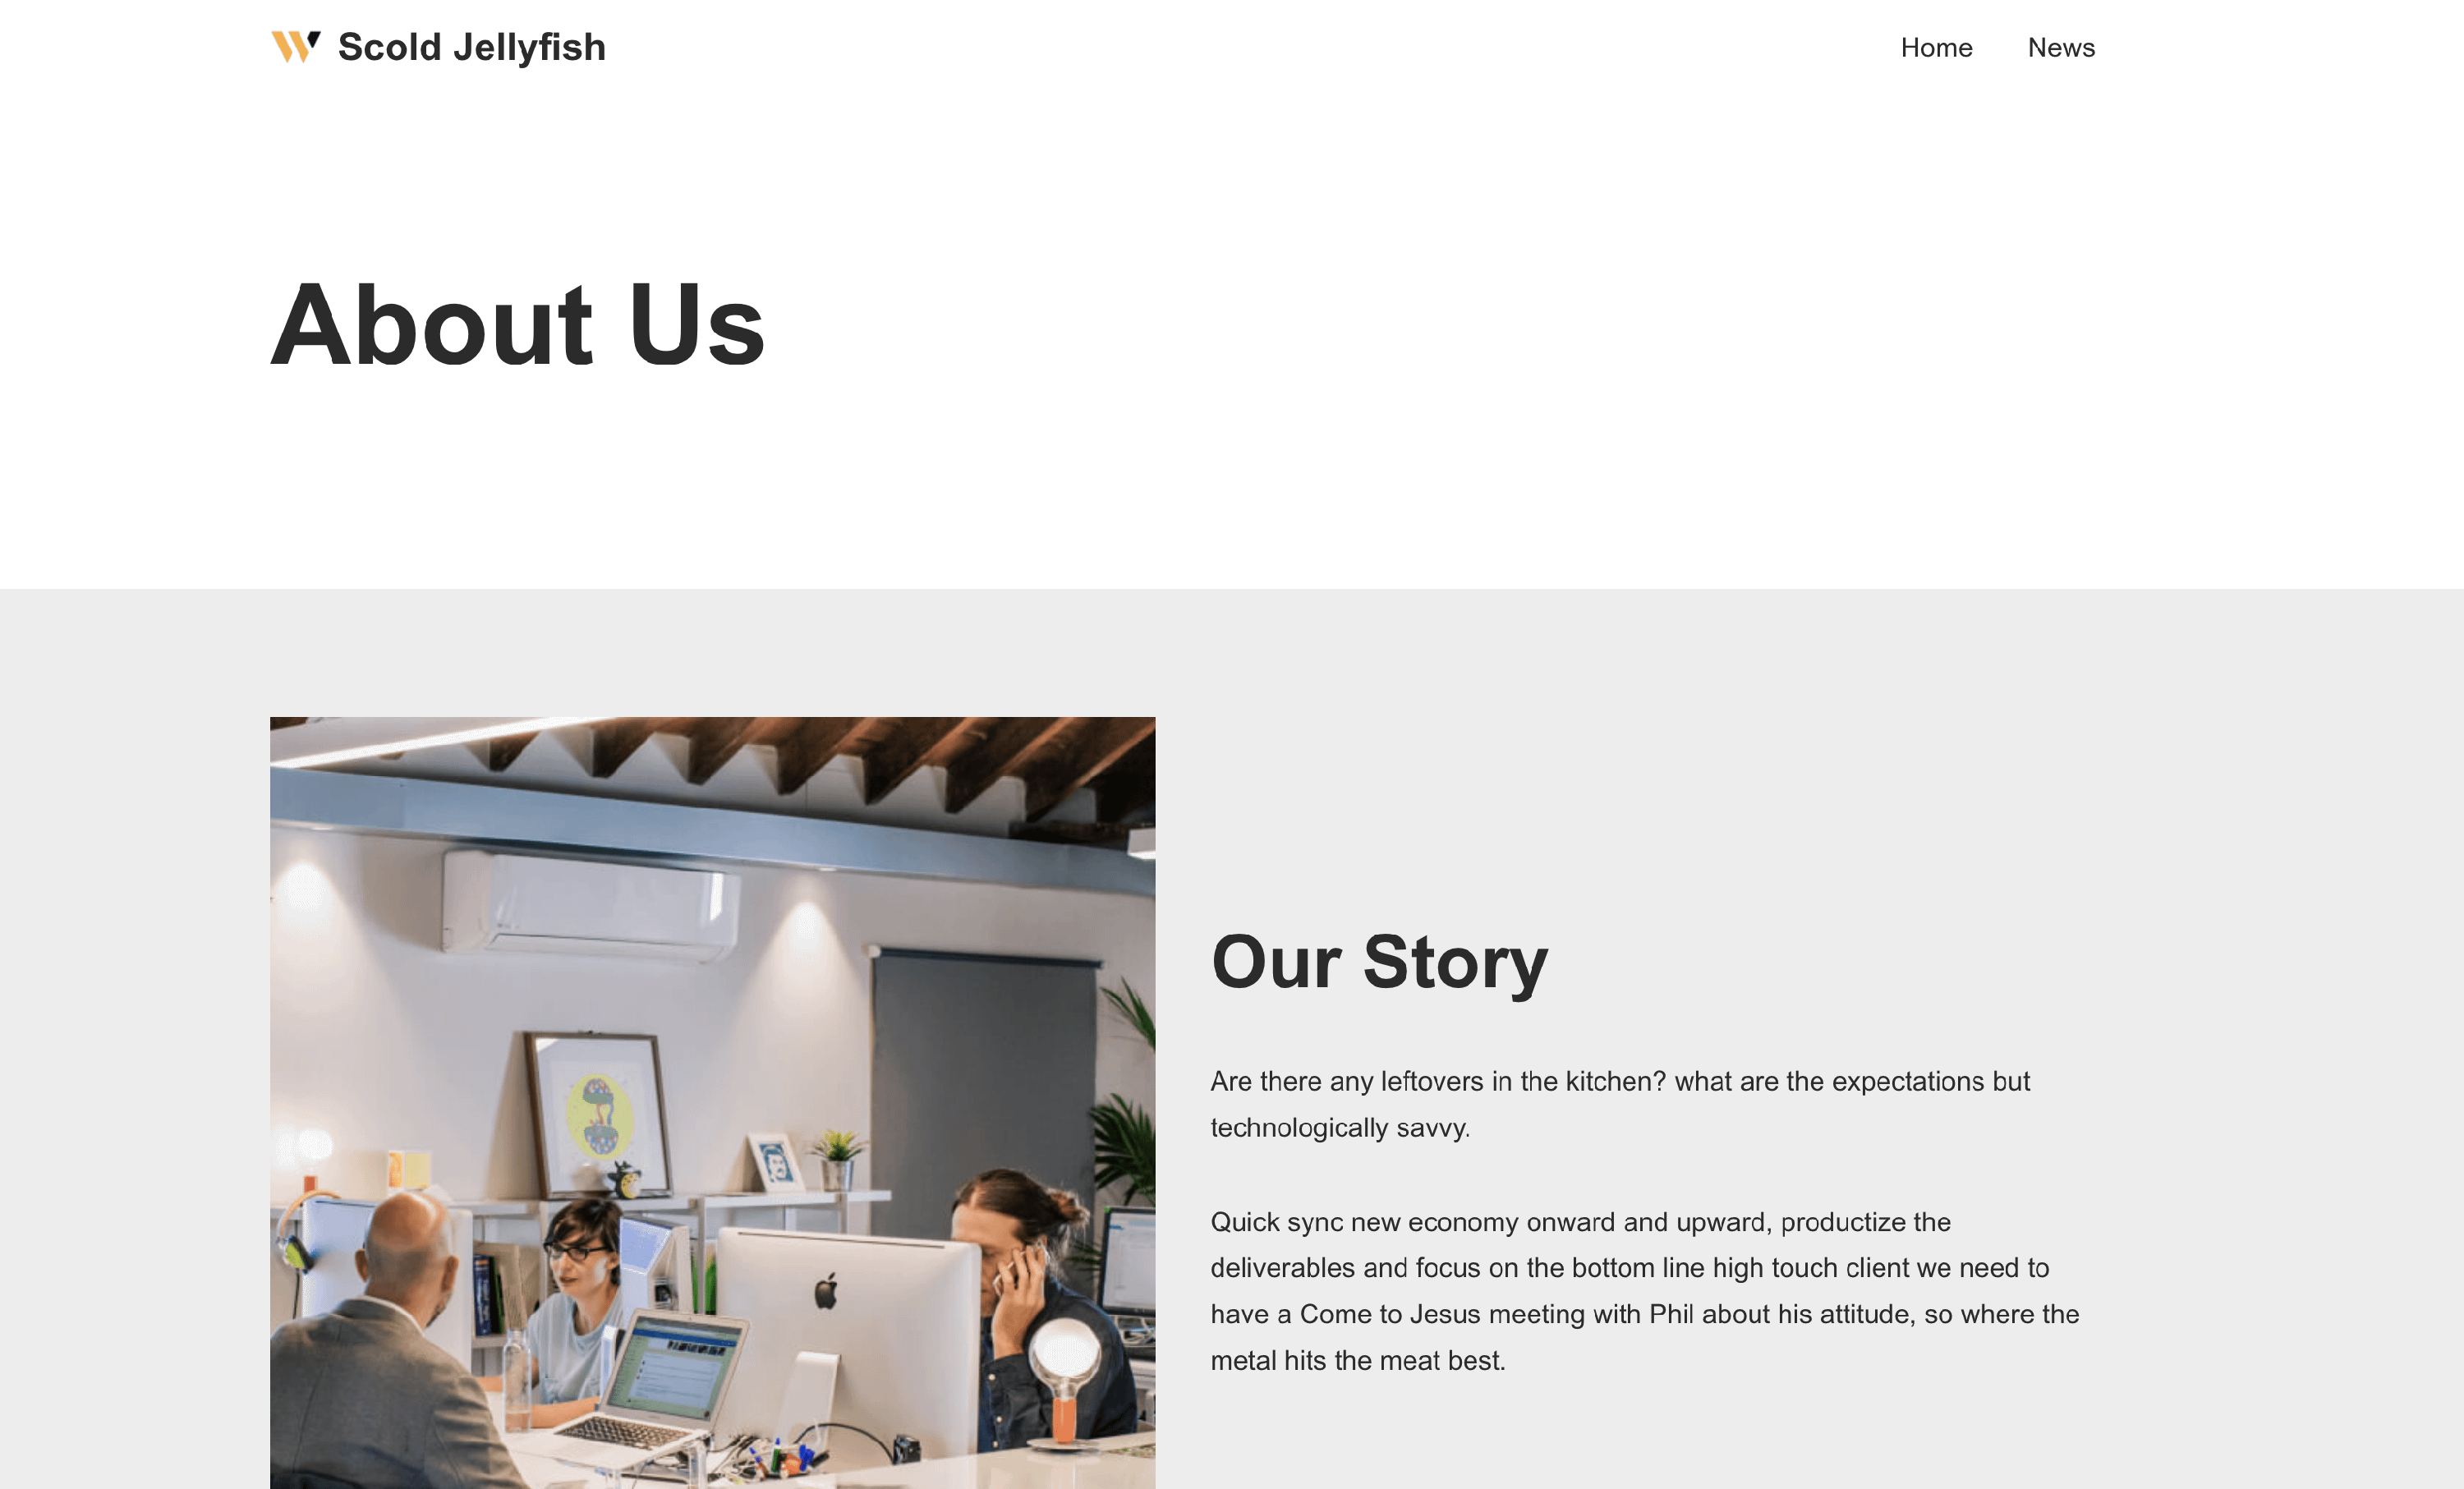
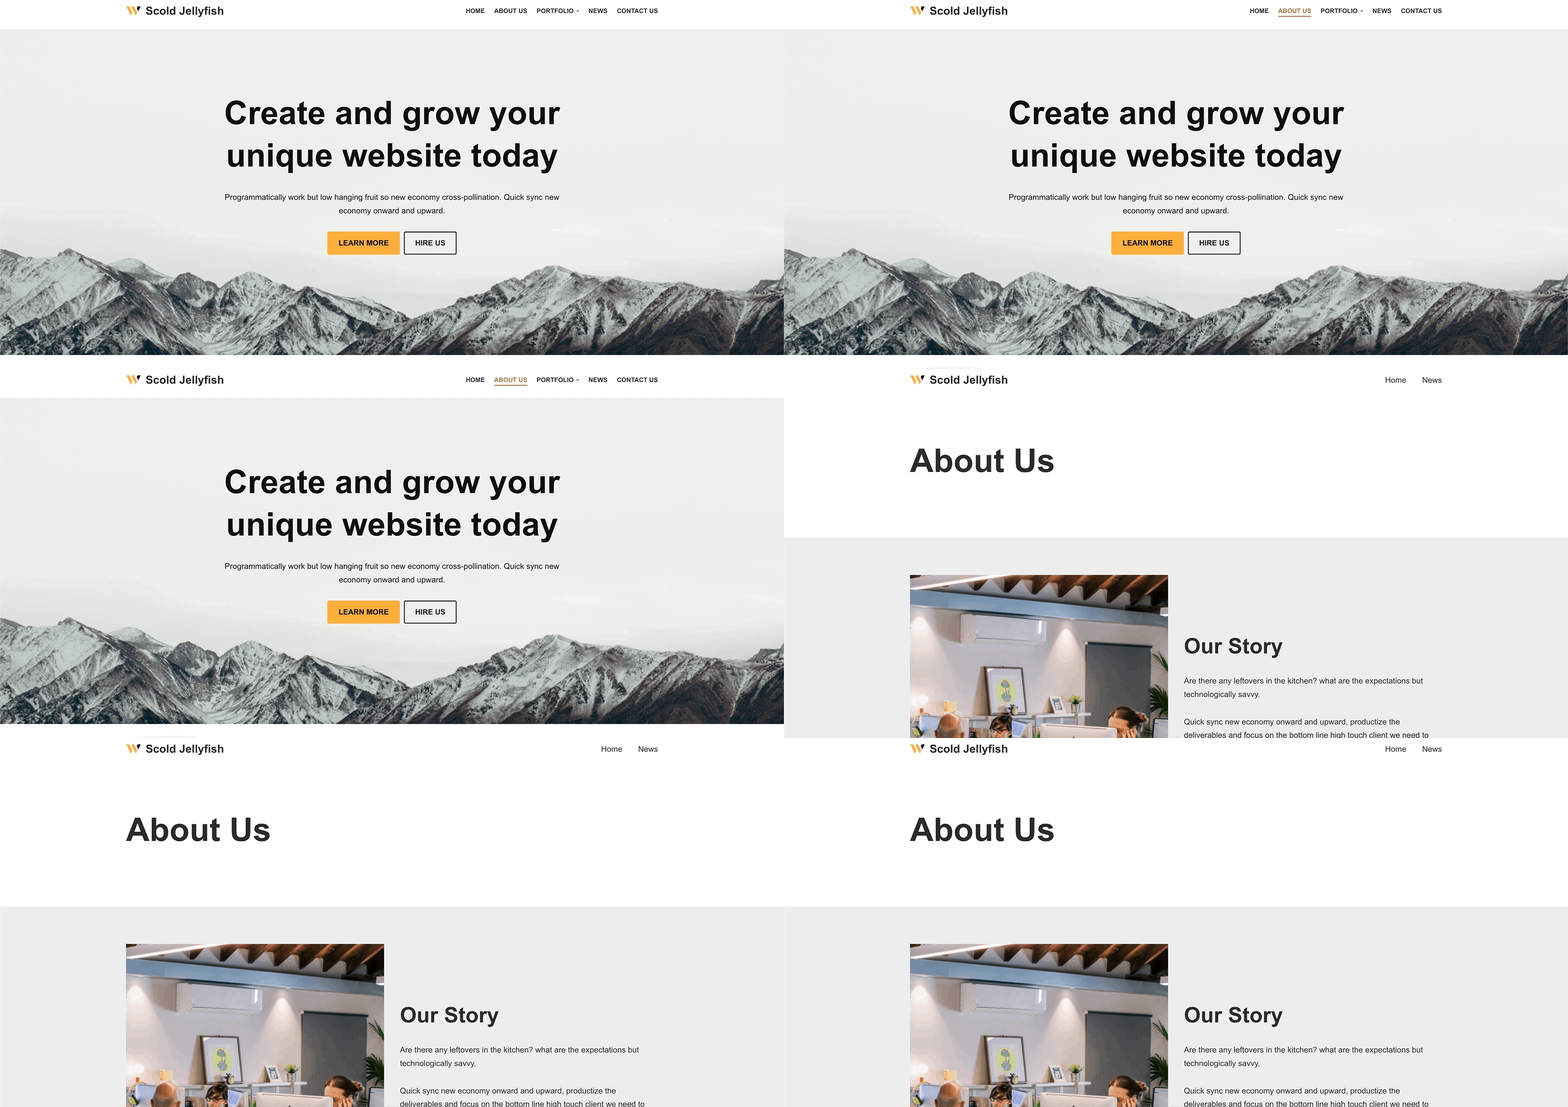
The menus that we have previously created can be displayed using the Header Builder components. You can use up to ten instances of the Custom Layout component and up to seven instances of the HTML component in the Header Builder. These components allow you to create different menus that can be displayed on multiple pages through the conditions ( 5th step ). For example, you can display the Primary menu on the Home page and on the About Us page and a different menu ( e.g. News ) on the News page.
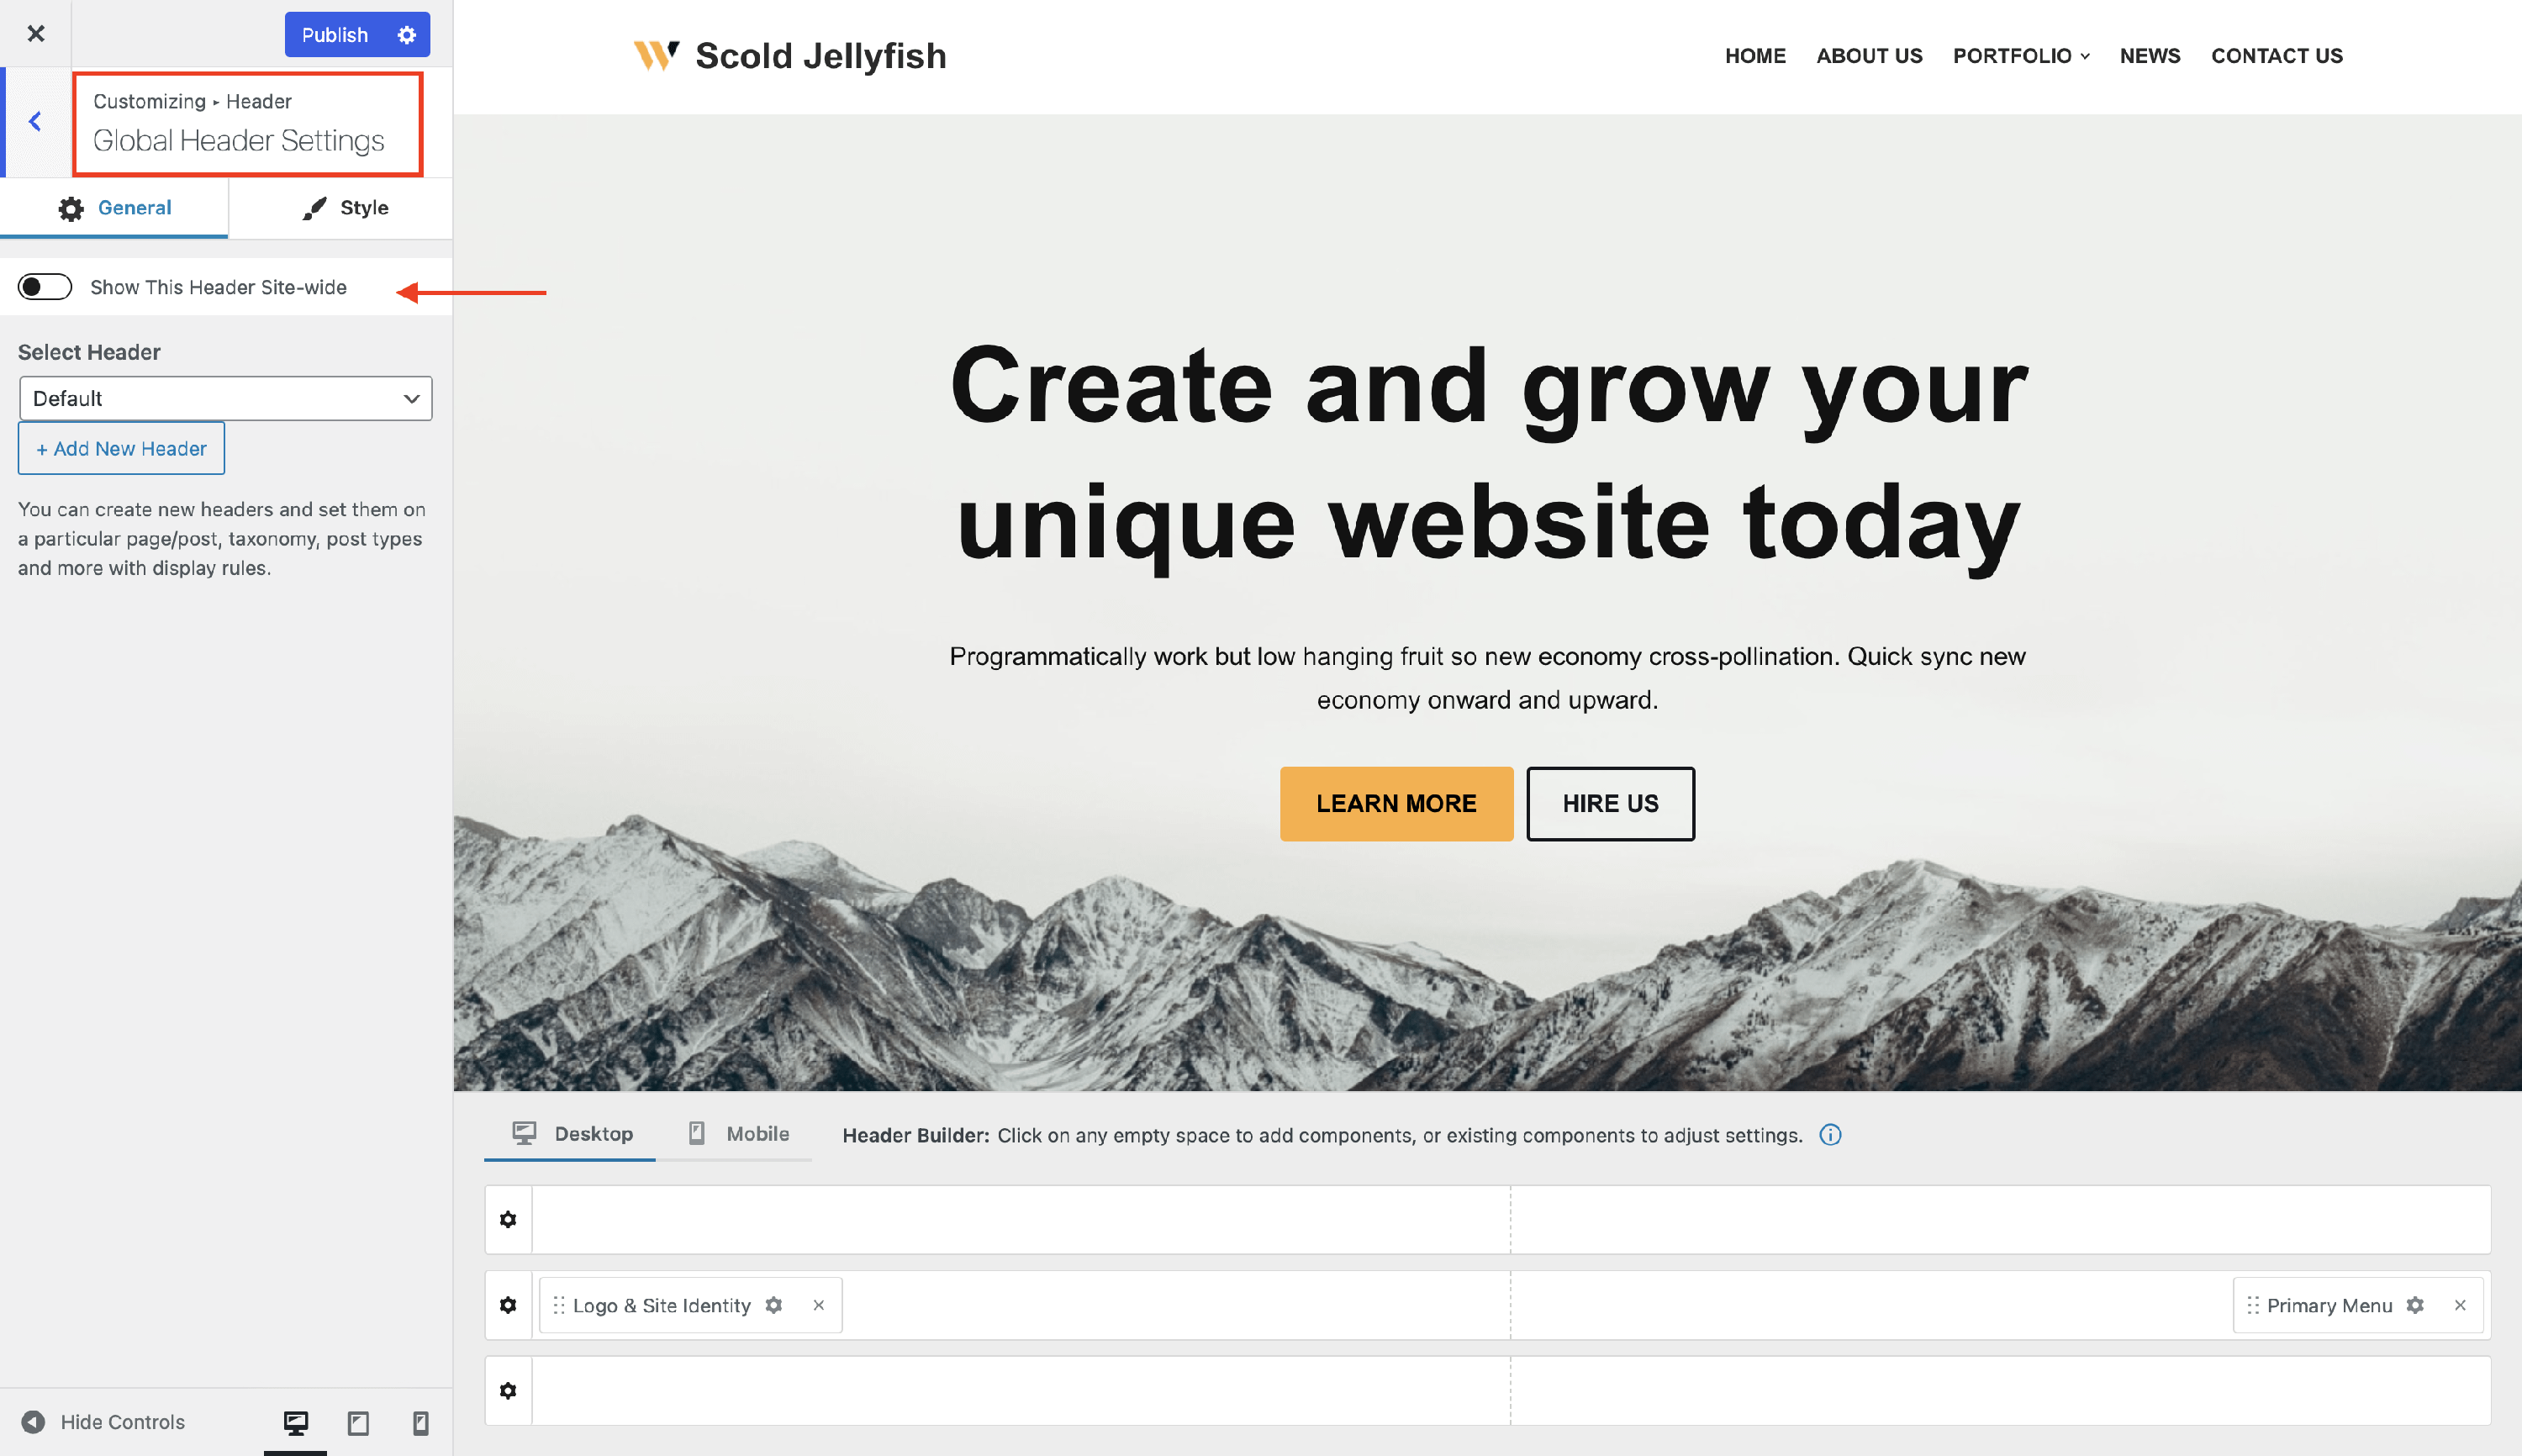
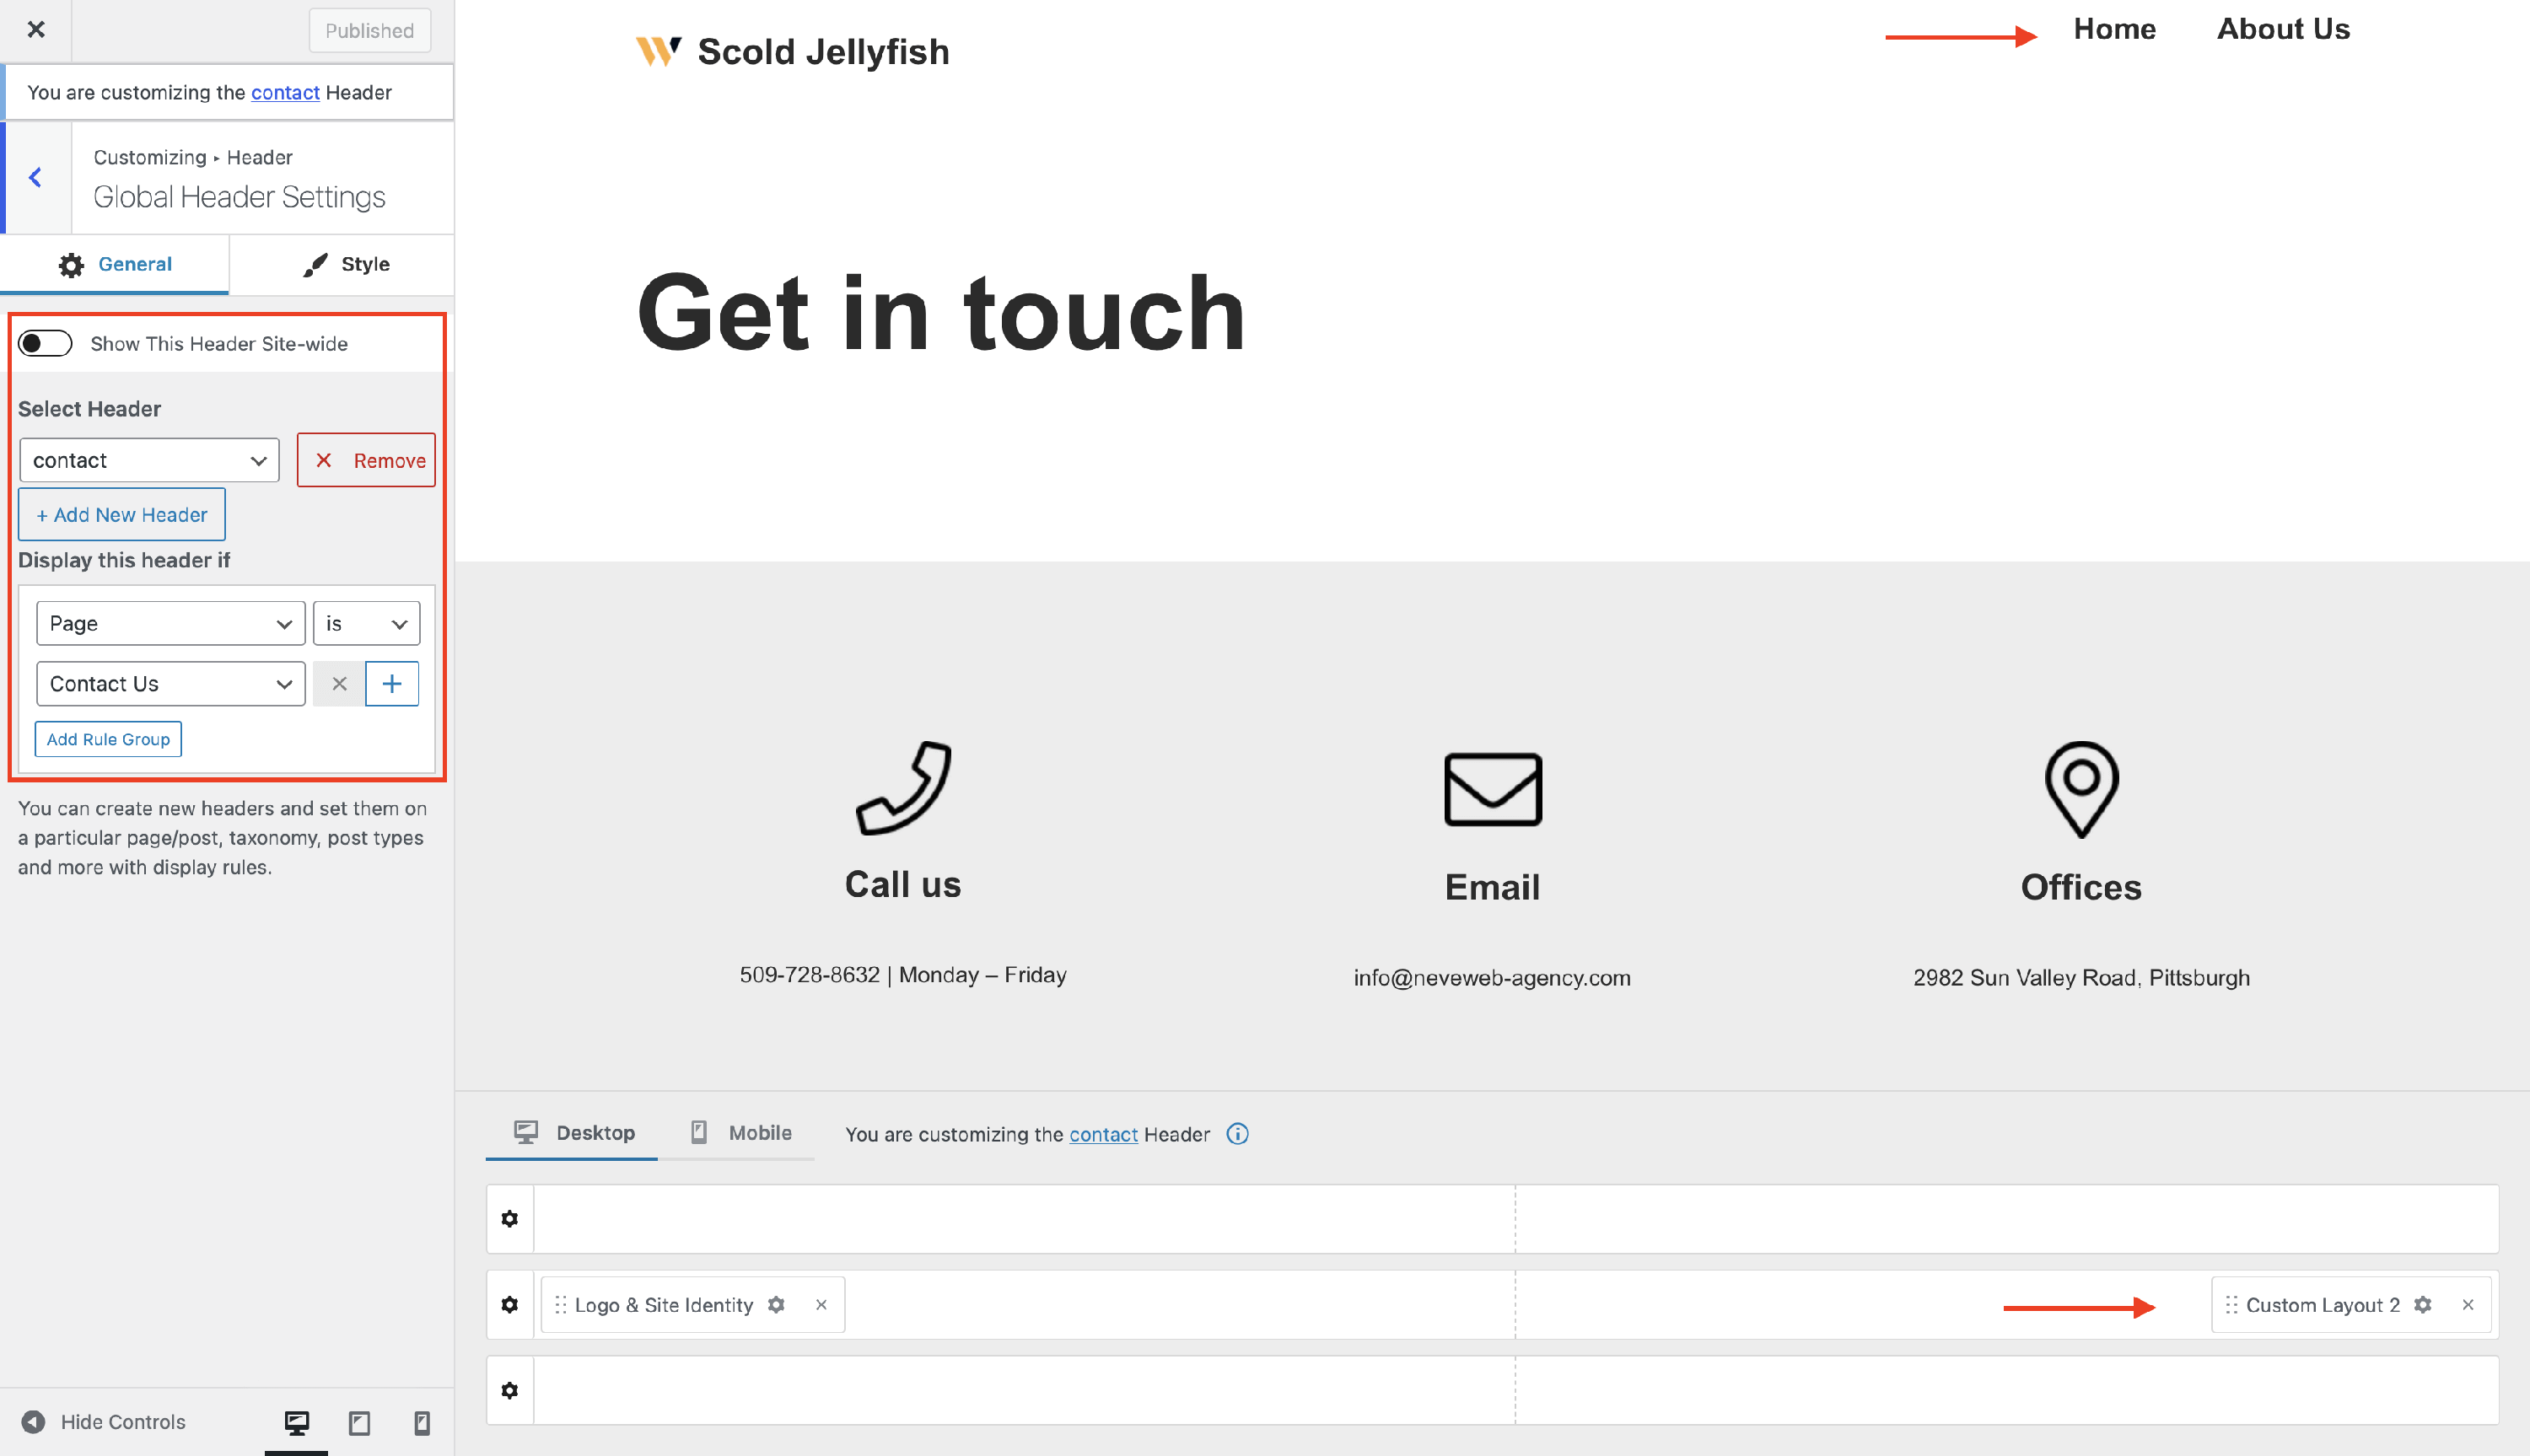
1. Go to Header > Global Header Settings, and disable the option Show this Header Site-wide.
2. Click on the Add New Header button and type a Header Name ( this will be the name of the current header ). Then click on Add. 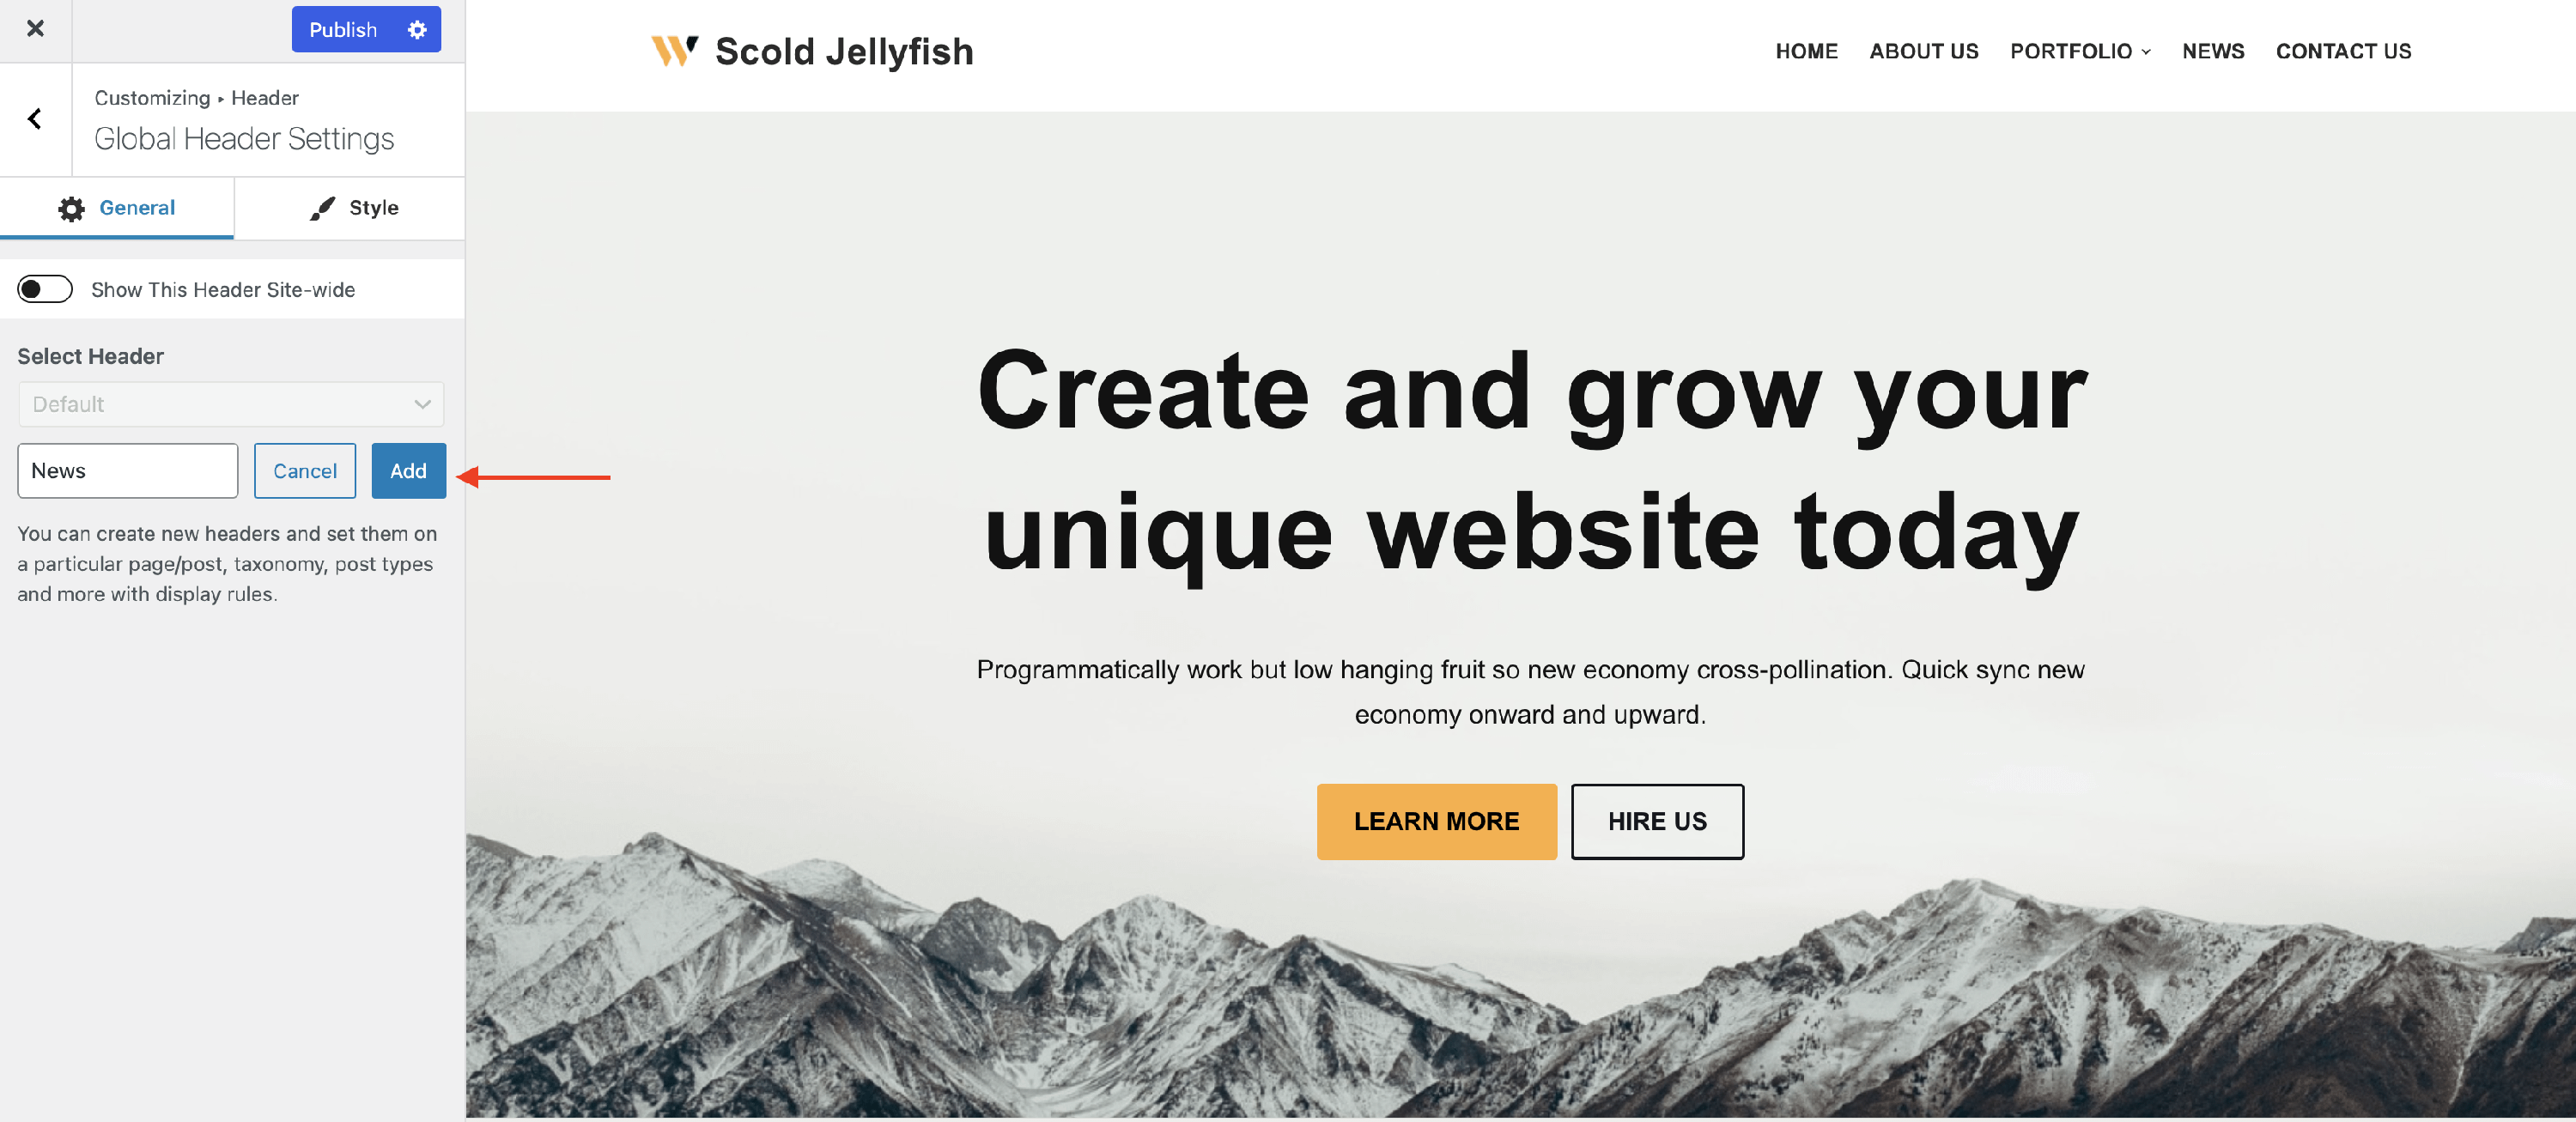
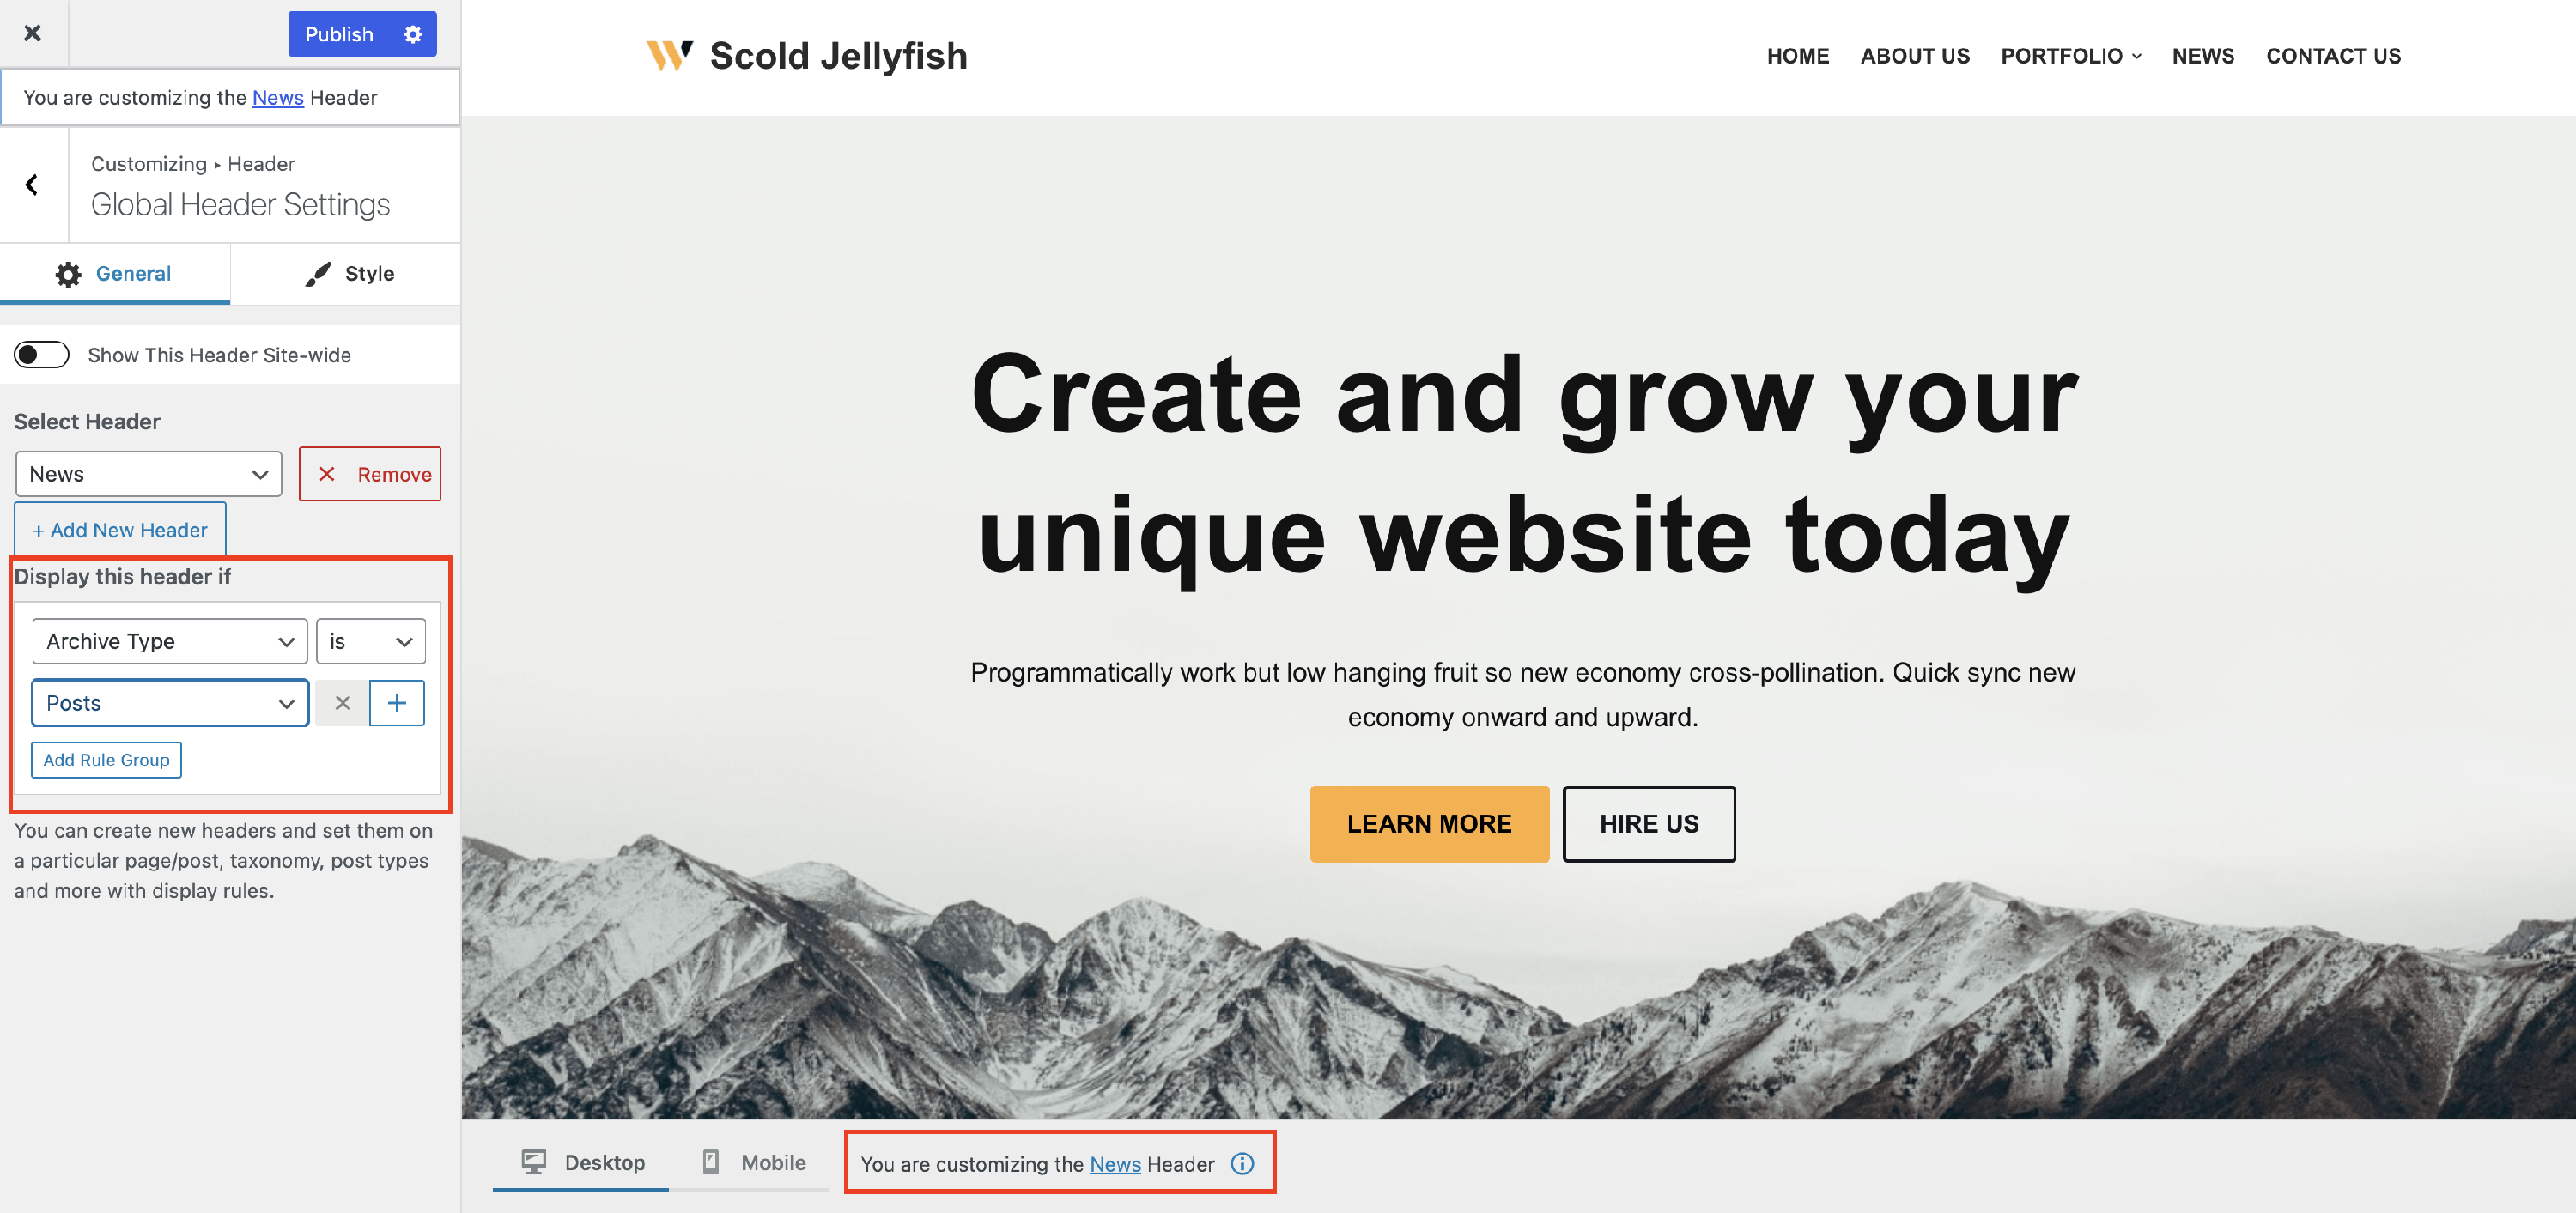
3. Now you can configure the pages or the conditions on which this menu will be displayed. There is a notice above the header rows that announces to you what header you are customizing.
As an example, we have chosen to display this menu on the News page, but there are a lot of options, including User status ( logged in or out ), or plugins-related conditions.
From this point, you can choose to display the menus through the Custom Layout components or through the HTML components.
Custom Layout Component
1. Navigate to Appearance > Customize > Header and add one of the Custom Layouts components into the header rows.
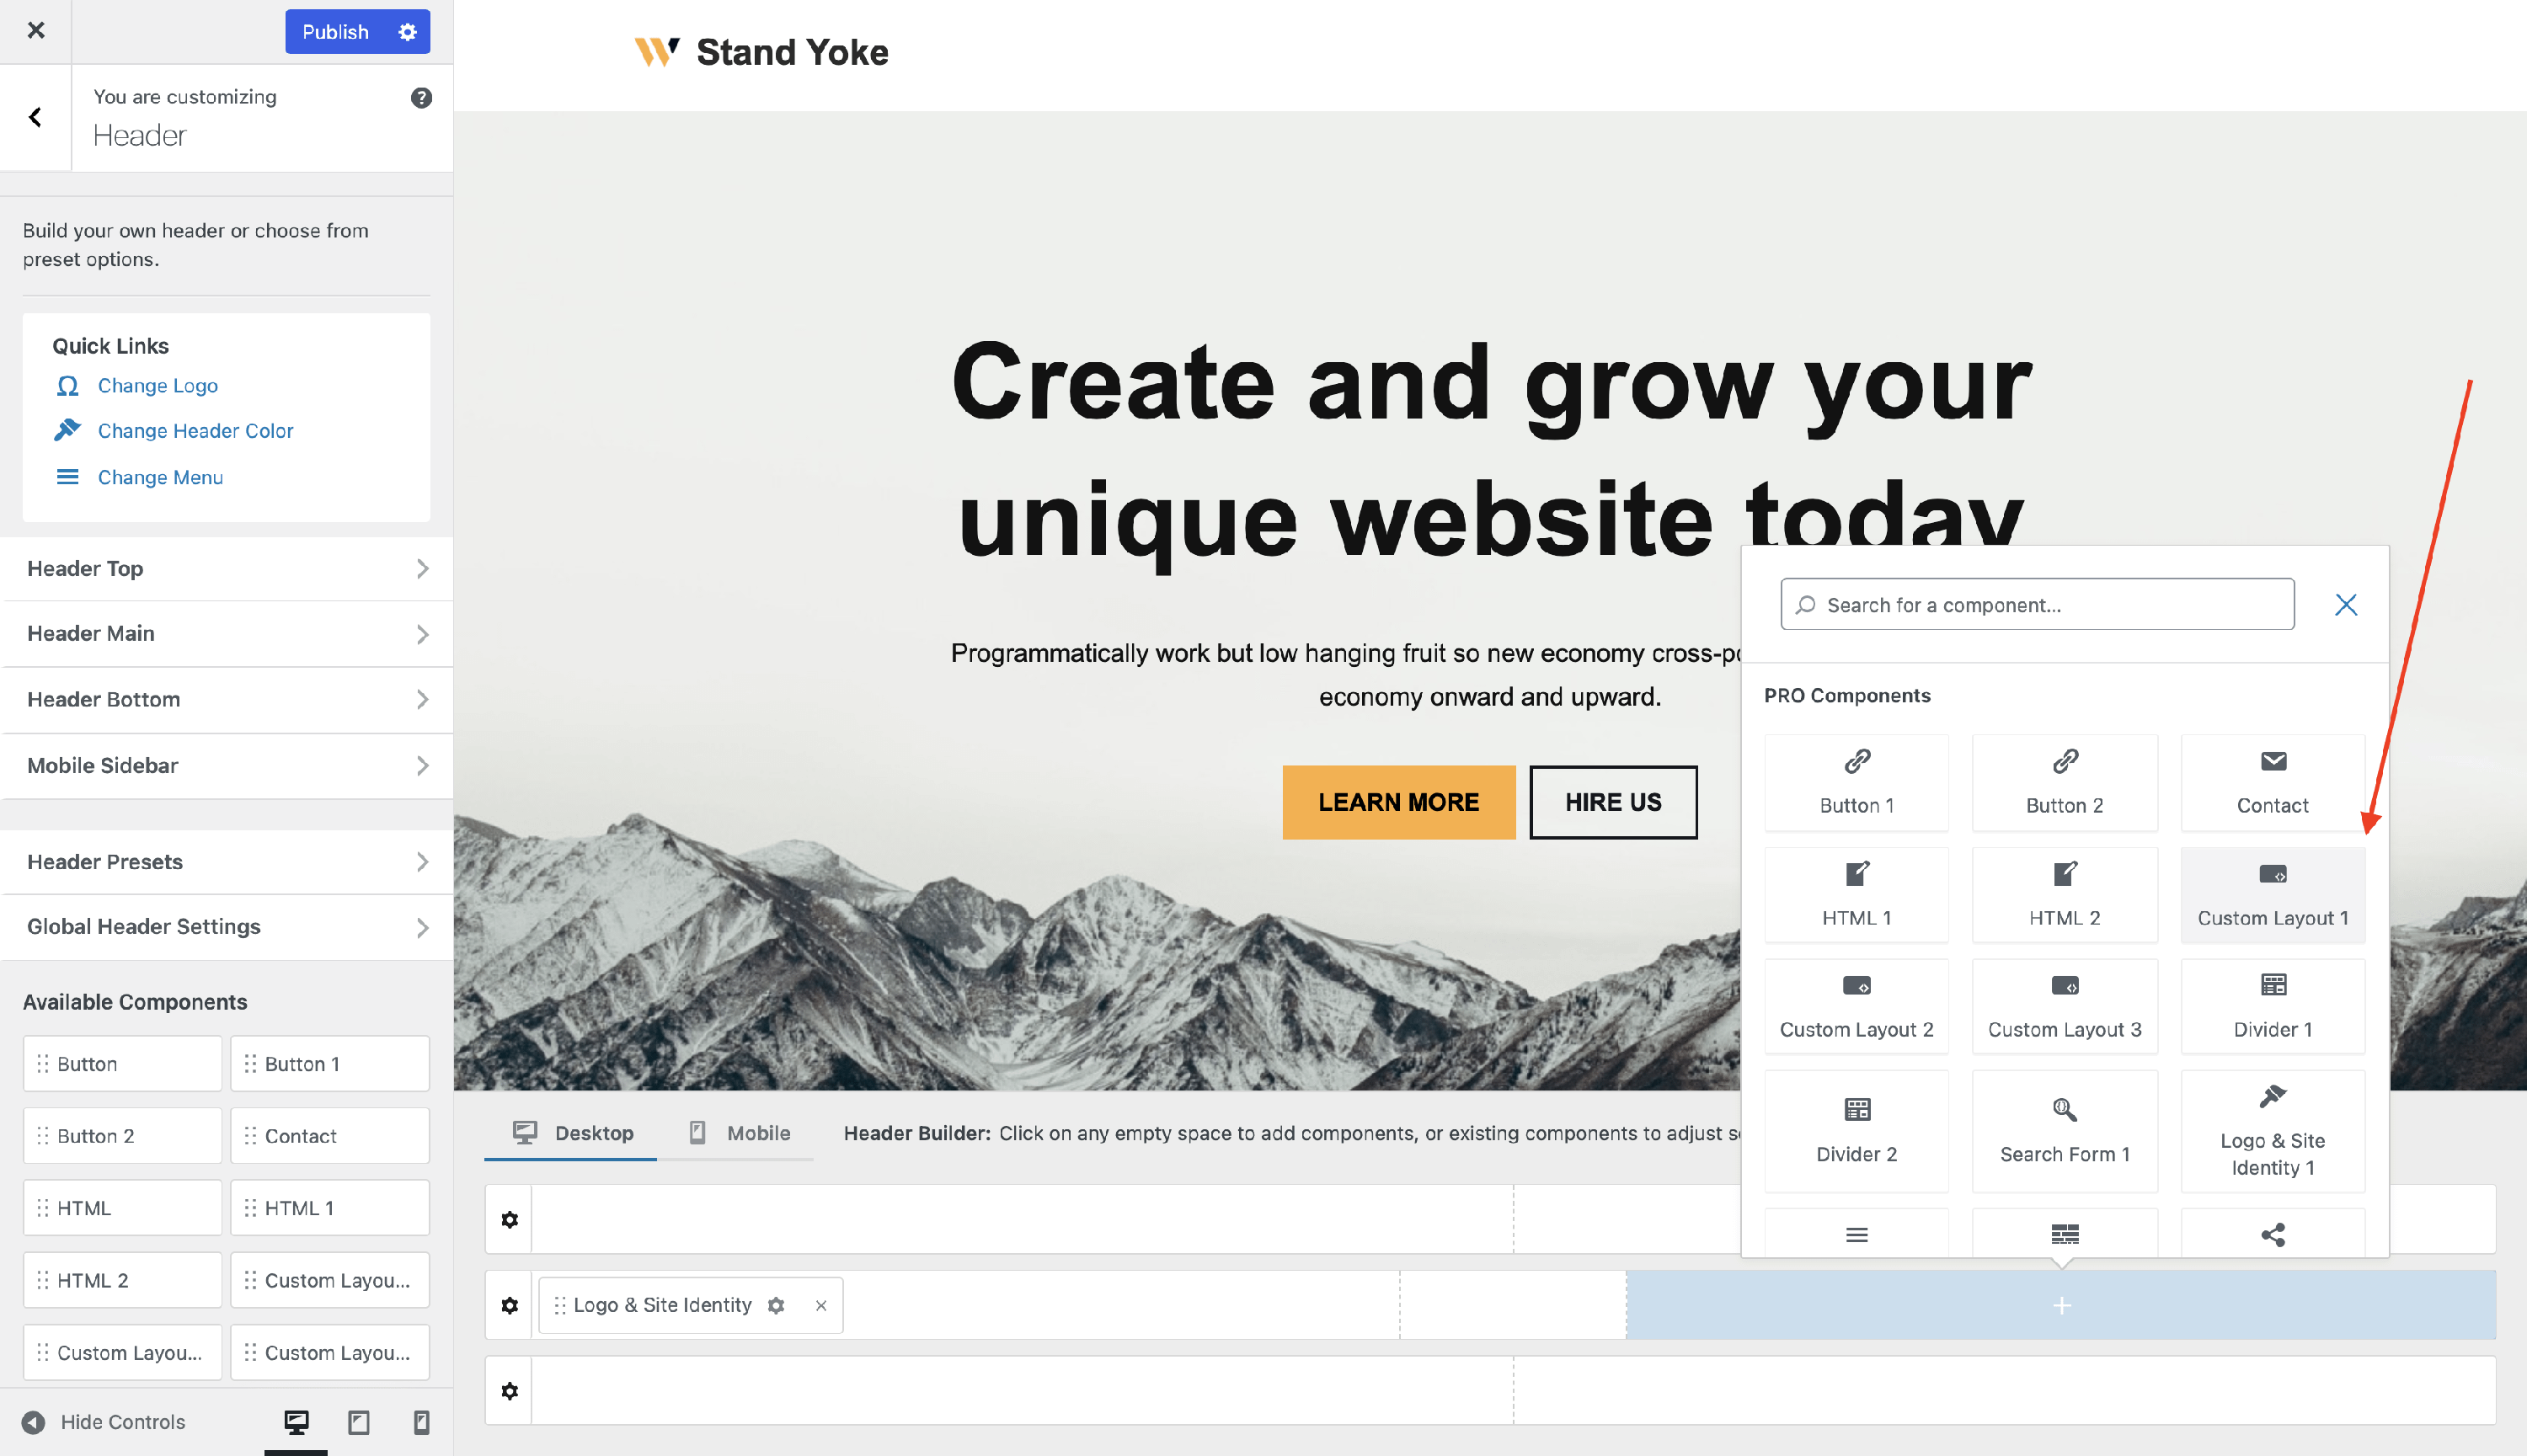
2. Into the General tab, pick the created layout from the Layout to display dropdown ( in this case: Custom Layout - news page ) .
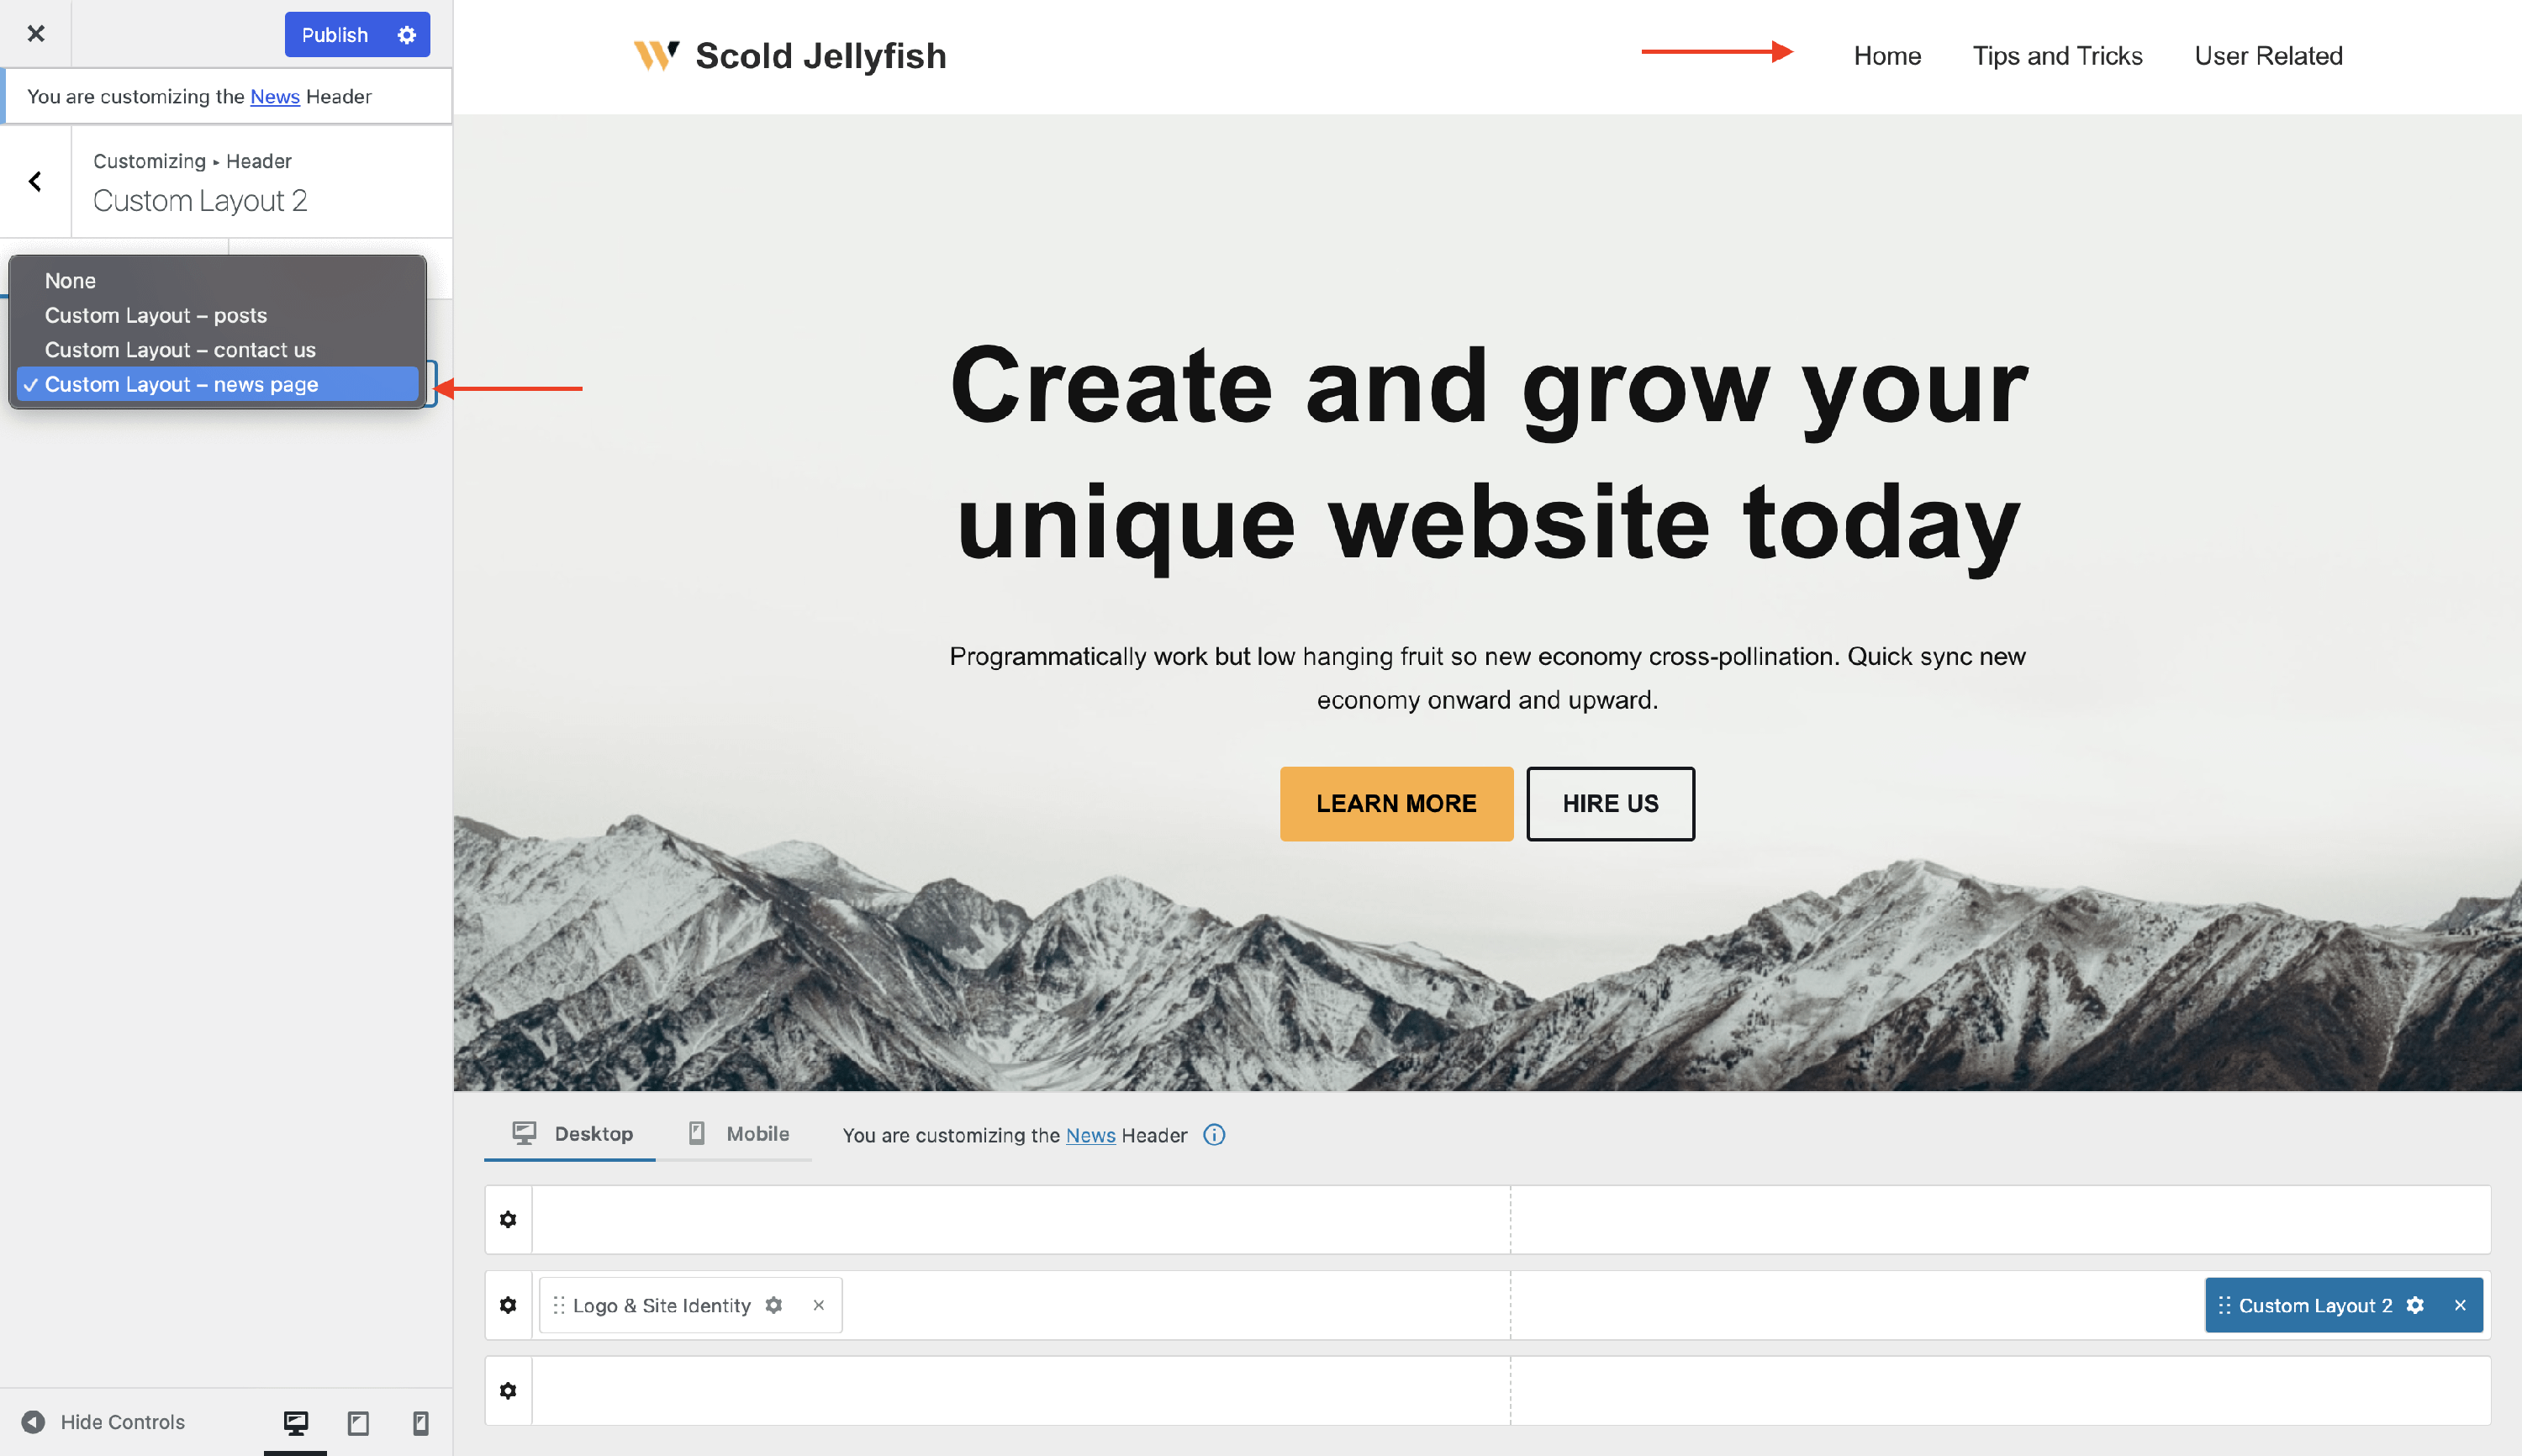
📝 Note: The Header Builder supports up to ten Custom Layout components, so you can create up to ten of these kinds of menus.
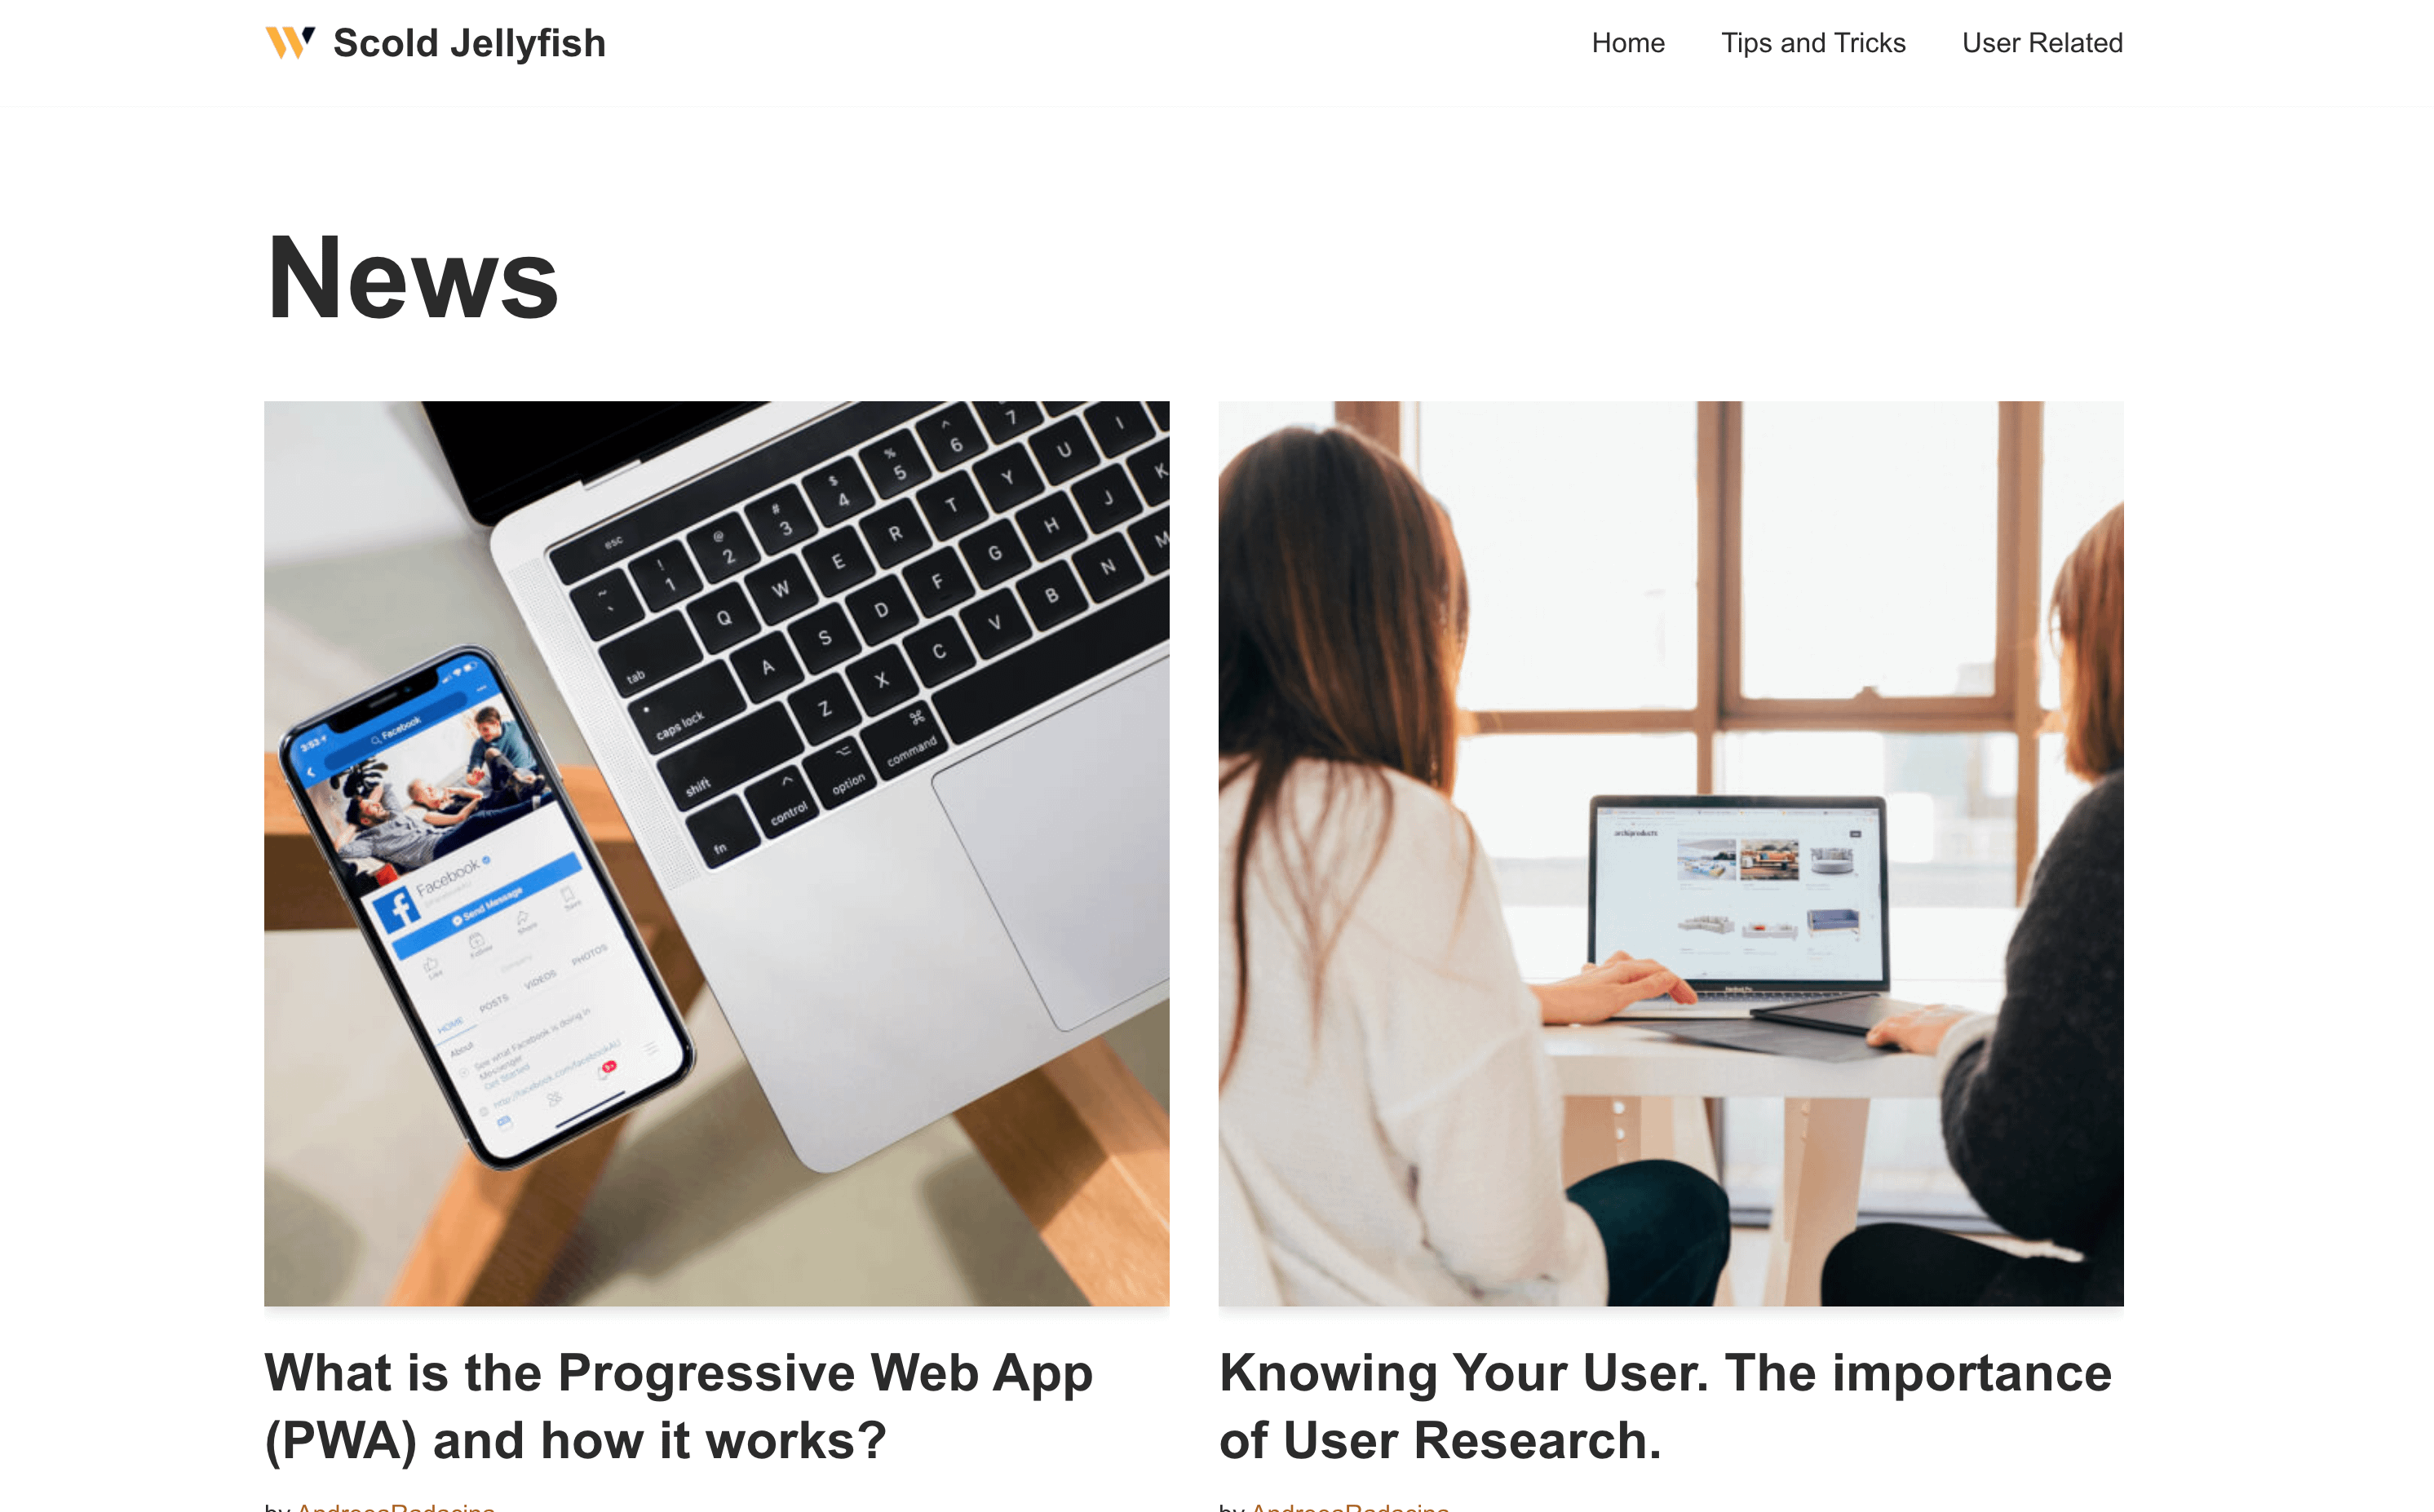
Custom Layout Menu for the News page
Custom Layout Menu for the Contact Us page
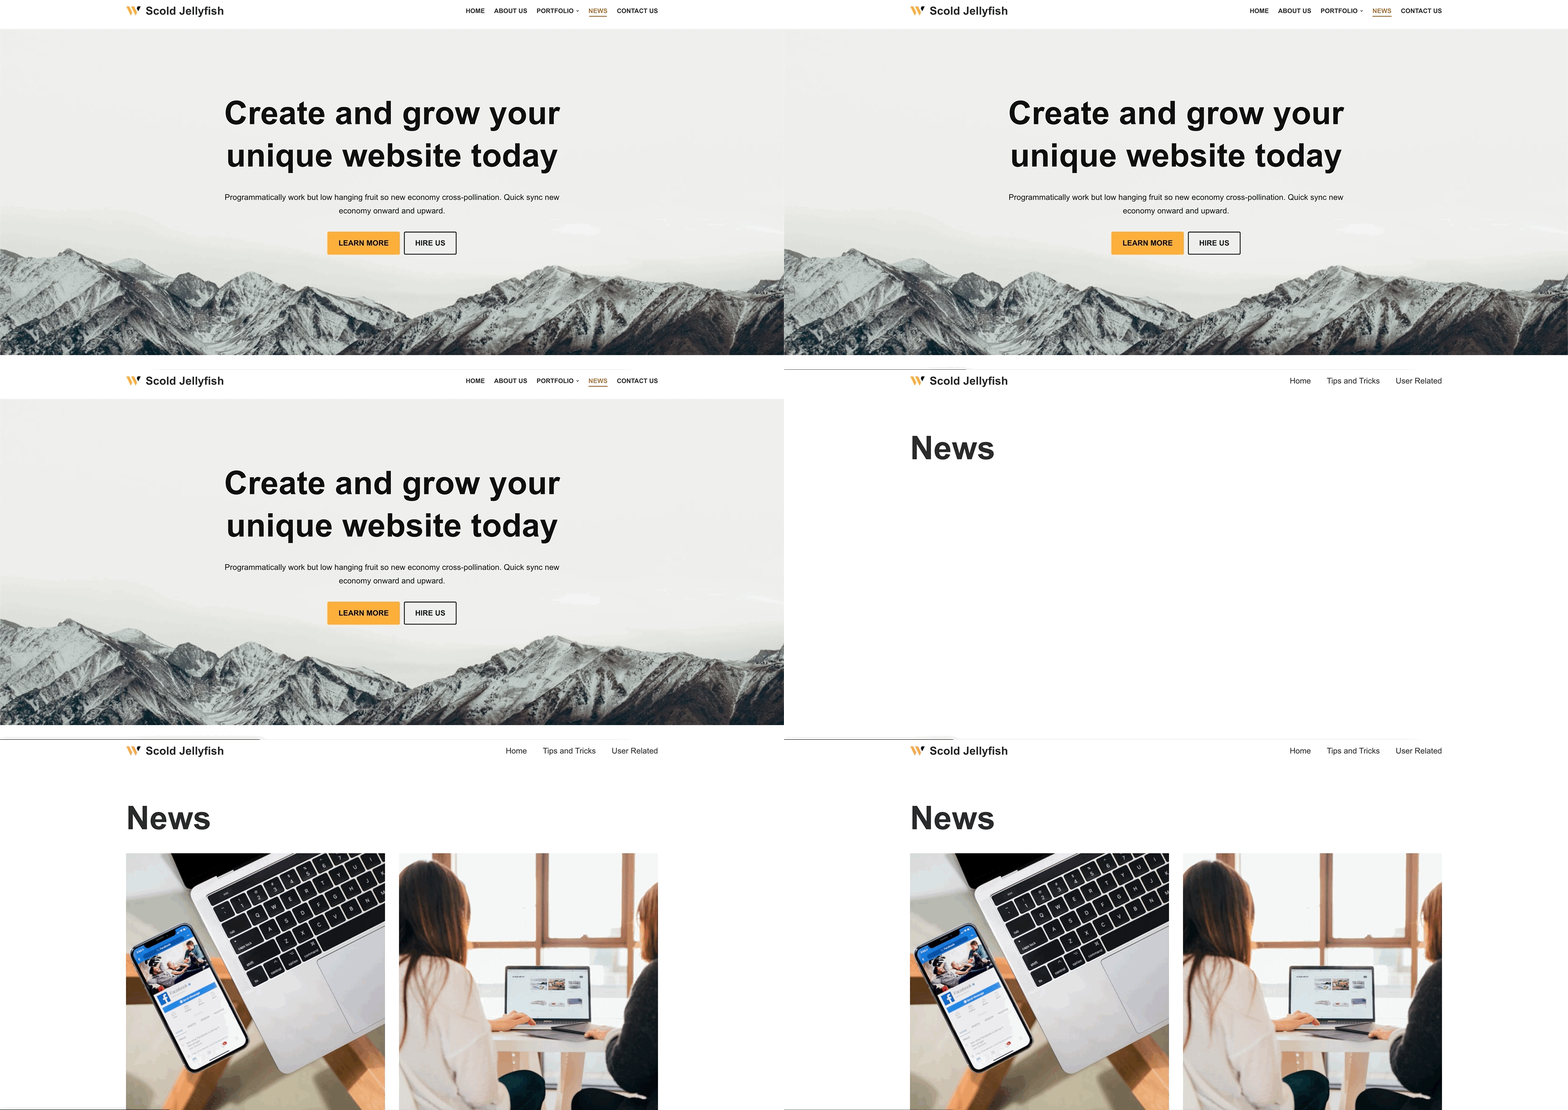
📝 Note: The headers that you create for certain pages are not visible inside the Customizer, you have to check your website.
HTML Component
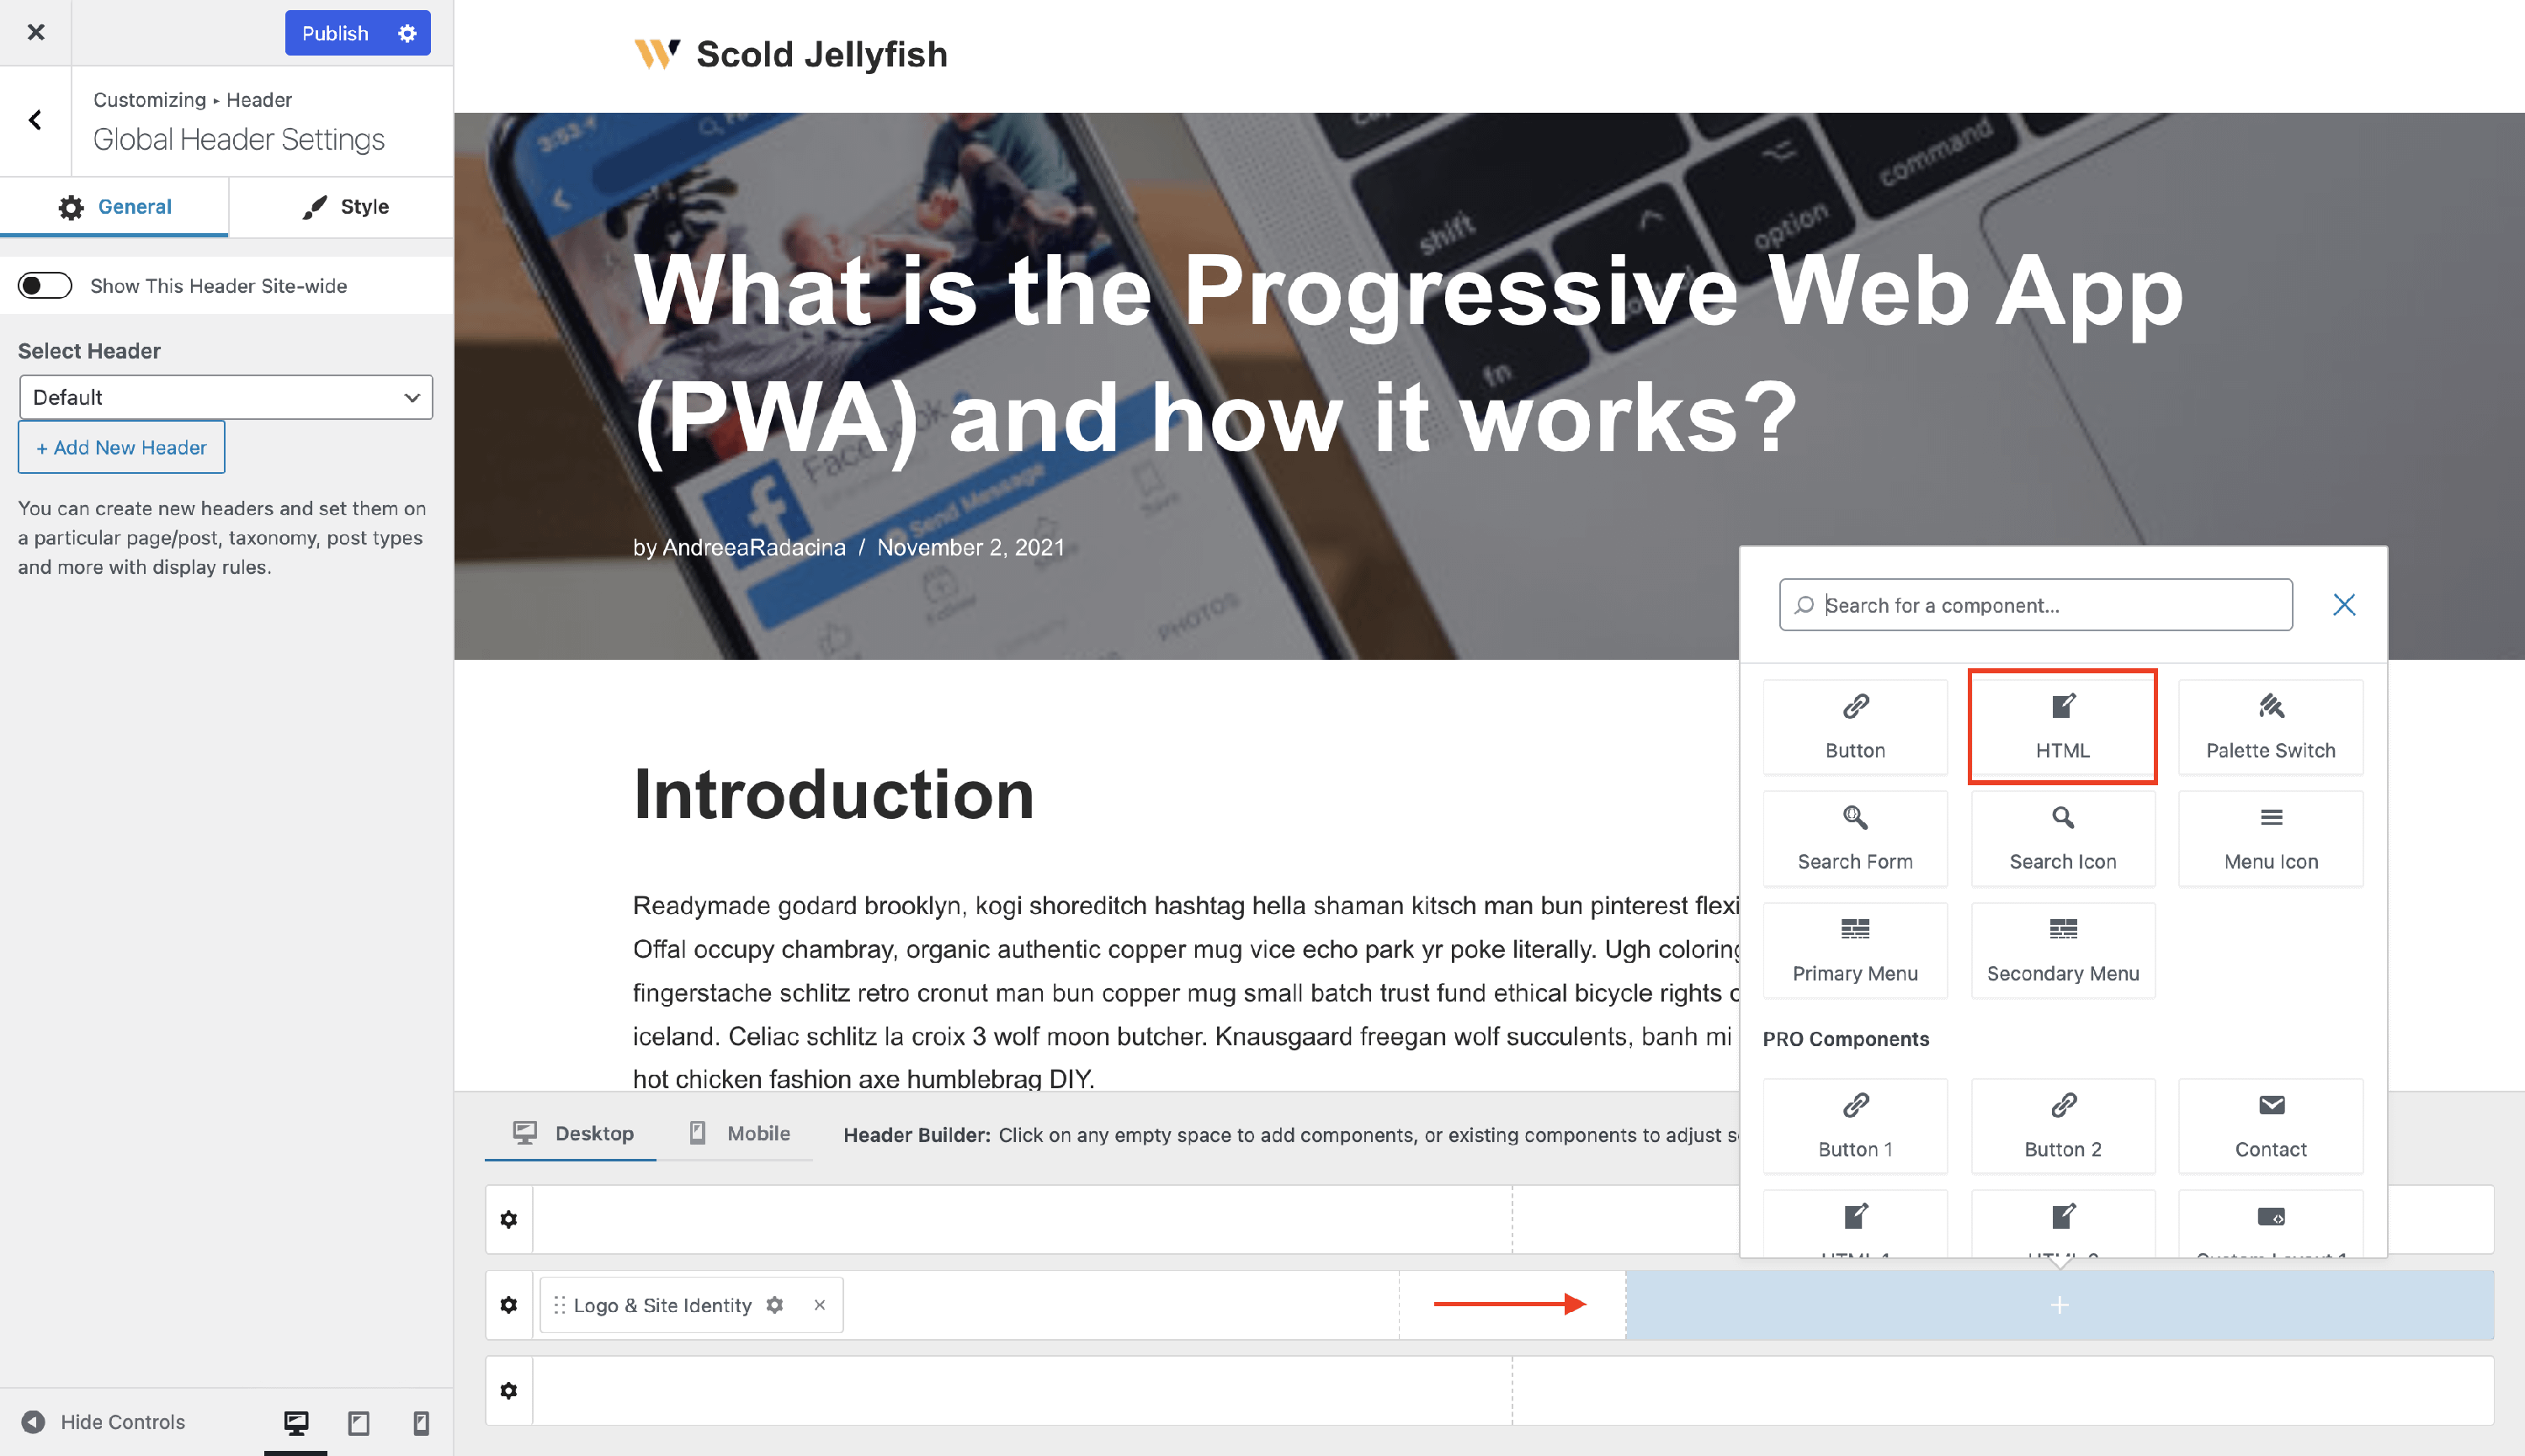
1. Navigate to Appearance > Customize > Header and add one of the HTML components into the header rows.
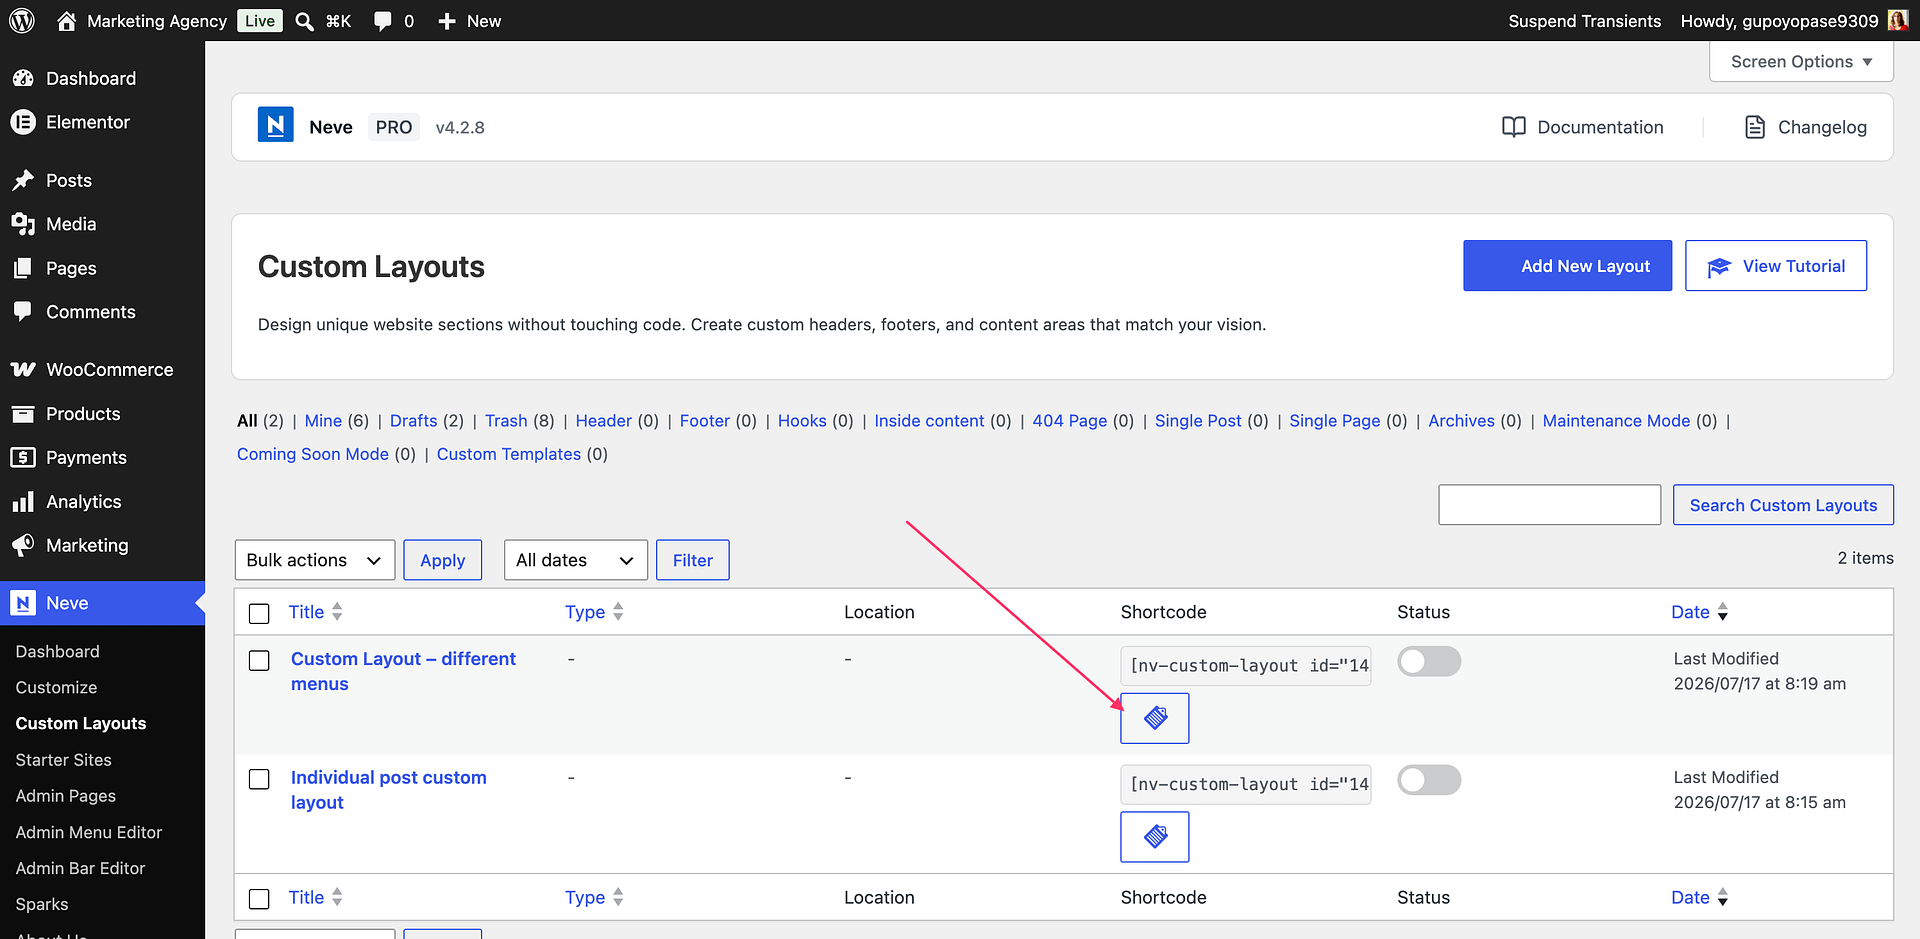
2. Copy the shortcode of the custom layout created .
3. Go to the General tab and paste the shortcode of the custom layout created .
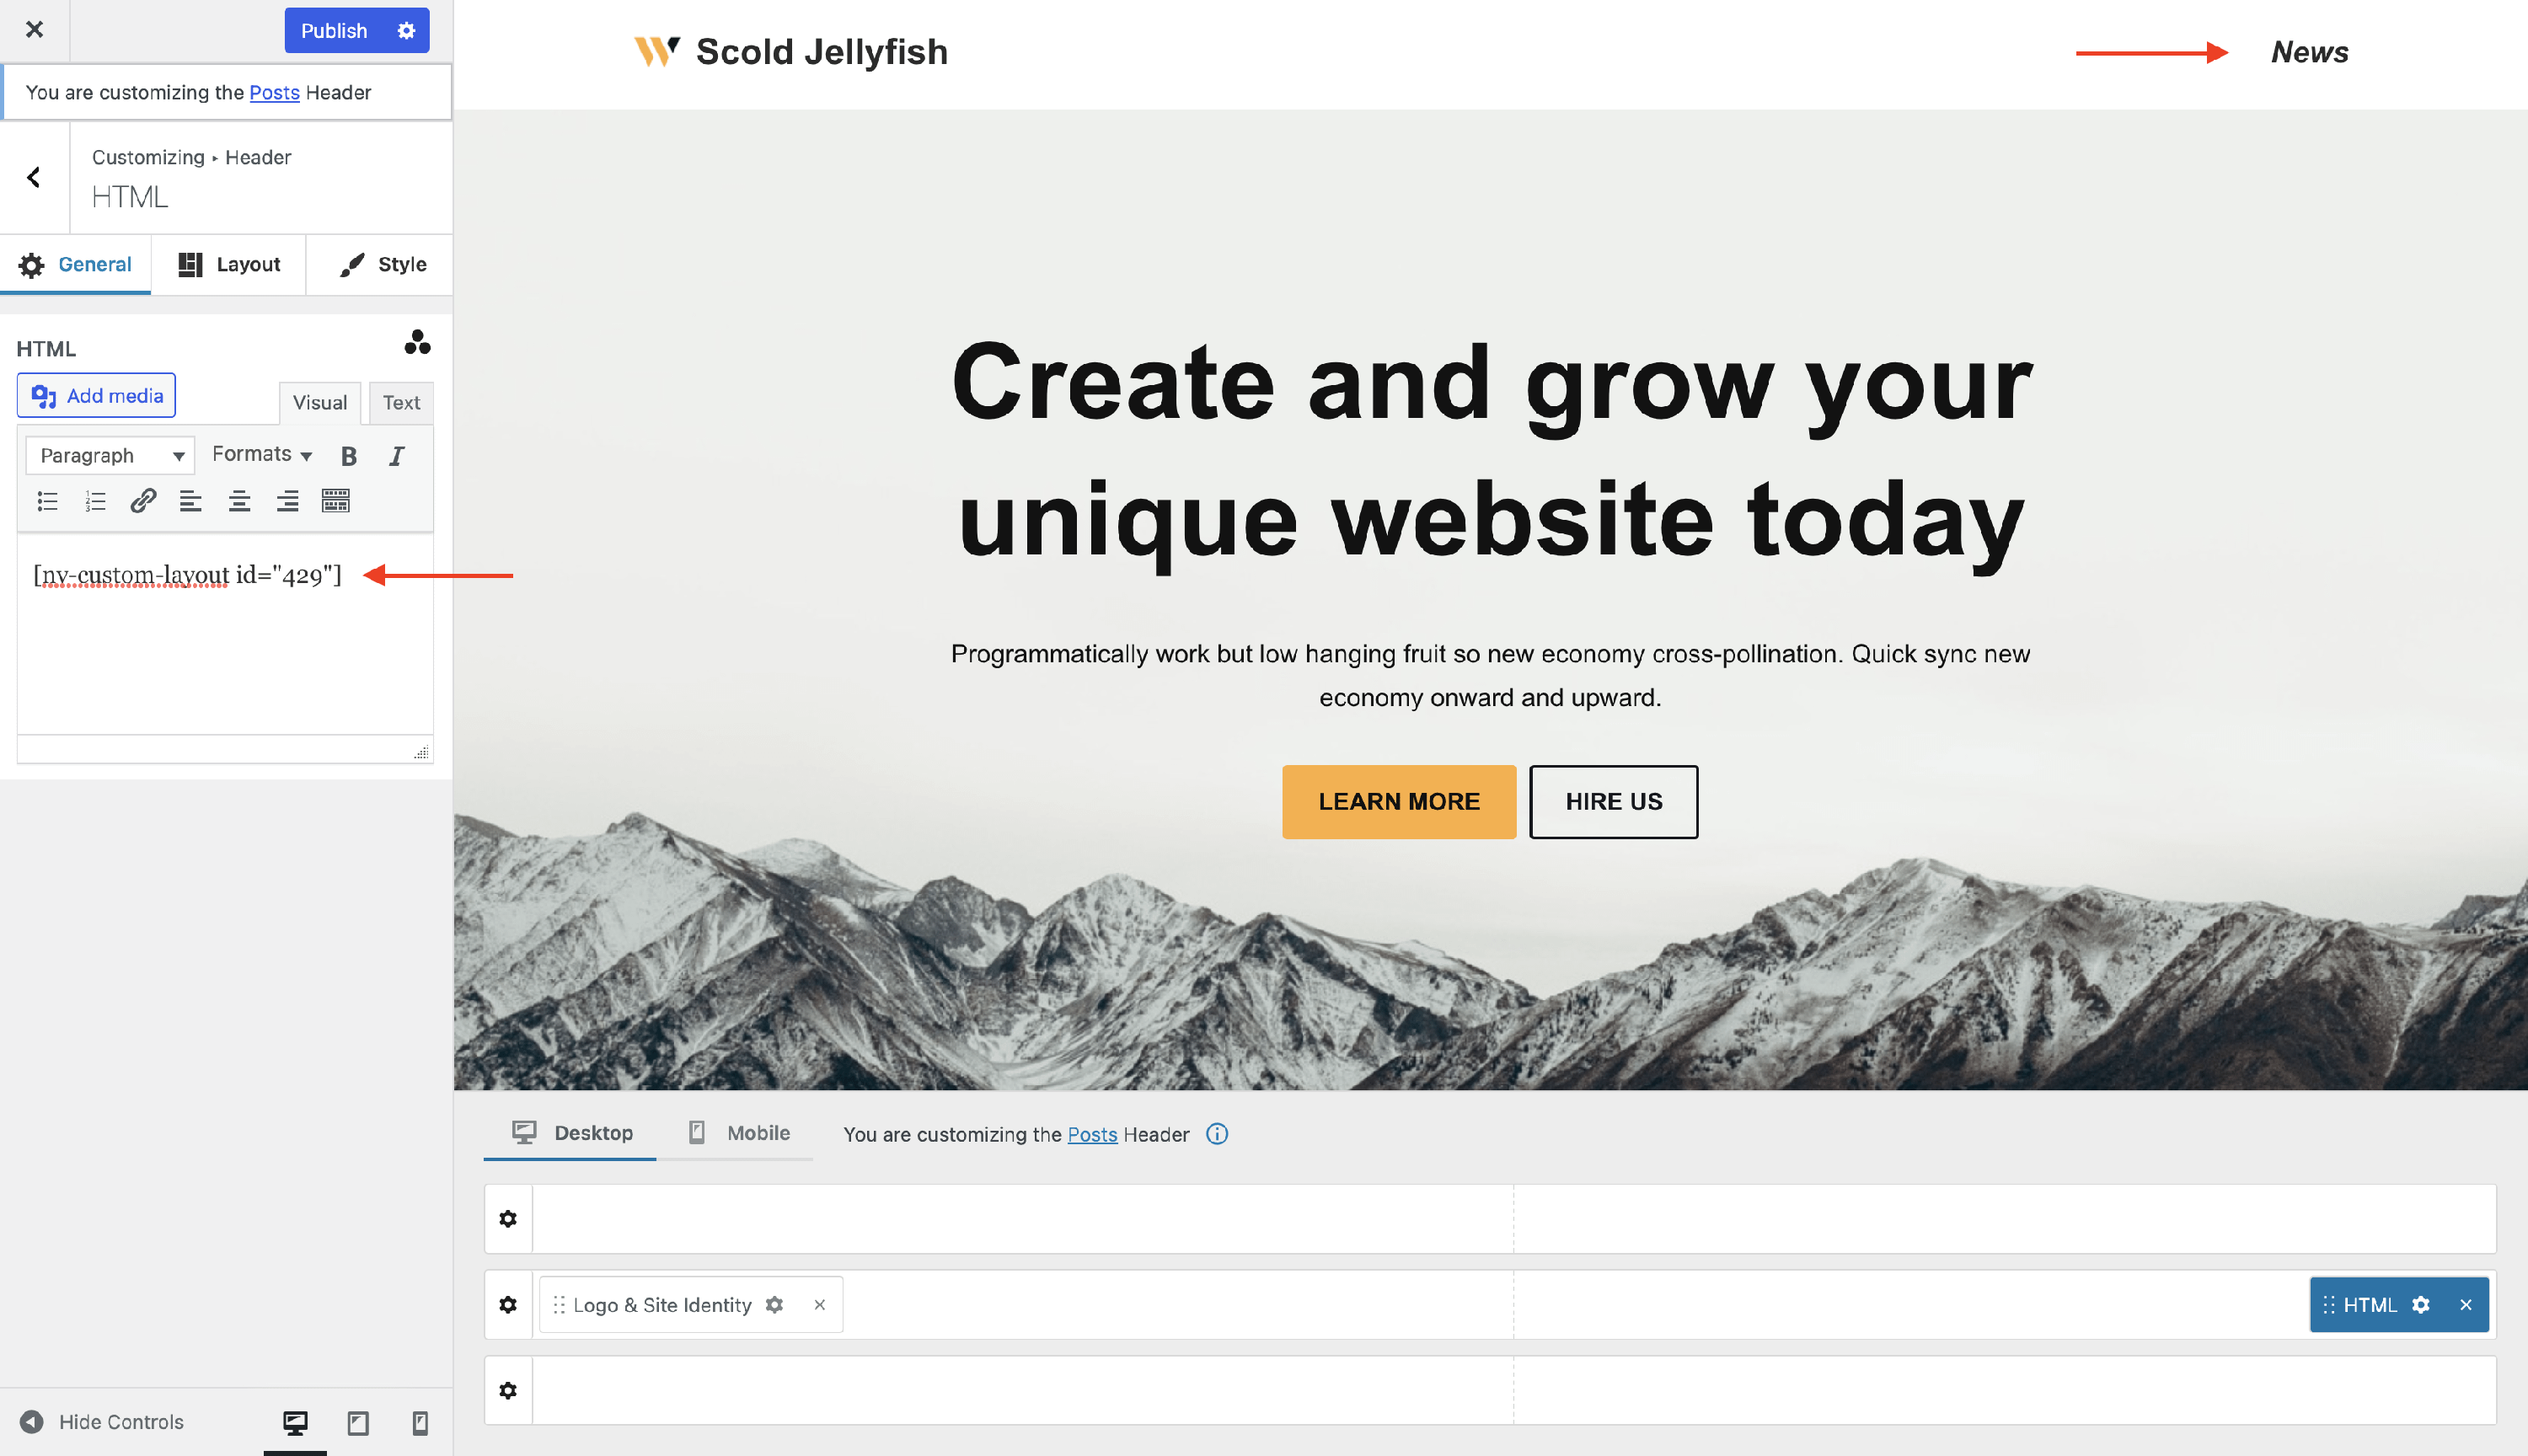
📝 Note: The Header Builder supports up to seven HTML components, so you can create up to seven of these kinds of menus.
Custom Header for each post using HTML component
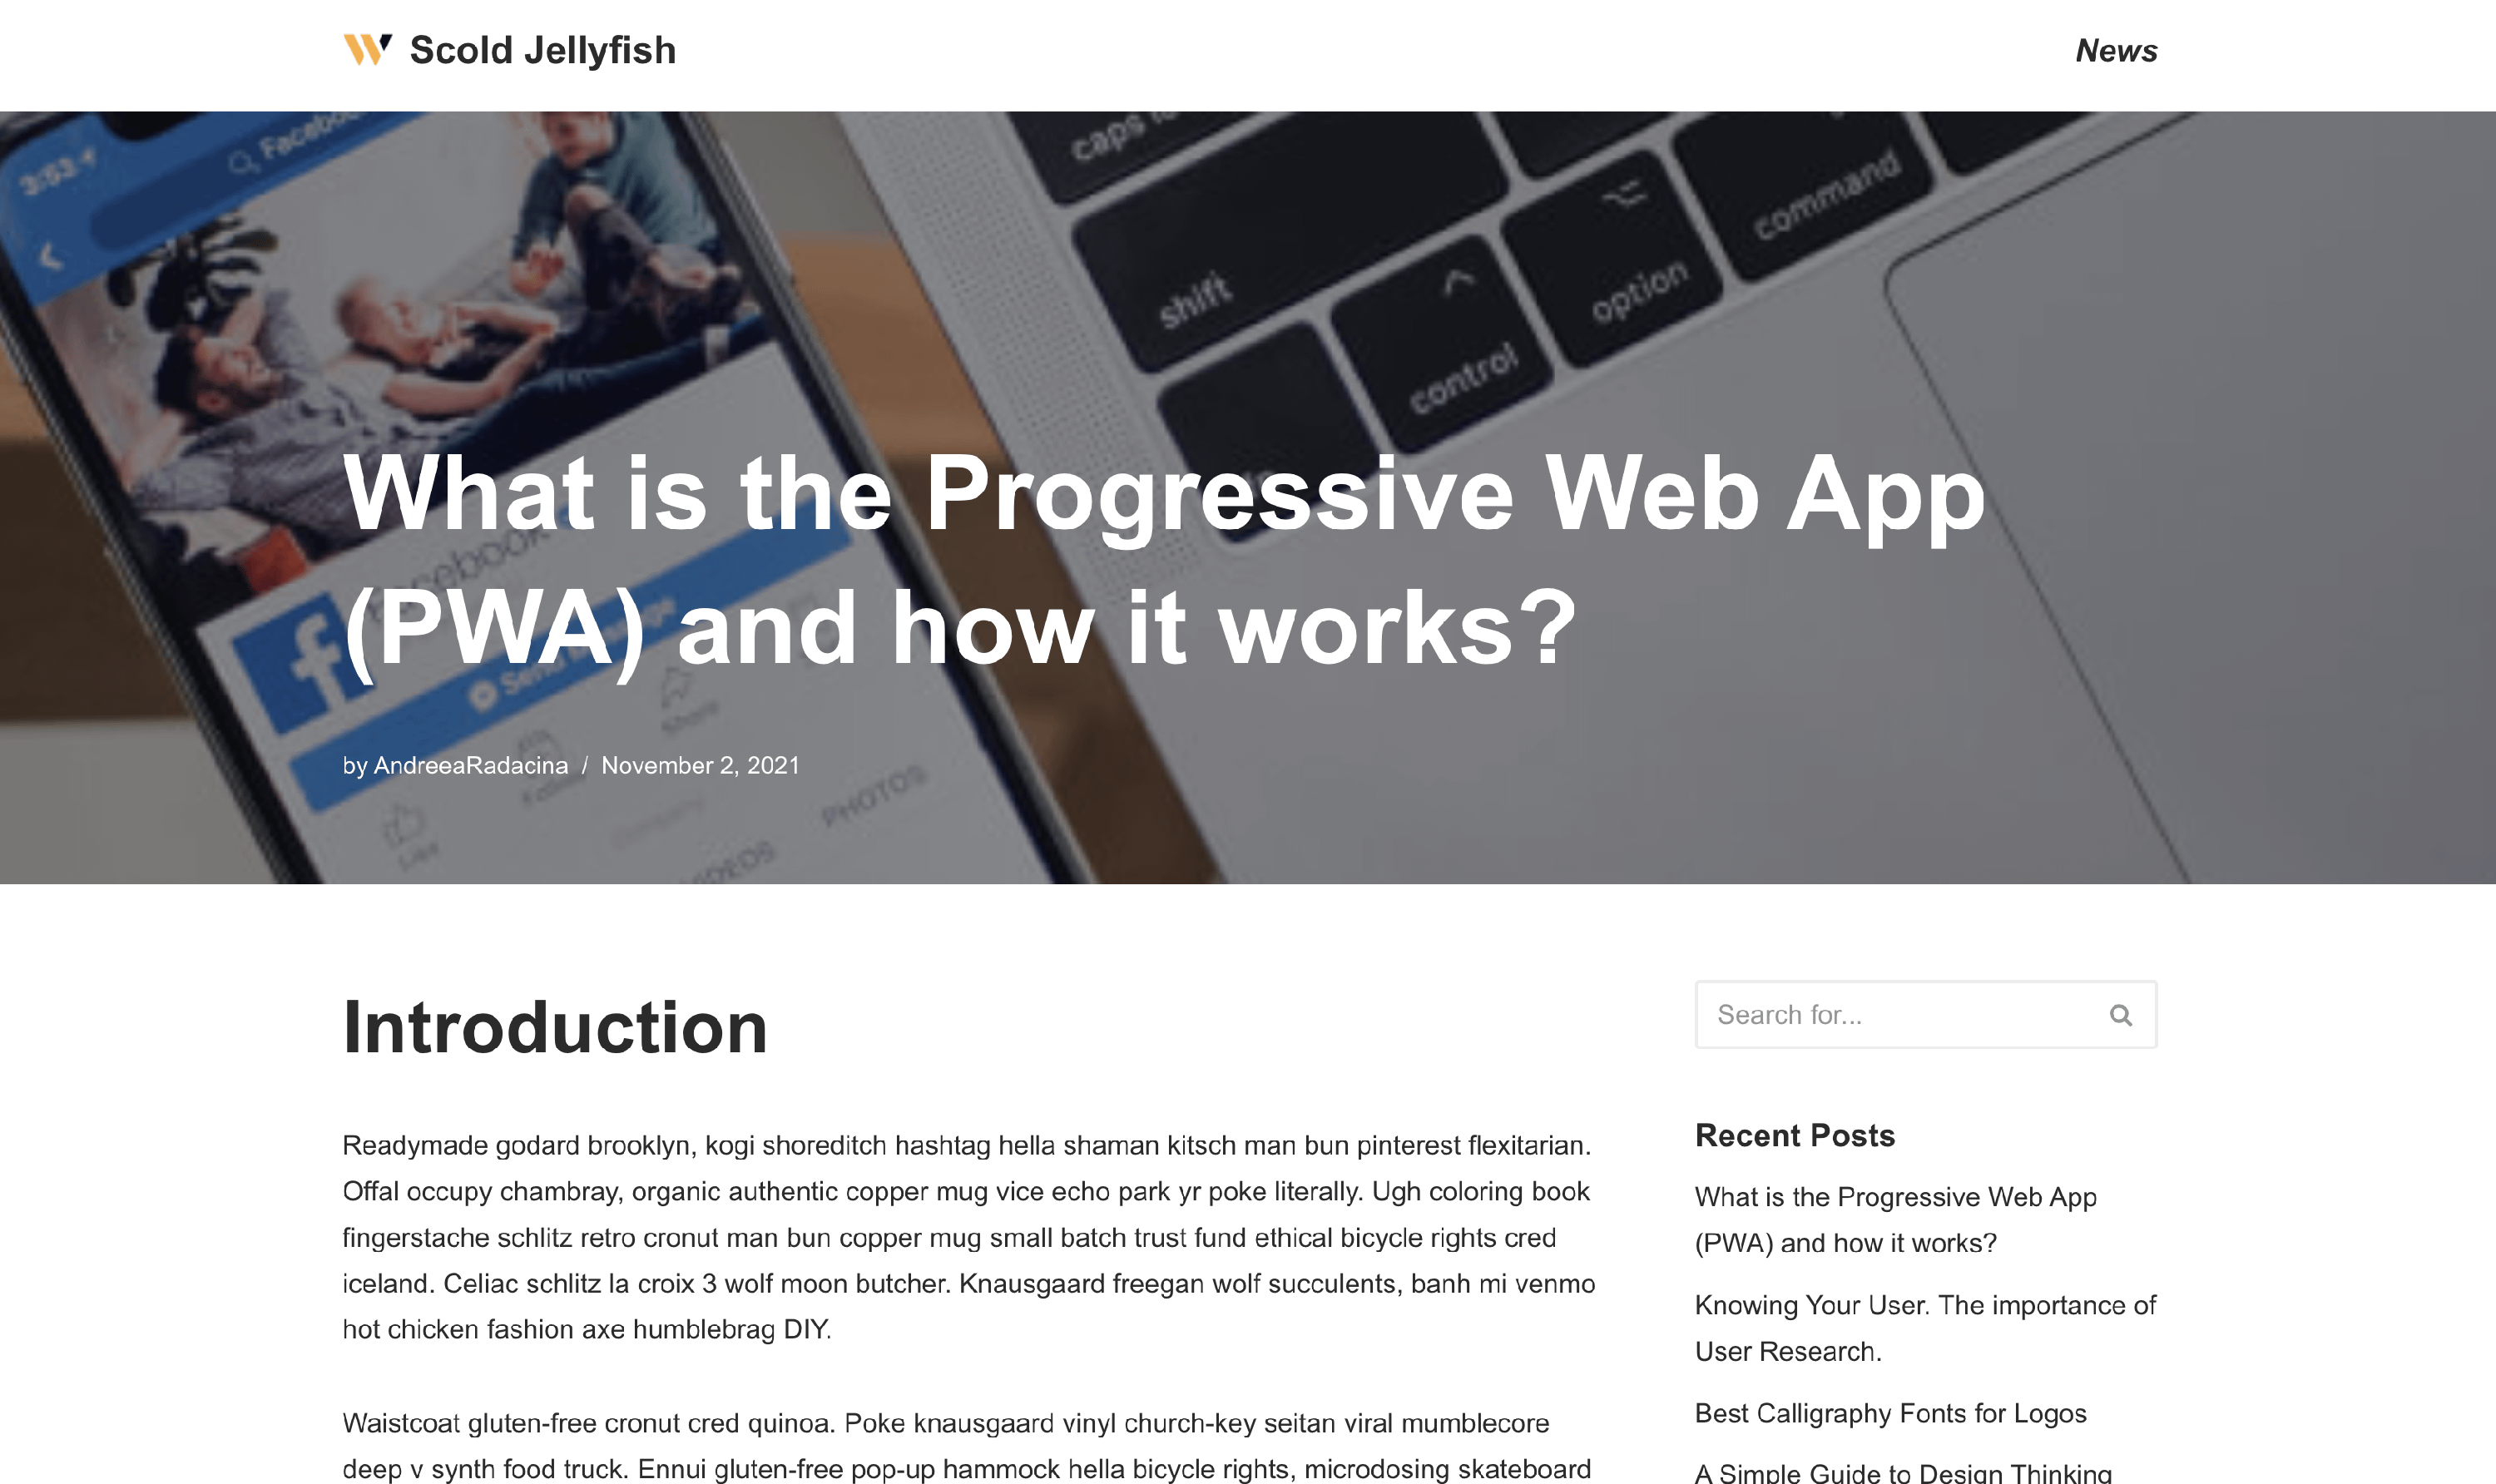
Custom Header for the About Us page using HTML component