
How to Customize the Header/Footer in Neve FSE Theme?
Neve FSE Theme comes with a very powerful feature that will help previous Neve users improve their experience with the block-based editor. Apart from the possibility of creating a header and footer, Neve FSE also provides variations of each template part.
⚠️ Important: Neve and Neve FSE are separate themes with different header and footer editing tools. Neve FSE is edited through the WordPress Site Editor at Appearance > Editor. The classic Neve > Customize Header and Footer Builder does not control a Neve FSE header or footer. If you are looking for these controls in the Customizer and cannot find them, your site is running Neve FSE and you should use the Site Editor instead.
In this article
Access the Template Parts
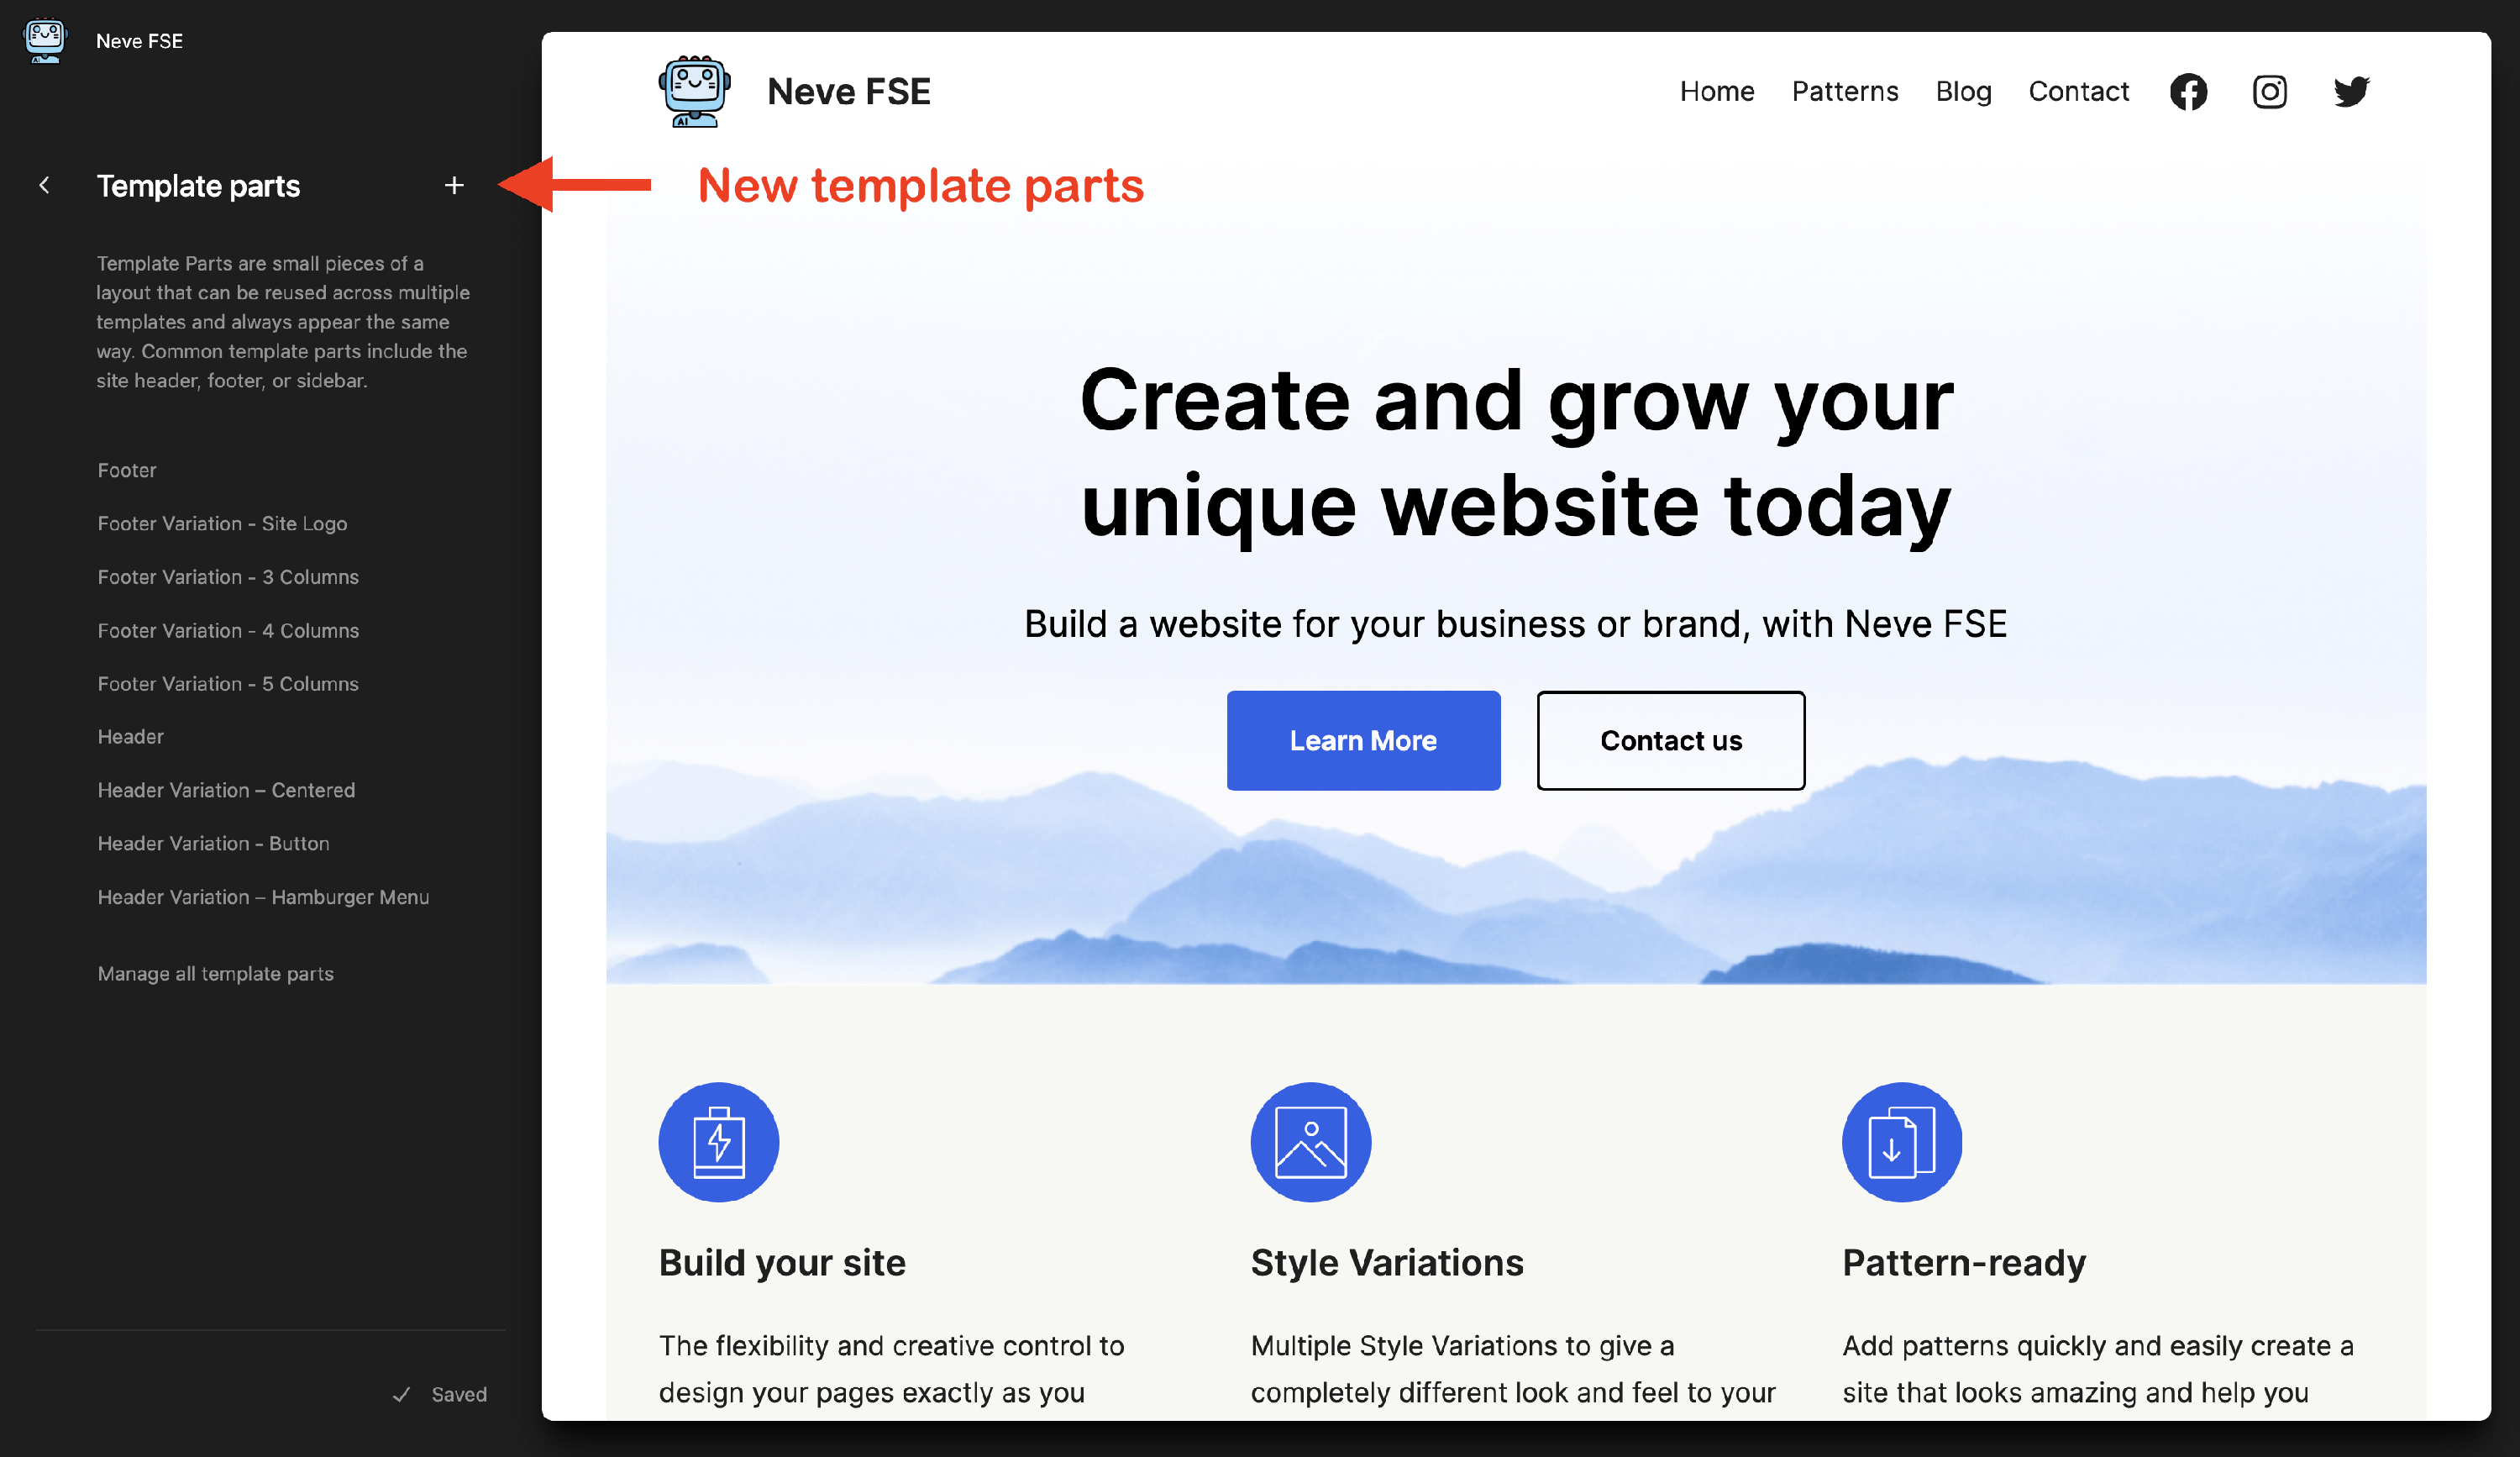
1. To access these, navigate to Appearance > Editor > Template Parts.
2. Select the part that you want to customize.
3. Click on the plus button to add new template parts.
Replace the Template Parts
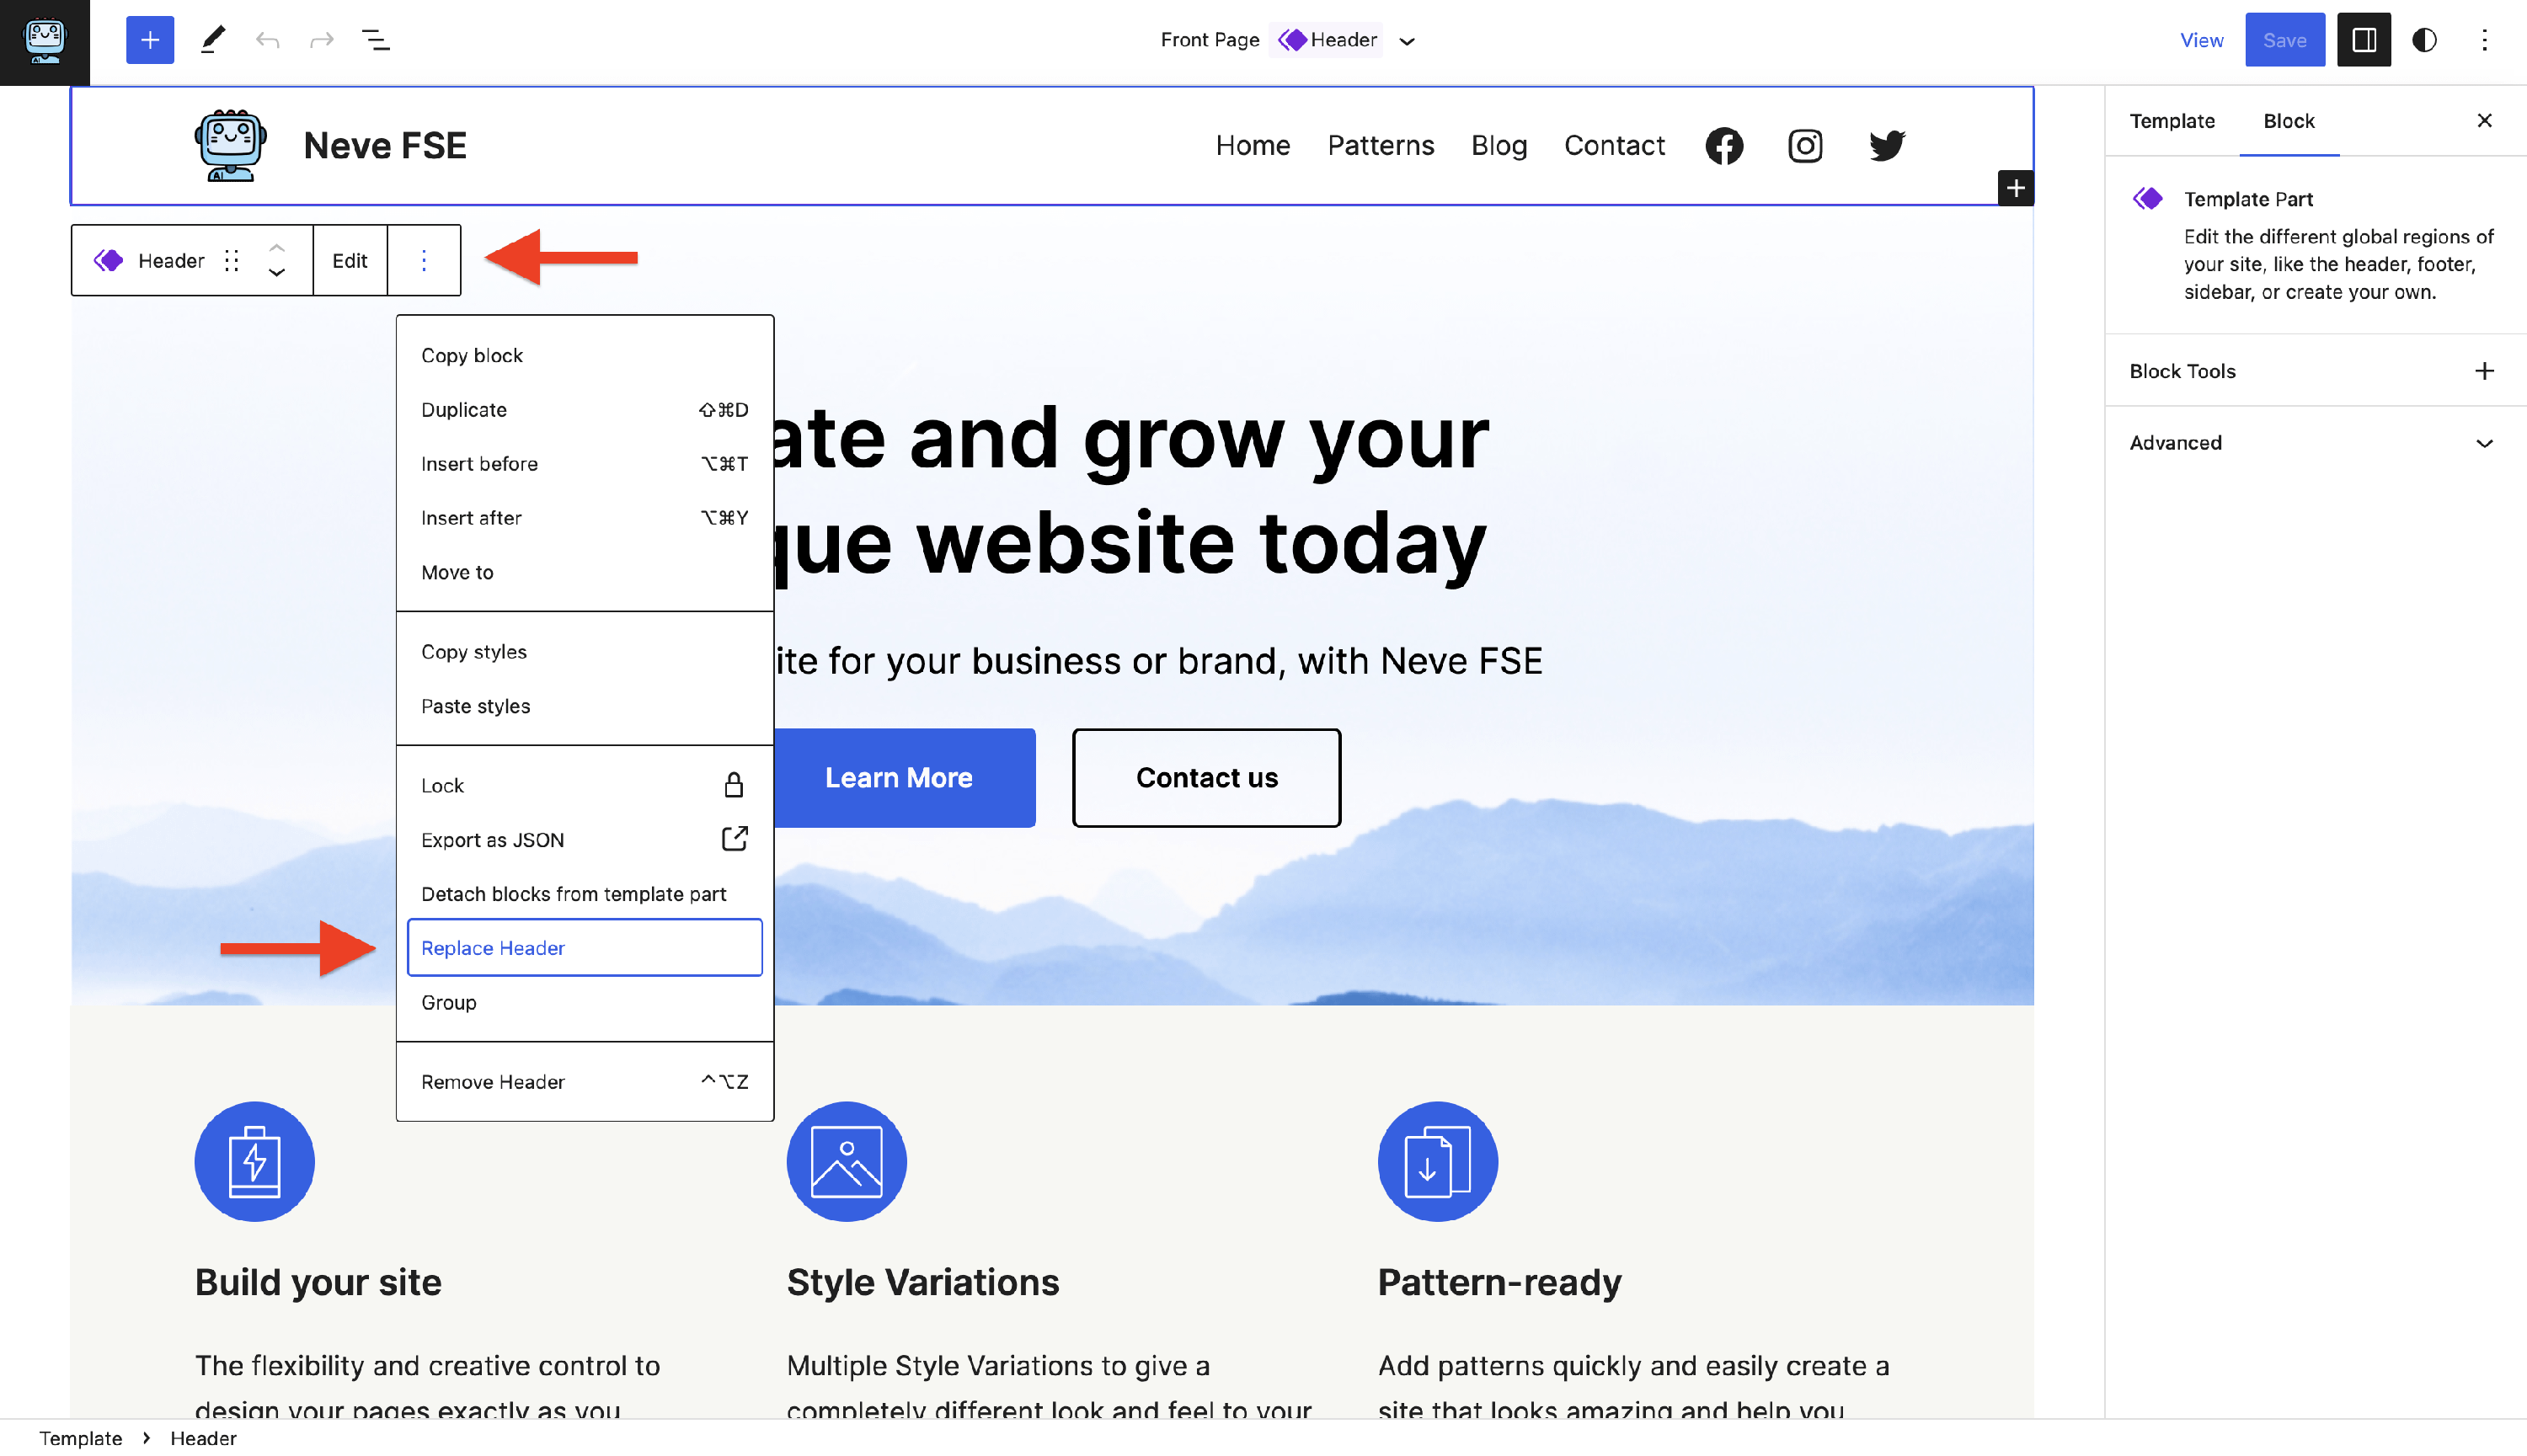
1. While editing a template (e.g. Front Page), you can click on a template part.
2. Click on the three dots in the settings bar.
3. Select Replace {template_parts_name} (e.g. Replace Header).
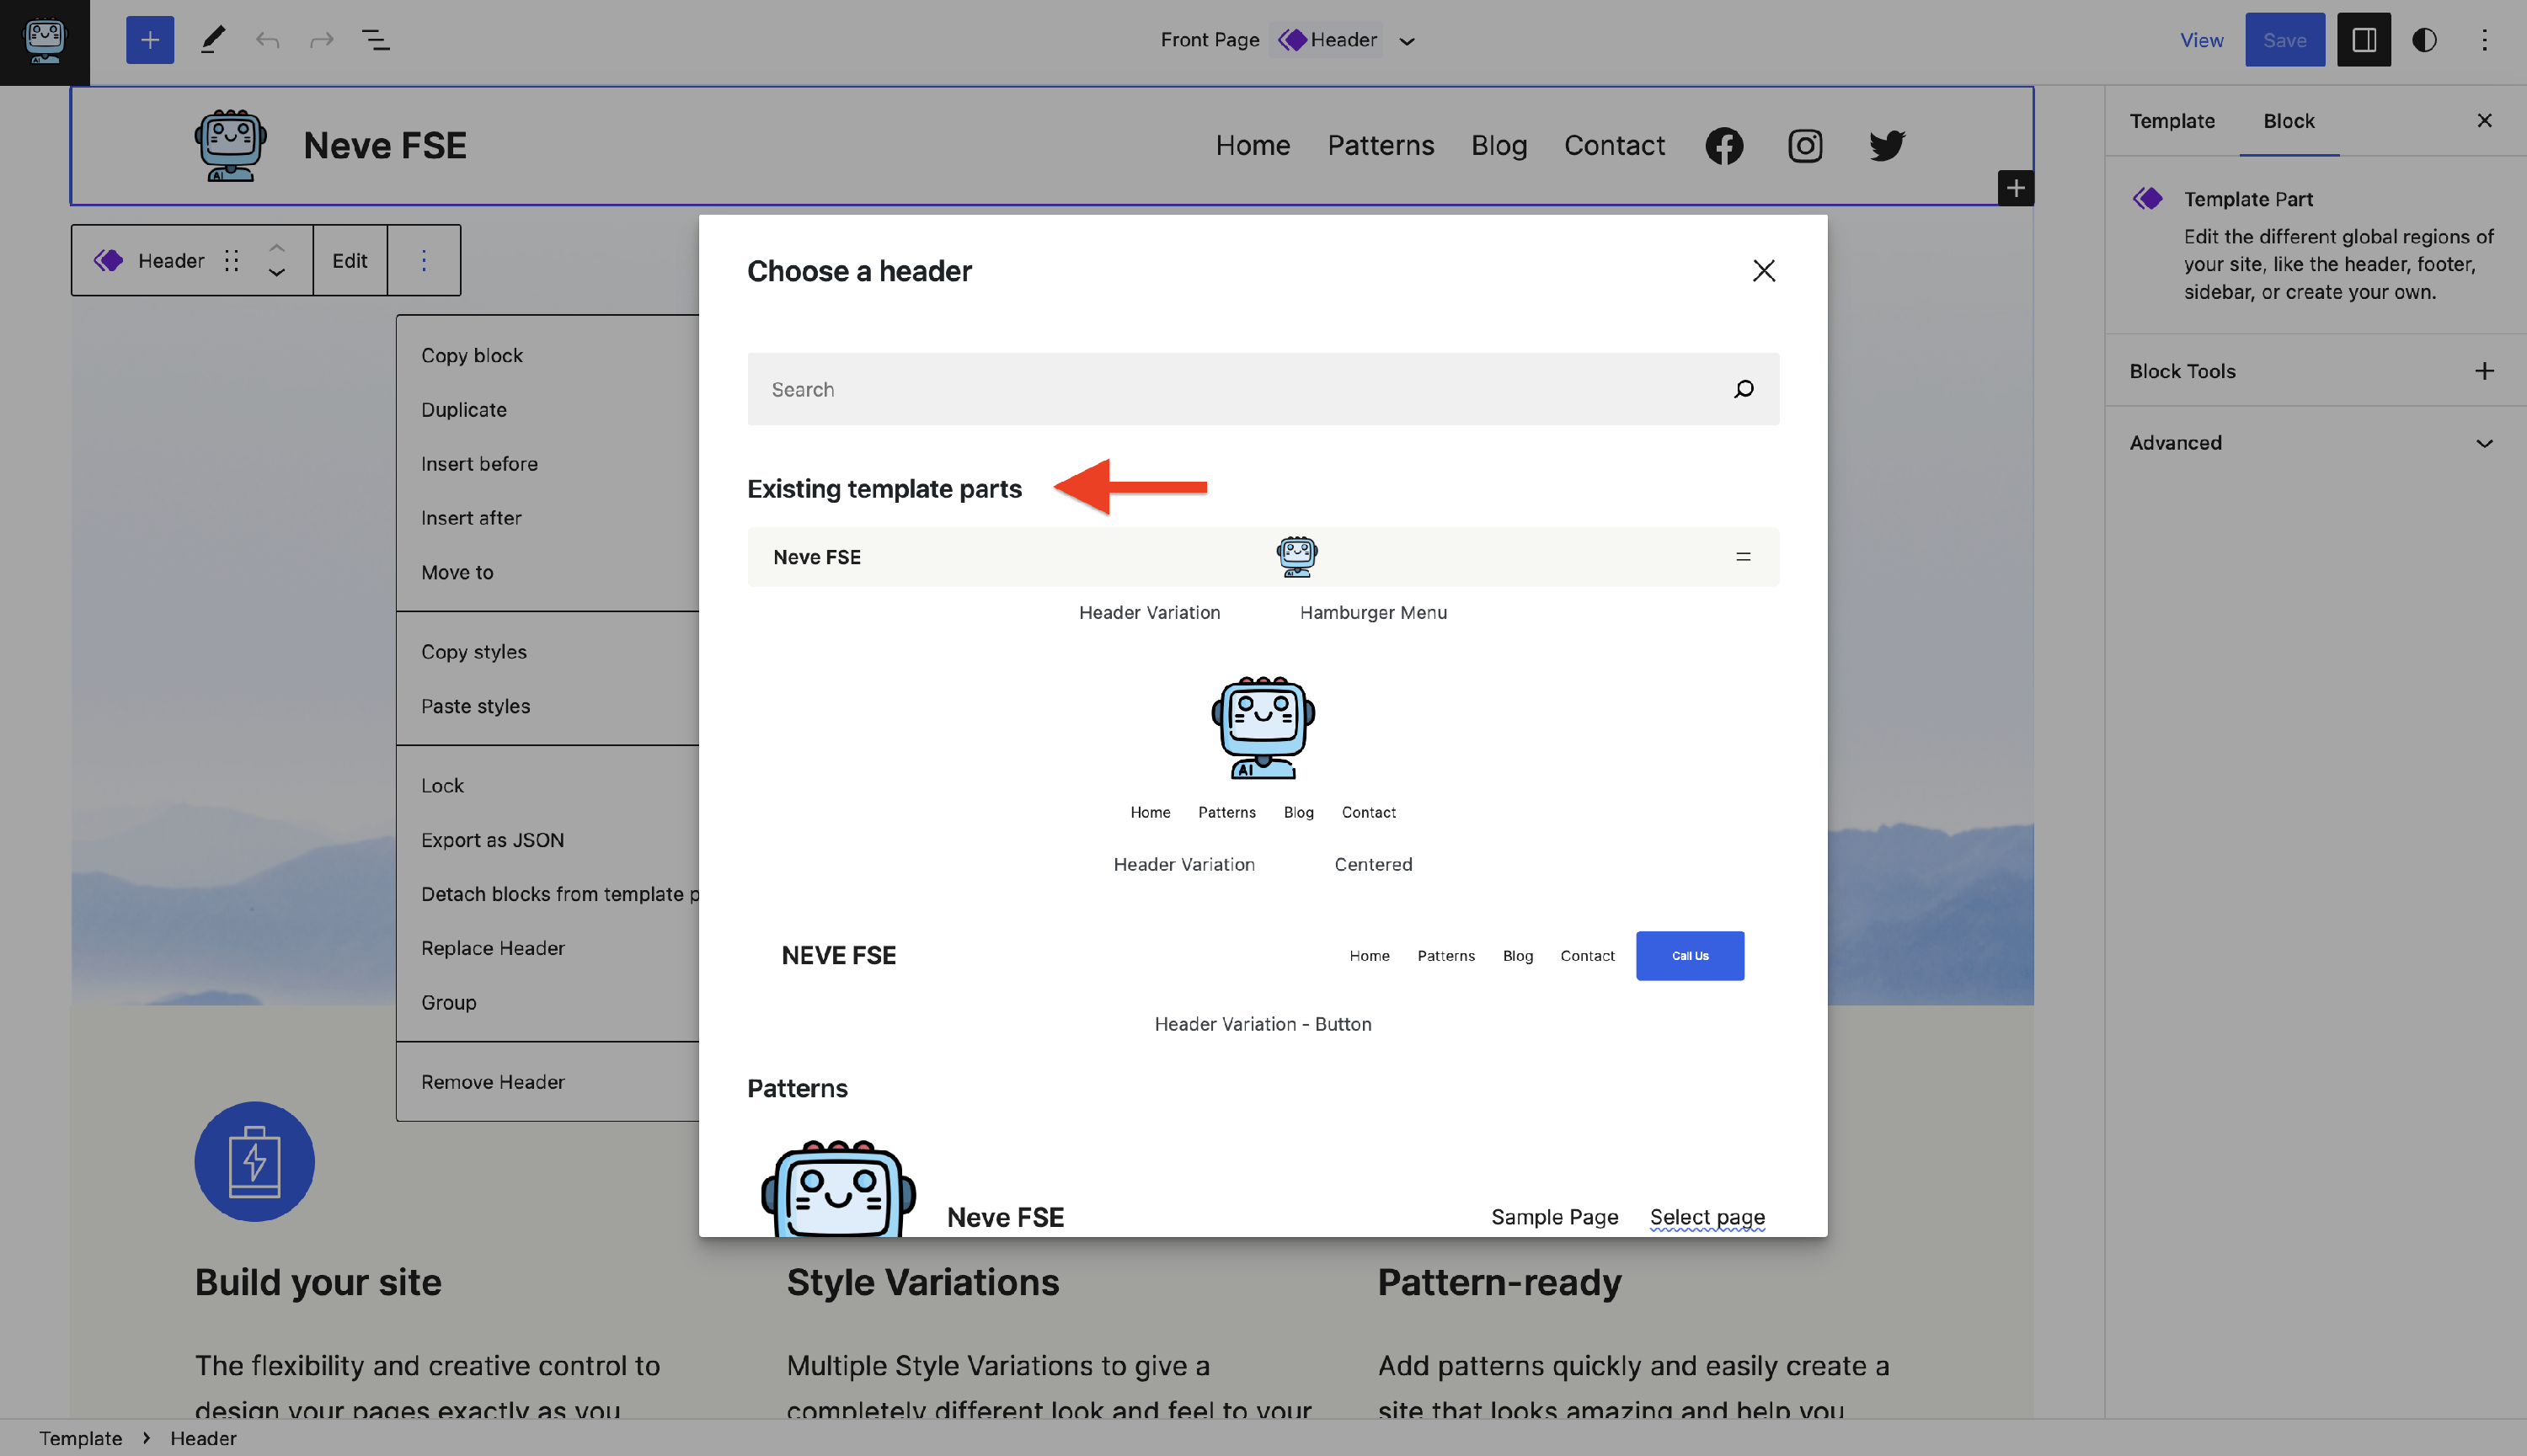
4. Choose another existing template part.
Edit Existing Footer Content
If your footer already has content but the text, links, or layout are wrong, edit the existing Footer template part directly.
1. Navigate to Appearance > Editor > Template Parts and open the Footer template part.
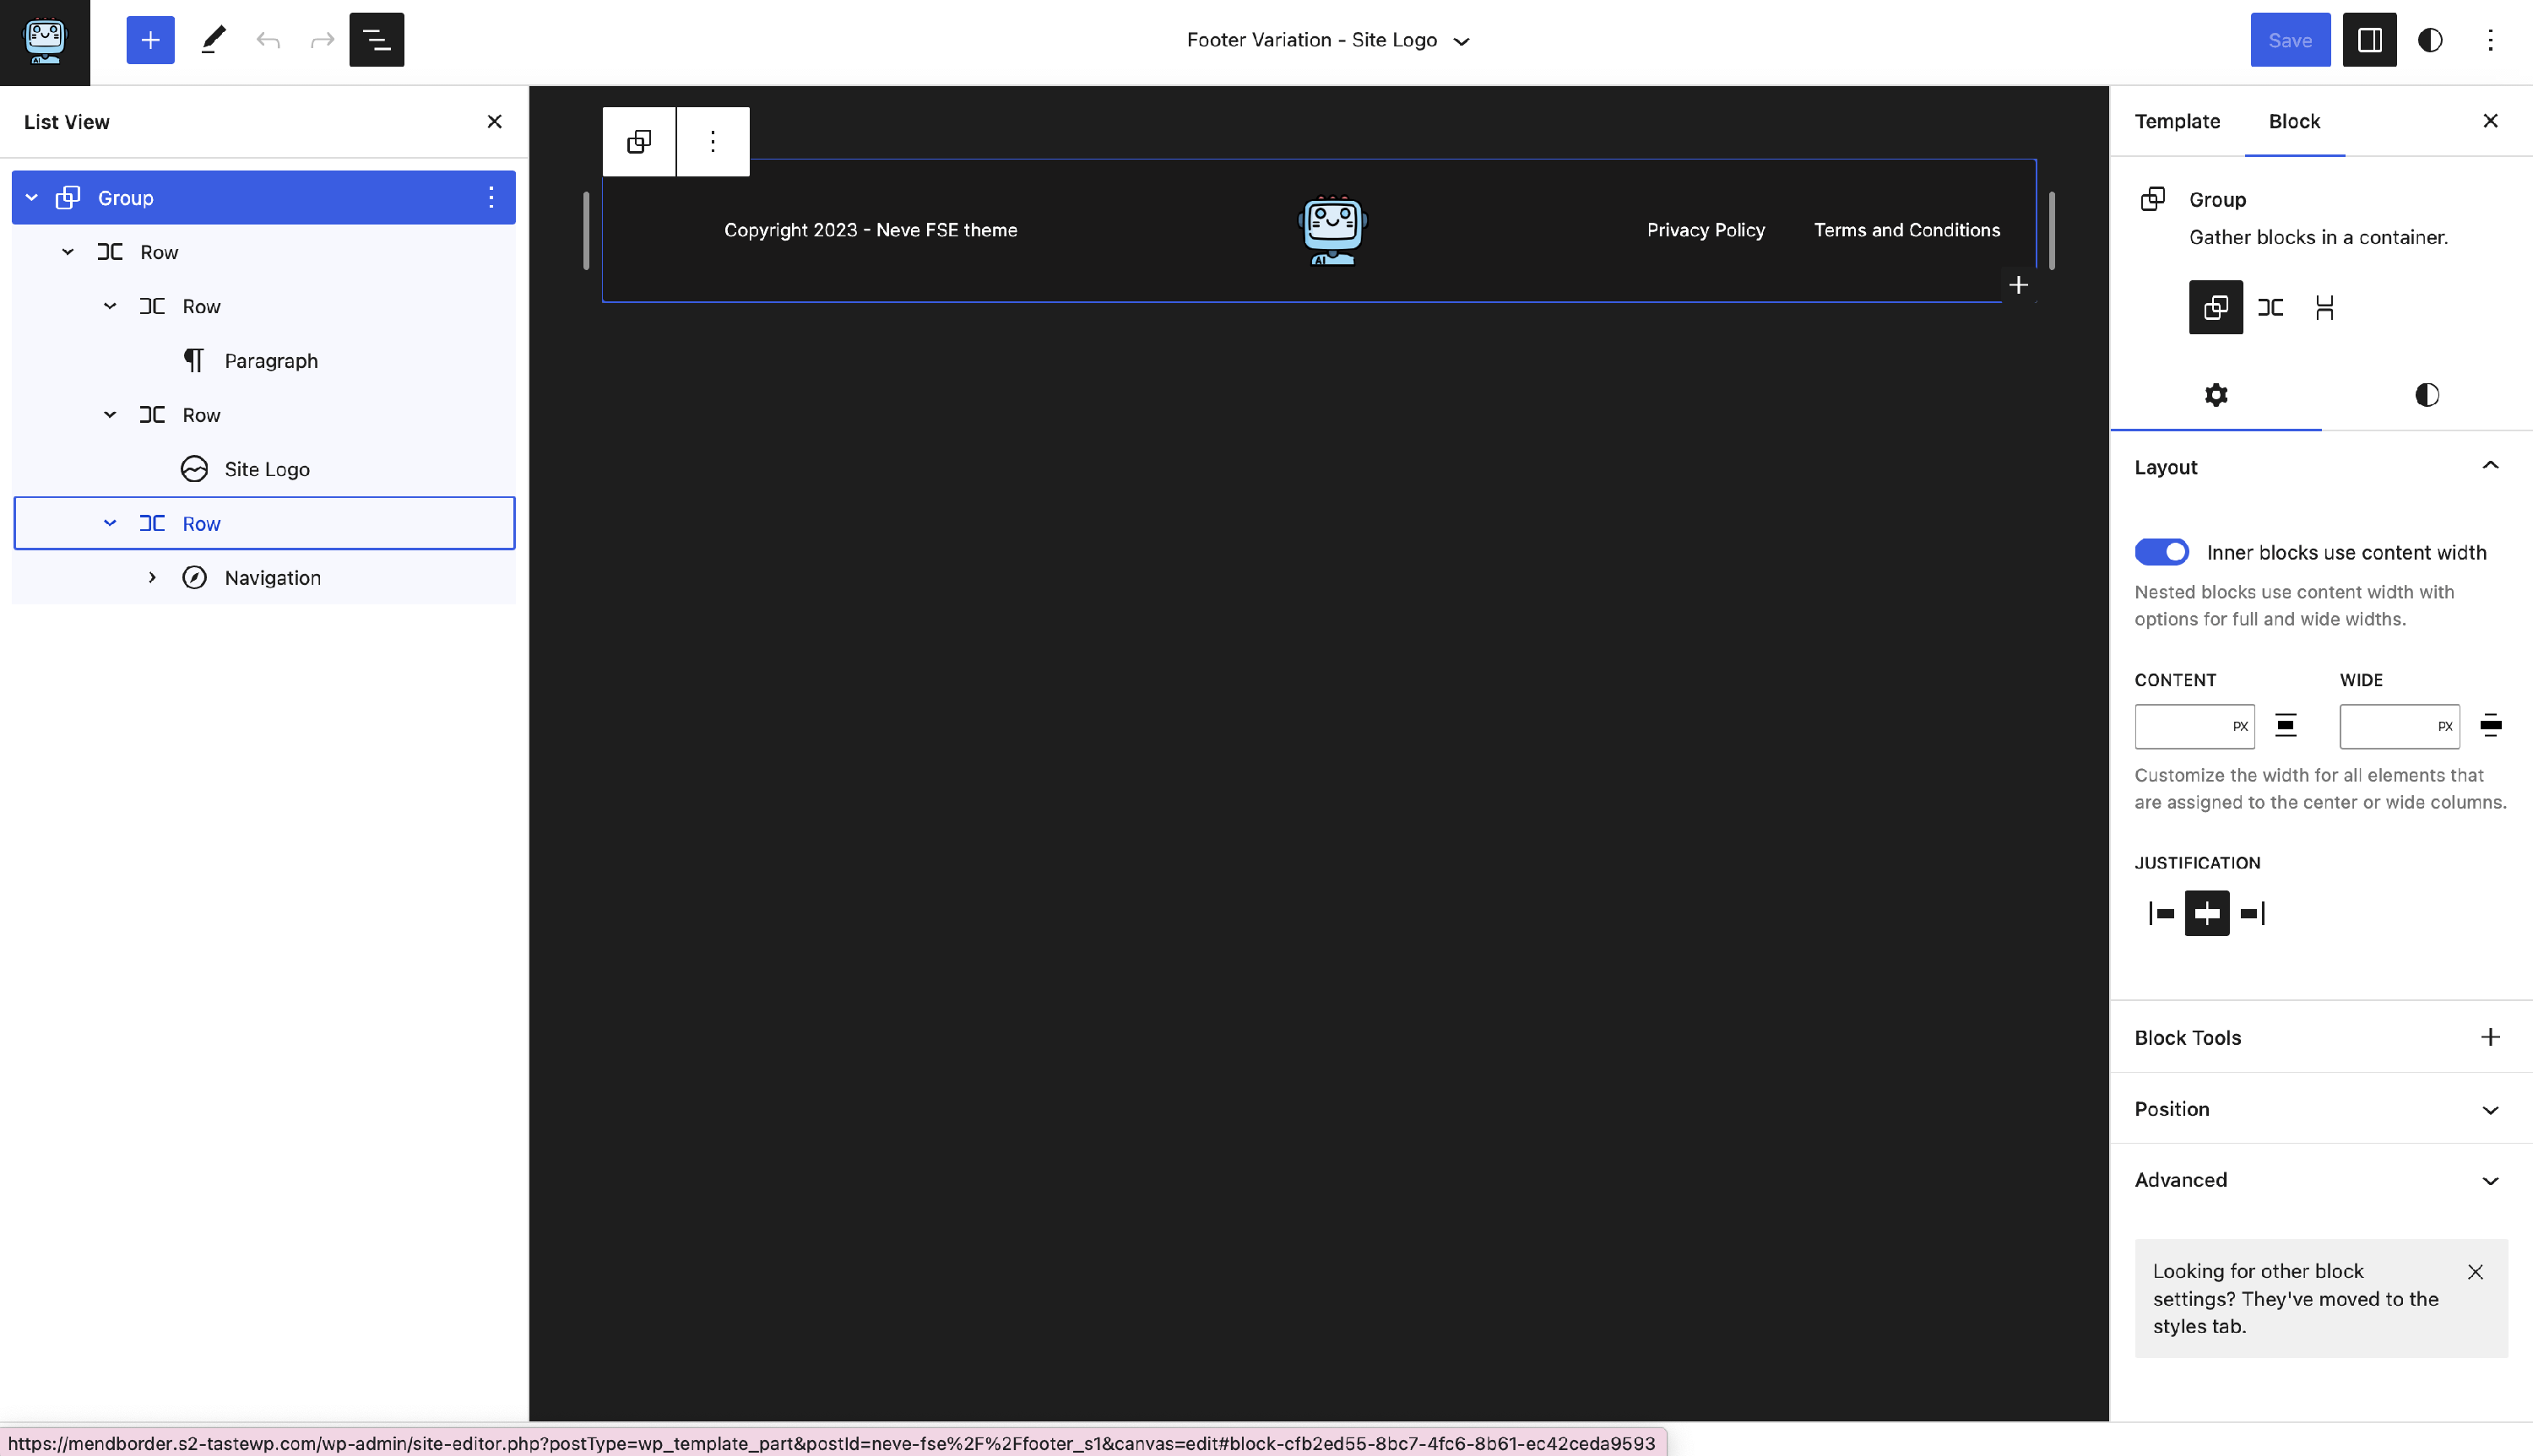
2. Open the List View (the icon in the top toolbar) to see every block the footer contains. This makes it easier to find a specific text, link, social icon, or column that is hard to click directly on the canvas.
3. Select a block in the List View to edit its text or link. To remove a block, select it and choose Delete from the block toolbar's three-dot menu.
4. Click Save to publish your changes.
Fix Footer Alignment and Spacing
When footer content looks misaligned, the setting you need usually belongs to a parent layout block rather than the individual text or image. Use the List View to select the surrounding Group, Row, or Columns block, then adjust it:
- Use the block toolbar for alignment and content justification.
- Open the Settings sidebar and its Styles tab for dimensions, padding, margin, and block spacing.
⚠️ Important: Editing a Footer template part changes the footer everywhere that part is used. If you want a different footer on specific templates only, create a separate footer variation and assign it using the Replace the Template Parts steps above, instead of editing the shared one.
Layouts
Predefined Layouts
There are four layouts available for the footer area and three layouts for the header area.
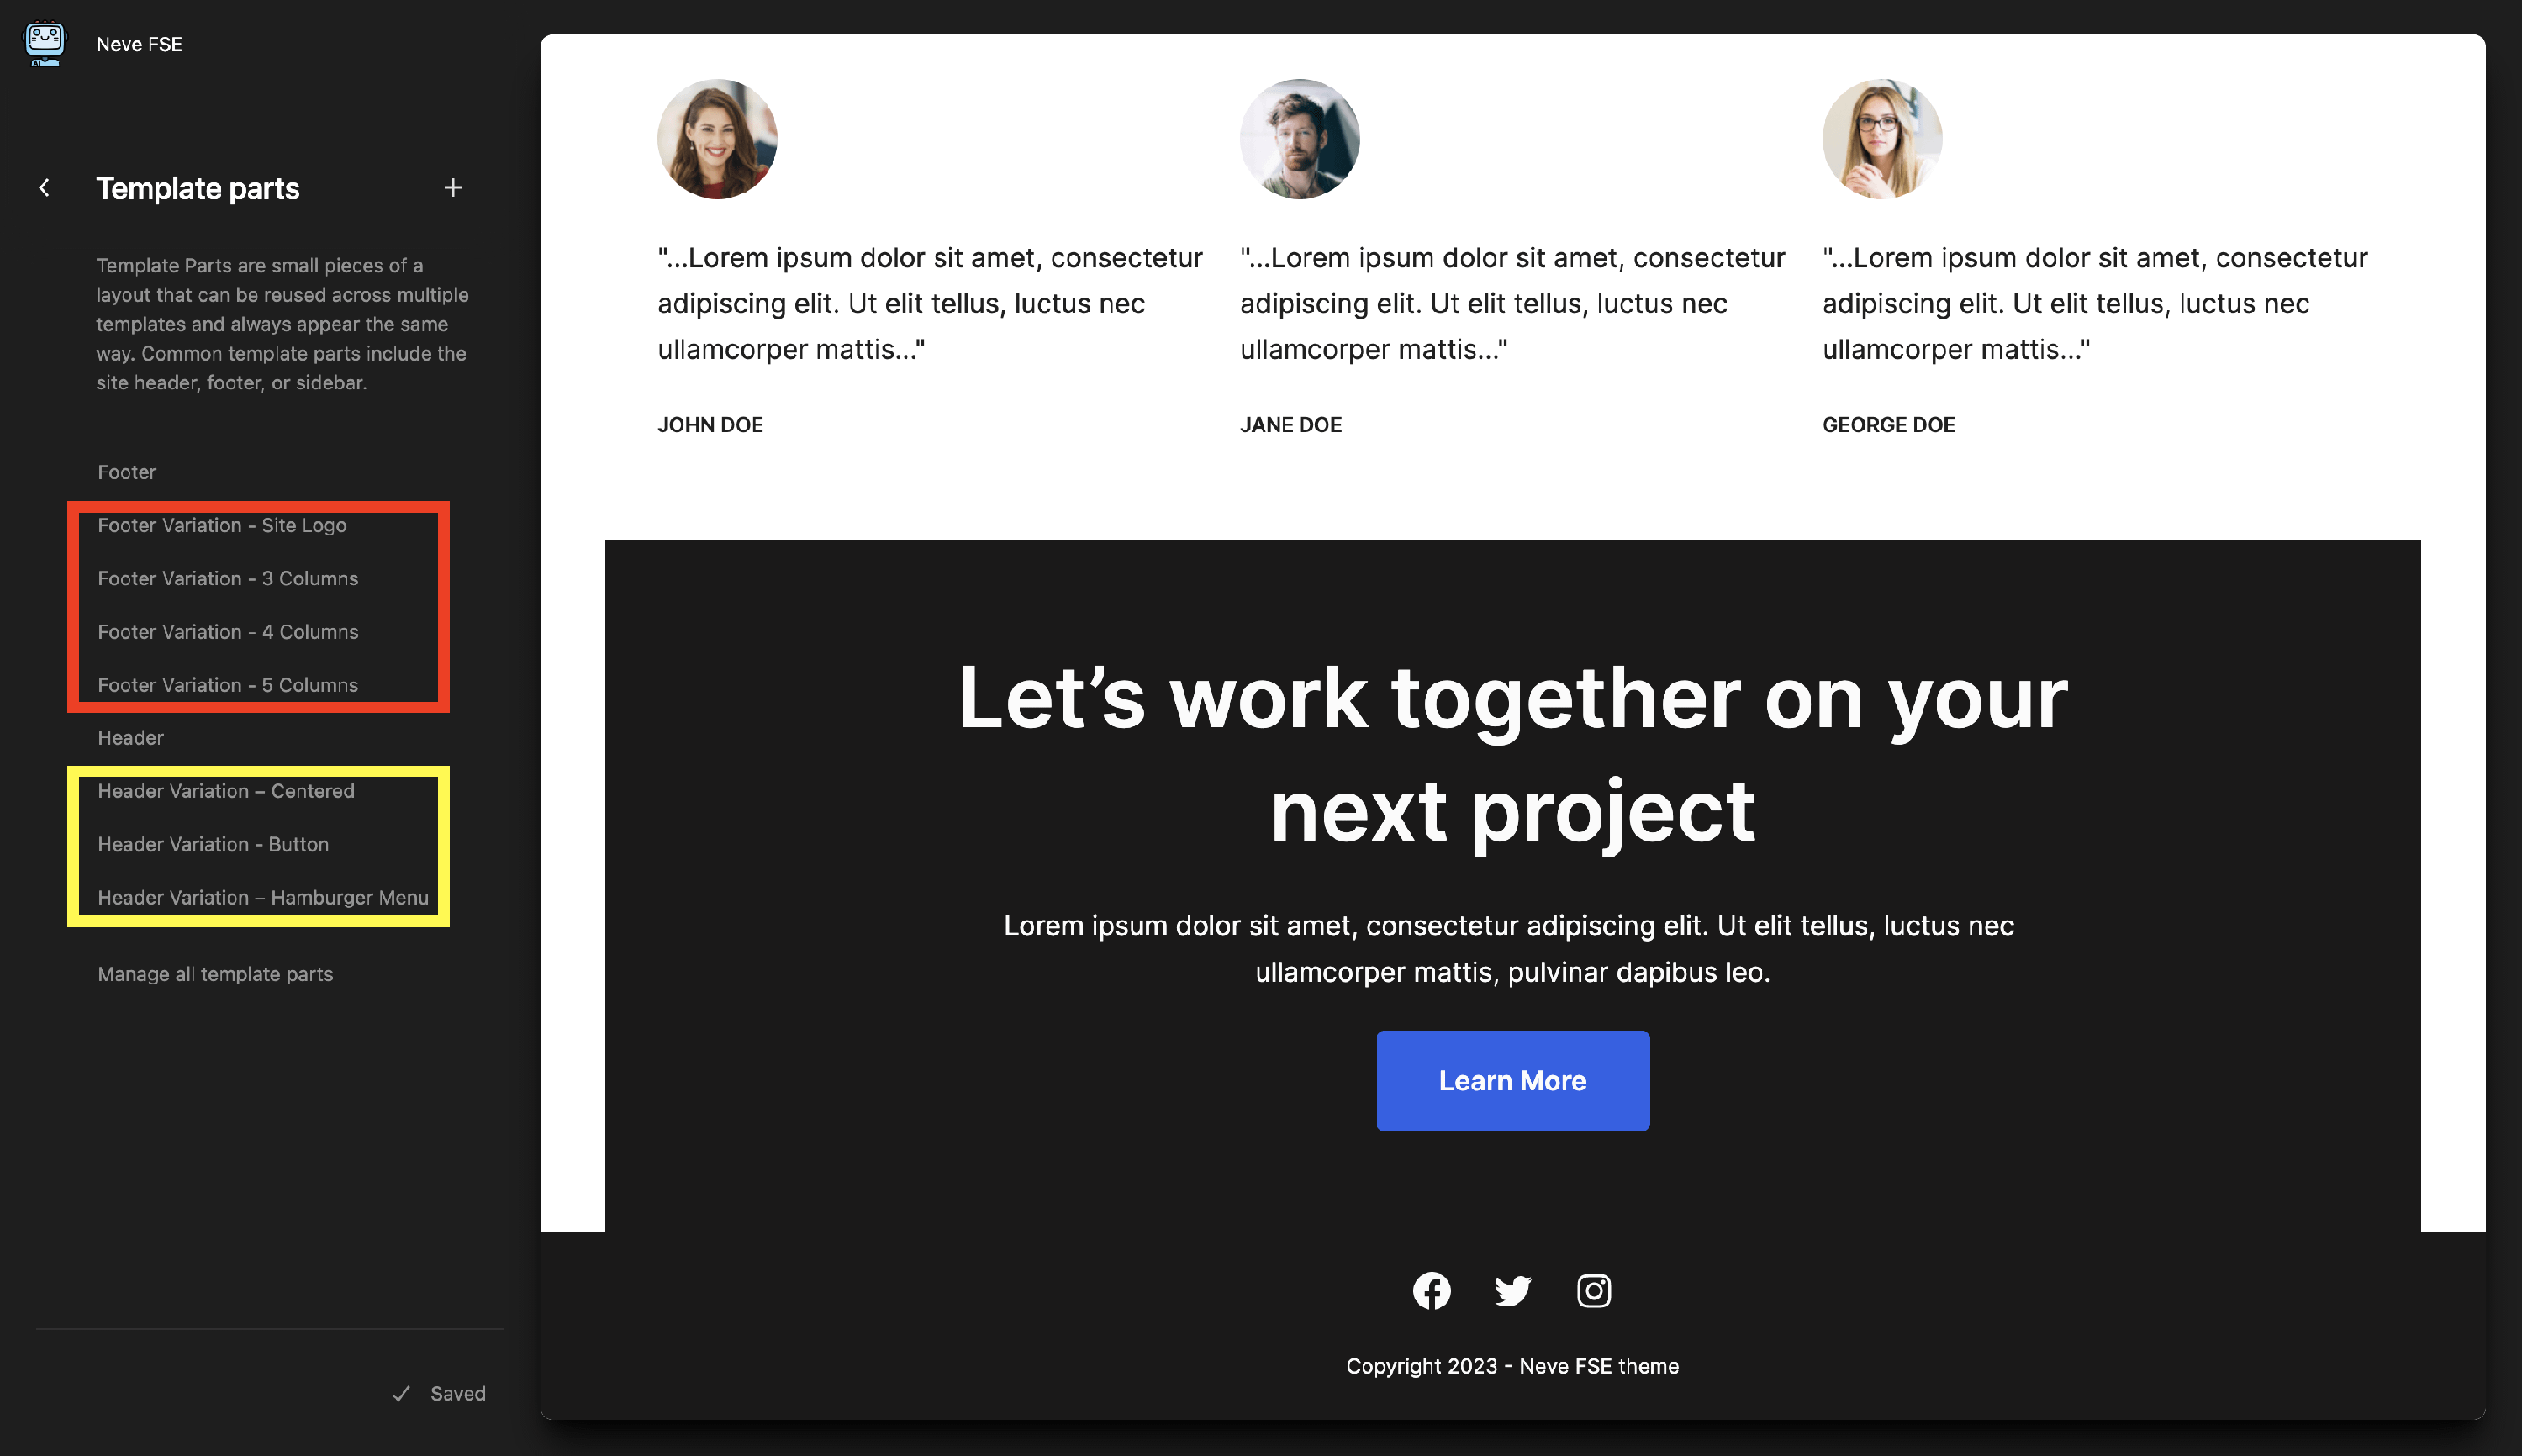
Even if these are predefined, you can customize them to suit your needs.
Original Layouts
Apart from the predefined layouts, you can still create your own header or footer layouts.
1. To do this, navigate to Appearance > Editor > Template Parts.
2. Select Header / Footer according to your needs.
3. Start customizing the template part. 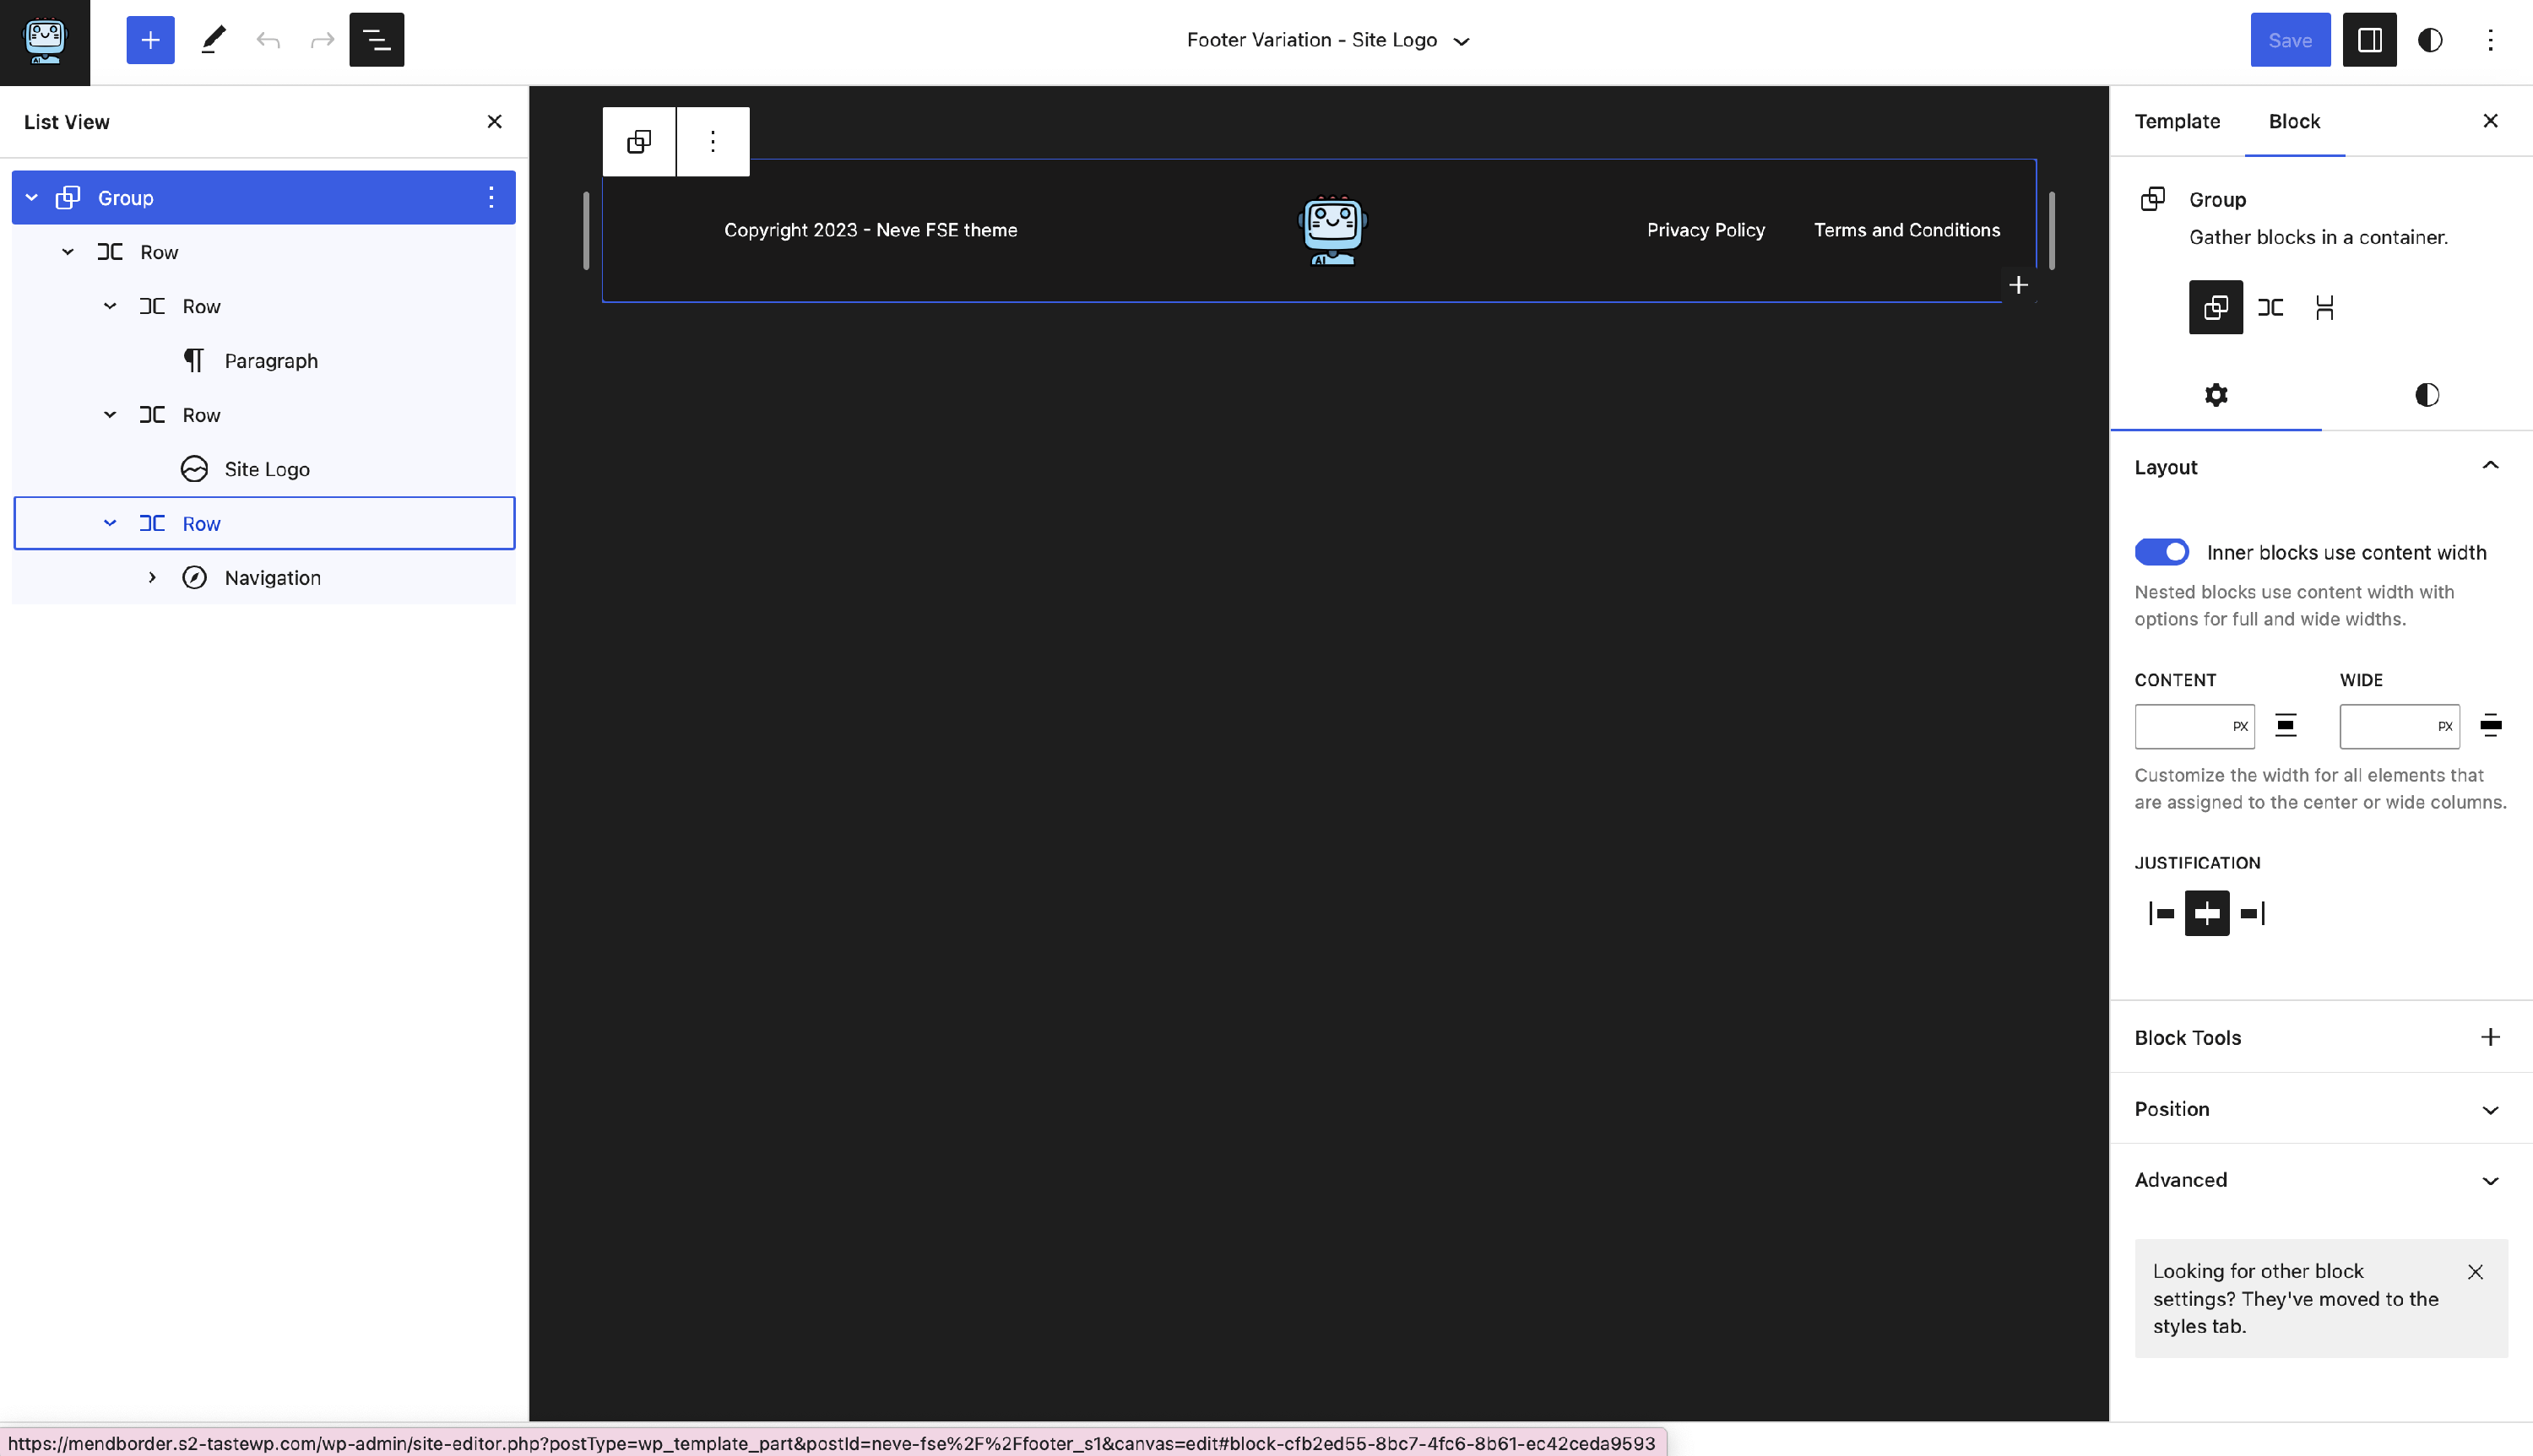
📝 Note: The changes that you make here will appear live on the pages where the template part is used.
Using the Template Parts
To use the previously created template parts, navigate to one of the templates, for example, Front Page.
1. Click on the ➕ icon to add new blocks and search for the Header block.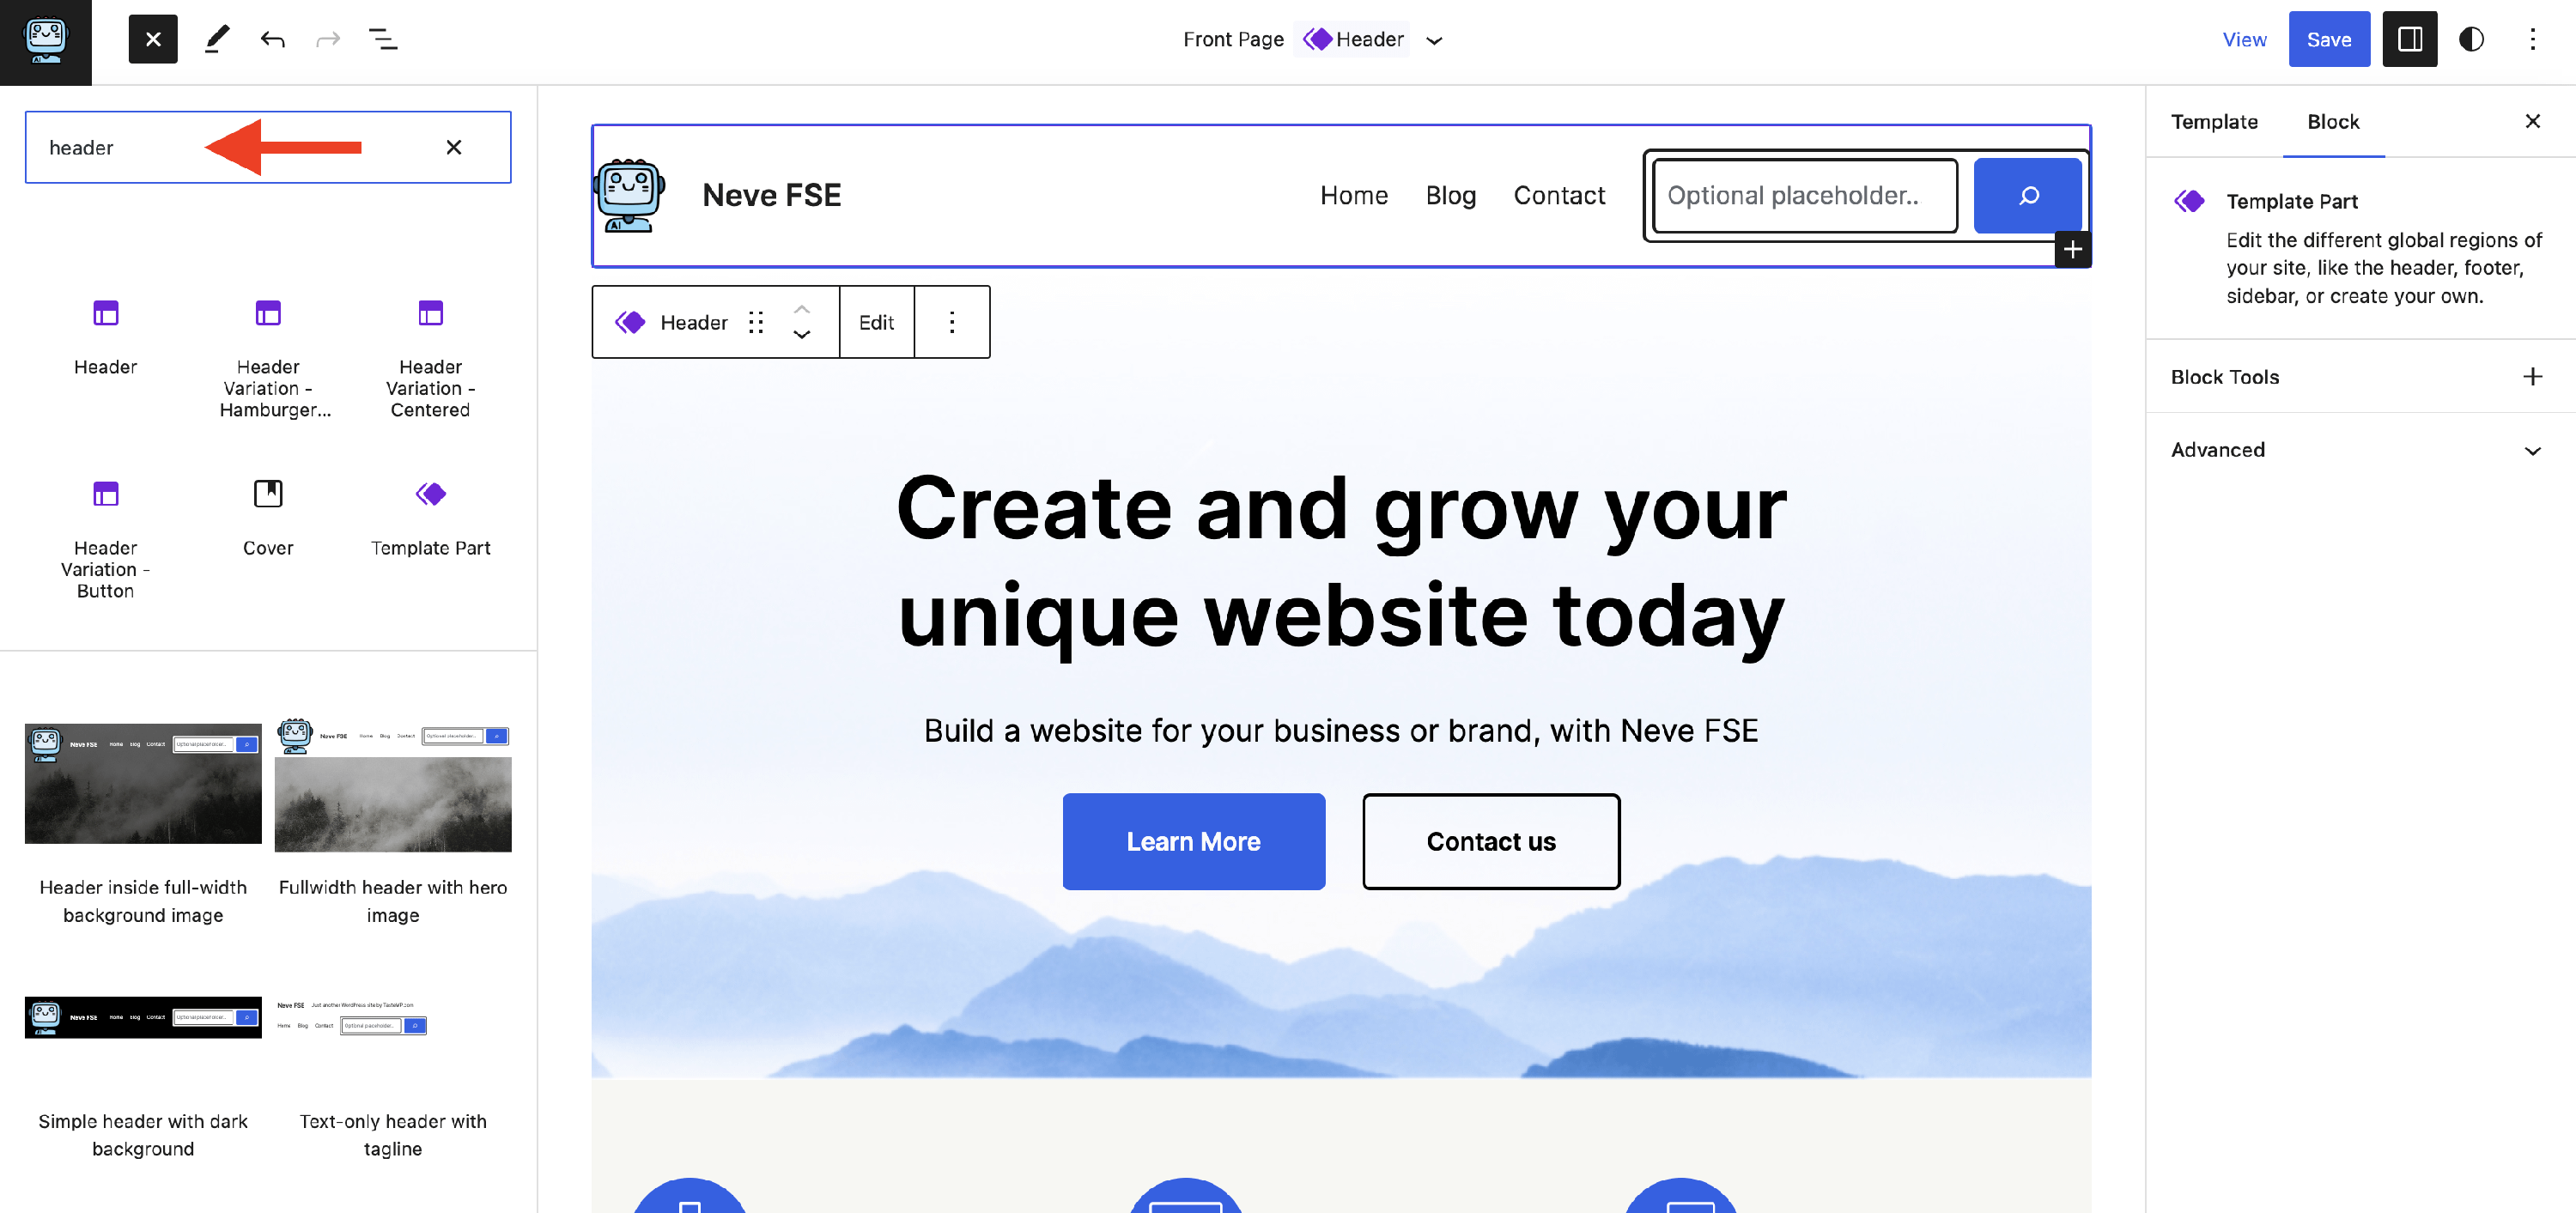
2. Choose the one you have customized. You can use the Edit button to be directly moved to the Header editor. The changes will be reflected on the page too.
The same steps apply to the footer — search for the Footer block and choose your customized footer template part.