How to Customize the Subscribe section in Hestia?
The subscribe section is crucial for capturing potential customers' contact information, allowing businesses to build a targeted email list for marketing campaigns and fostering long-term relationships with their audience.
Configuring Brevo
📝 Note: In order to work properly, the Subscribe Section needs to have the Brevo free plugin installed and activated, so make sure you do that first.
1. After installing the Brevo plugin, navigate to Brevo > Home.
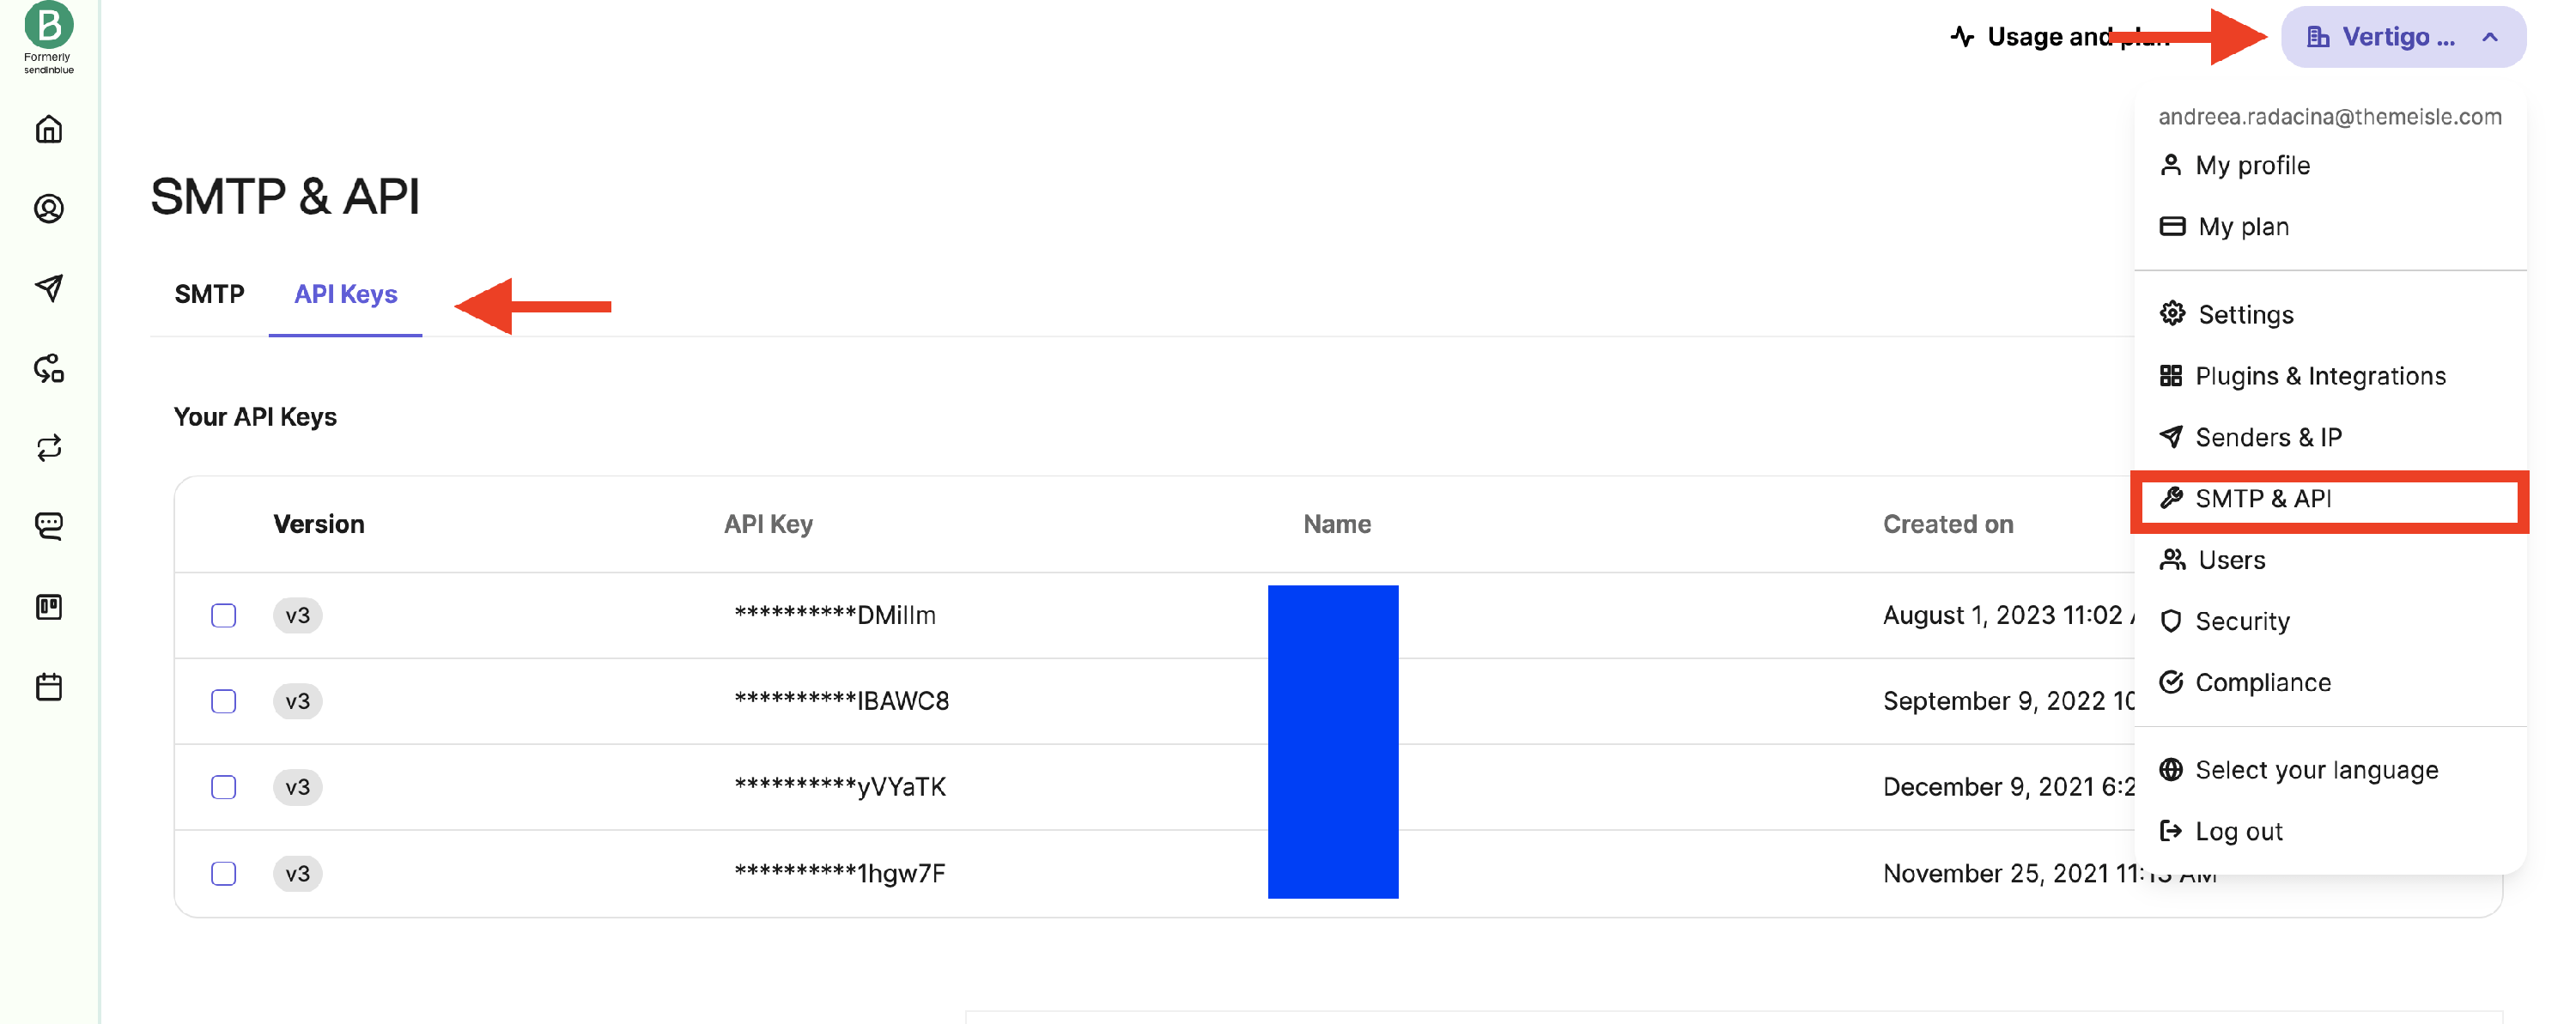
2. Click on the arrow next to your name on the right side and access SMTP & API.
3. On the new page, switch to API Keys.
4. Click on Generate a new API key and copy it.
5. Go inside the WP Dashboard and click on the Brevo panel.
6. Paste the API key that you previously generated.
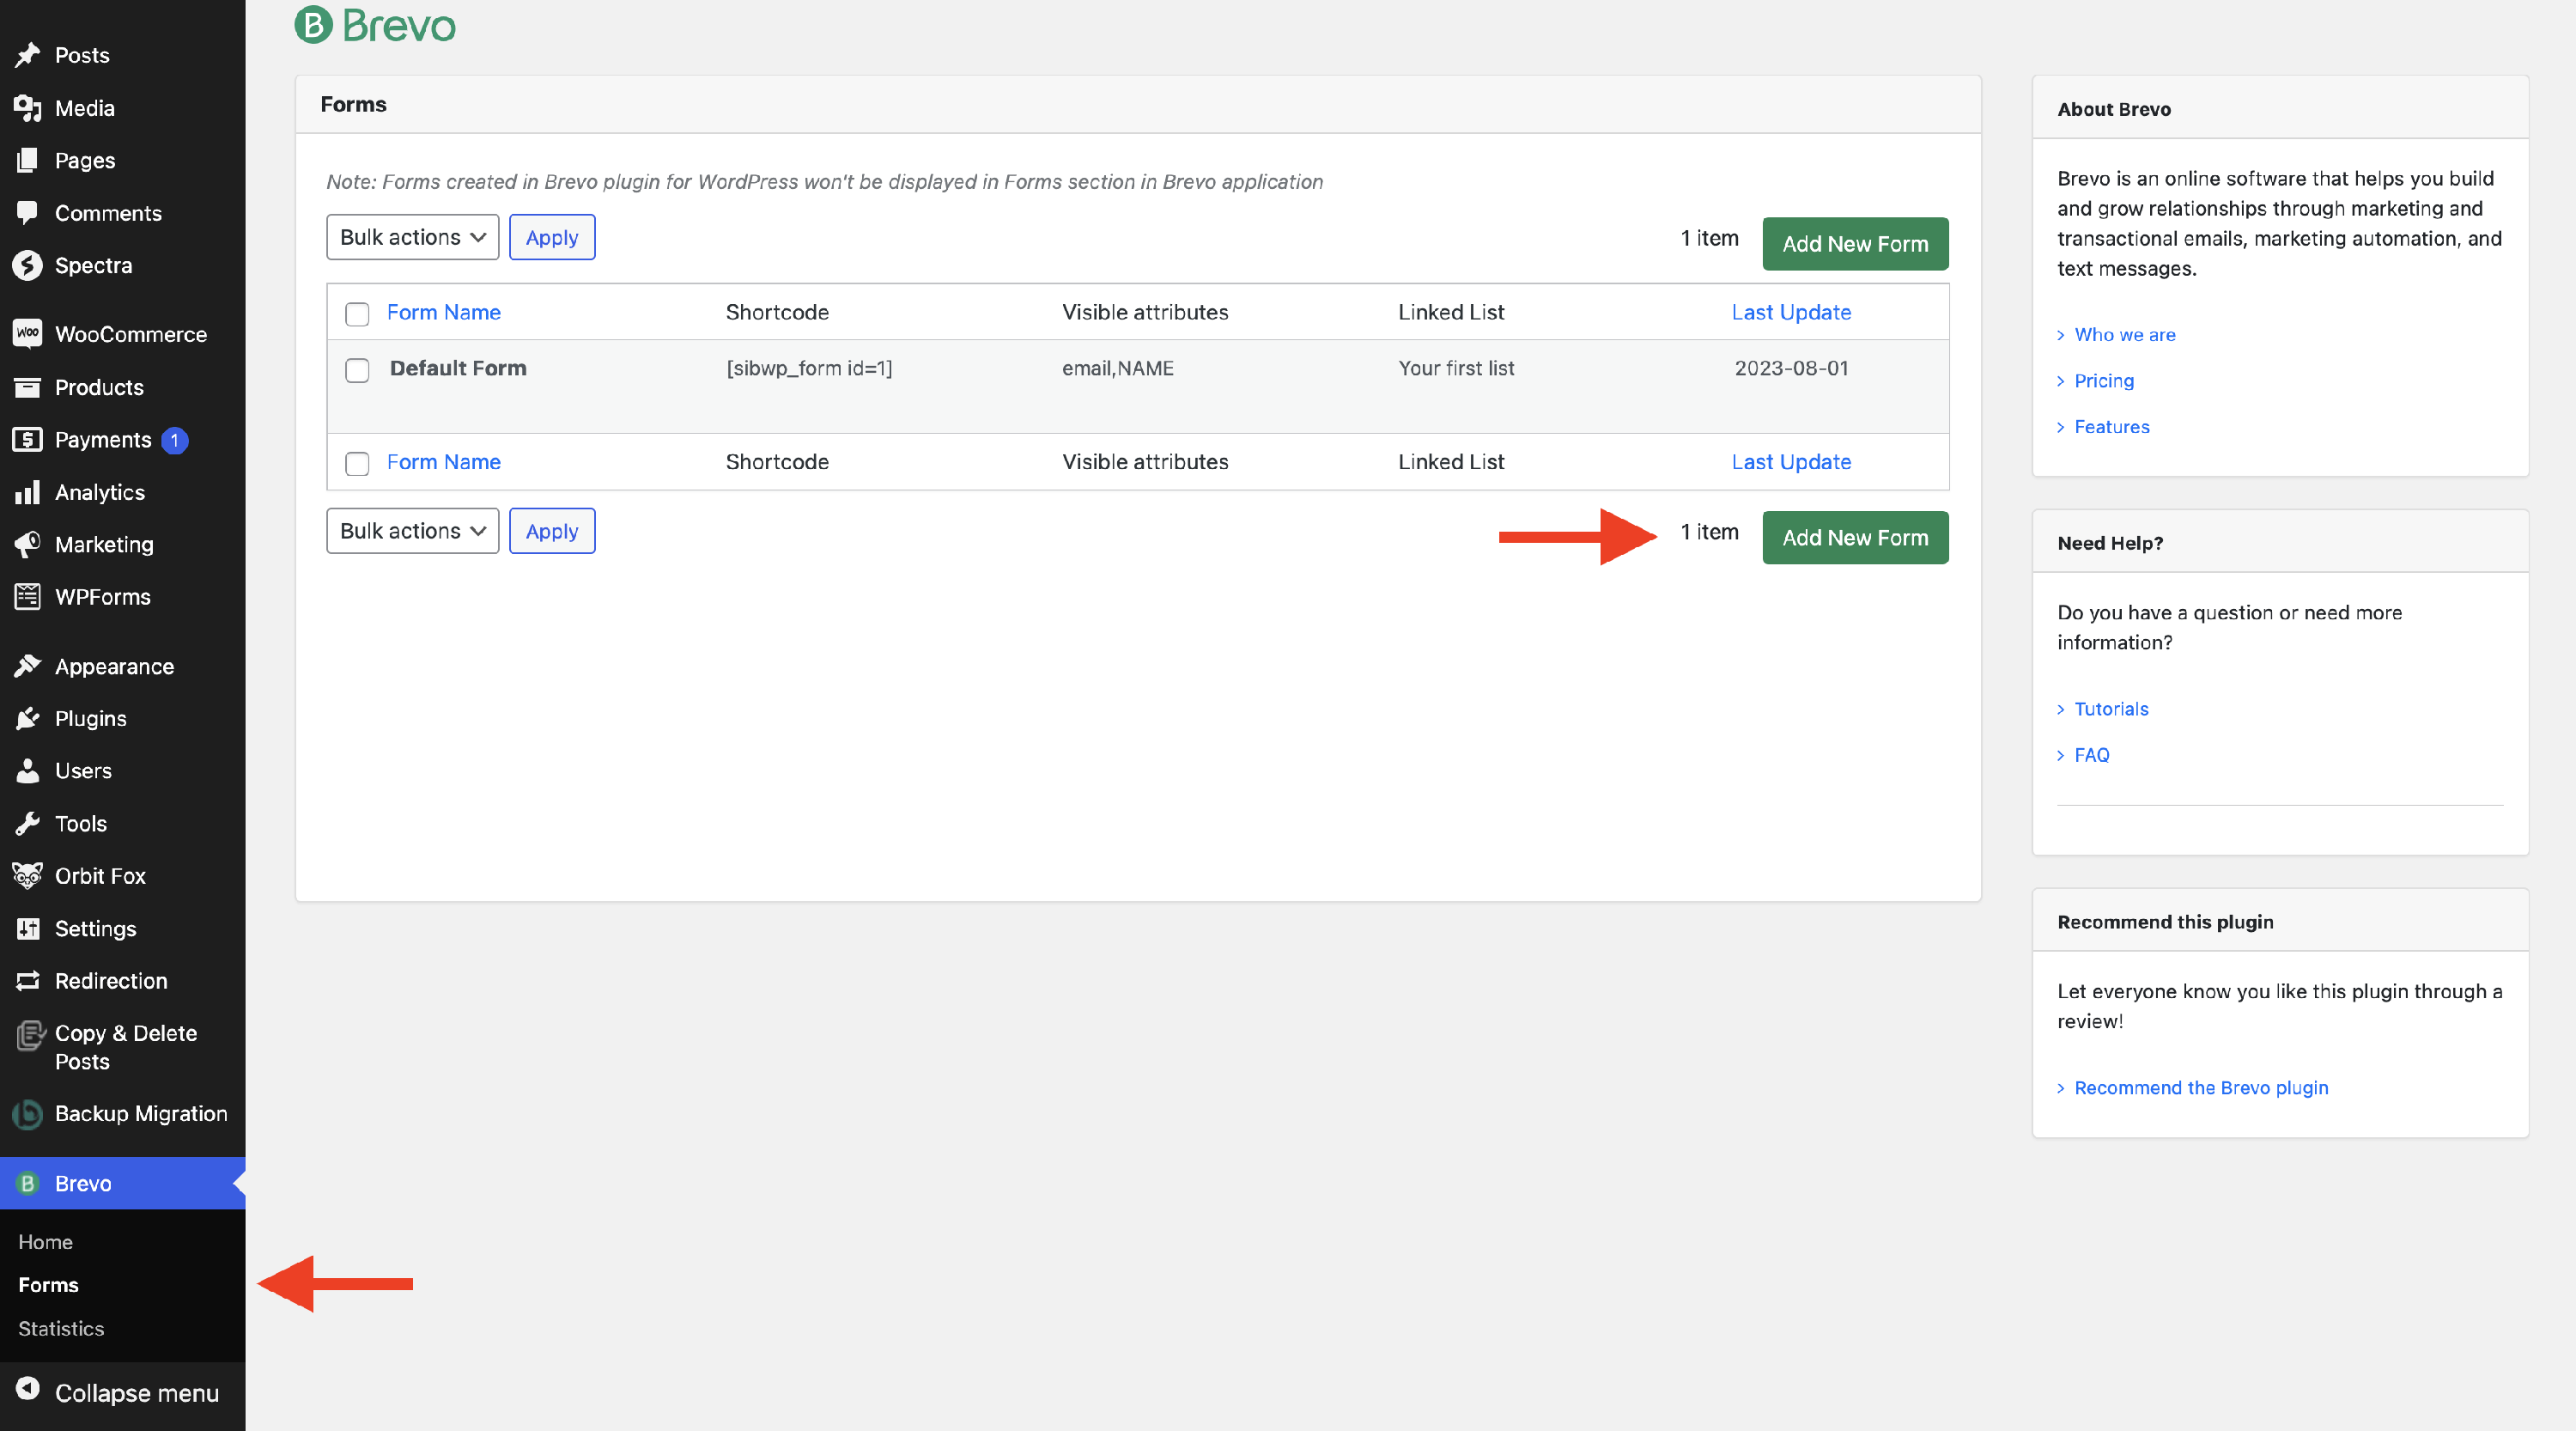
7. Save the changes, then go to Forms.
8. Here you can choose to use the default form or add a new one.
📝 Note: You can find more information about integrating Brevo here.
The plugin will provide a default form (that can be found in Brevo > Forms) that you can use, with a few customizations. To get the same style as the subscribe form on the Hestia demo, you need to edit the default form, by replacing its content with the one provided below:
<div>
<div>
<span></span>
<input type="email" name="email" required="required" placeholder="Your Email Here">
</div>
</div>
<div>
<input type="submit" name="submit" value="Subscribe">
</div>
Using the Form
1. Go to Appearance > Customize > Frontpage Sections > Subscribe.
2. Click on the Brevo Plugin tab.
3. Click on the button next to Edit the Subscribe Widgets, and you will be redirected to the Widgets panel.
4. Click on the plus button and add the Brevo Widget.
5. Select the form you want to use and add a widget title.
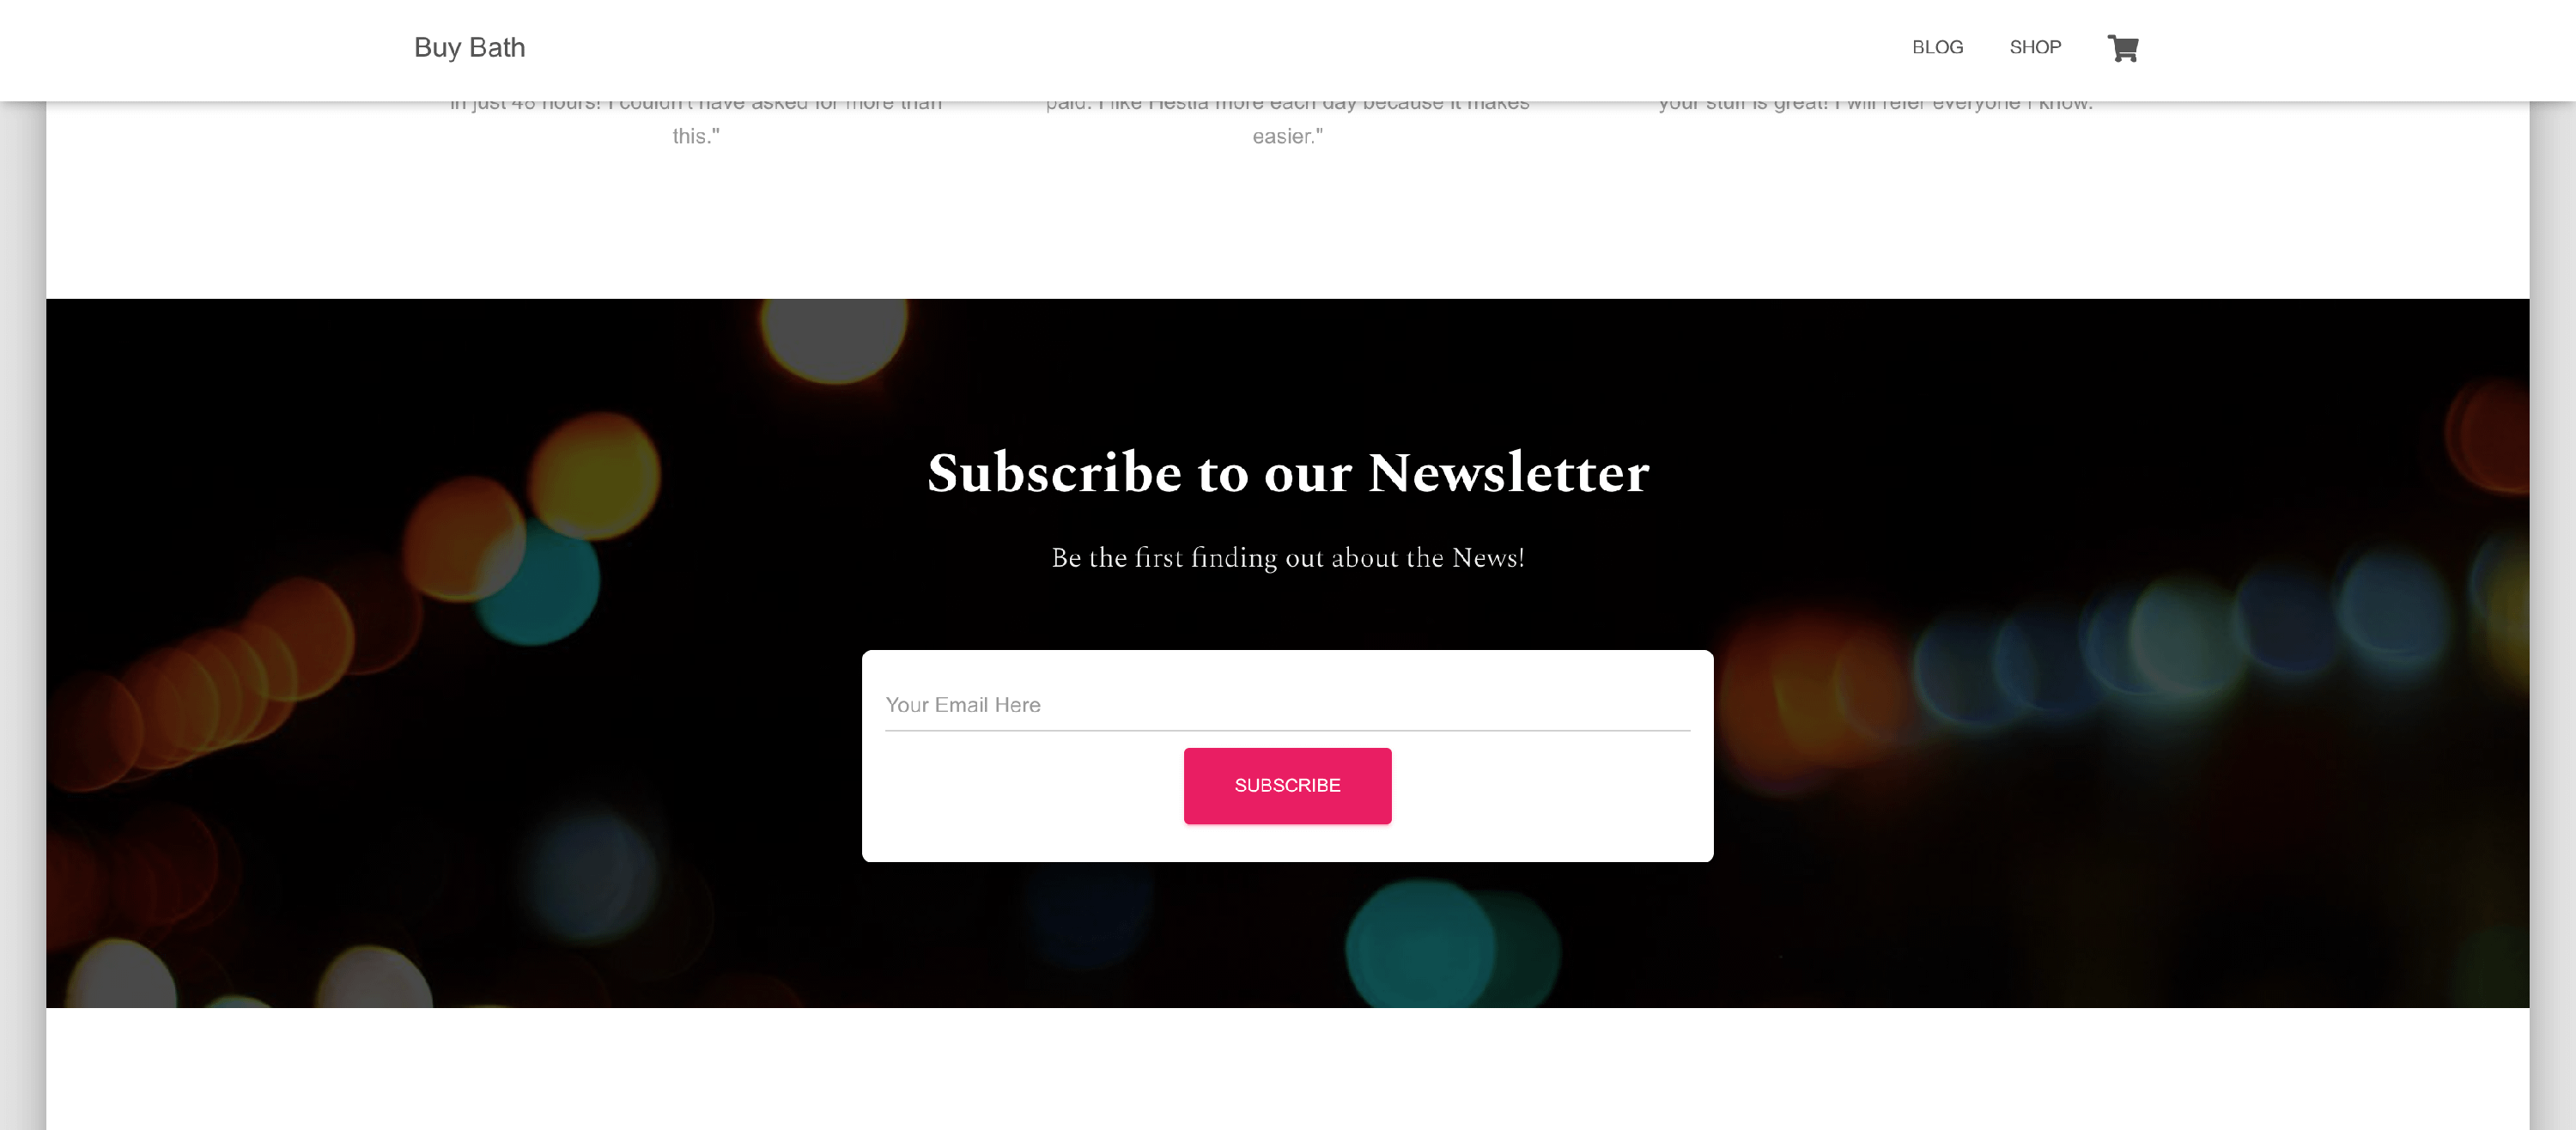
📝 Note: If the section is not visible, exit the Customizer and refresh the page.
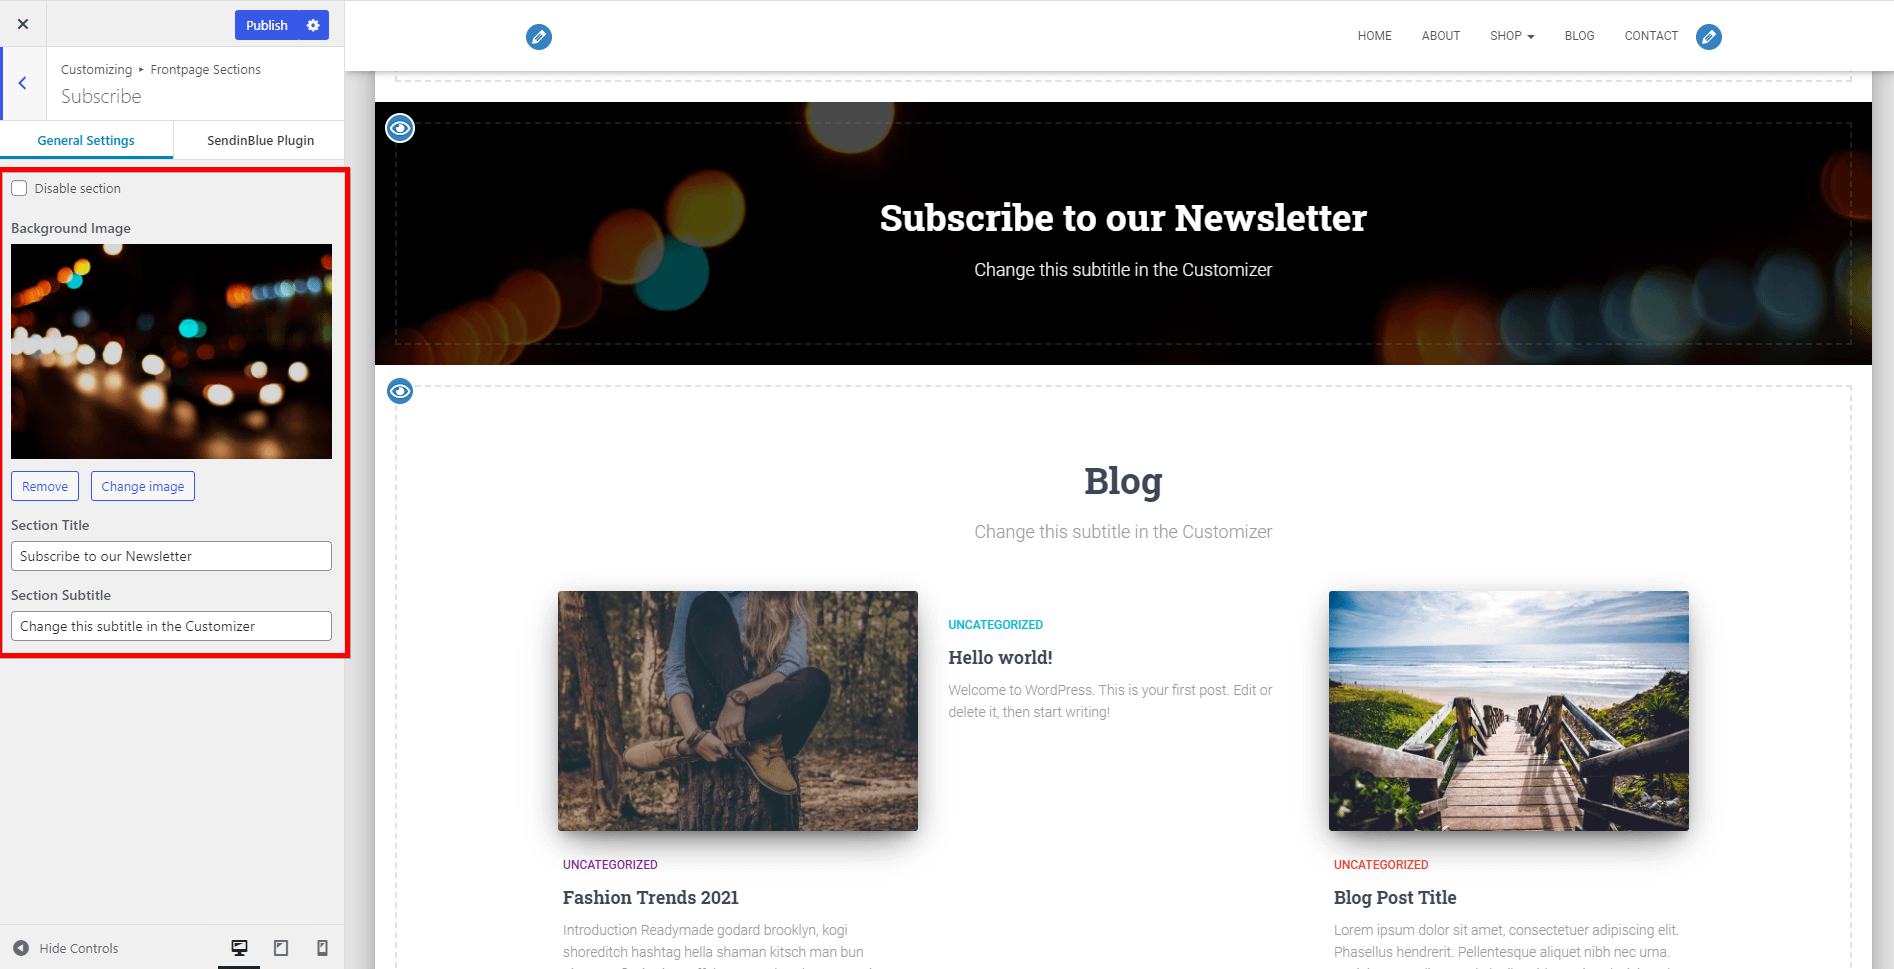
Apart from the main subscribe widget, the section also has some general settings:
- Disable section
- Background image - background image for the Subscribe Section.
- Section Title and Subtitle