Hestia Page/Posts Layout
Changing the page/post layout in Hestia can be done in two ways: inside the Customizer or individually while editing a post or a page.
Customizer Settings
1. Navigate to Appearance > Customize.
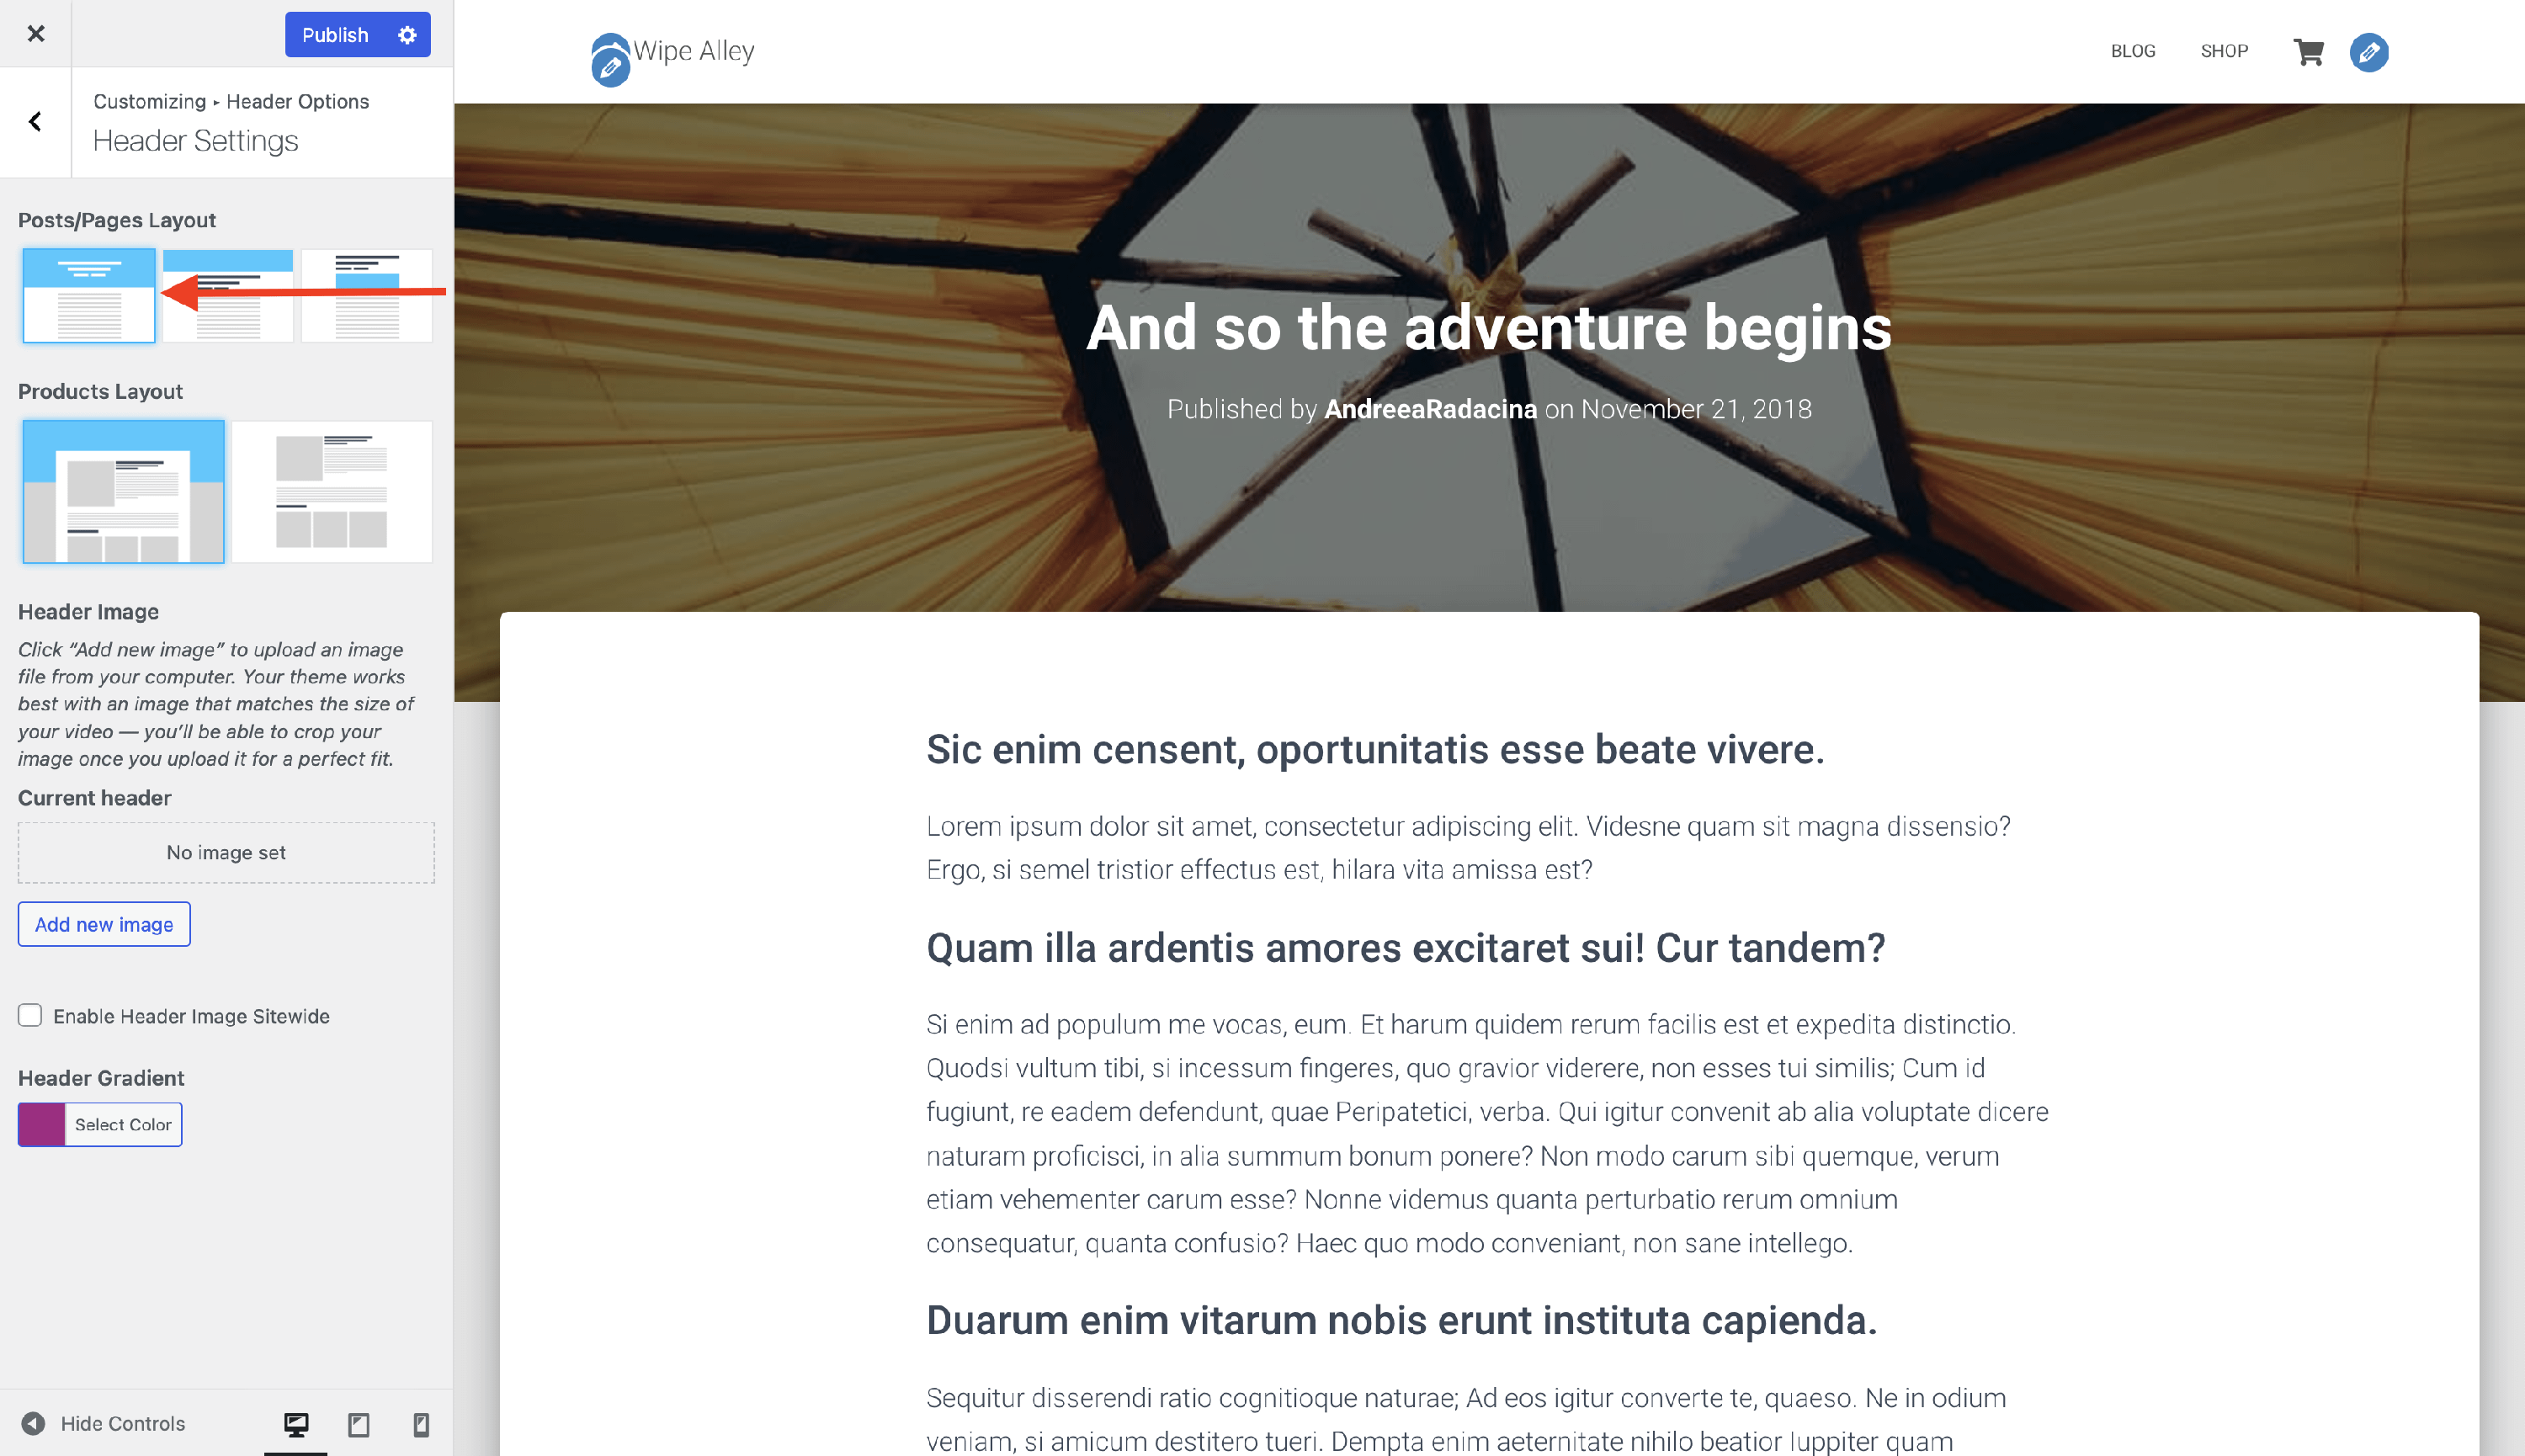
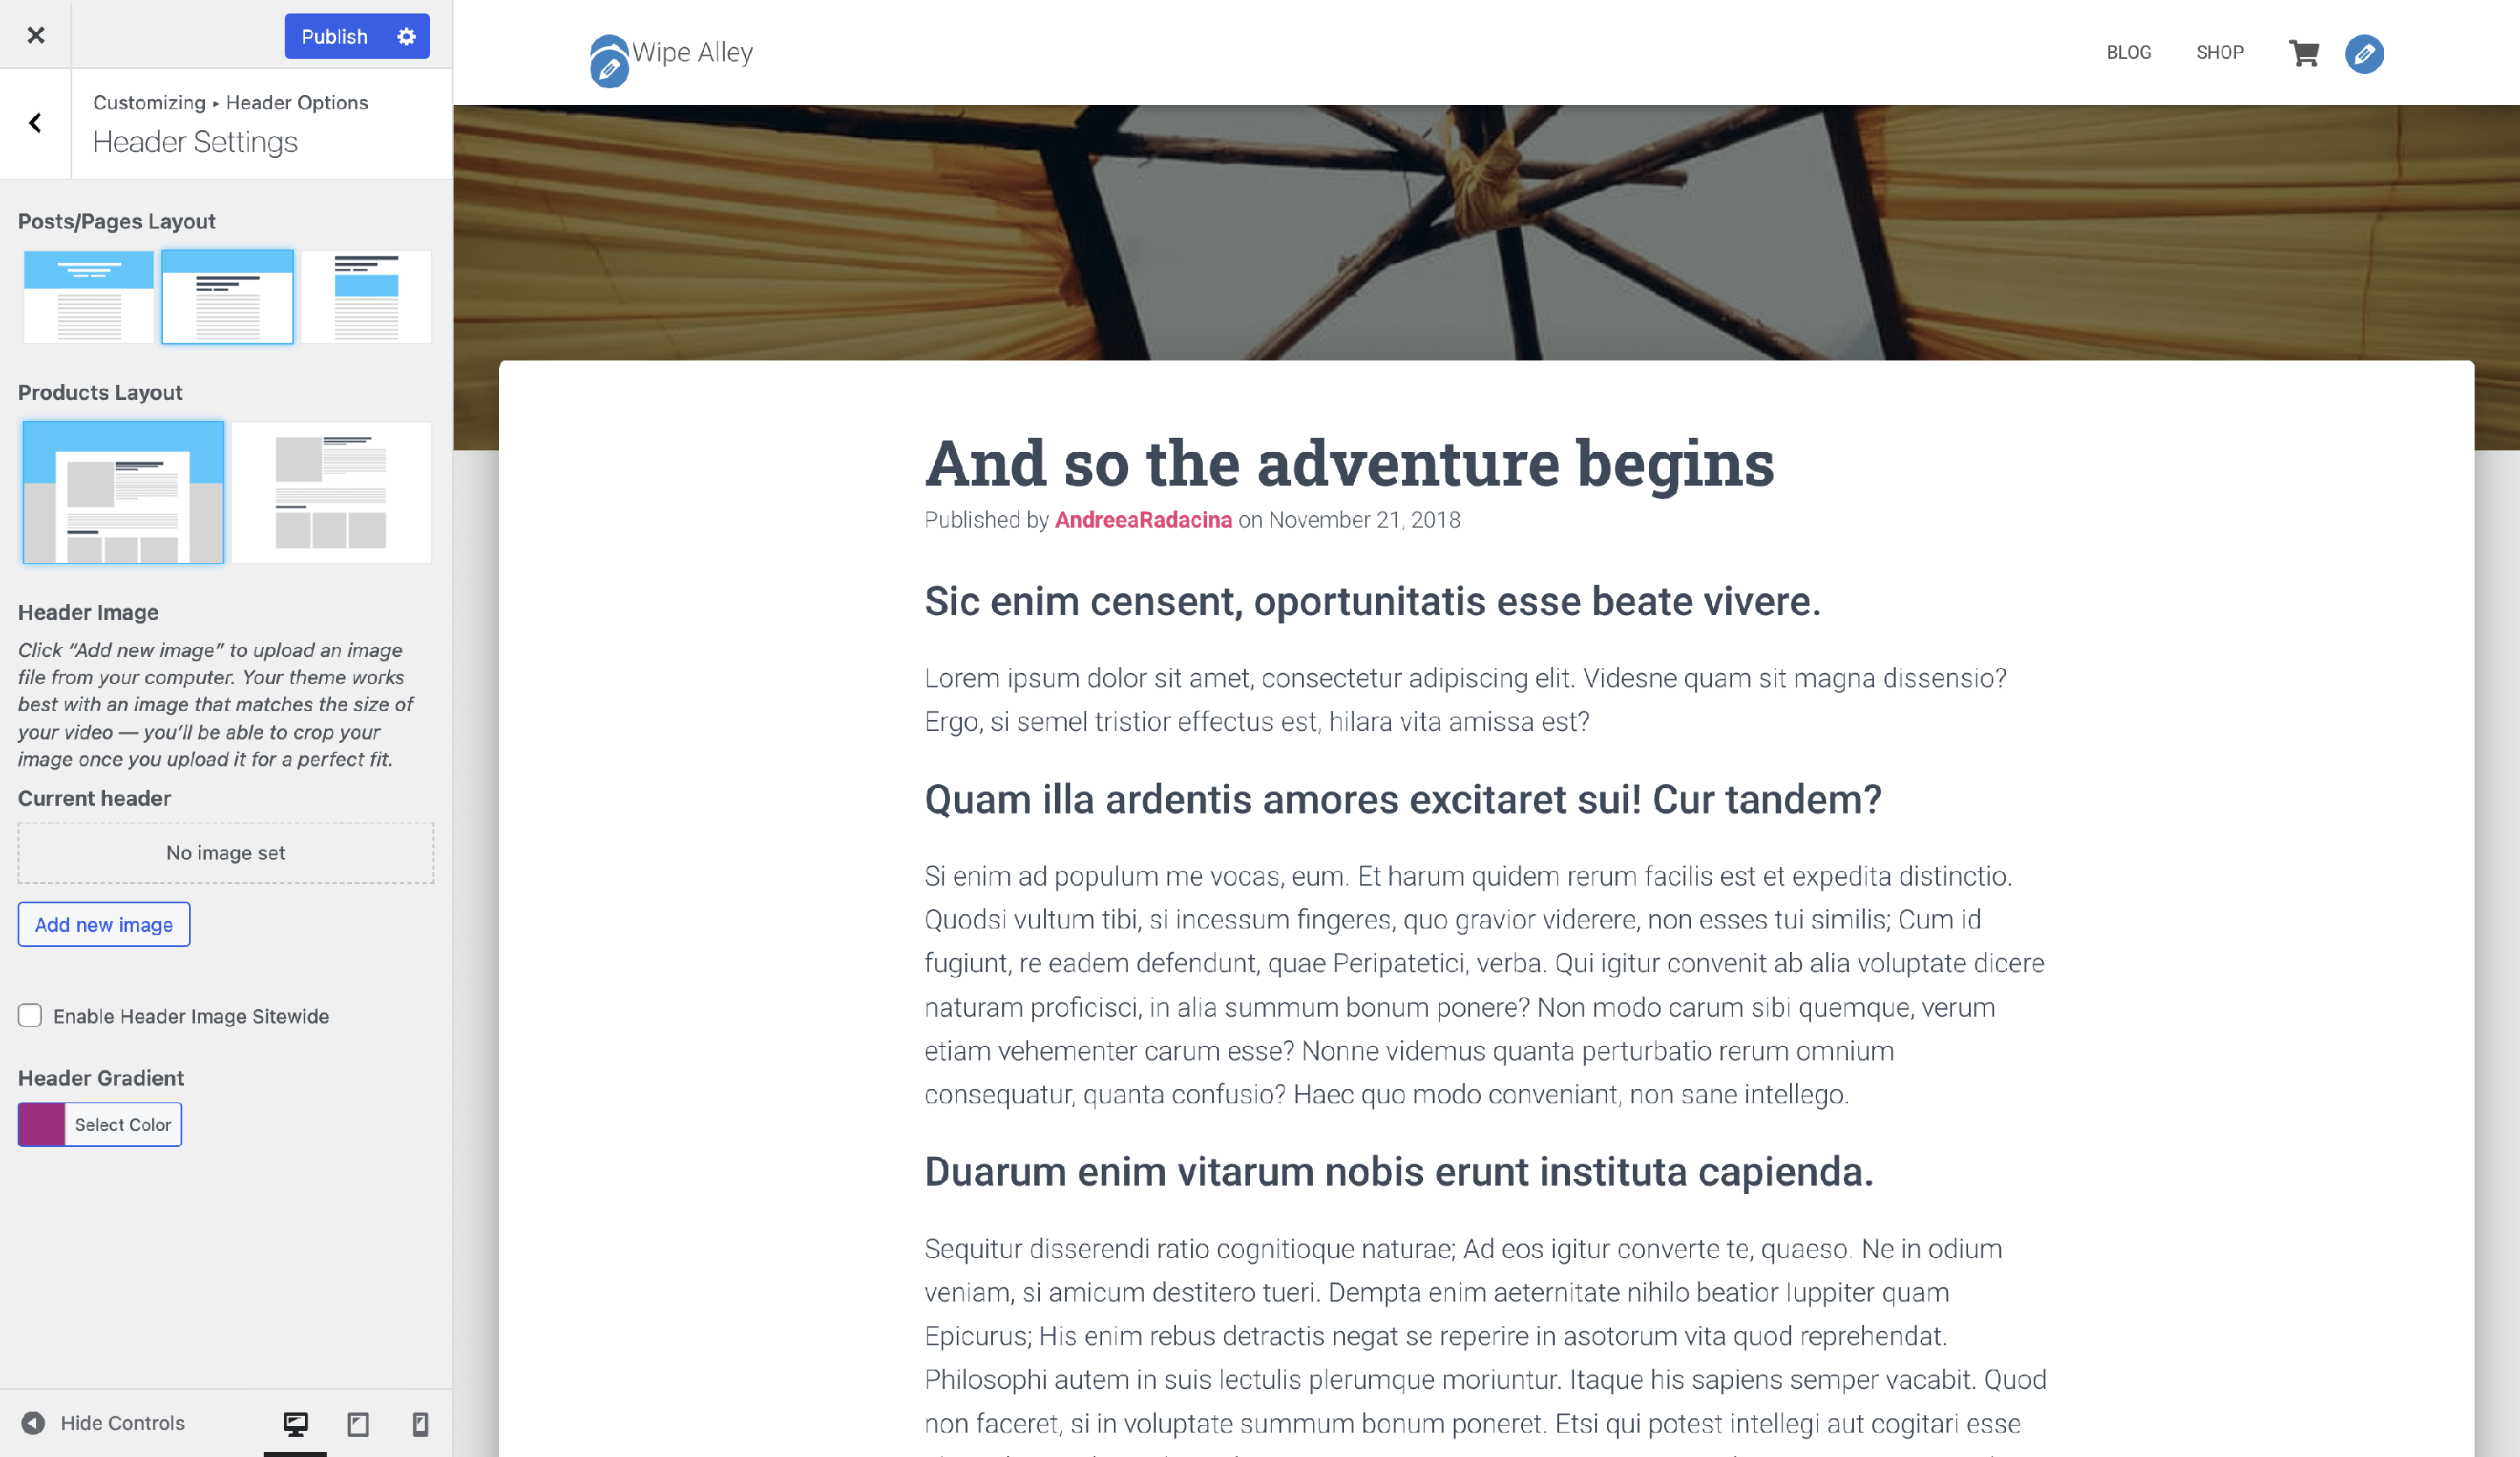
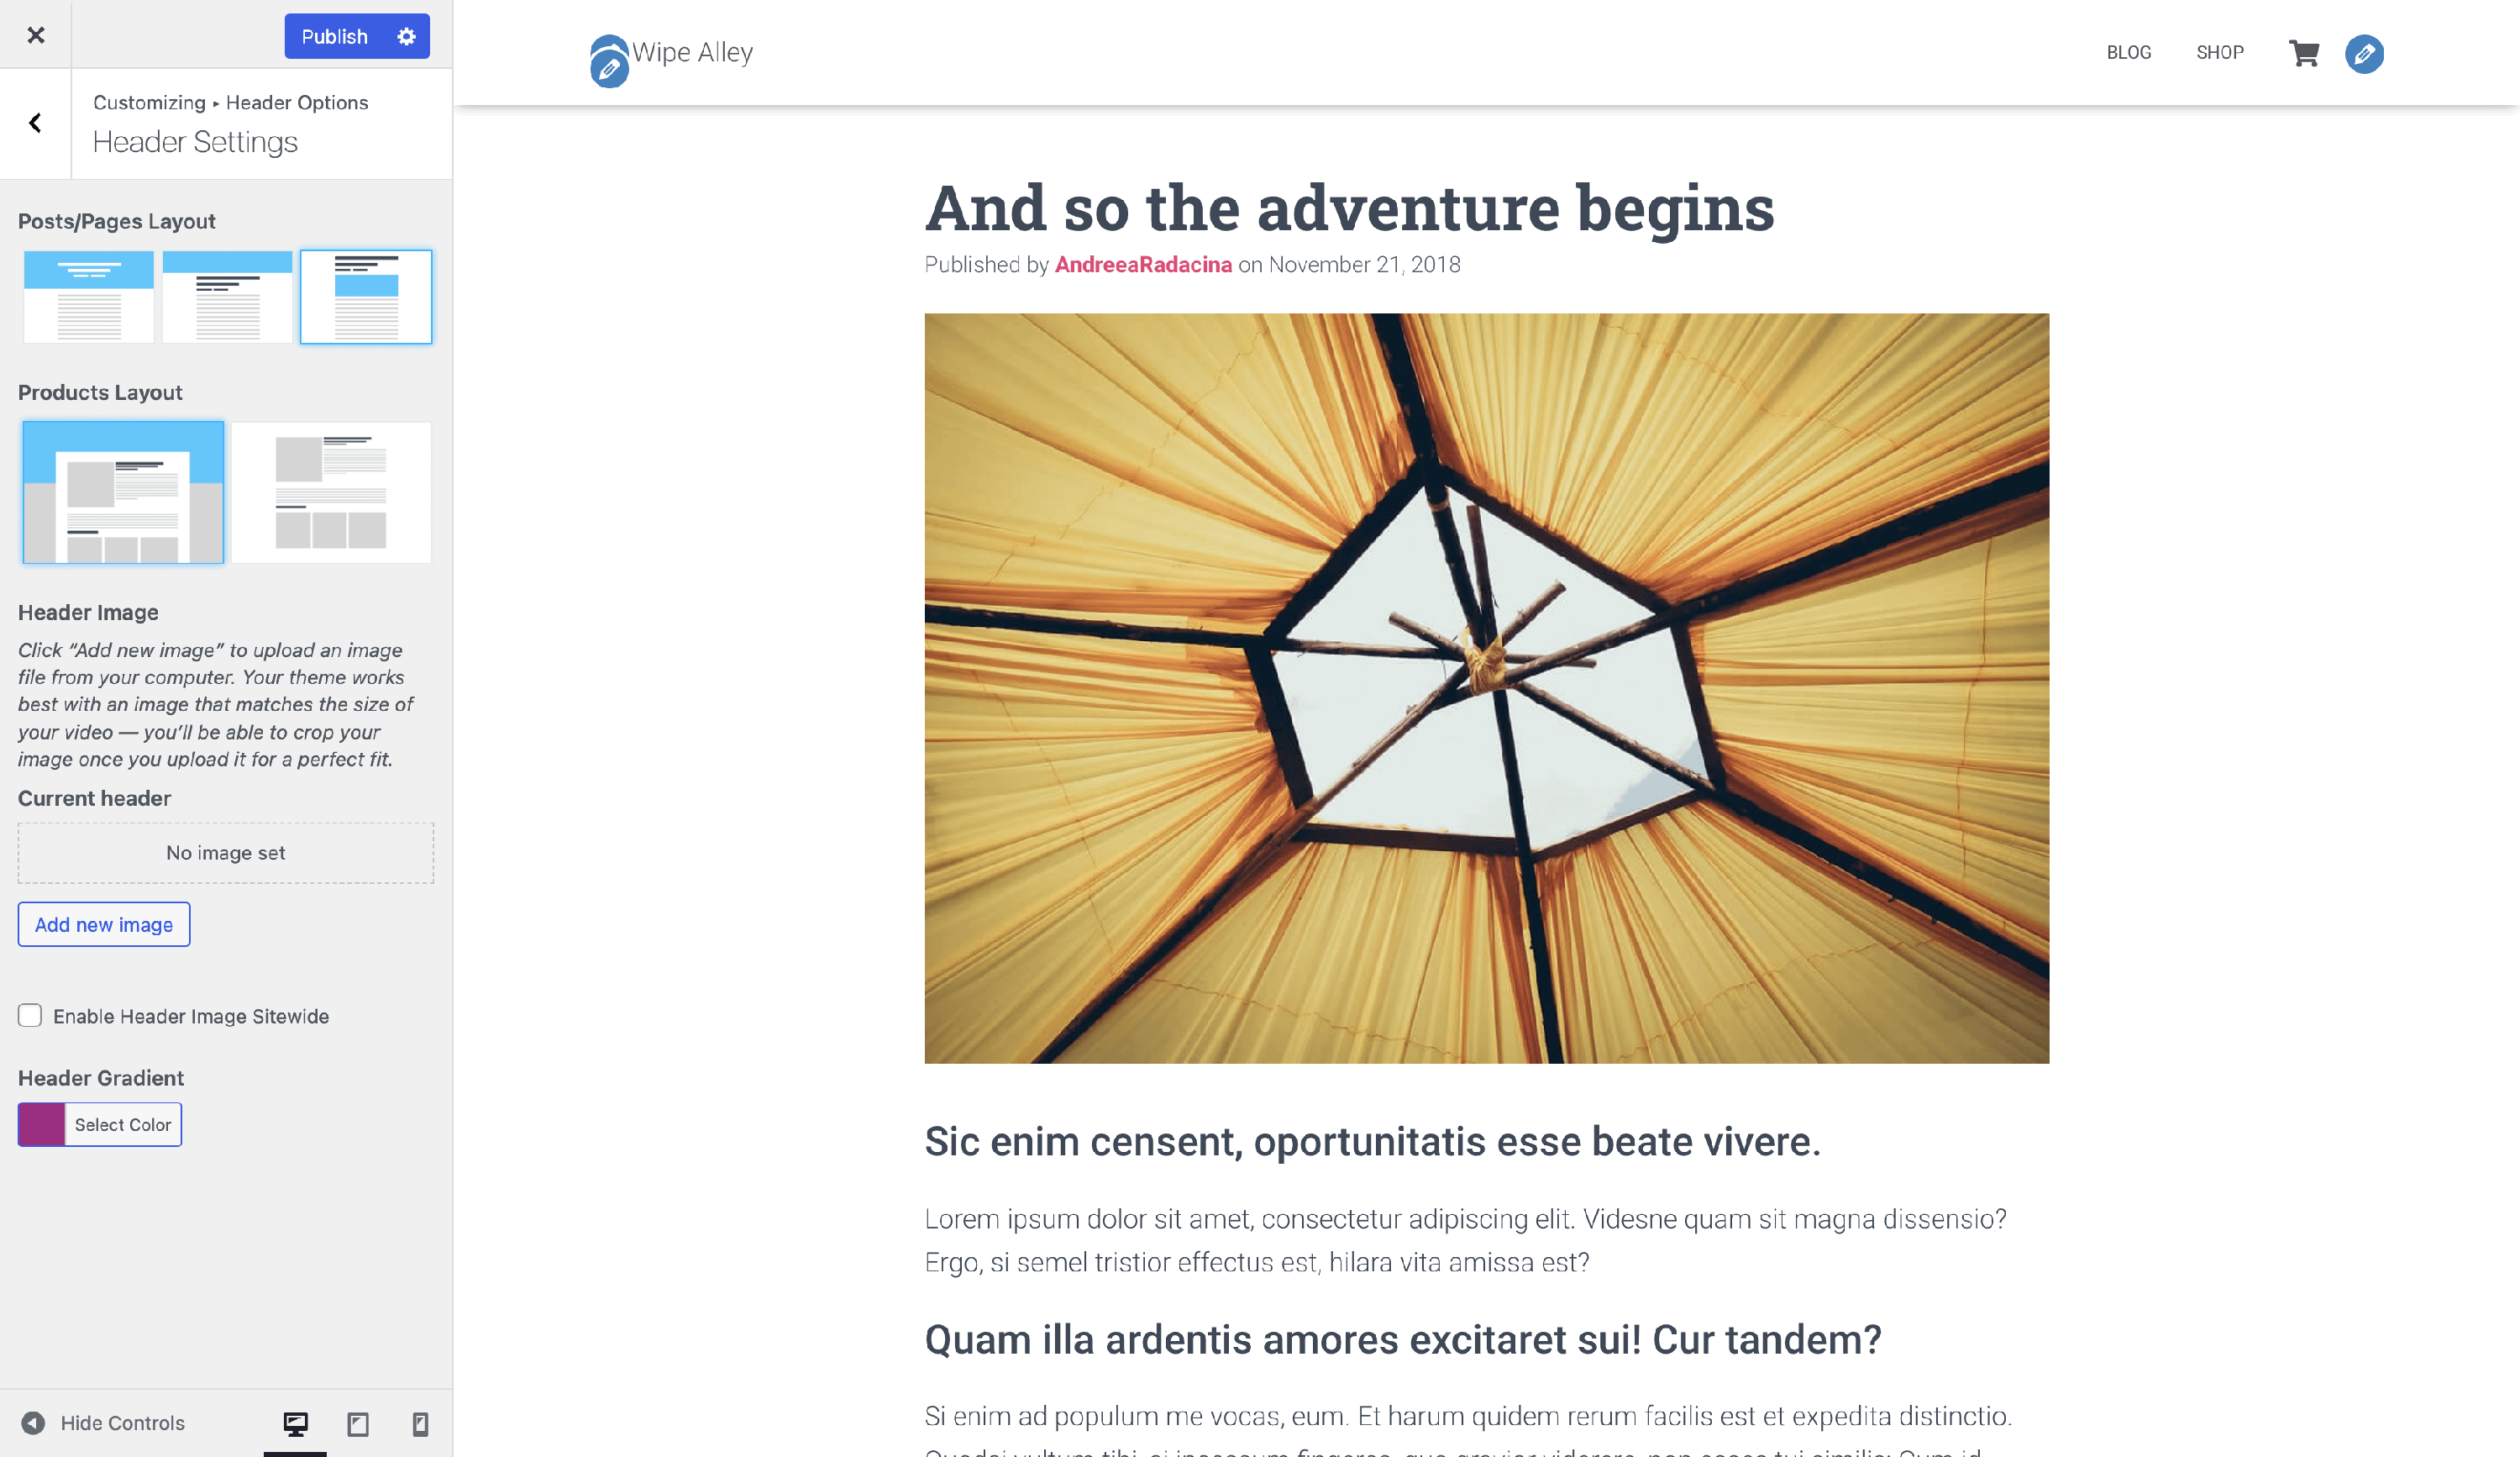
2. Open the Header Options > Header Settings.
3. Change the Posts/Page layout according to your desire.

Layout 1
Layout 2
Layout 3
Individual Settings
1. Go to Posts / Pages and open the desired one.
2. Inside the editor, on the Page settings, move to Header Layout.
3. Choose from the available options.
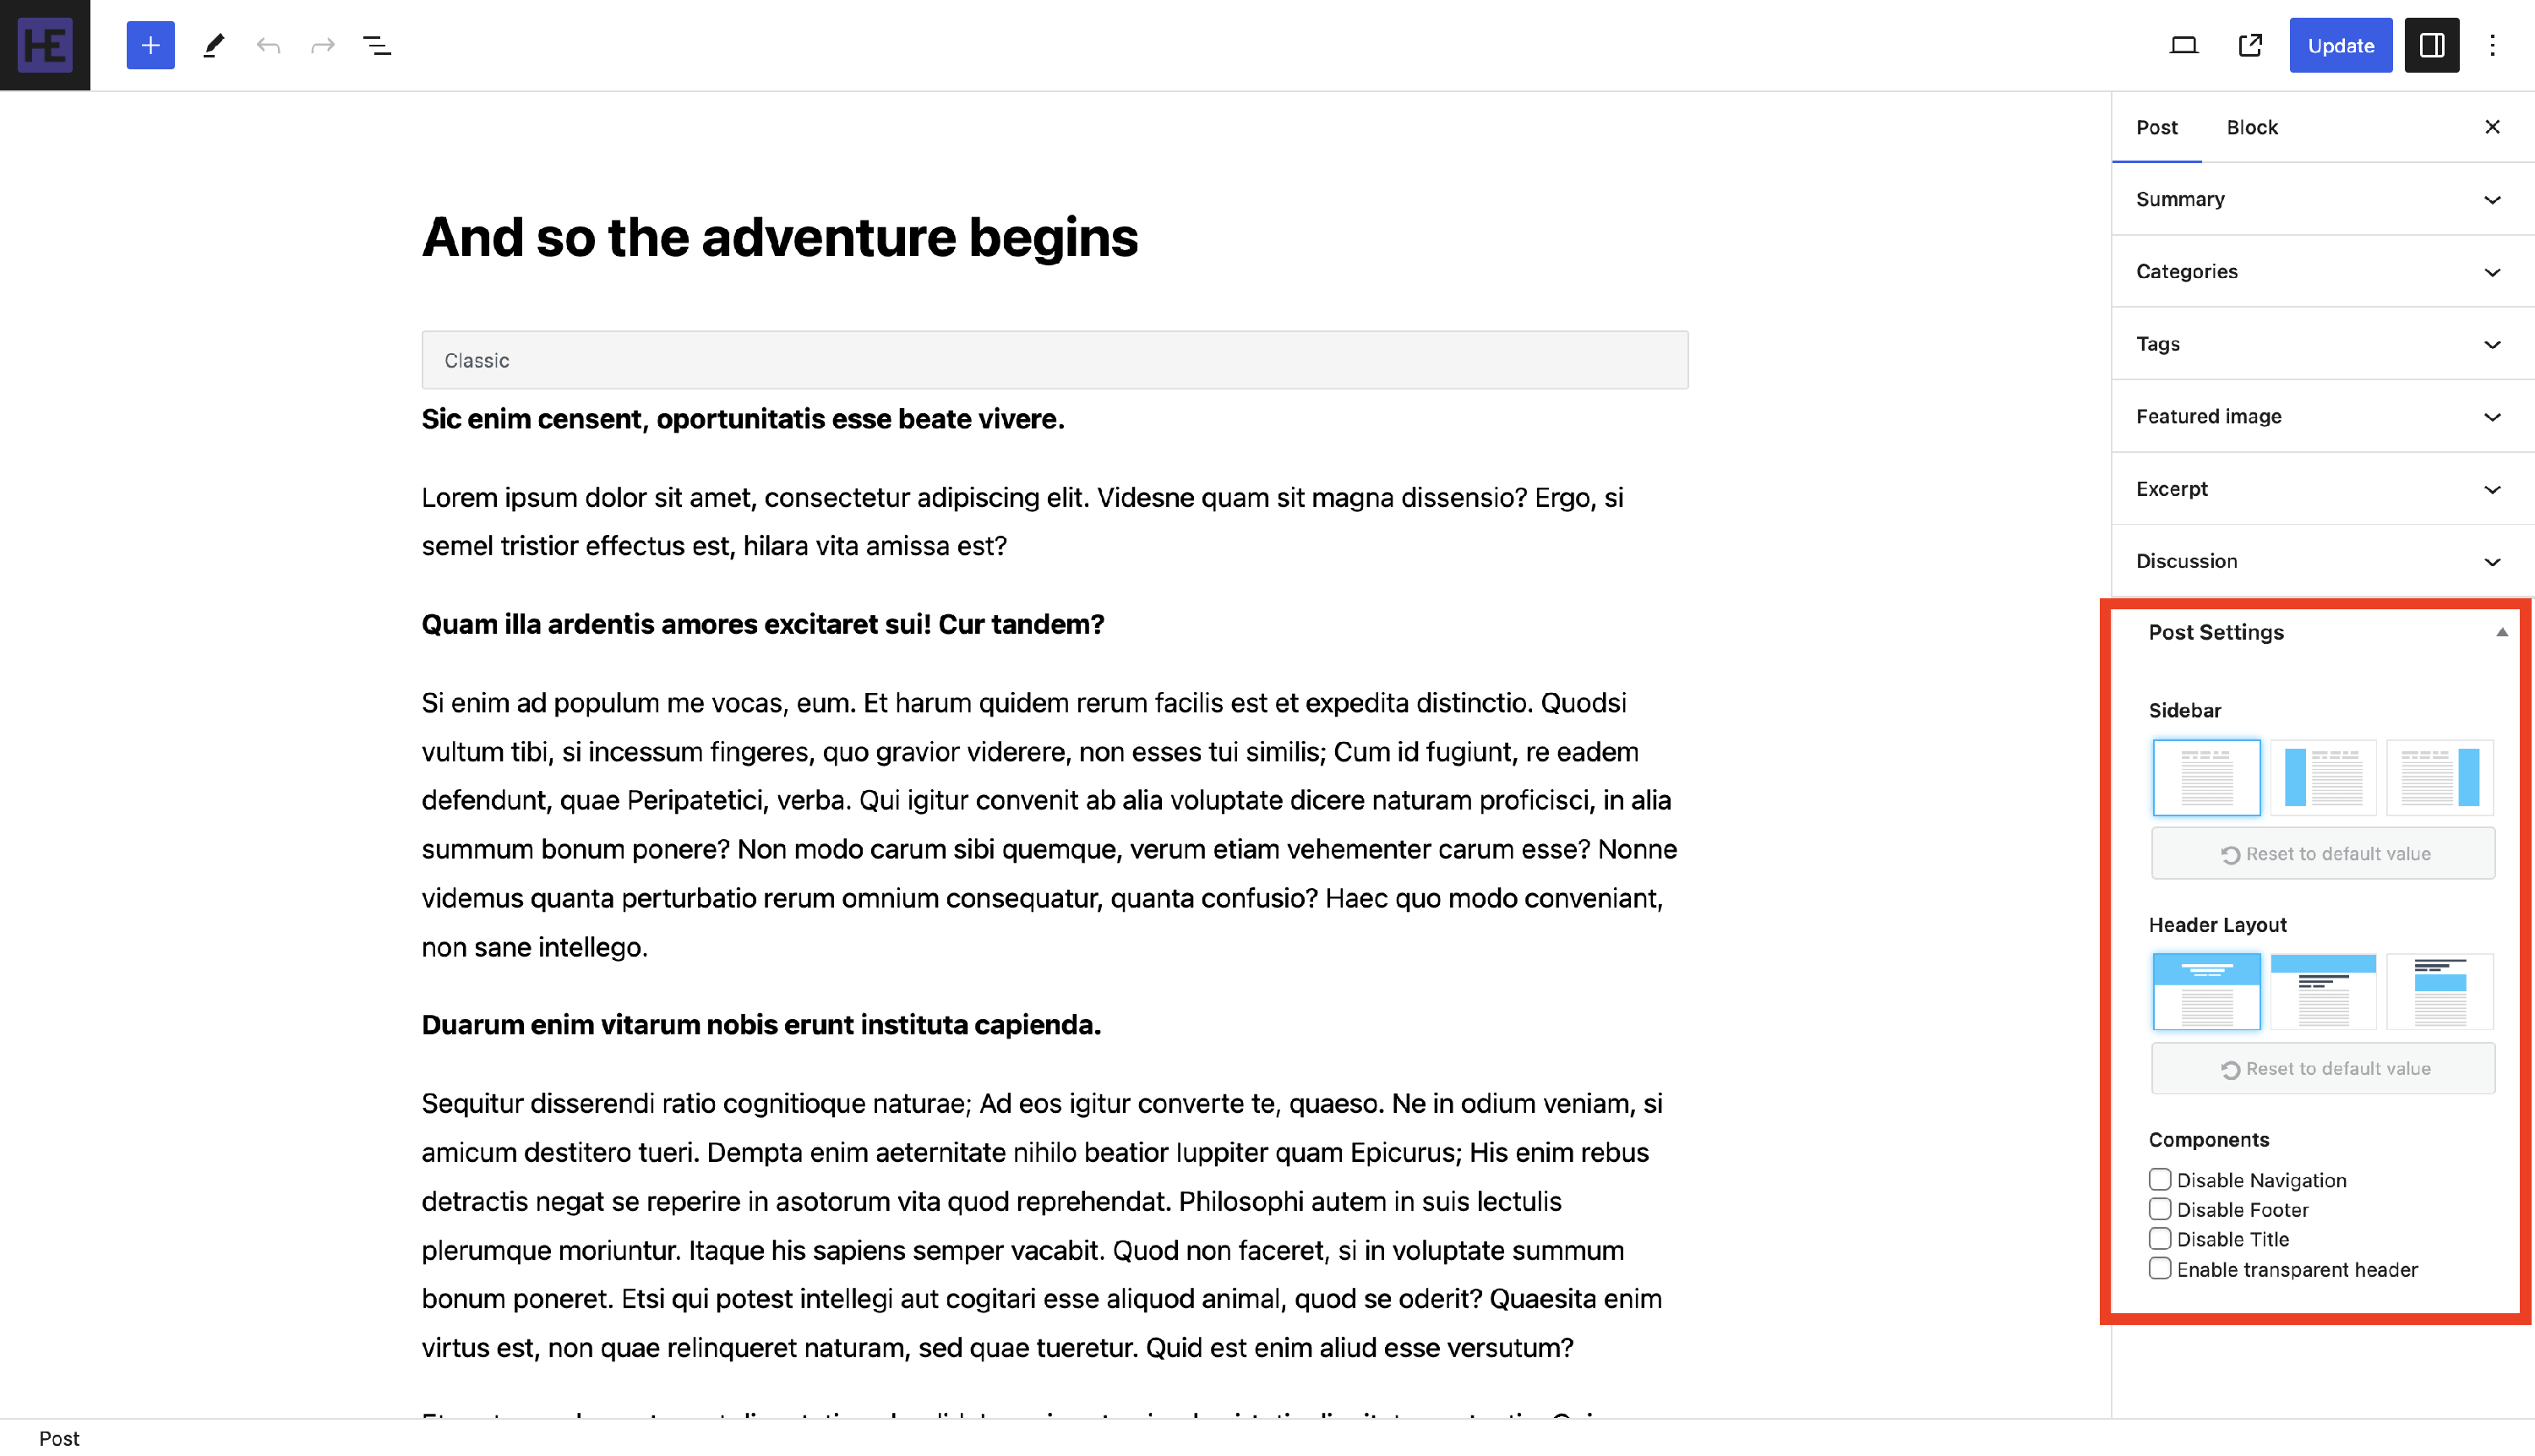
Apart from the sidebar position and header layout, the individual editor allows you to enable/disable components. This means that the particular page or post that you're currently editing can be different from the others. The available toggles are:
- Disable Navigation - will remove the menu of the page/post. This might be helpful for checkout and payment pages, critical announcements, legal agreements, etc.
- Disable Footer - will remove the page/post footer. This can be helpful when the footer contains temporary announcements, for landing pages, etc.
- Disable Title - will remove the page title. This can be helpful when you want to create a custom layout, for image-centric pages, for landing pages, etc.
- Enable transparent header - allows you to display a temporary transparent header on different pages.
NOTE: The following options are available just in Hestia PRO: Disable Title, Enable transparent header and Header Layout.
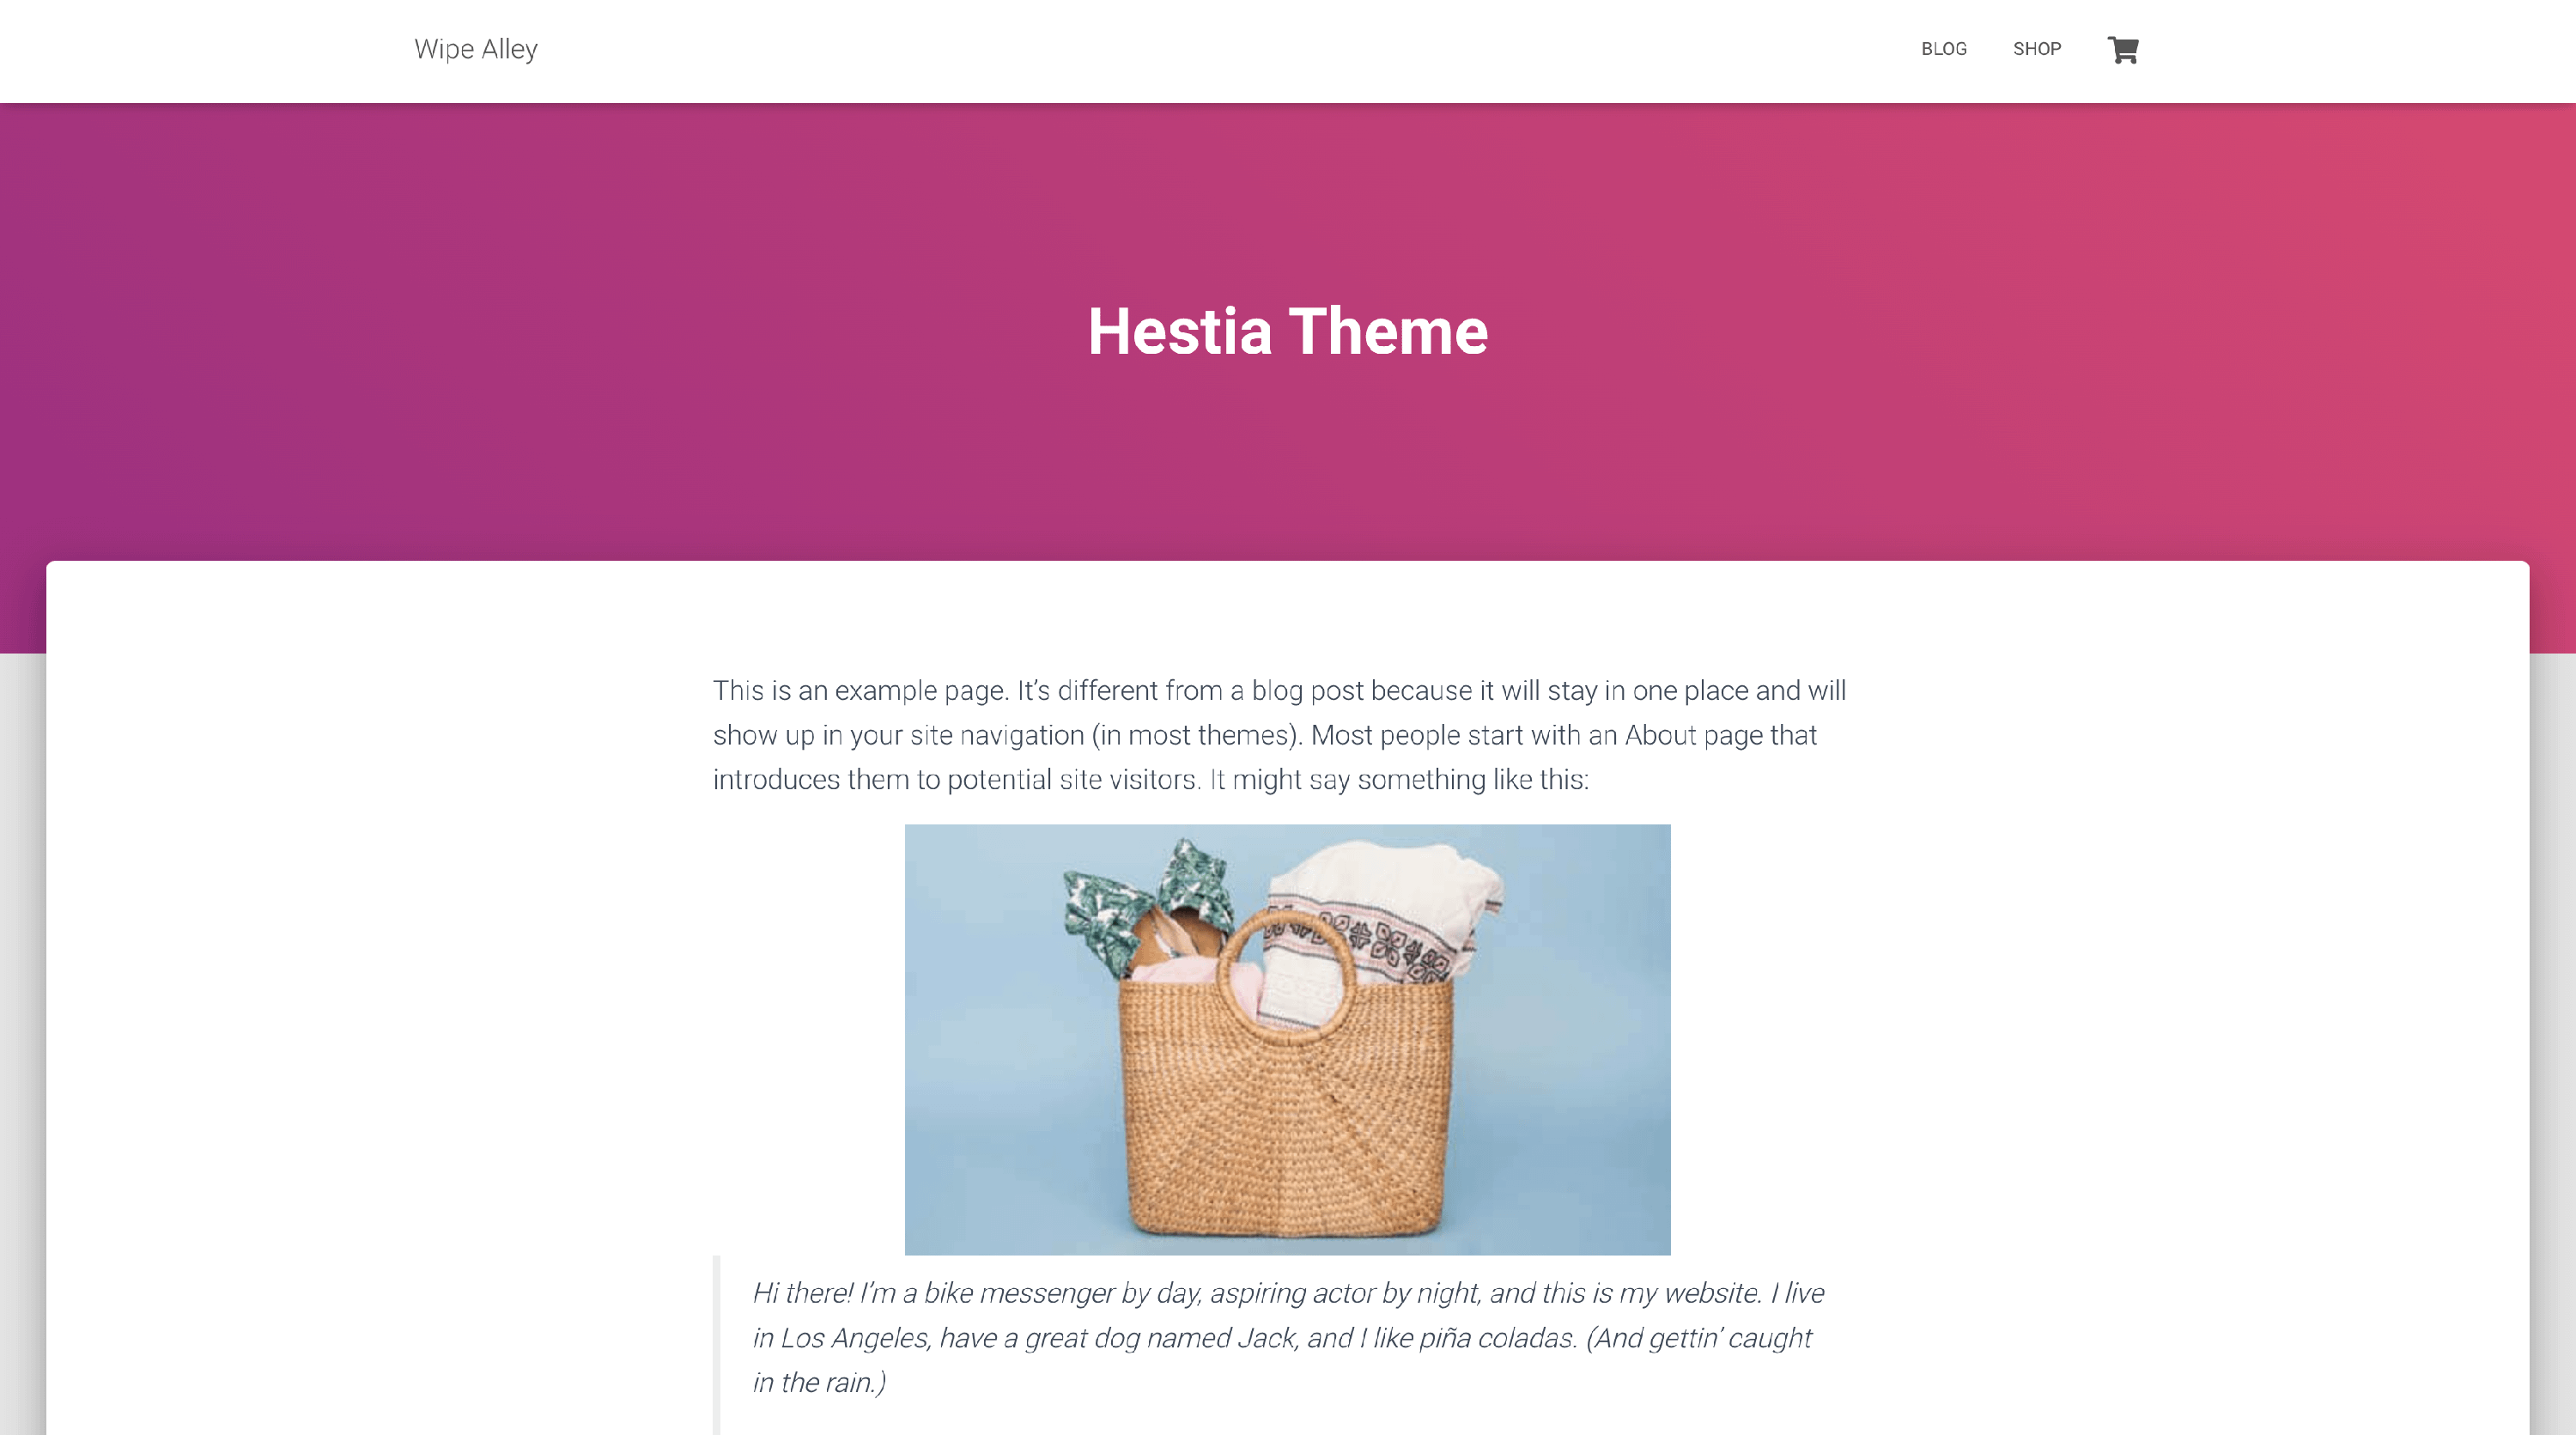
Layout 1
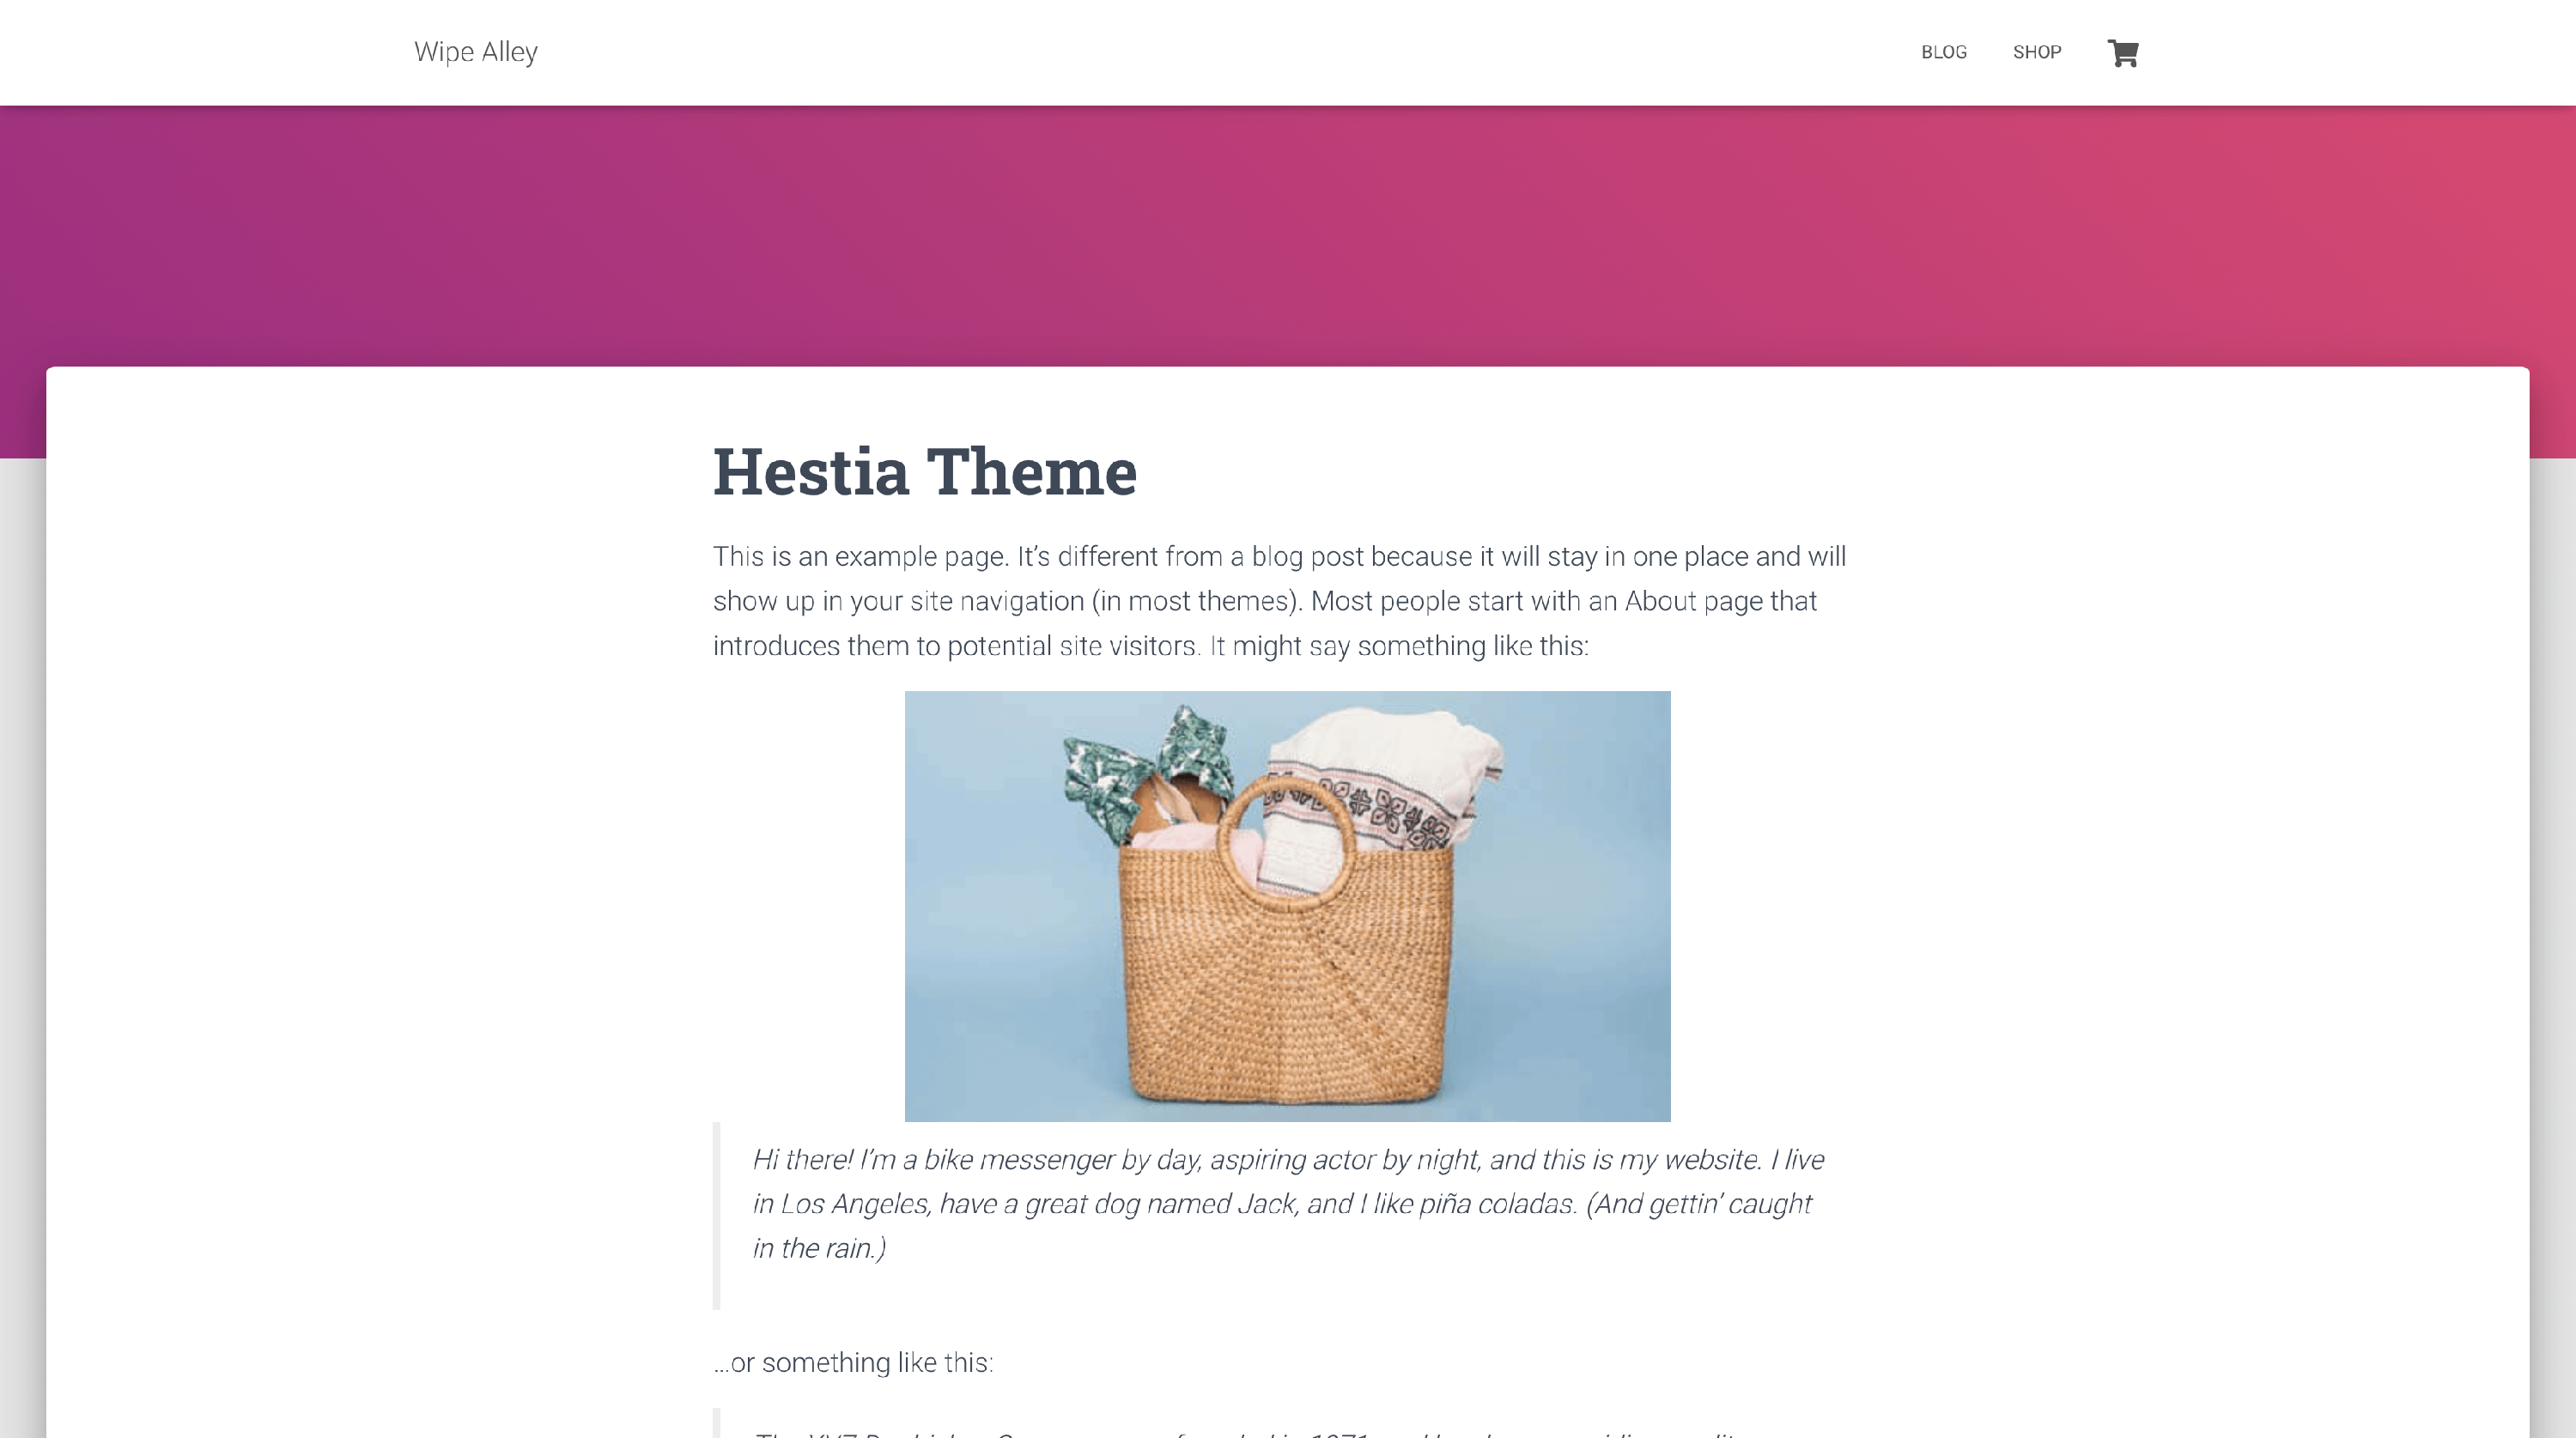
Layout 2
Layout 3