
How to Customize the Features section in Hestia?
📝 Note: This section is part of Hestia Pro. In the free version of Hestia, it requires the Orbit Fox plugin (Hestia Enhancements module).
A features section is useful on a website because it briefly showcases the key functionalities and benefits, helping visitors understand the value proposition and encouraging engagement. Here you can find the available customizations:
- Disable section - option to disable the section.
- Section Title - the main title of the Features Section.
- Section Subtitle - subtitle for the Features Section.
- Features Content - in this area you can add as many Feature boxes as you want. Each Feature box has the following options:
- Image type - choose how each Feature box is represented. Three options are available:
- Icon — select a FontAwesome icon from the list and choose a color. The Icon field accepts only FontAwesome icon names; it does not accept Media Library URLs, image file paths, or uploaded images. See Using Custom Images in the Features Section for alternatives.
- Image (Hestia Pro only) — upload or select an image from the Media Library, or paste a direct image URL.
- None — display only the text content of the Feature box, with no icon or image.
- Apart from this, you can configure the title and content of each feature box and link it to a dedicated page using the Link field. The Link field requires a full absolute URL — see Linking Feature Boxes to Pages or Categories below for details.
- Image type - choose how each Feature box is represented. Three options are available:
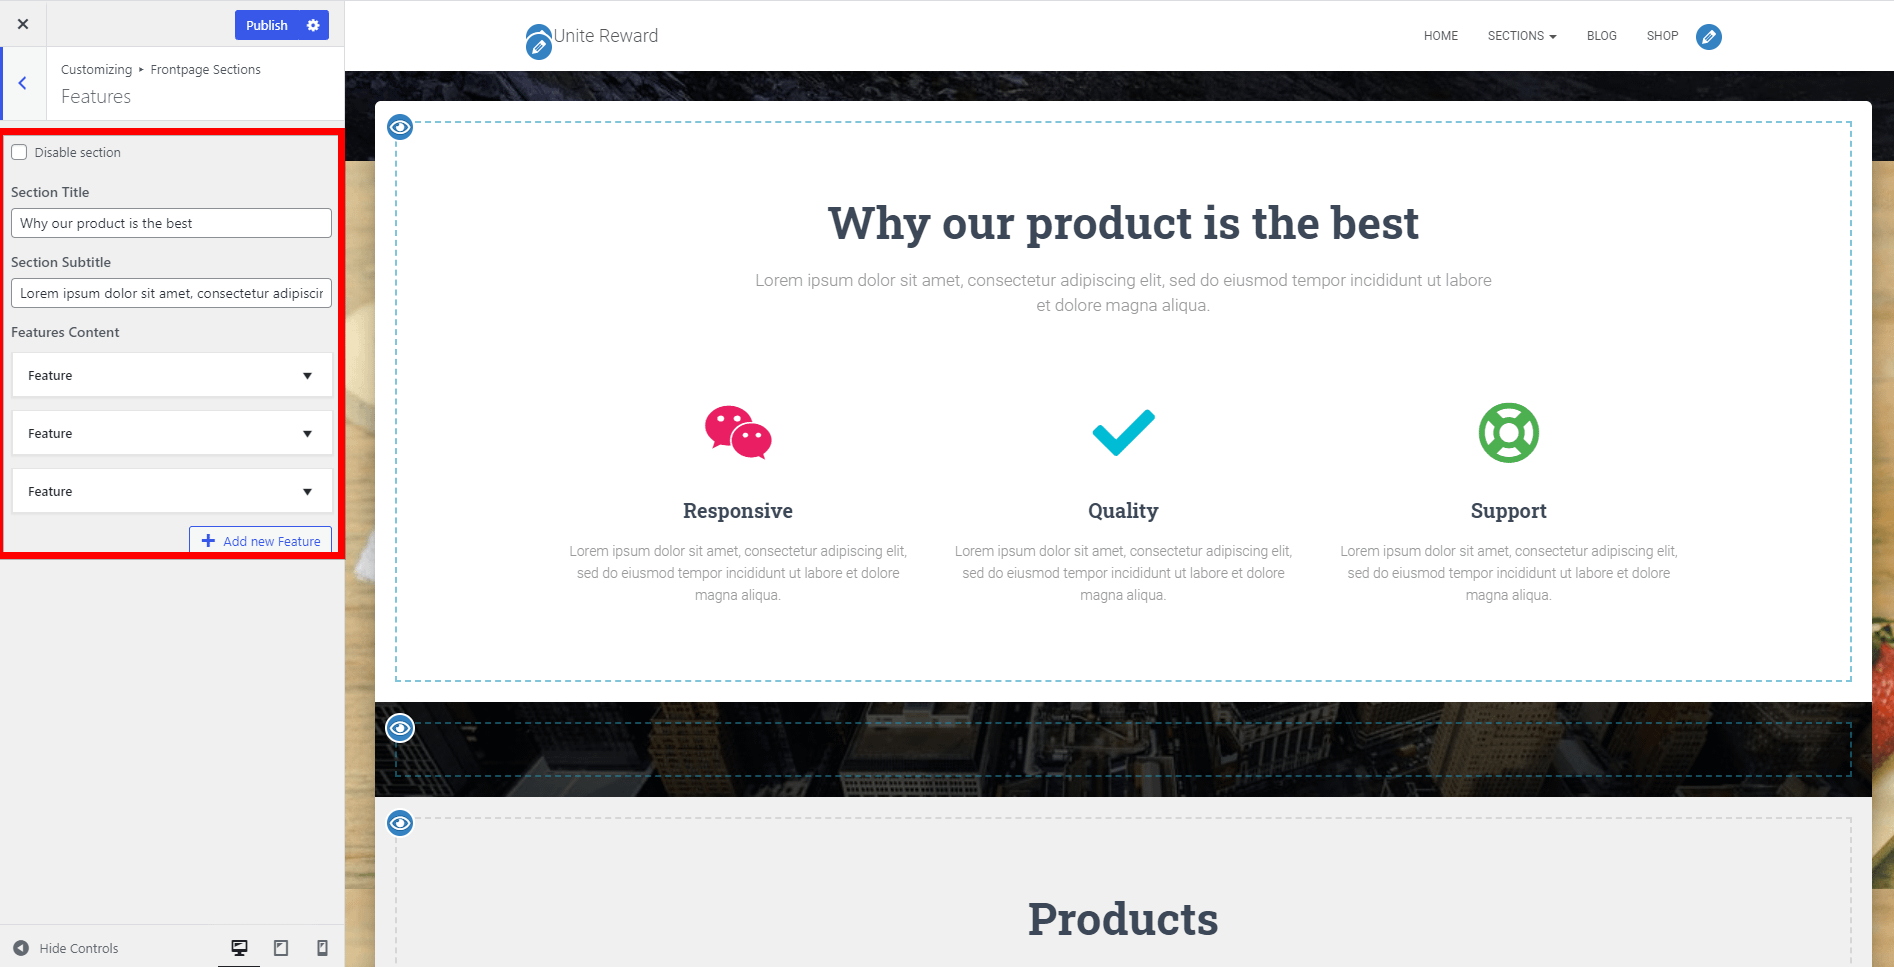
Image Type - Icon
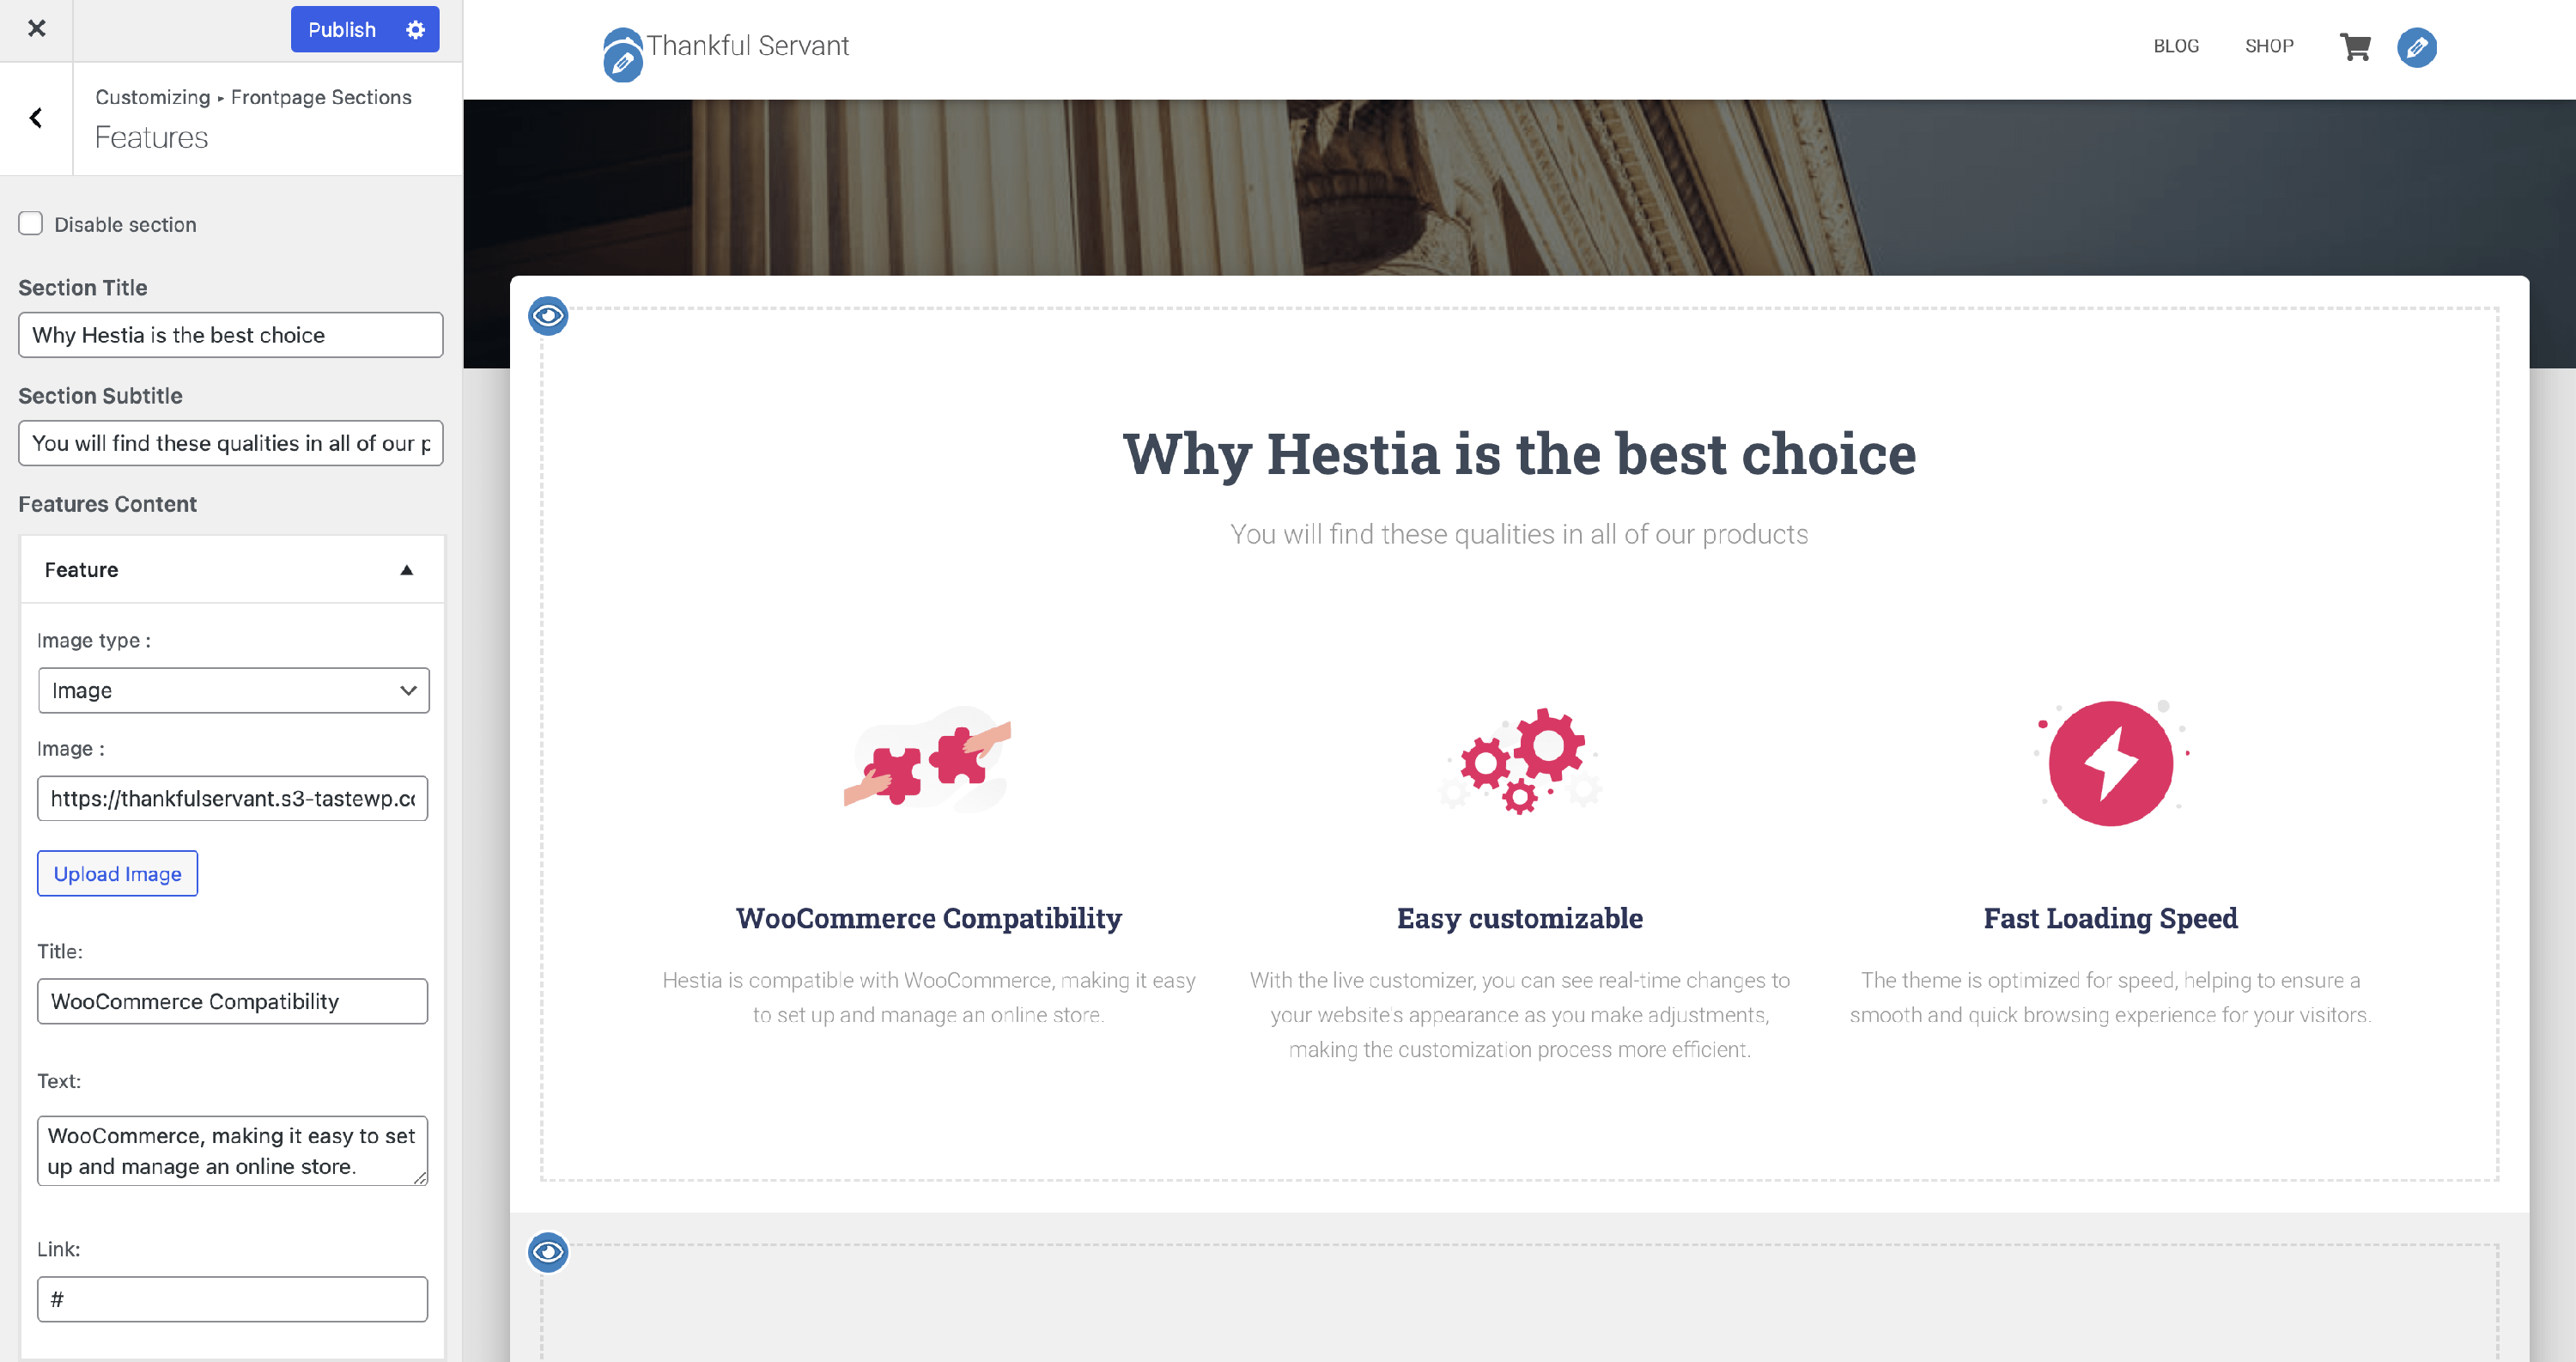
Image Type - Image
📝 Note: This Image option is available in Hestia Pro.
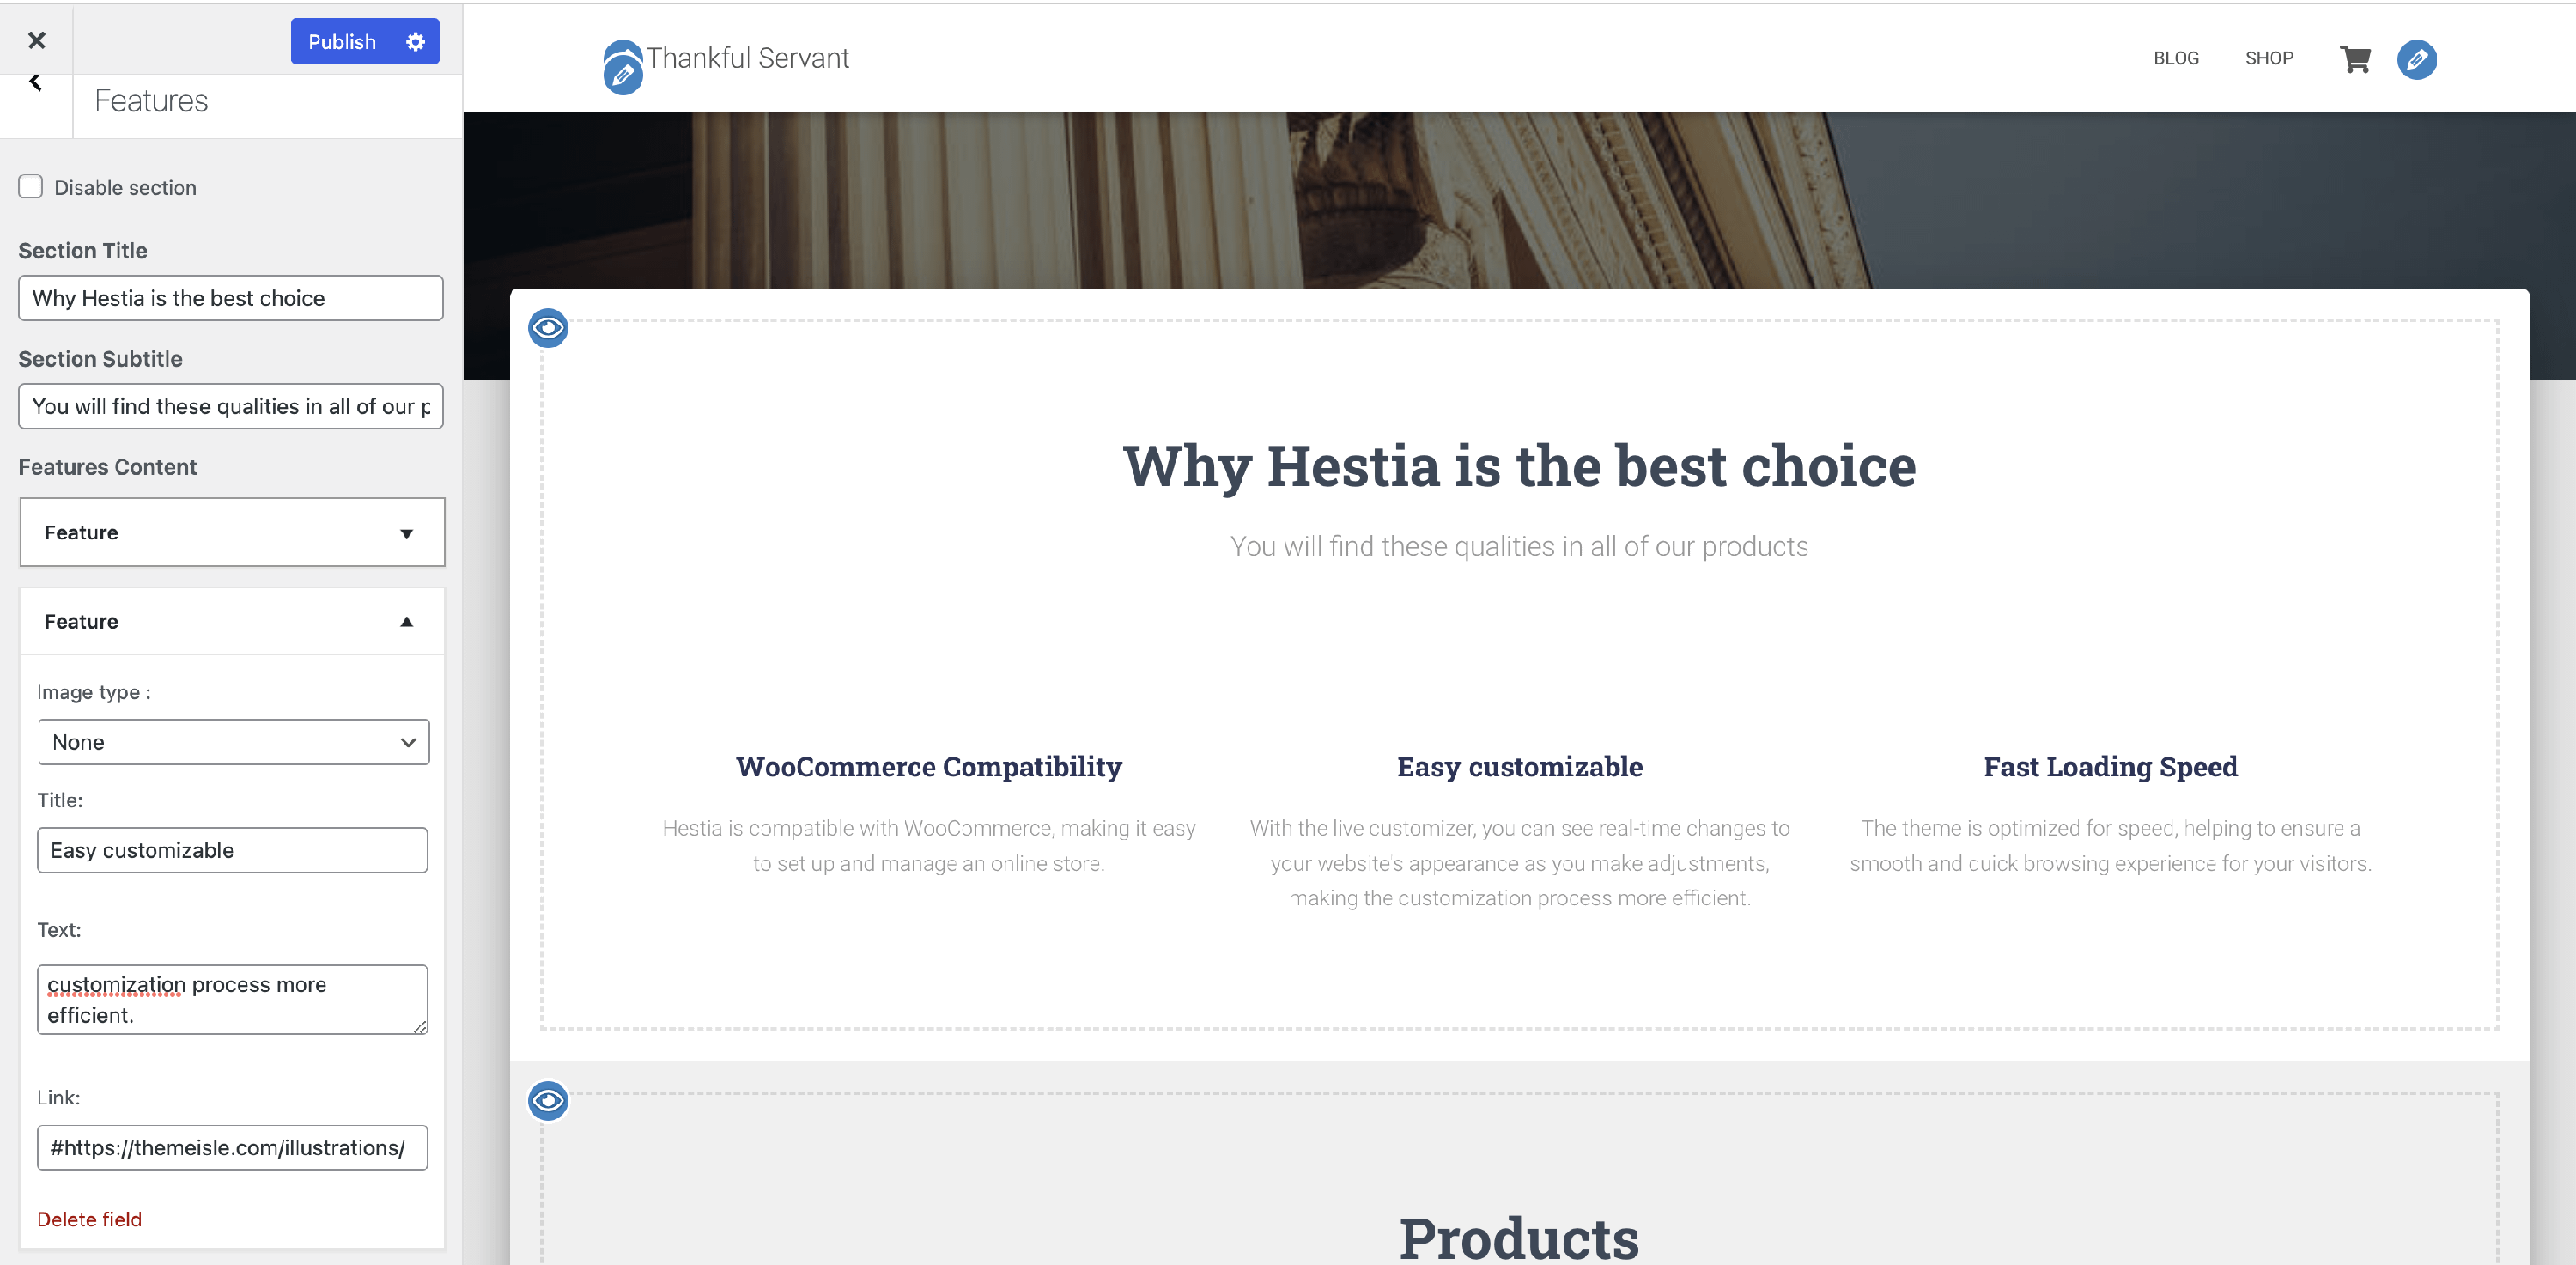
Image Type - None
In this article
Linking Feature Boxes to Pages or Categories
Each feature box includes a Link field that lets you make the icon or title clickable and direct visitors to any page or category on your site.
Required URL format
The Link field requires a complete absolute URL. Always include the full address, starting with https://.
Examples of correct links:
- A site page:
https://yoursite.com/about/ - A product category:
https://yoursite.com/product-category/accessories/ - A post category:
https://yoursite.com/category/recipes/ - An external site:
https://example.com/
⚠️ Links: Always enter the full HTTPS URL in the Link field. Incomplete entries like /category/recipes (relative path) or #category/recipes (anchor fragment) will not work — the feature box will not navigate to the destination when clicked.
How to find a category URL
To get the correct URL for a WordPress category:
- Go to Posts > Categories (or Products > Categories for WooCommerce) in your WordPress dashboard.
- Hover over the category name and click View.
- Copy the full URL from your browser's address bar (e.g.,
https://yoursite.com/category/recipes/). - Paste that URL into the Link field of the feature box in the Customizer.
Using Custom Images in the Features Section
Can I upload custom icons?
The Icon option accepts FontAwesome icons only. If you paste a Media Library URL or any image path into the Icon field, it will not display your image. To use a custom image in a Feature box, use the Image type (Hestia Pro) or the CSS workaround described below.
Use the Image option for uploaded images
If you have Hestia Pro, you can avoid the Icon limitation entirely by switching the Feature box to use an image instead:
- Open Appearance > Customize and navigate to the Features section.
- Select the Feature box you want to update.
- Set Image type to Image.
- Upload or select your image from the Media Library, or paste a direct image URL.
This is the recommended approach for displaying custom icons, logos, or branded images in Feature boxes.
📝 Note: The Image option is only available in Hestia Pro. If you are using the free Hestia theme, use the CSS workaround below instead.
CSS workaround: replace a Font Awesome icon with a custom image
If you are using the free Hestia theme (or prefer not to switch to the Image type), you can visually replace a FontAwesome icon with a custom image using Additional CSS. This technique hides the icon glyph and shows your uploaded image as a background instead.
Steps:
- Upload your custom icon image to your Media Library (Media > Add New) and copy its URL.
- In the Customizer, set the Feature box Image type to Icon and choose any FontAwesome icon (note the class name shown, e.g.
fa-rocket). - Go to Appearance > Customize > Additional CSS and add the following snippet, replacing
fa-your-icon-classwith the FontAwesome class you selected and updating the URL with your image URL:
/* Replace one selected Font Awesome icon in the Features section with a custom image */
.hestia-info .icon > i.fa-your-icon-class {
  display: inline-block;
  width: 64px;
  height: 64px;
  background-image: url('https://your-site.com/wp-content/uploads/your-icon.png'); /* replace with your actual image URL */
  background-size: contain;
  background-repeat: no-repeat;
  background-position: center;
}

.hestia-info .icon > i.fa-your-icon-class:before {
  content: '' !important;
}- Click Publish to save the changes.
📝 Note: Each Feature box that uses a different FontAwesome icon will need its own CSS rule with the matching fa-* class. If two Feature boxes share the same FontAwesome icon, the same CSS rule will apply to both.