How to adjust header image position and fix cropping in Hestia
If your header background image looks cropped or the focal point is off — for example, the subject of the photo is cut out of view — this guide explains why it happens and how to fix it.
In this article
Default behavior
By design, Hestia uses the featured image of a post or page as the header background image. This means whatever image you set as the featured image will automatically appear in the header area as well.
Because the featured image is displayed in a wide, short banner format in the header, a portrait or square image may be cropped in a way that cuts out the most important part of the photo.
📝 Note: There is no built-in per-page setting to use a separate image for the header and the featured image. The two are linked by default.
Adjust the header image focal point with CSS
You can control which part of the image is shown in the header by changing the CSS background-position property. This lets you shift the focus area without cropping the image differently or uploading a new one.
1. Go to your WordPress dashboard and navigate to Appearance > Customize.
2. Click Additional CSS.
3. Add the following CSS snippet:
.header-filter {
    background-position: center top;
}
4. Click Publish to save your changes.
Available position values
You can replace center top with any of the following values to find the best framing for your image:
| Value | Effect |
|---|---|
center center | Centers the image both horizontally and vertically (default browser behavior) |
center top | Shows the top of the image |
center bottom | Shows the bottom of the image |
left top | Shows the top-left corner |
right top | Shows the top-right corner |
You can also use percentage values for more precise control, for example background-position: 50% 30%;.
⚠️ Important: This CSS applies to all pages on your site. If different pages need different focal points, see the Limitations and alternatives section below.
Set a site-wide header image
If you want the same header background image to appear on every post and page — regardless of individual featured images — you can set a global header image in the Customizer.
1. Go to Appearance > Customize.
2. Open Header Options > Header Settings.
3. Under Header Image, click Add new image and upload your image.
4. Enable the Enable Header Image Sitewide toggle to apply the image across all pages.
5. Click Publish.
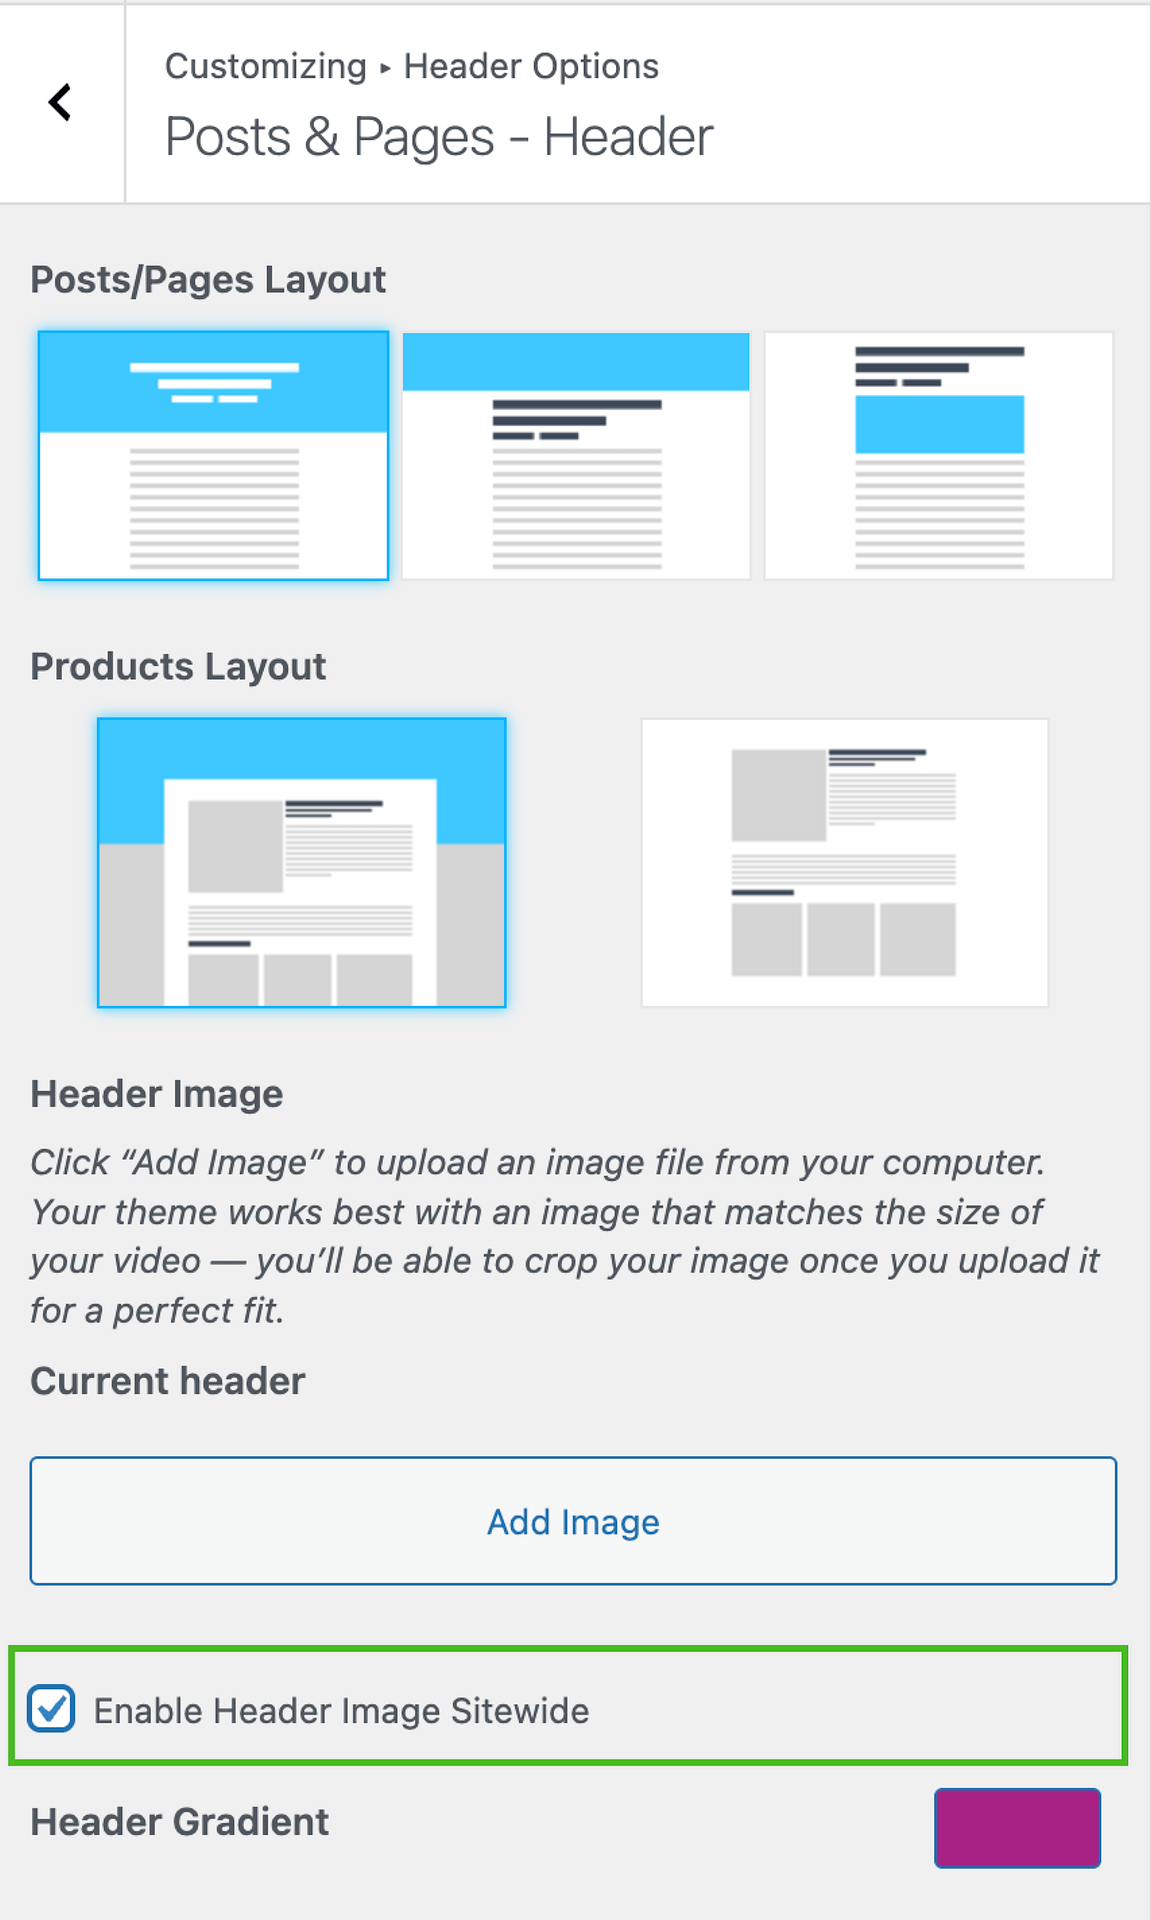
📝 Note: When a sitewide header image is set, it overrides the featured image in the header for all posts and pages.
Limitations and alternatives
The CSS fix is global — the
background-positionchange affects every page header on the site. If you need different focal points for different pages, that requires custom development using a child theme.Per-page image control requires creating a child theme and hooking into the
hestia_header_wrapper_background_filterfilter to return different images per page or post. See How to create a child theme for Hestia for a starting point.Category pages have their own header image setup. See How to use categories featured images as header image in Hestia for details.
Header height affects how much of the image is visible. If increasing the header height would help, see How to increase Post/Page header height in Hestia.
For page-level layout options such as disabling the header entirely on specific pages, see Hestia Page/Posts Layout.