How to manually update to the latest version
This article covers three methods to manually update to the latest version:
In this article
Before you update
Before you update a theme or plugin, make a full backup of your website. This matters most when the version you are running is several releases behind: every site runs its own combination of plugins, custom code, and hosting, so no update can be guaranteed to leave every site untouched. A backup lets you put the site back the way it was if something looks wrong.
1. Back up both your files and your database — a backup you can actually restore from needs both. Follow How to Backup a WordPress Site for the UpdraftPlus procedure, wait until the backup reports as finished, then download a copy to your own computer so it does not depend on the live server.
2. Check whether the theme or plugin files have been edited directly. An update overwrites those files, so move the changes into a child theme first.
3. If your host offers a staging site, update the staging copy first and review your homepage, a few posts, the header, the navigation, and the mobile layout there before you touch the live site.
4. After updating the live site, clear the cache and repeat the same checks.
⚠️ Important: The Rollback button only takes you back one release. If you update across several versions at once, restoring your backup is the only way to undo it — which is why the backup comes first.
Using the embedded option
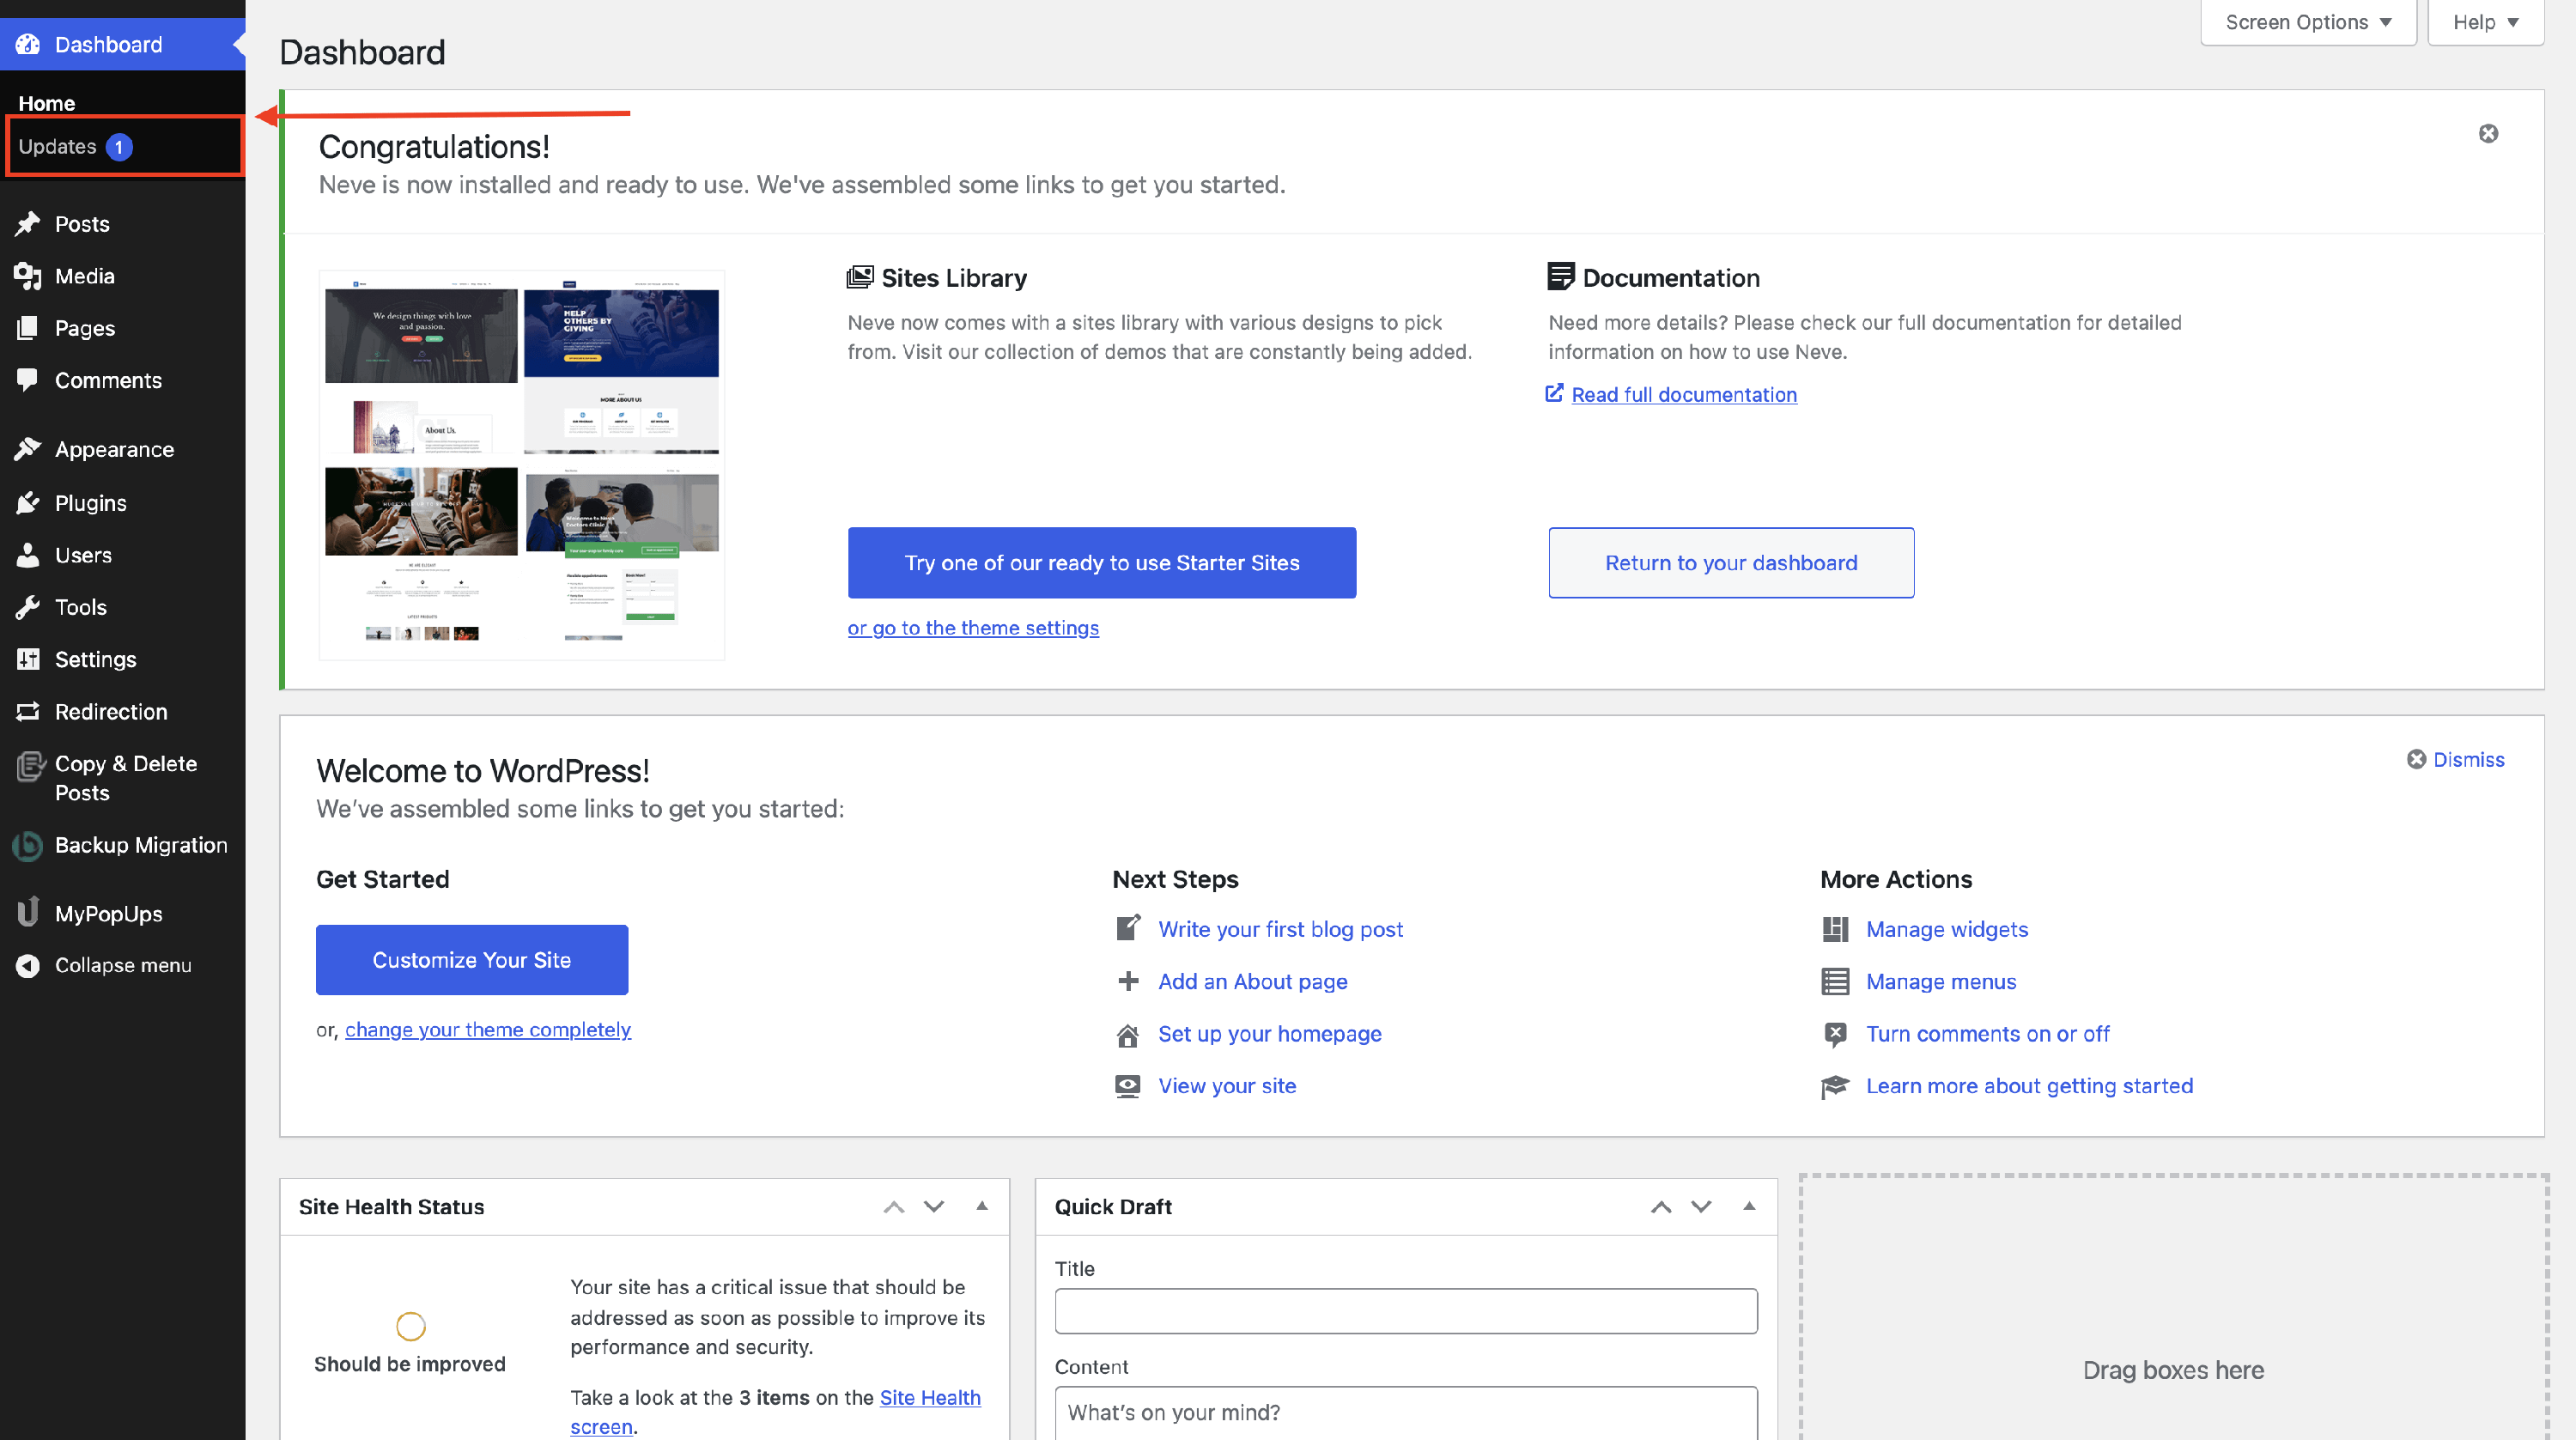
Navigate to Dashboard > Updates.
There you will see the current version of WordPress (1), the status of the plugins (2), and the status of the themes (3):
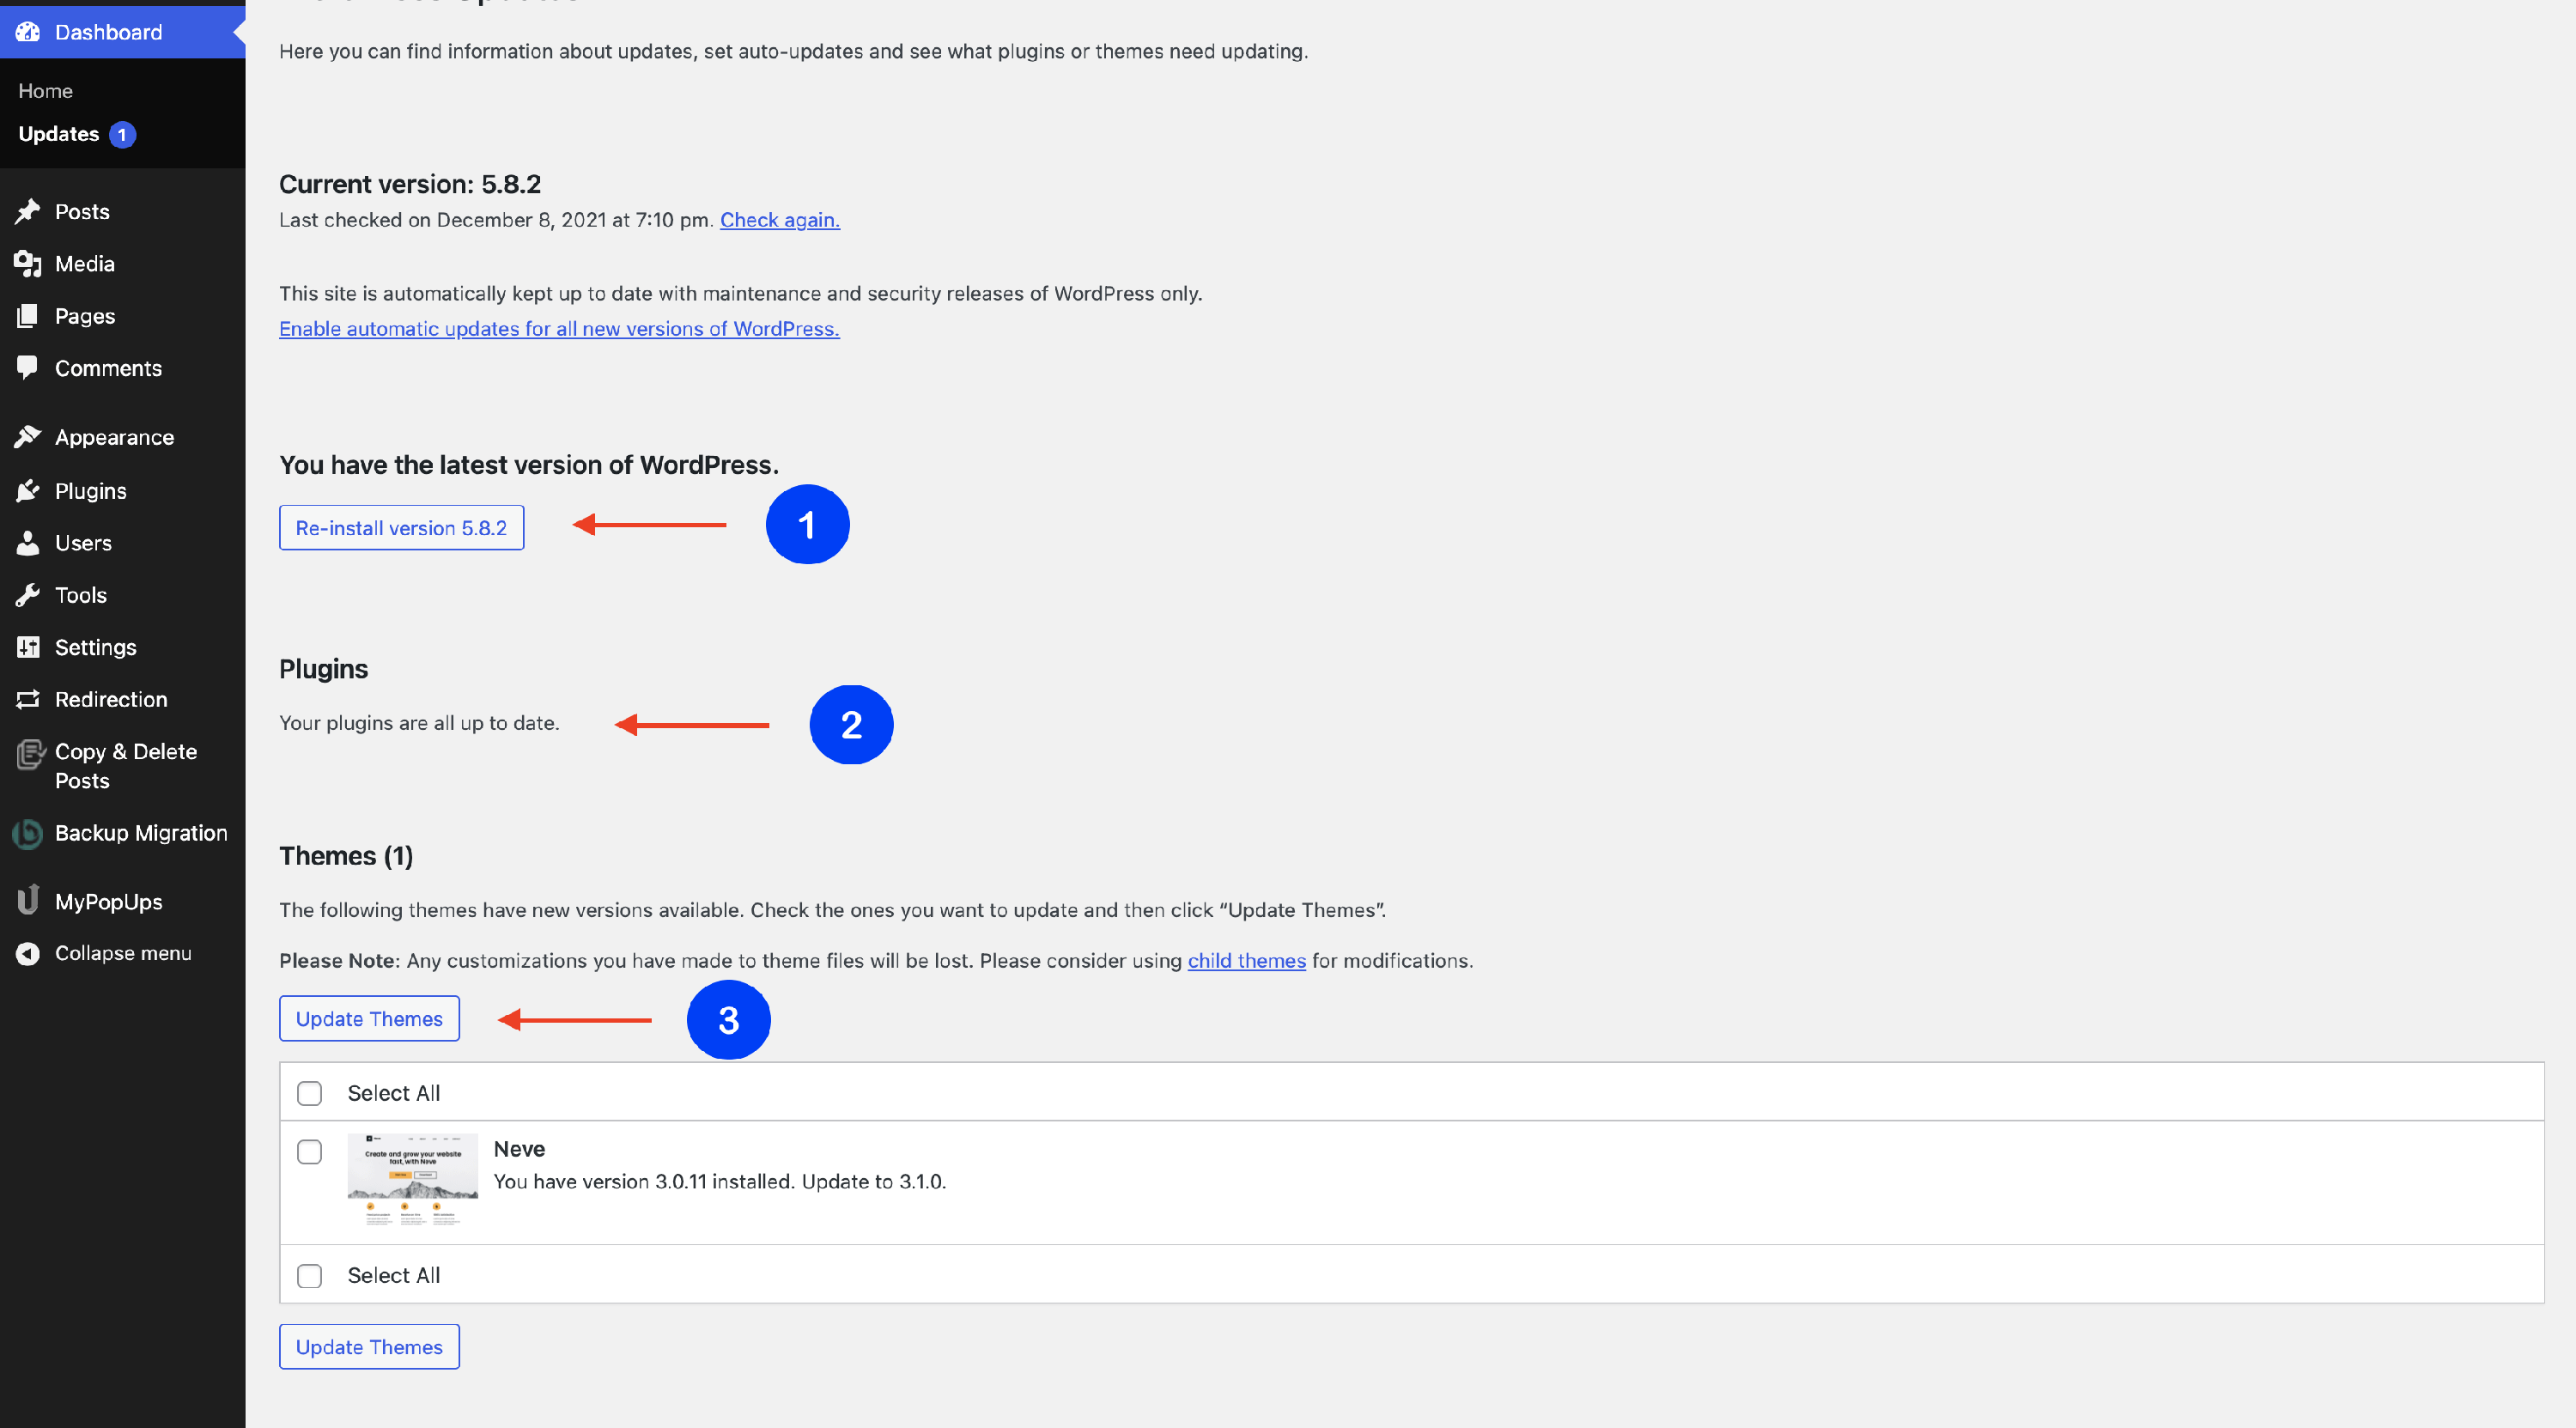
In this case, the Neve theme is not up to date. To update it, select the theme and click on Update Themes.
📝 Note: It's the same process for both themes and plugins.
Replace and Upload
If you already have the plugin / theme installed and you want the newest version, you can easily update to the latest version:
Go to the Plugins ( for plugin replacement ) or to Appearance > Themes ( for theme update ) and check what's the latest version you have.
Then, navigate to Add New ( in any of the cases ) and search the desired plugin / theme.
After clicking on the install button, you will be redirected to a page that asks you if you want to replace the current version with the one installed.
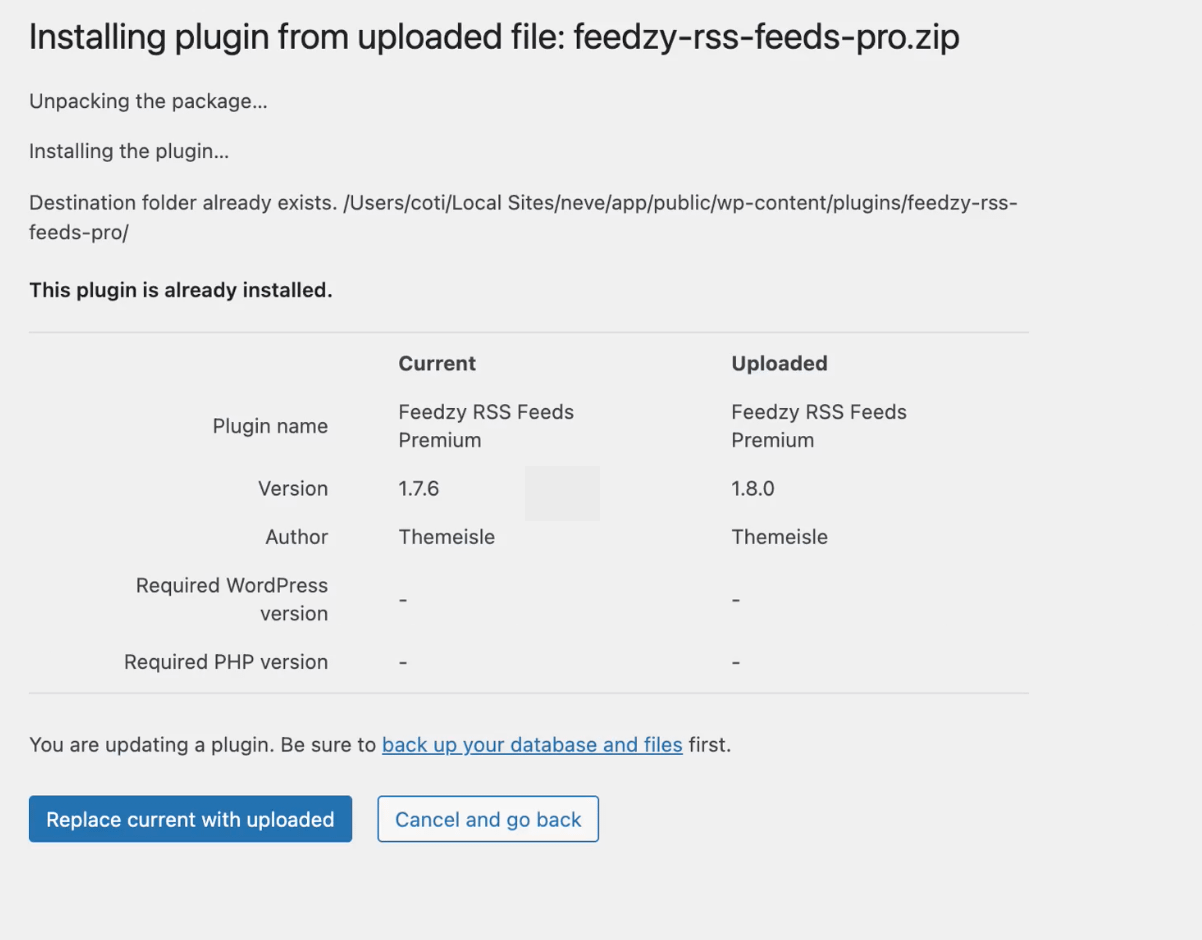
Click on Replace current with uploaded and that's it!
Using the FileZilla
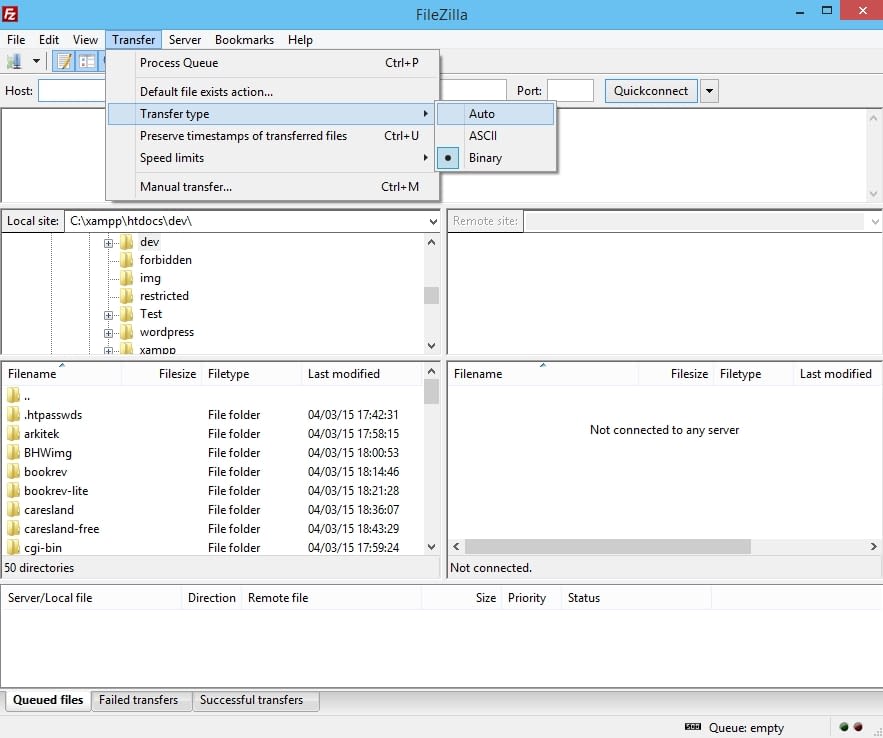
If you do not have an FTP client then please download and install FileZilla, then contact your web host for the FTP details for your website.
📝Note: If you're using Filezilla, please make sure to check transfer type ( binary ).
After you have Filezilla installed, download the theme/plugin and unzip it.
Overwrite the existing theme files through FTP by navigating to the WordPress installation directory usually inside public_html/wp-content/plugins/ ( for plugins ) or if it's a theme public_html/wp-content/themes/ ( for themes ). Your full path might be a bit different but you will always find the themes in wp-content/themes/ and the plugins in wp-content/plugins.
Simply copy all files from the previously extracted theme/plugin zip file and drag it over to the theme/plugin folder on your server and select "overwrite" when FileZilla prompts what to do.