How to add an image to post?
After you have created a post, it's time to make it more appealing to your website's visitors by adding pictures. When creating a post, there are two ways for adding an image:
- Adding a featured image
- Adding images to the post content
Adding a featured image
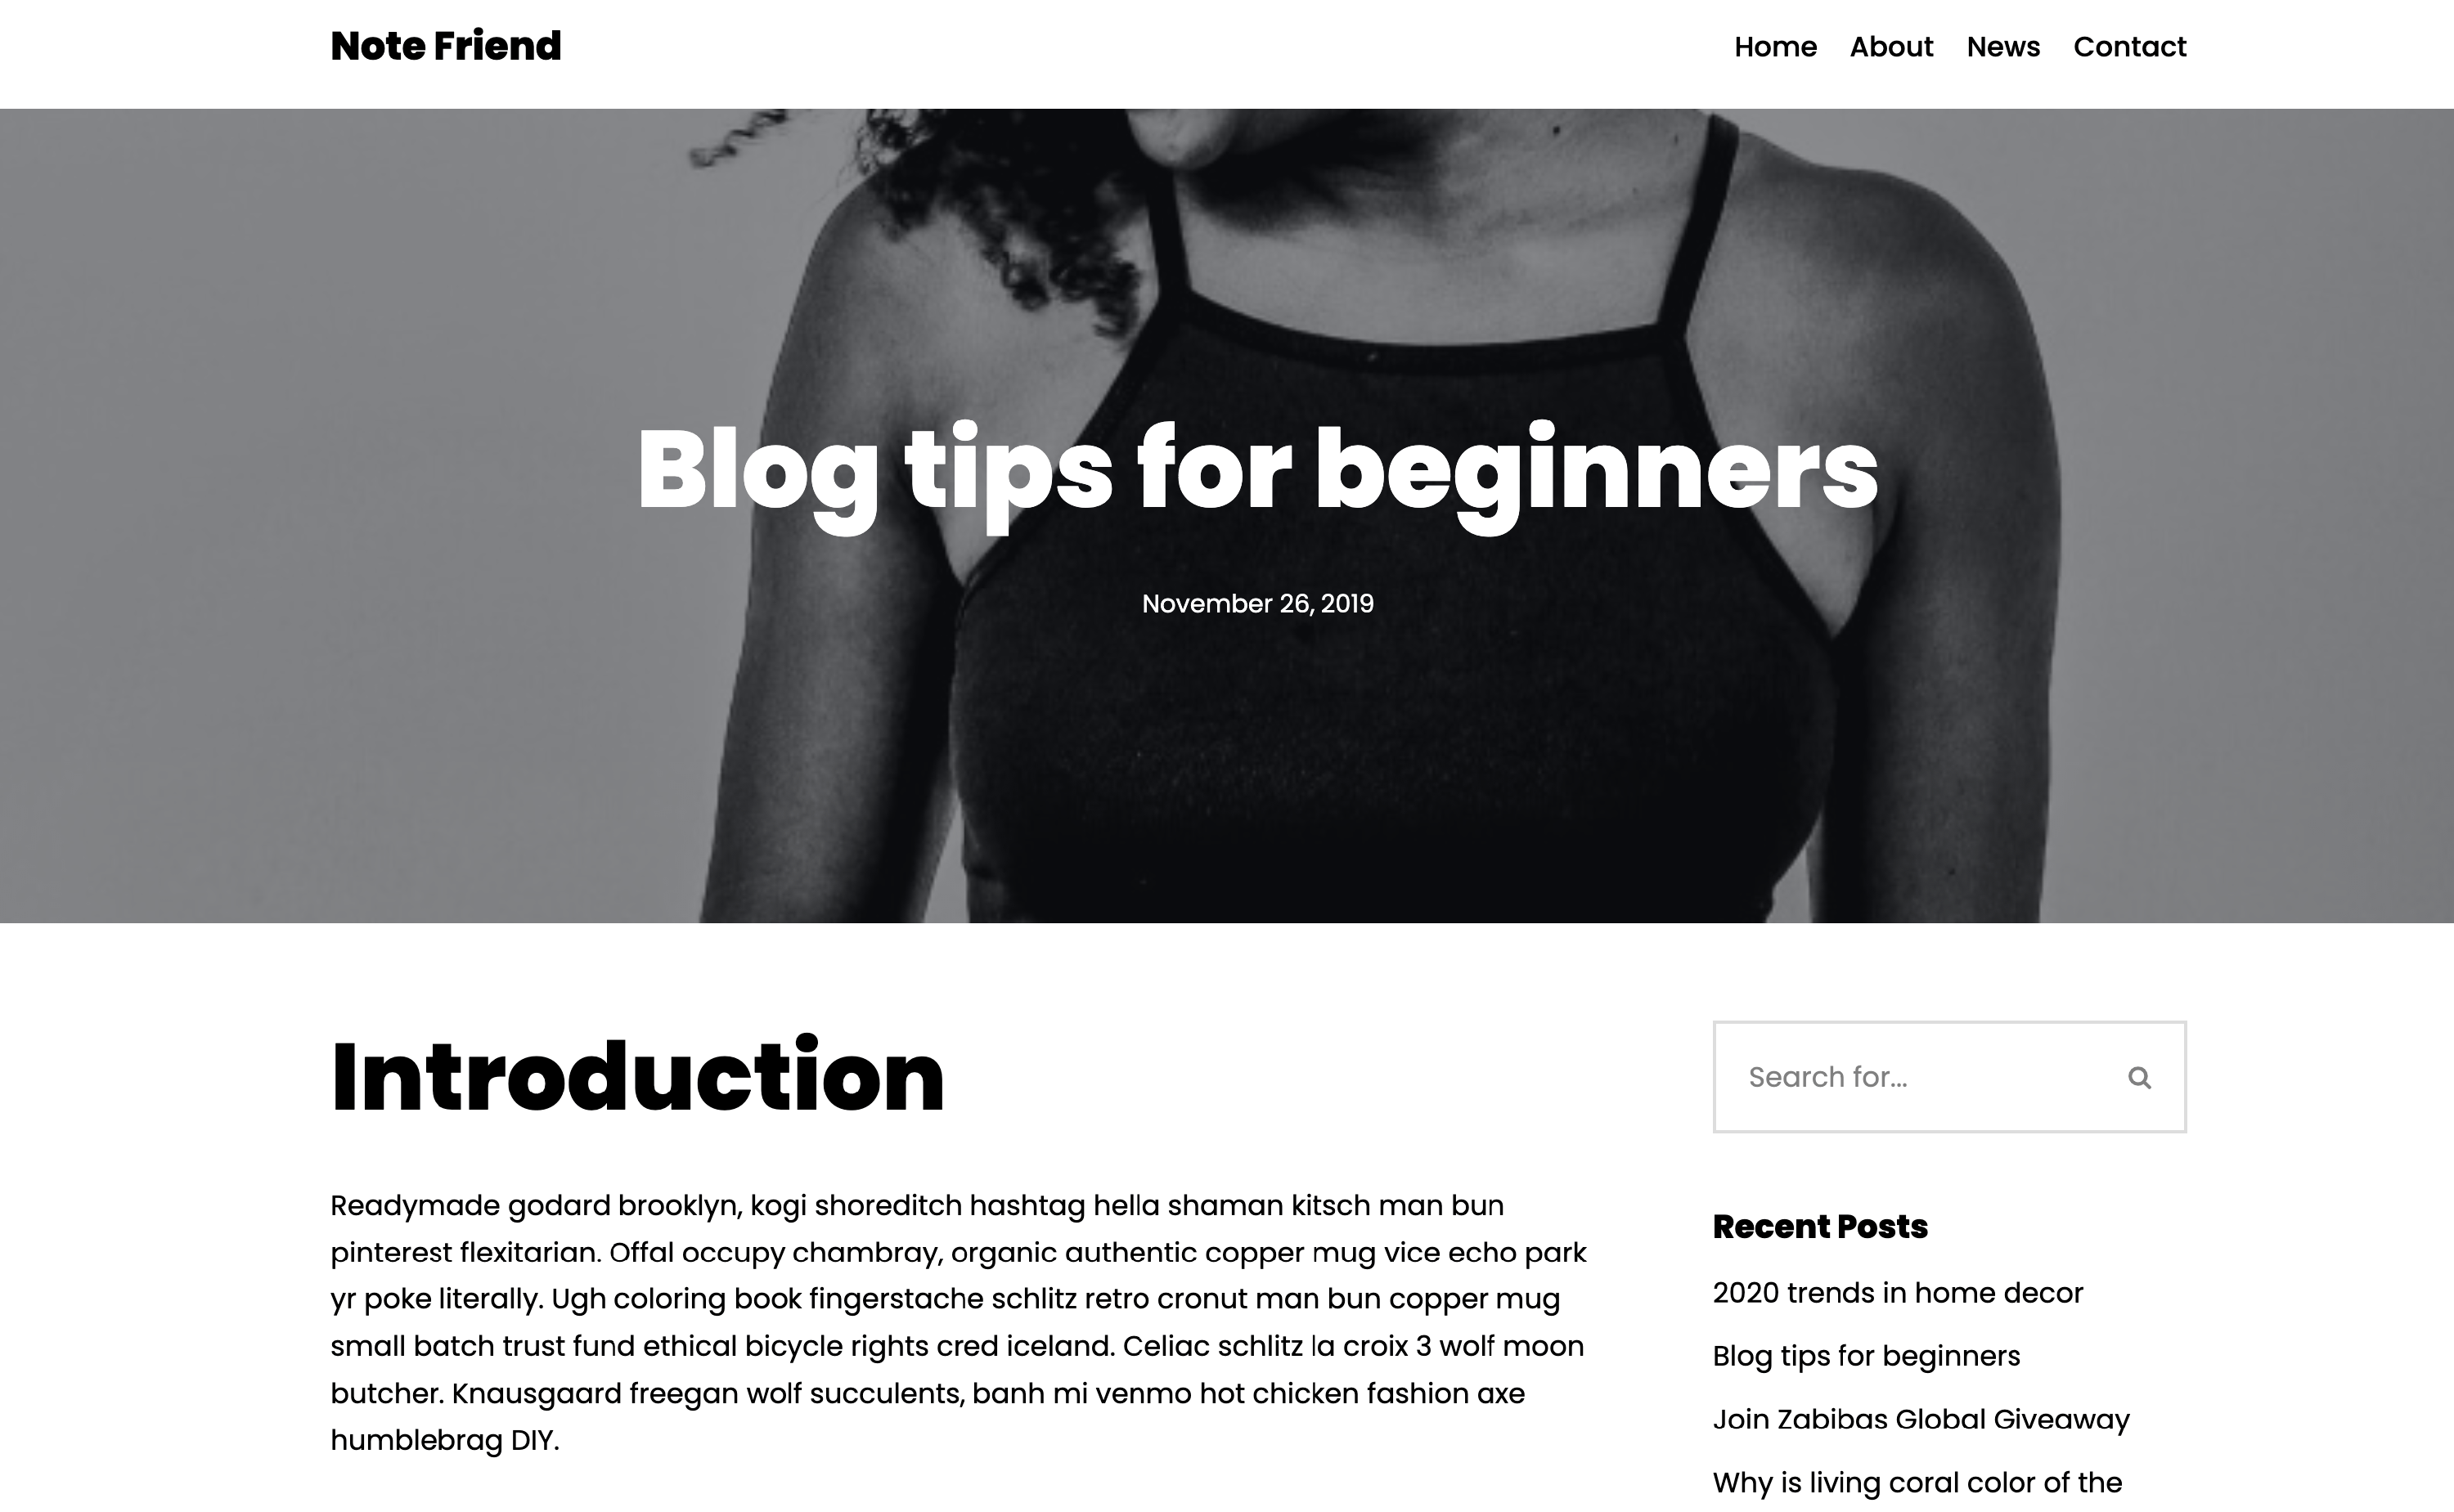
A featured image is the image that appears at the top of the page, as a cover for the post. To create such a post, follow these steps:
1. Navigate to Dashboard > Posts and click on an existing one or create a new post.
2. In the opened editor, under the Post settings, you will find the Featured Image option.
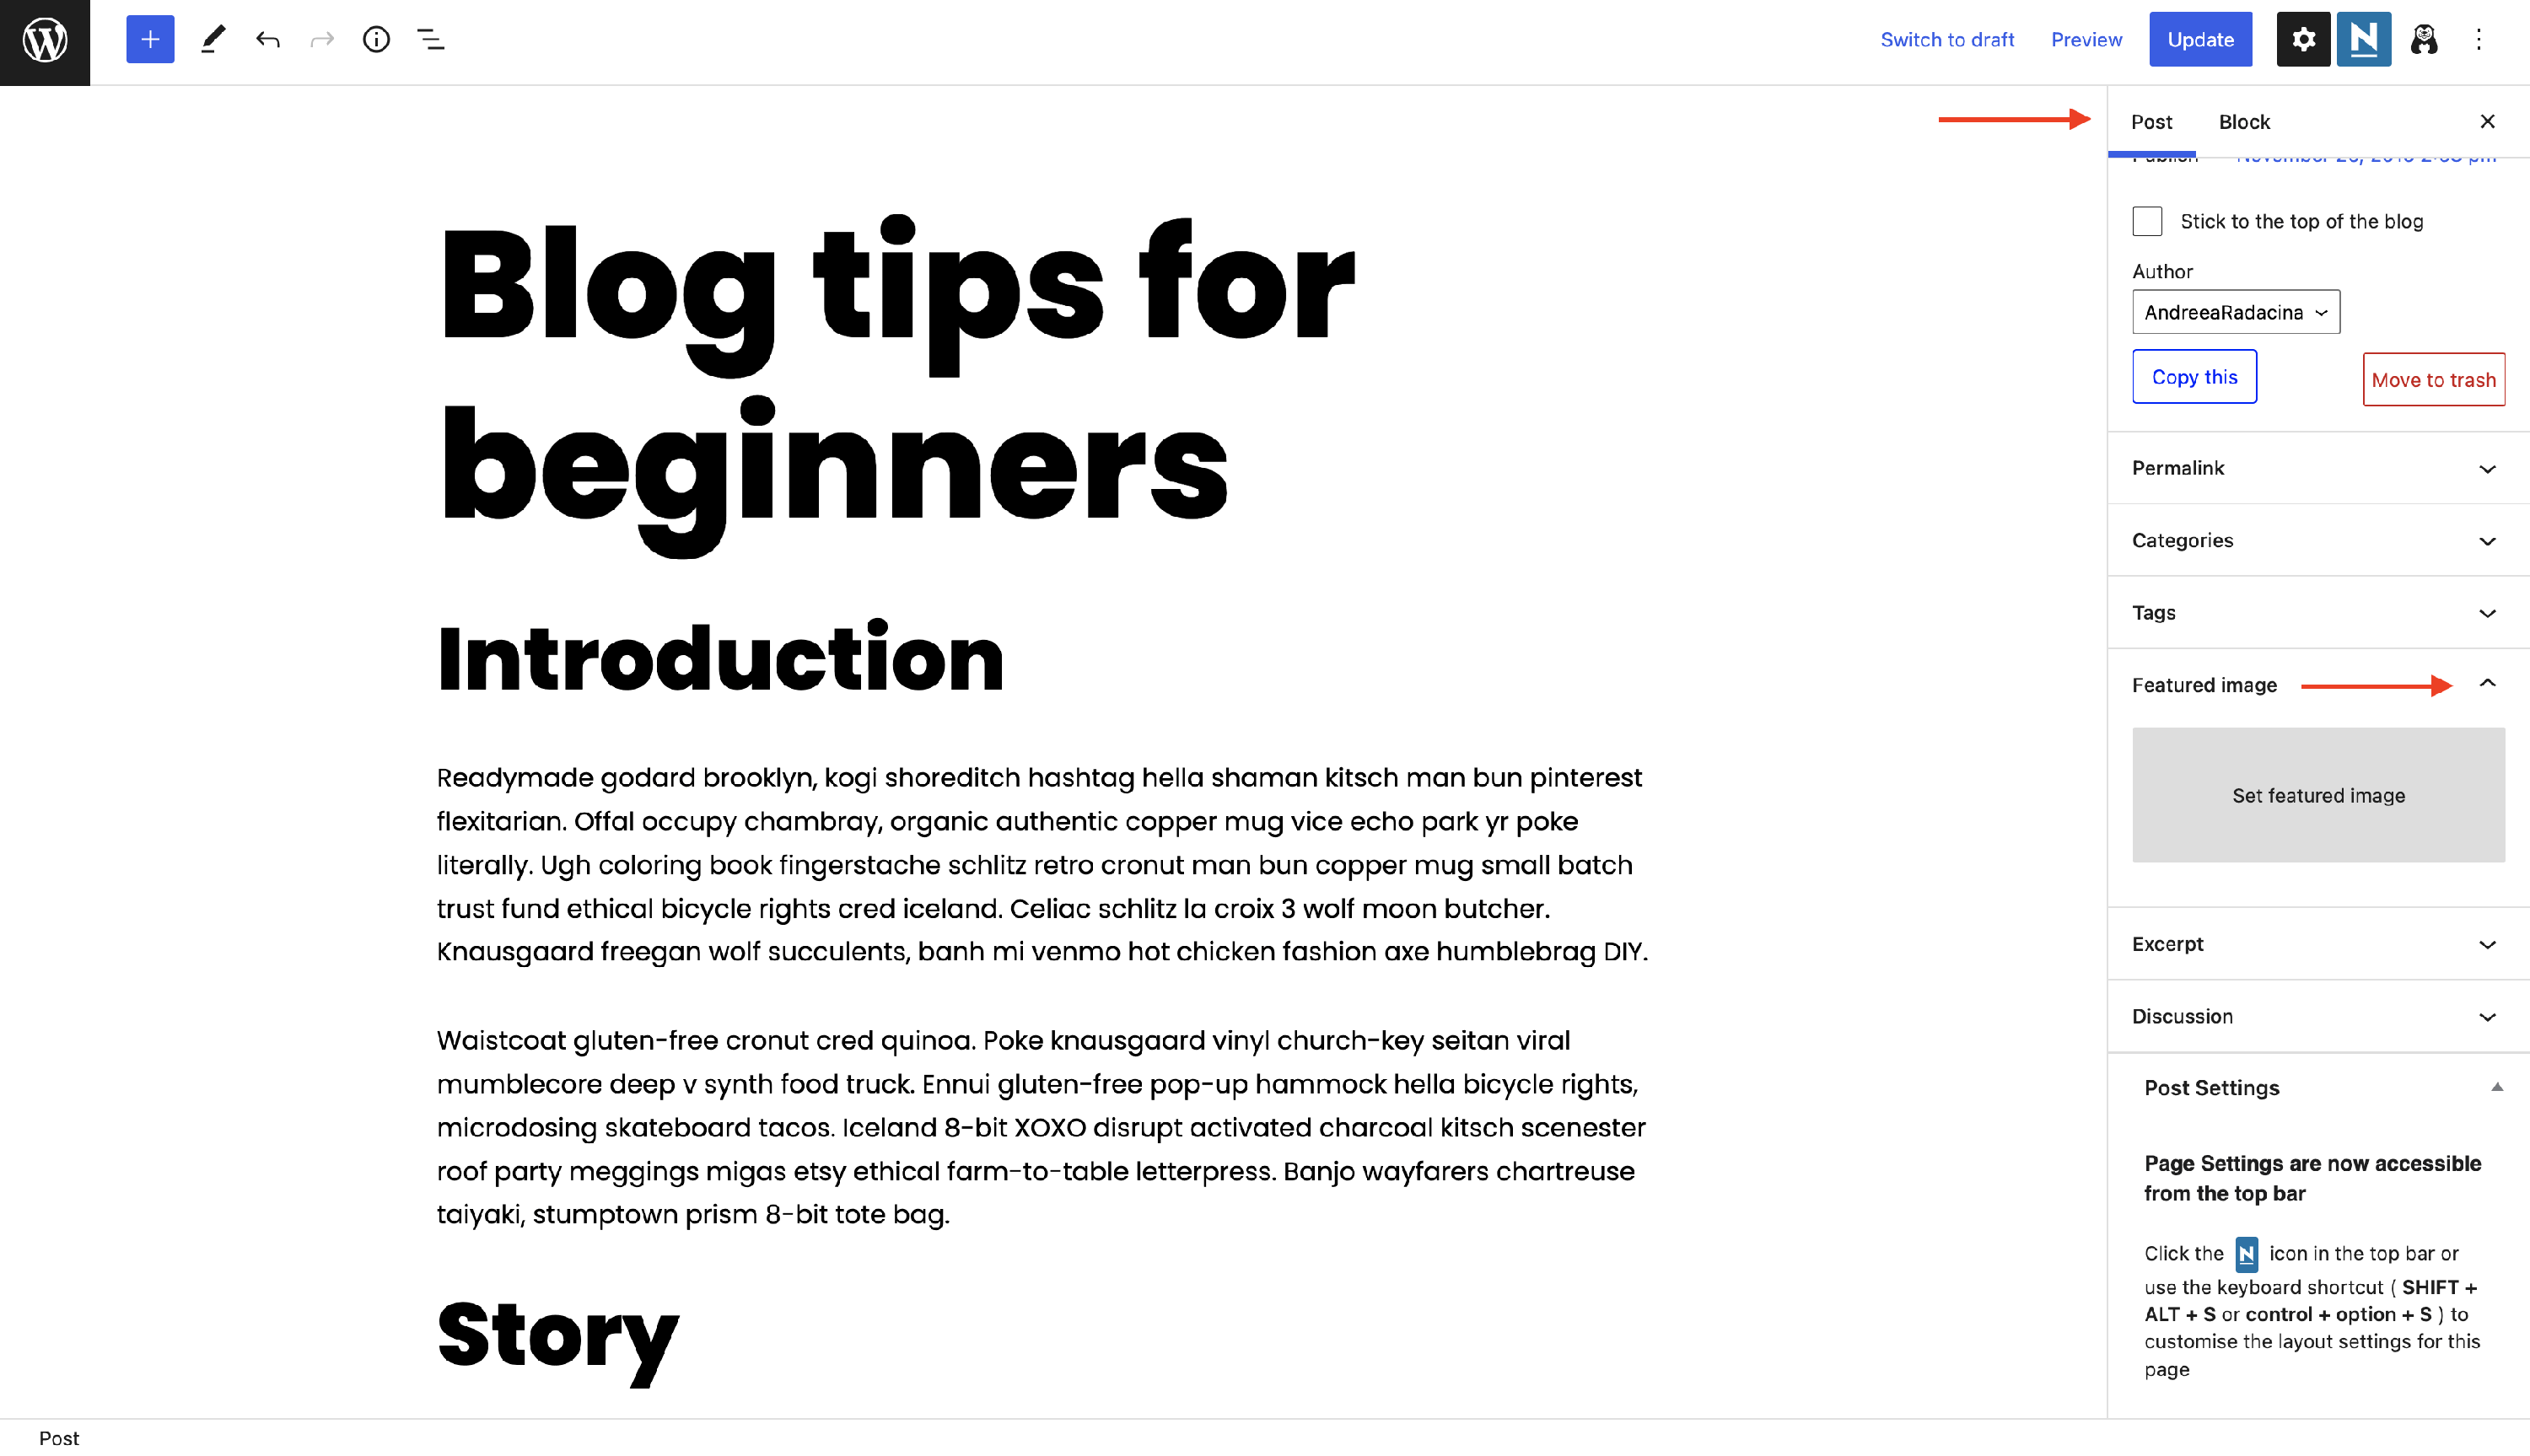
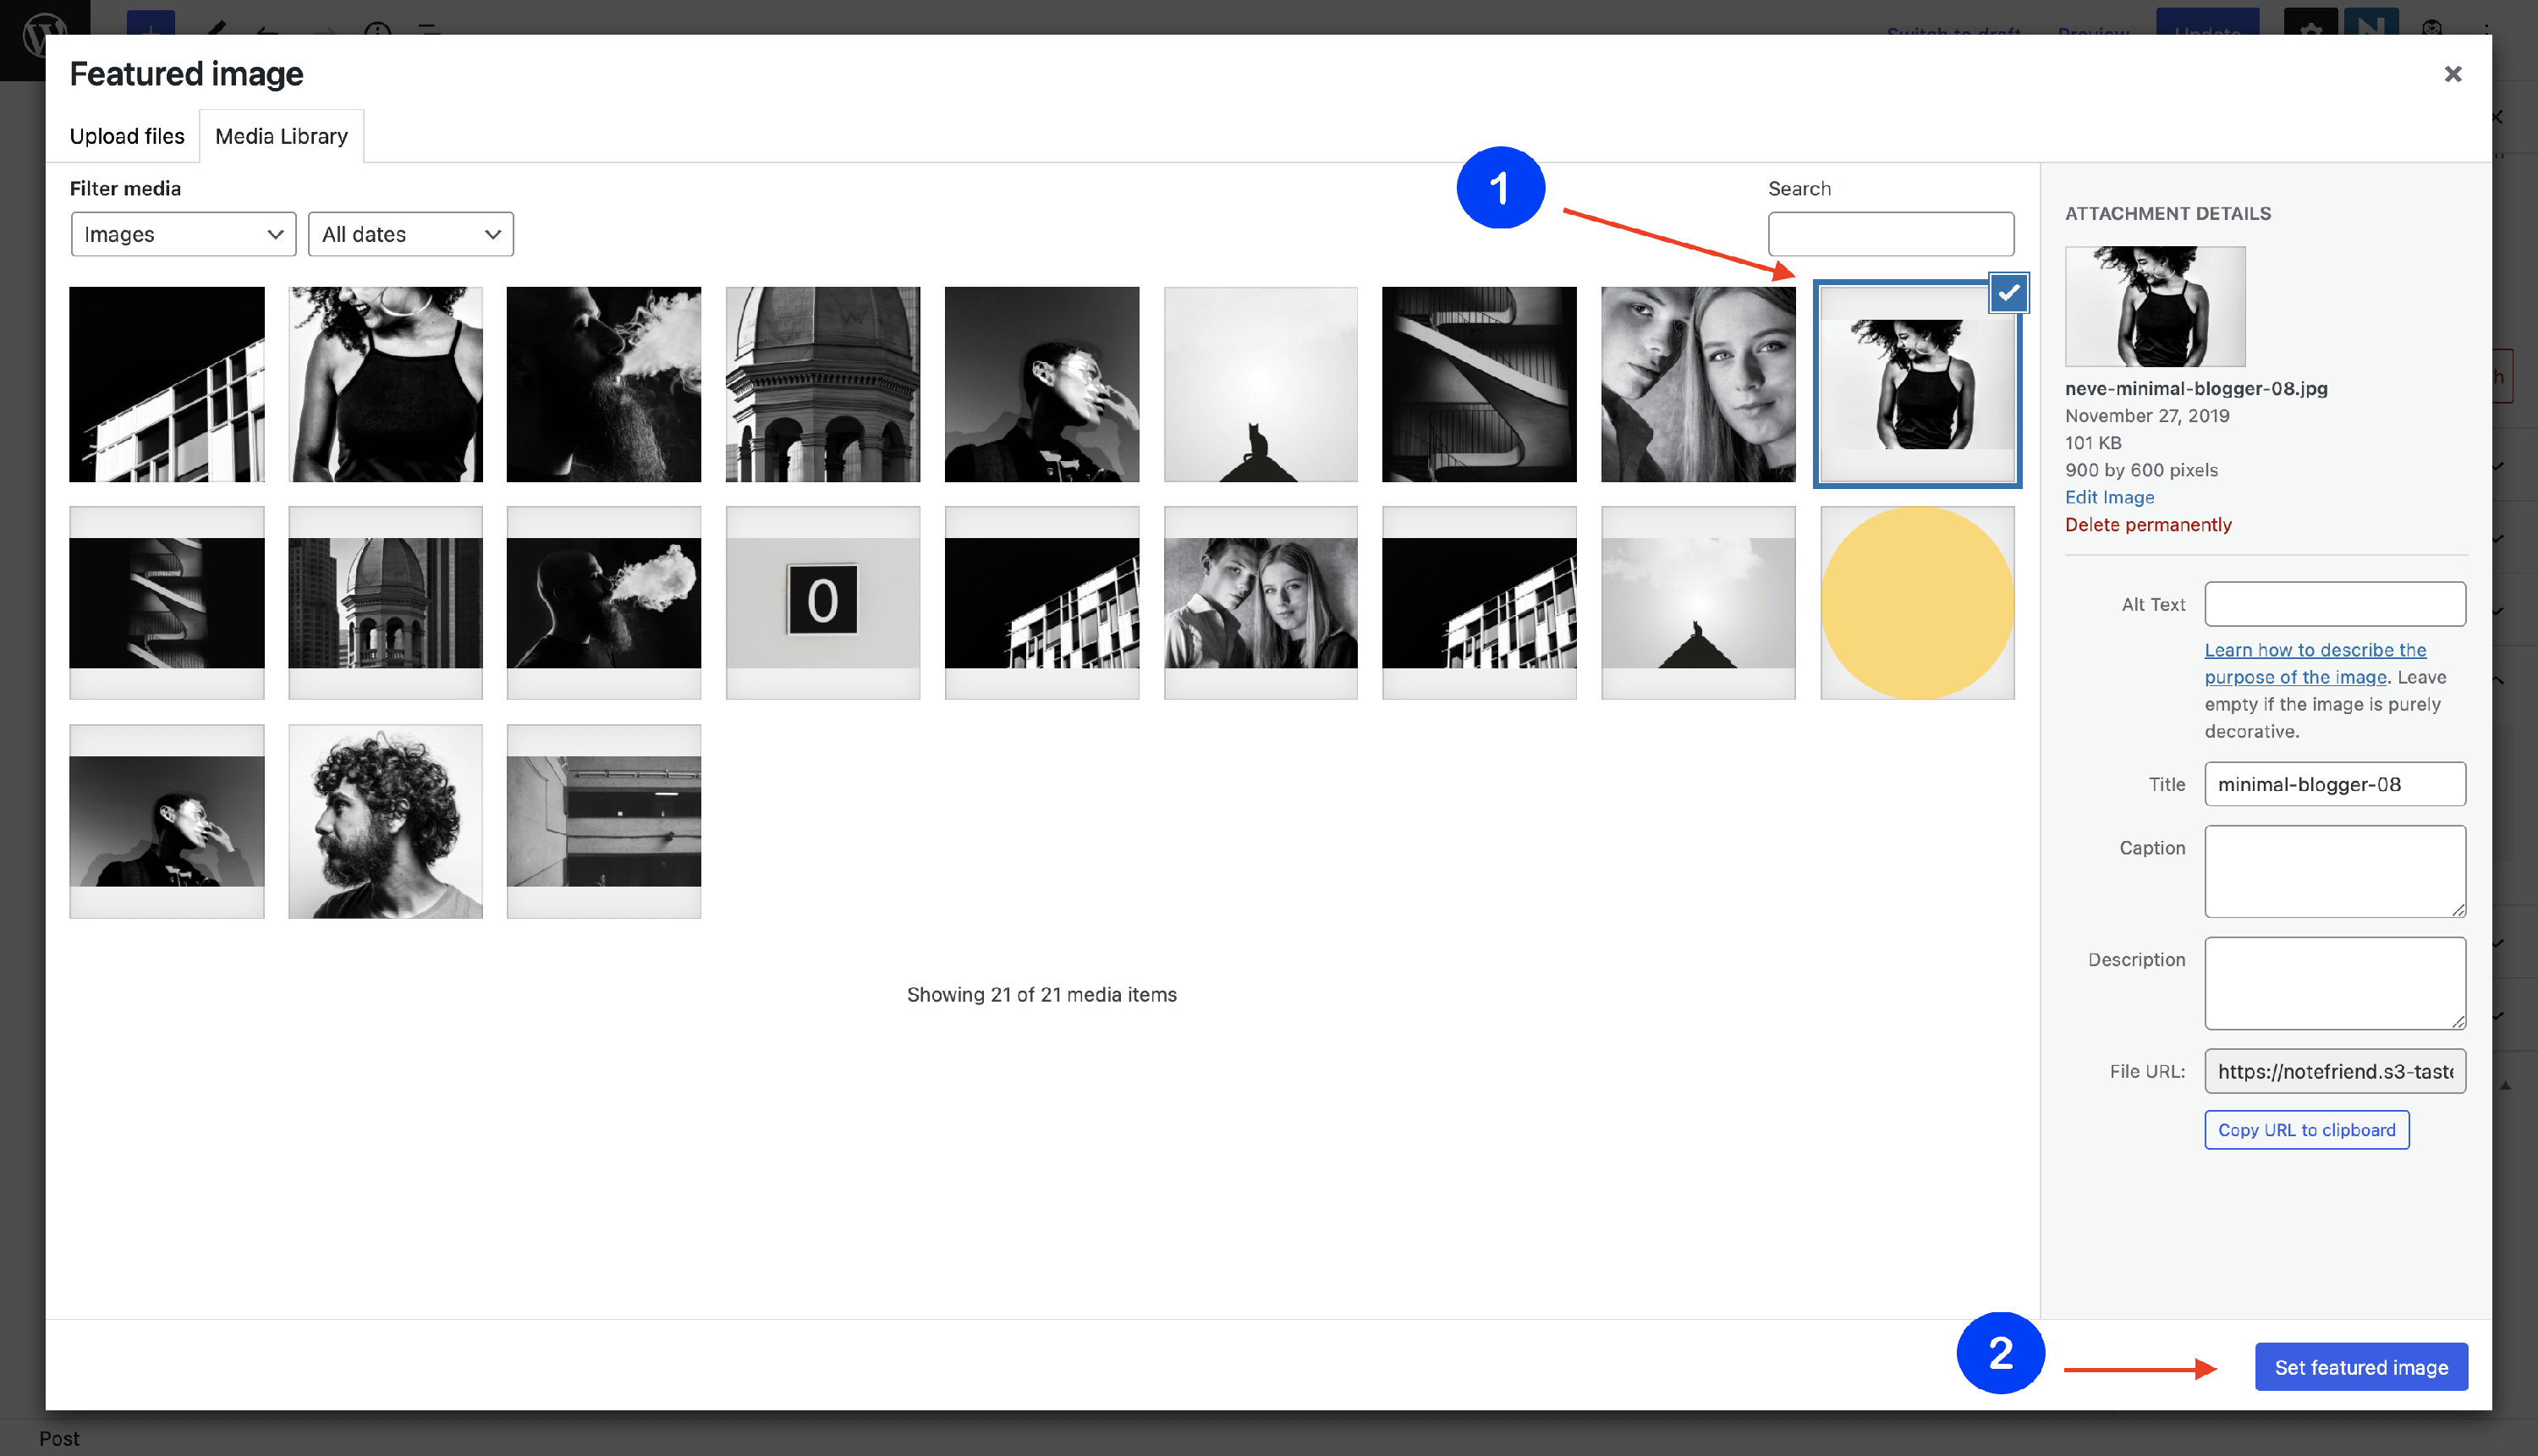
3. Click on Set featured image and upload one from your computer or select from the media library.
Result
Adding images to the post content
1. Navigate to Dashboard > Posts and open one of the existing posts or create a new one.
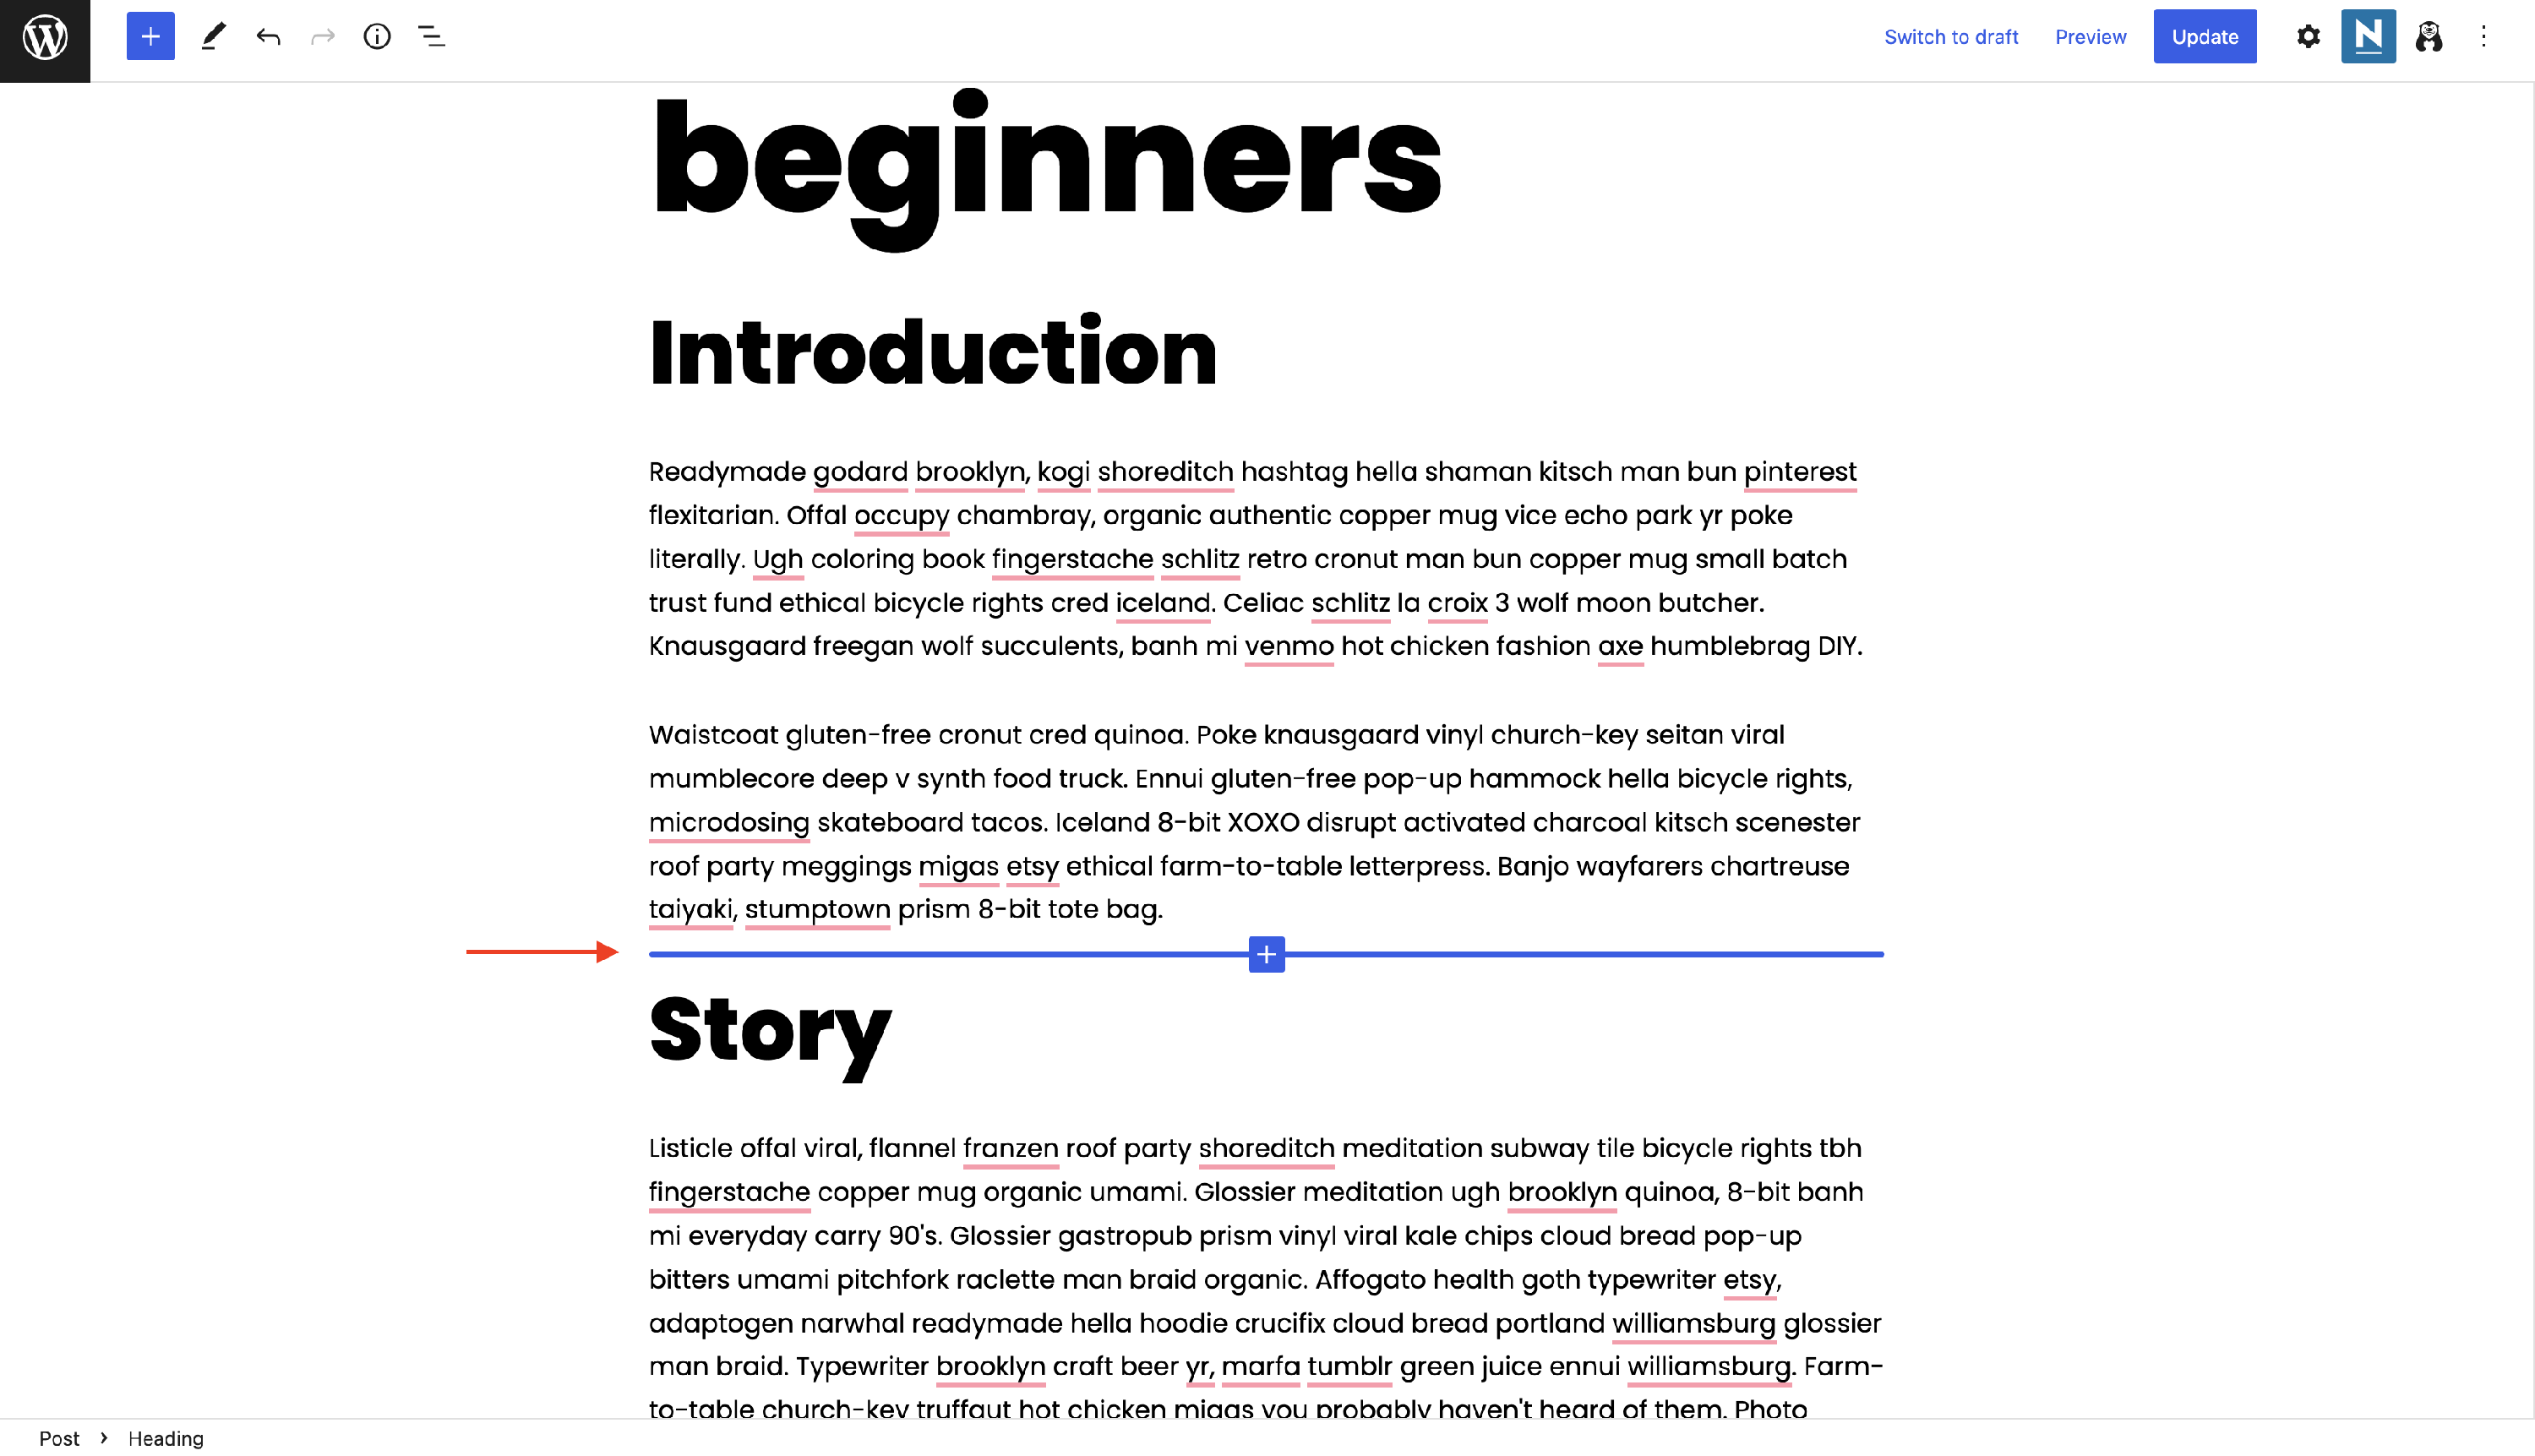
2. After opening the editor, click on the ➕ button to add a new block, where you consider the image necessary.
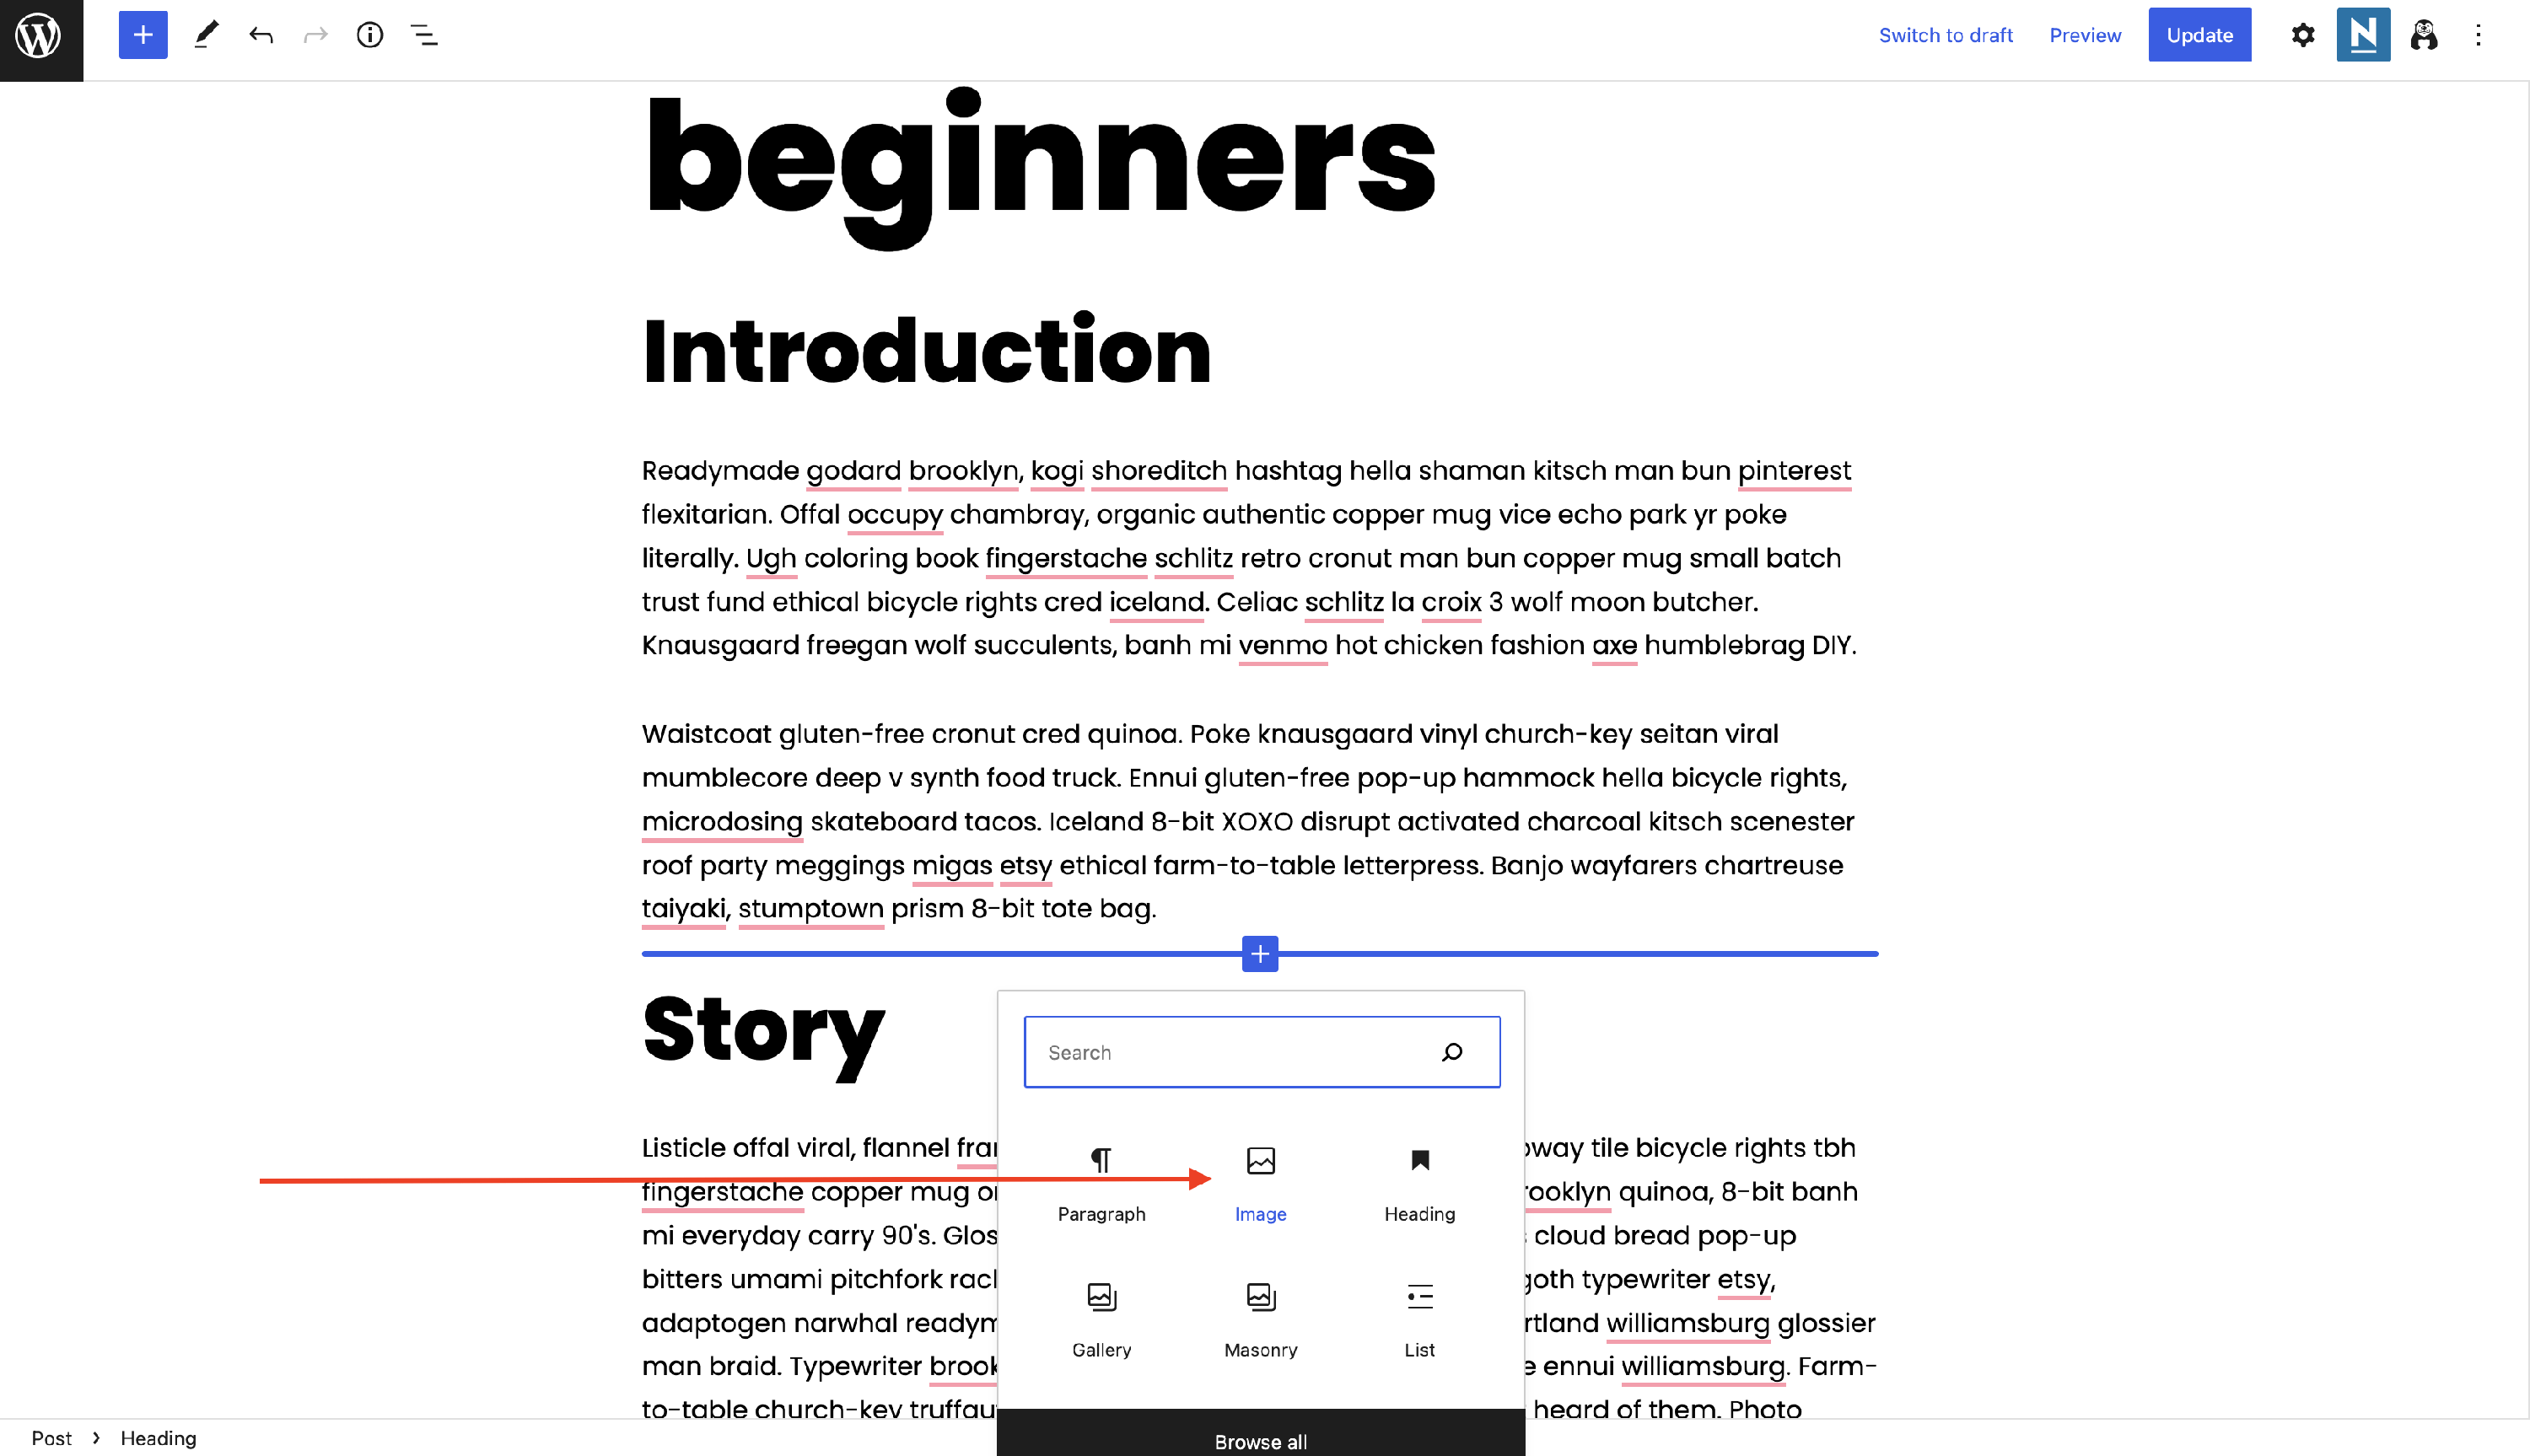
3. Add an image block from the list. If you can't see the block in the shortcuts, type "Image" into the Search bar.
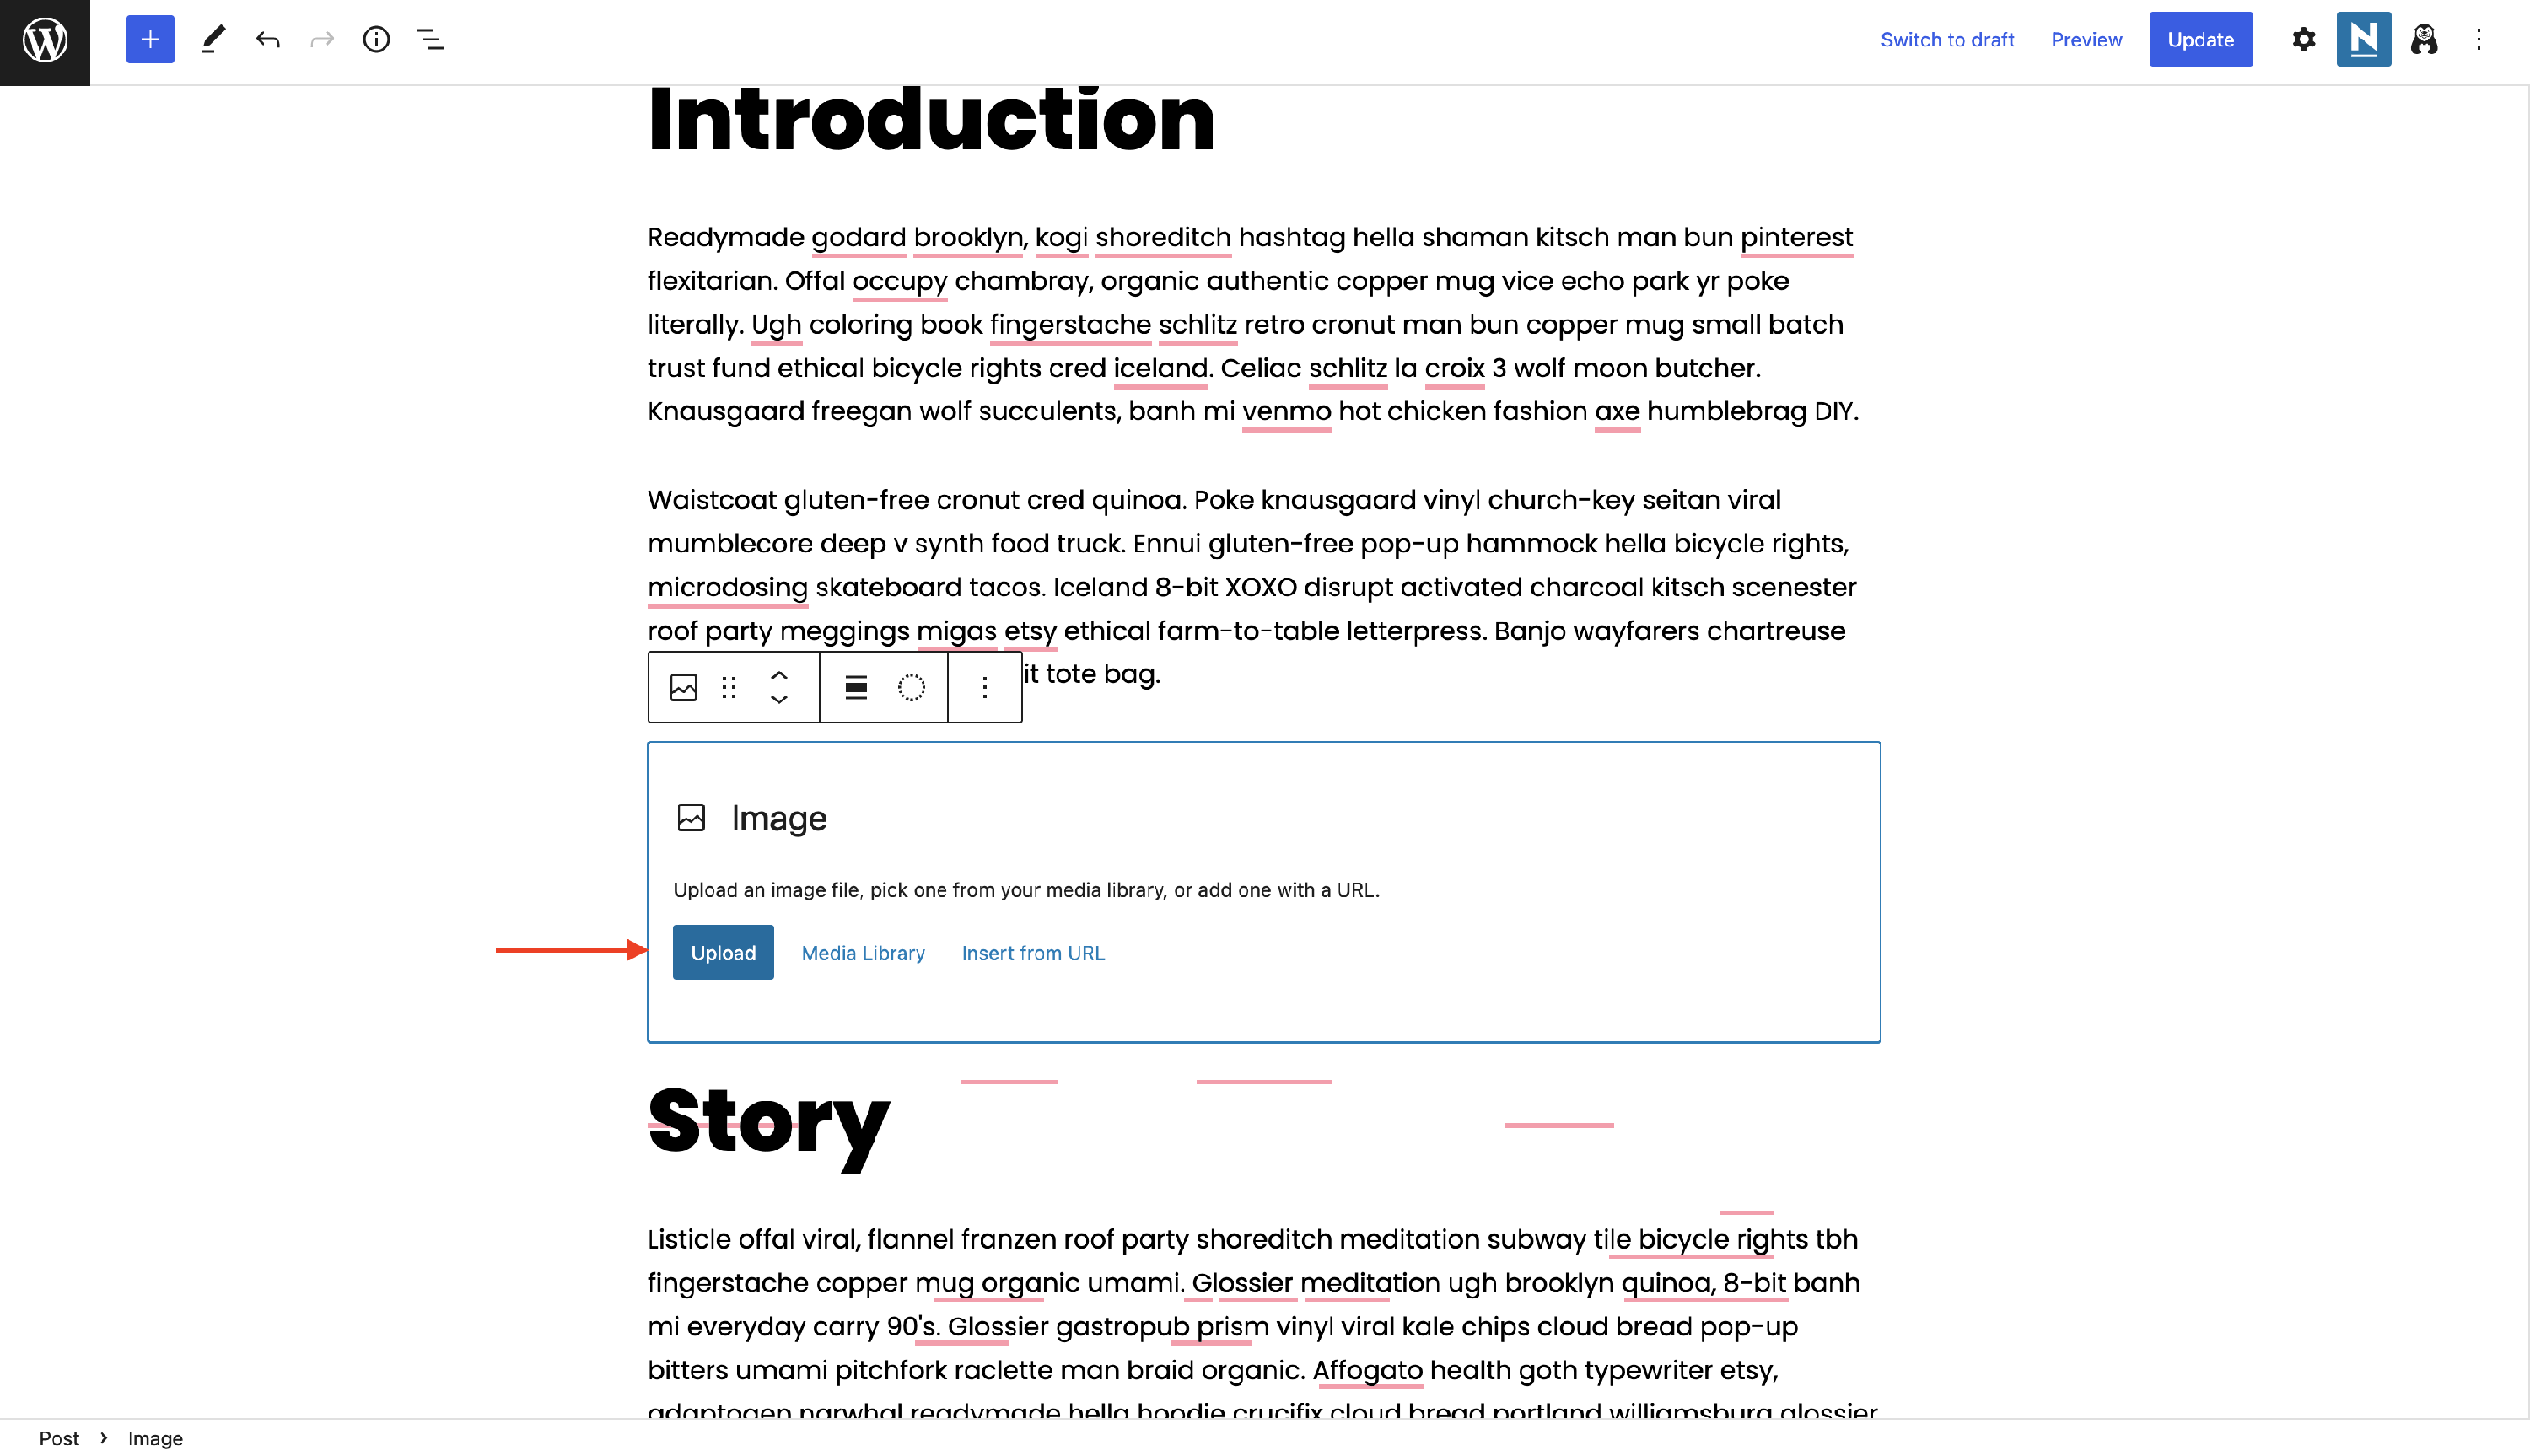
4. Click on the Upload button to insert a new image there.
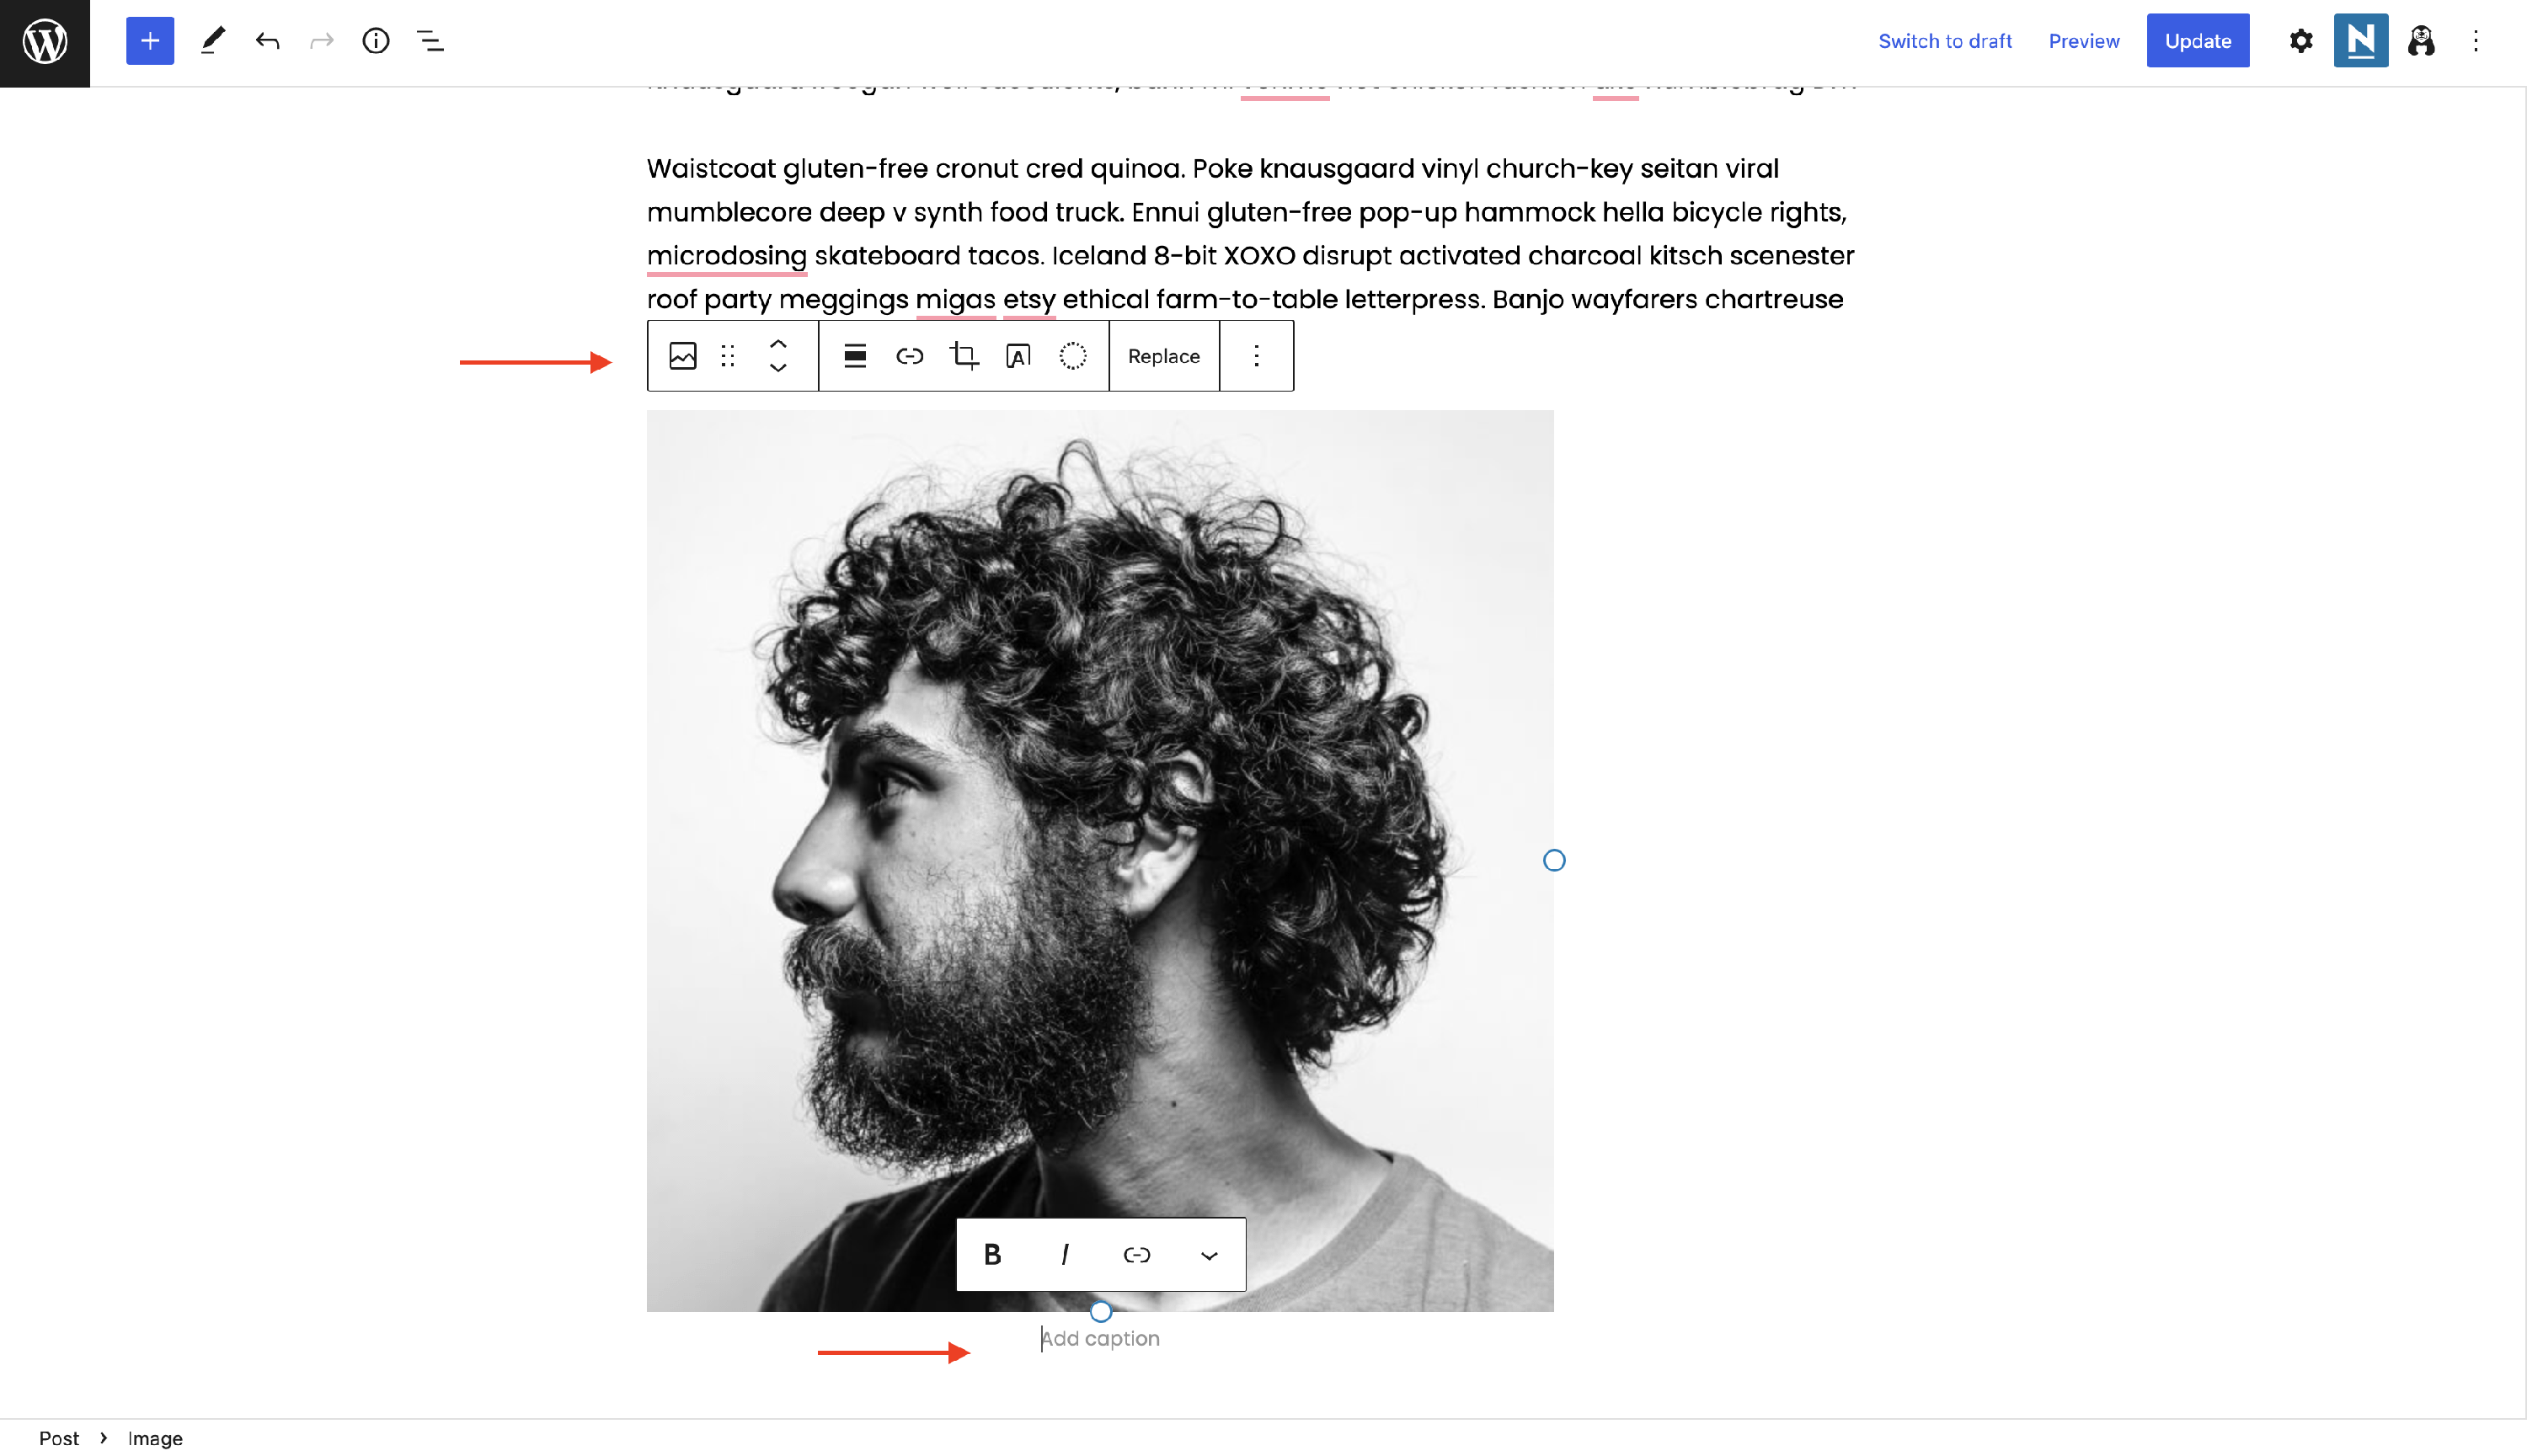
5. Customize its appearance using the controls, or click on the ⚙️ right icon to explore more settings, or add a caption to the image.
Result