
How to Use Global Defaults in Otter?
📝 Note: This is part of the Otter Blocks feature, which you can get from here.
The global defaults in Otter are very useful for creating a homogeneous appearance for your website. These Global Settings work well from a long time perspective. You can configure the most common blocks here, and every time you add one of them, they will be shaped as you have previously taken care of. The configurations that you make here do not affect the already-added content.
- ⏰ time-savers
- ✨ uniform design
Using the feature
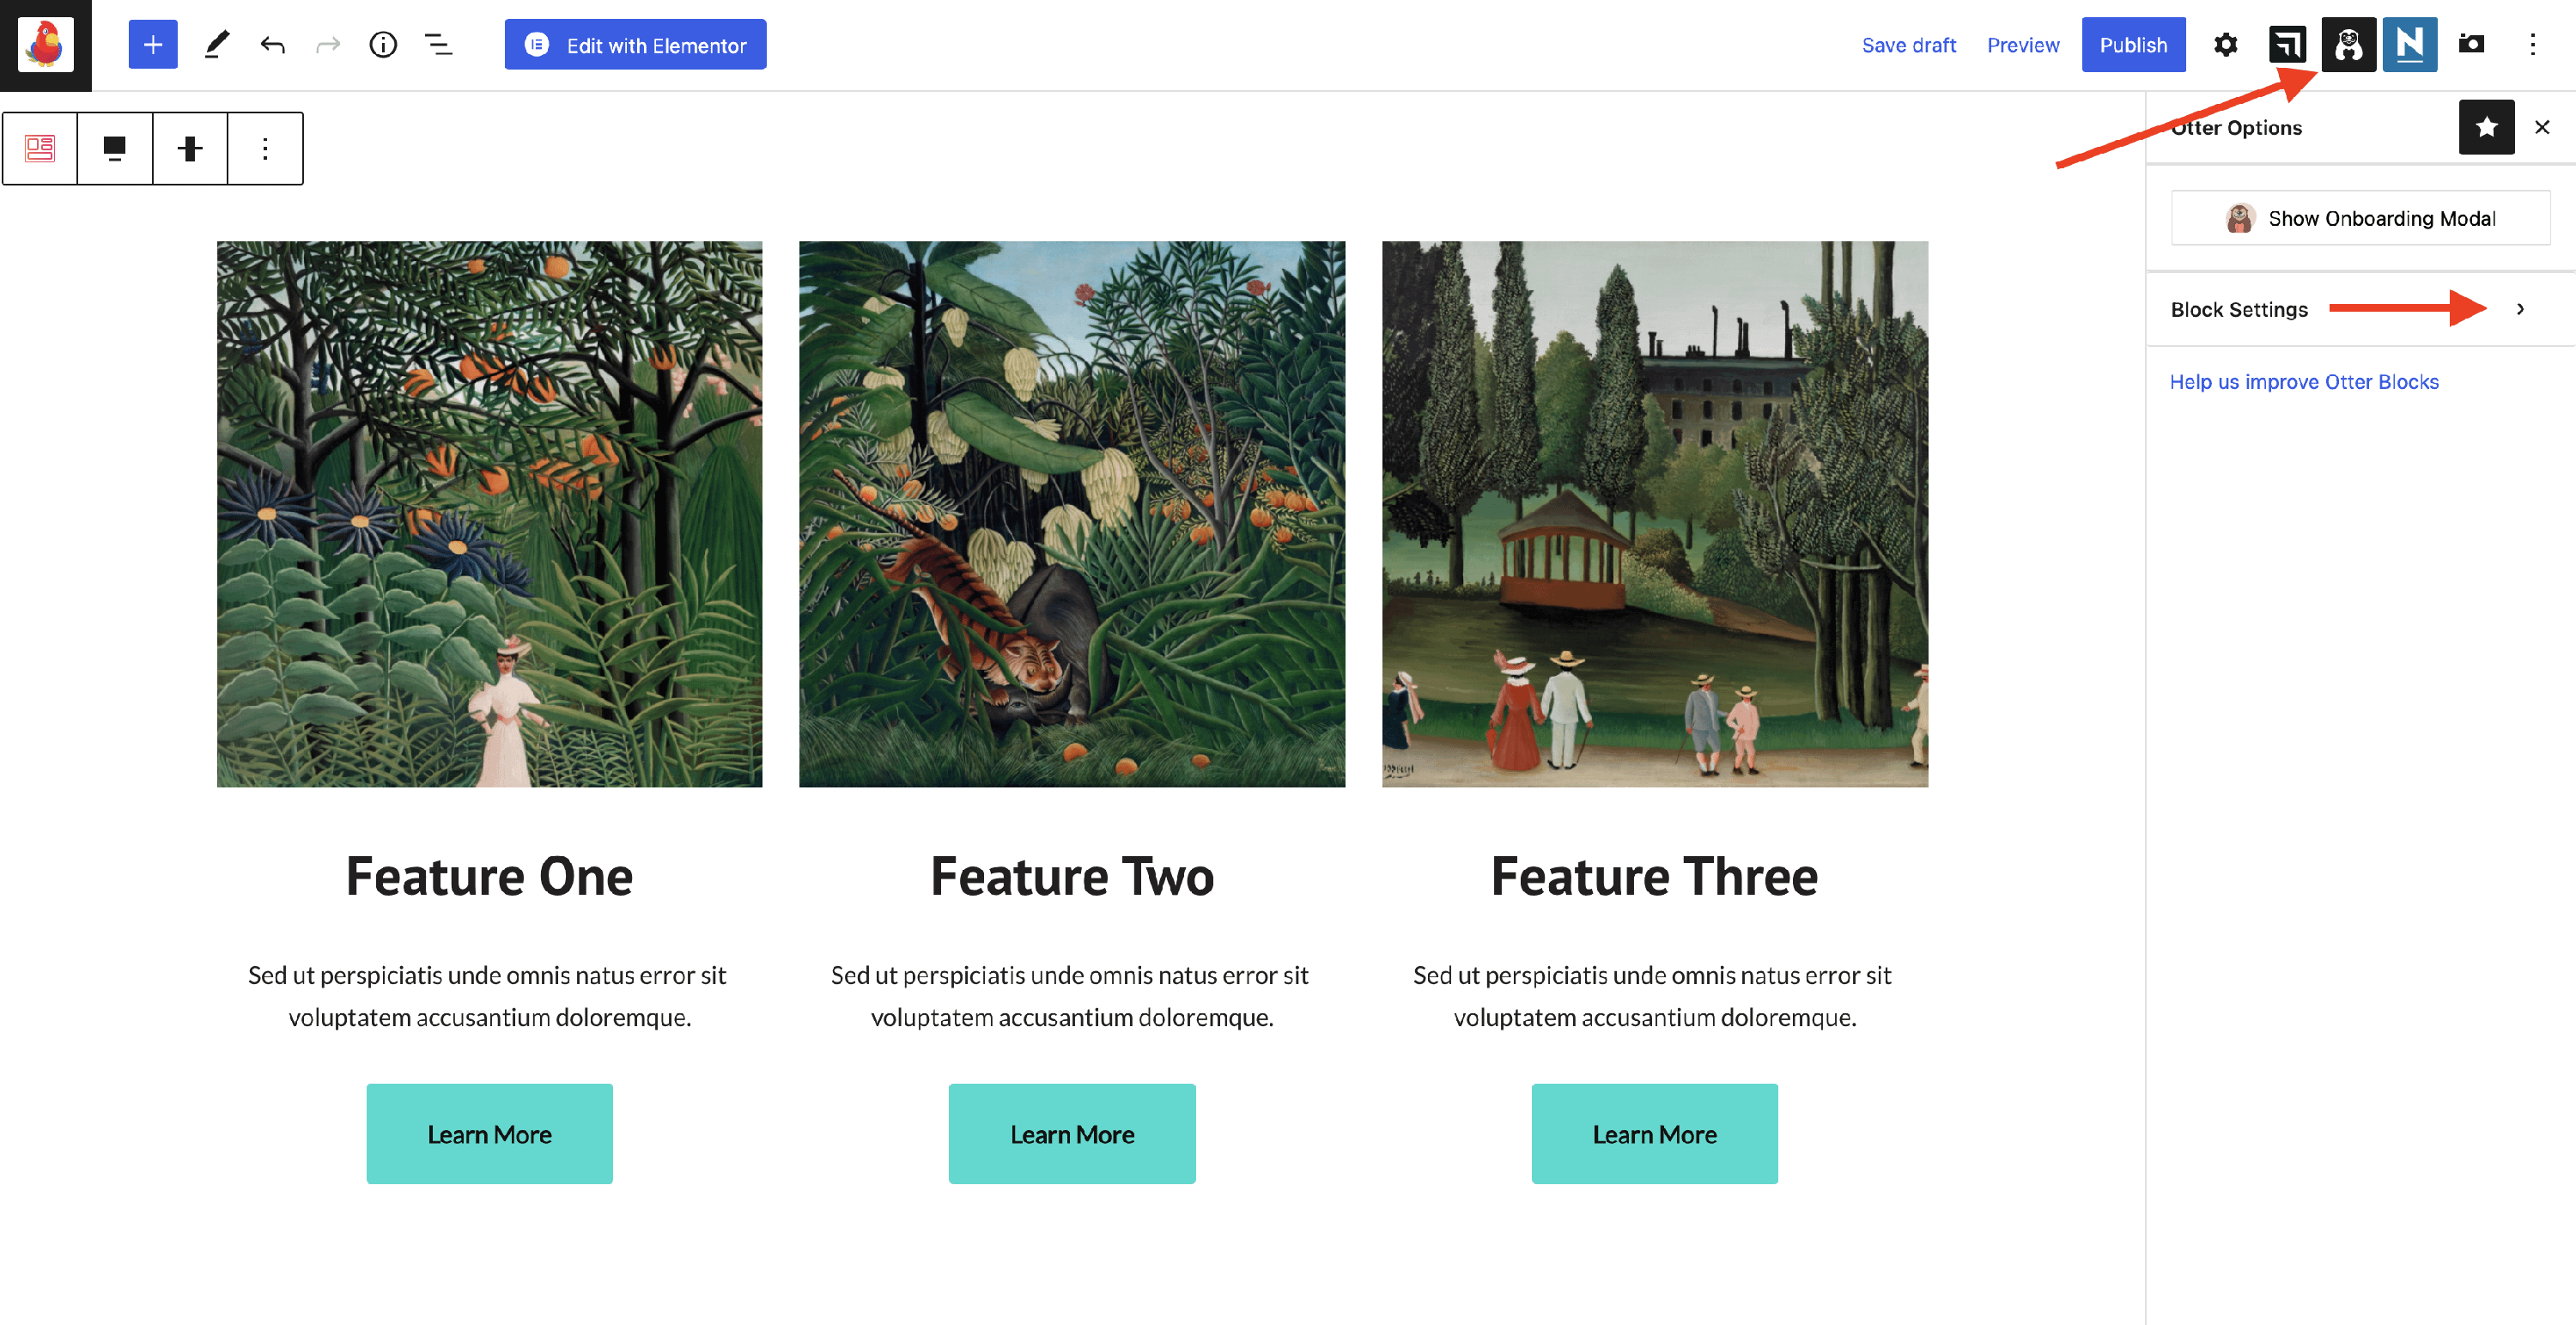
1. Inside the editor, click the Otter icon to open Otter Options, then choose Block Settings.
2. In the block list, click ⚙ Open Settings on the block that you want to configure.
The Open Settings button is available for these blocks:
- Section
- Column
- Advanced Heading
- Button
- Button Group
- Accordion
- Tabs
- Form
- Icon
- Review
3. Adjust the block defaults (for example, colors, typography, padding, margin, width, and alignment), then click Save.
4. Repeat the same process for any other supported block you want to standardize.
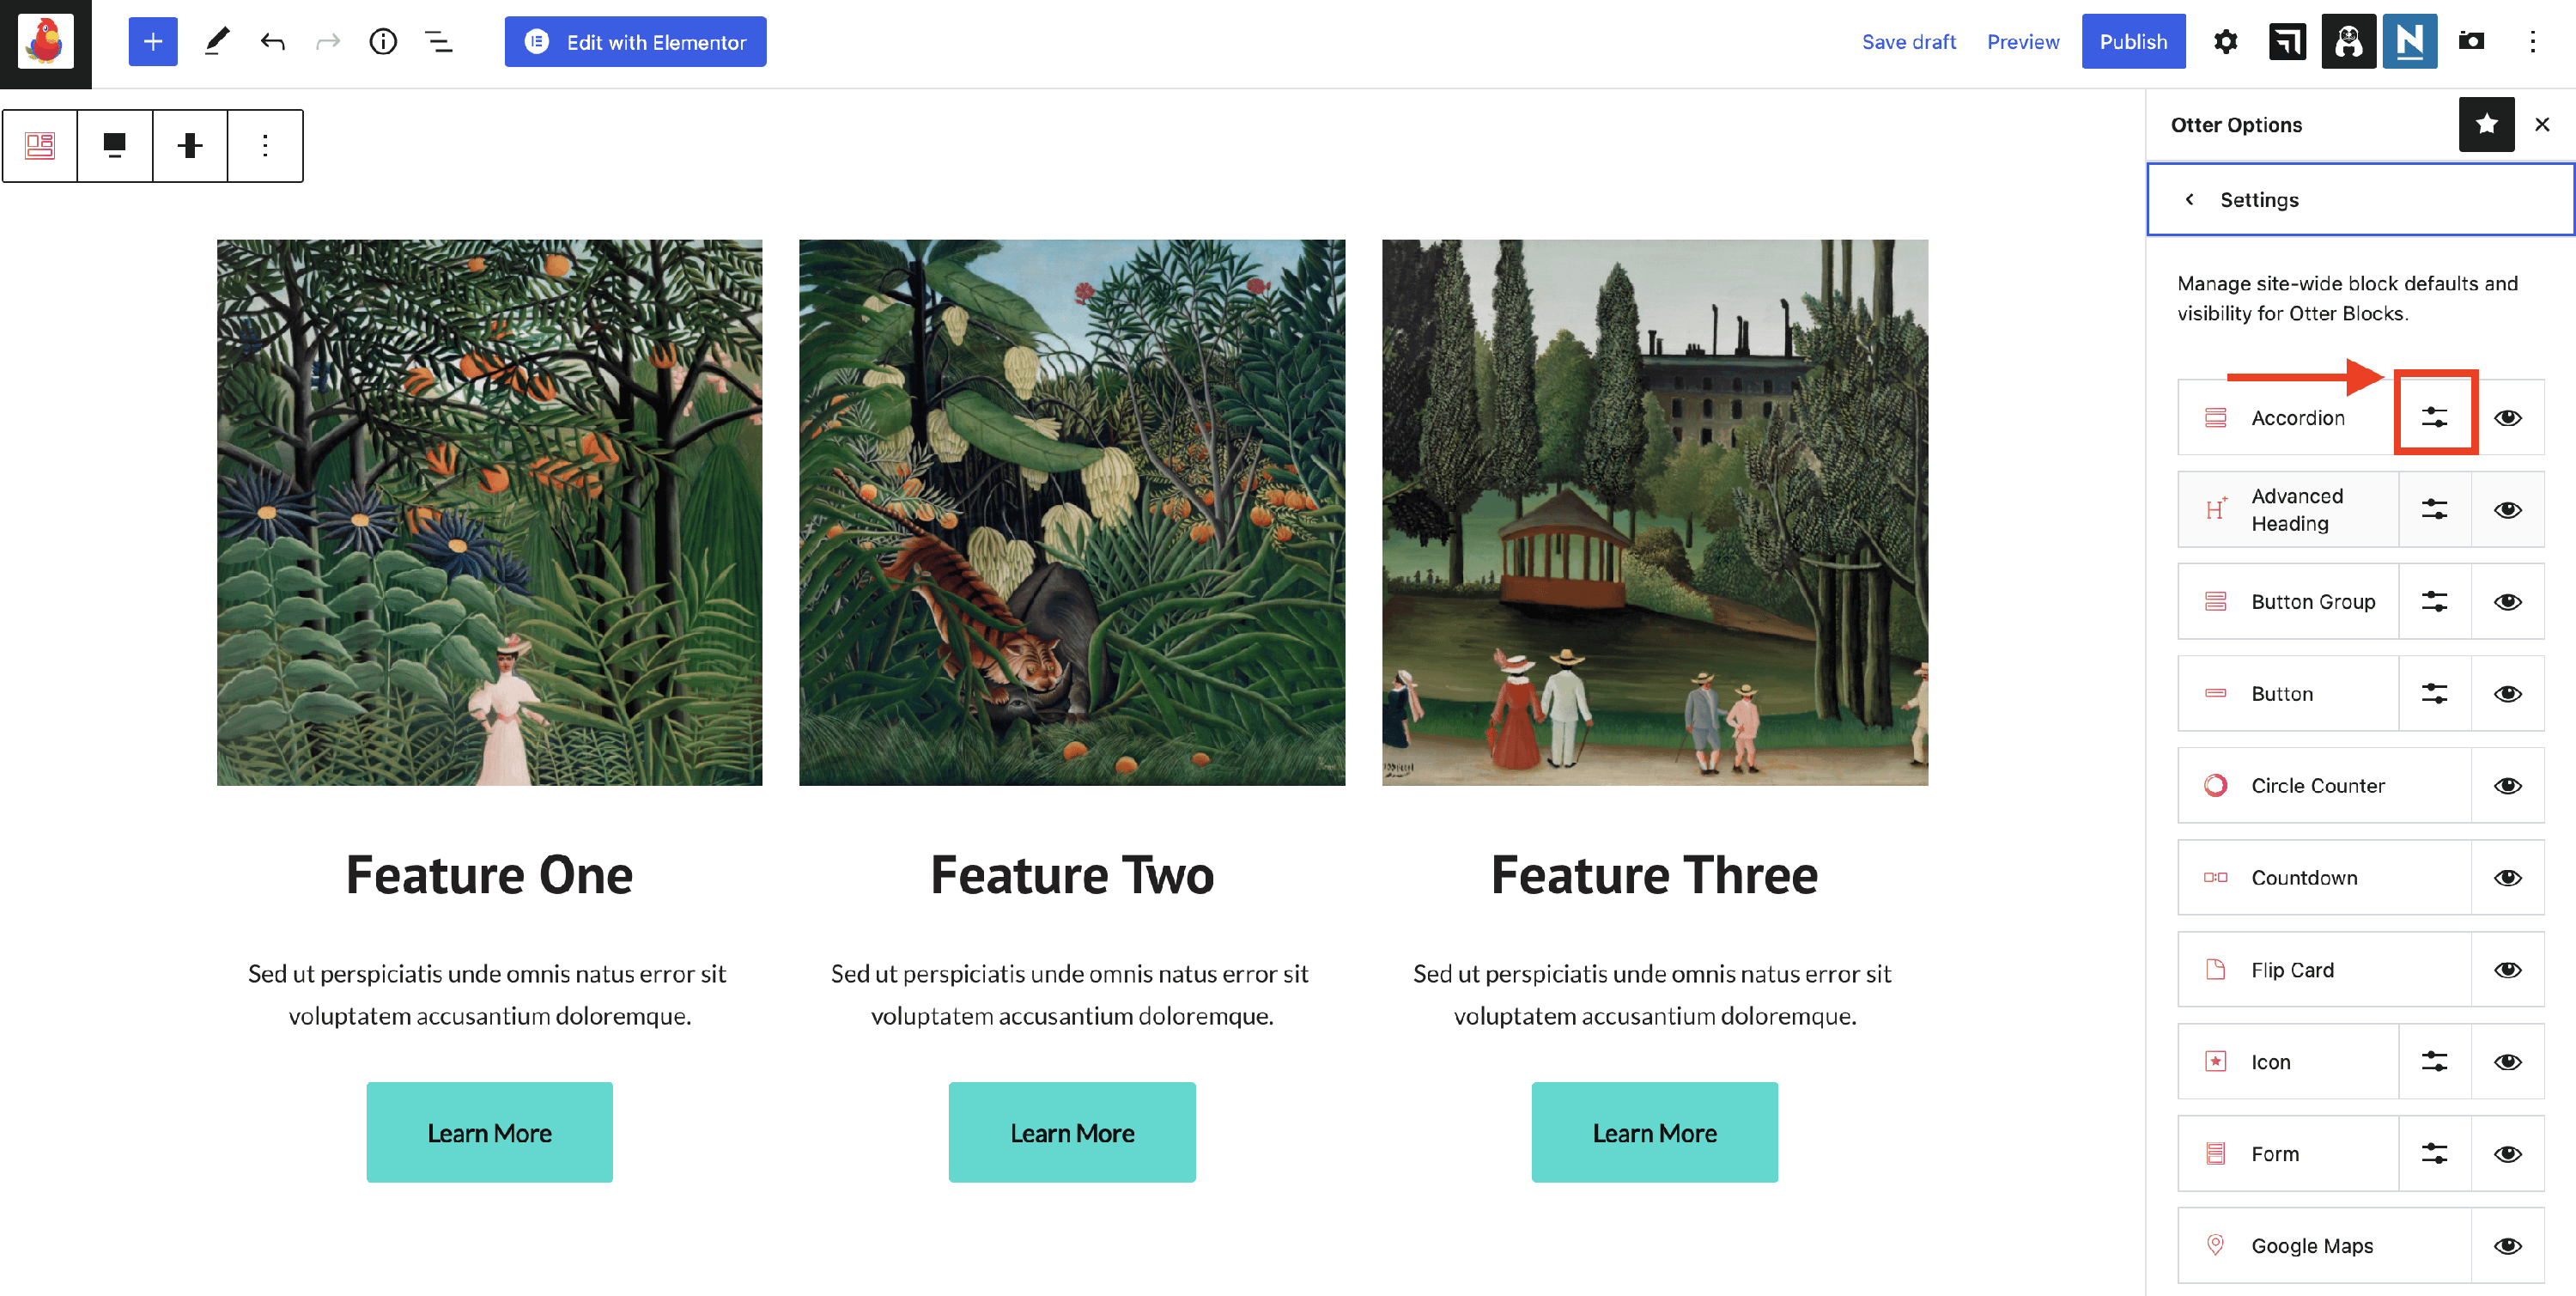
📝 Hide vs. defaults: The 👁 icon hides a block from the inserter list. It does not set global defaults. To make the block available again, click the same icon to switch to Show Block, or re-enable it from WordPress Preferences > Blocks.
Match a block from a template
💡 Tip: If you want a block to look exactly like it does in a Themeisle template, copy that block from the template page or pattern. You can also use the block toolbar menu (⋮) and apply Copy styles / Paste styles (WordPress 6.5+). Global Defaults only apply to blocks that you add after you save those defaults.