
Form Blocks
📝 Note: These blocks are part of the Otter Blocks plugin, which you can get from here.
📝 Note: The blocks' appearance can be improved using the Otter features, such as Transform to Sticky, Visibility conditions, Dynamic Values or Images, as well as Counting / Typing / Loading animations, and 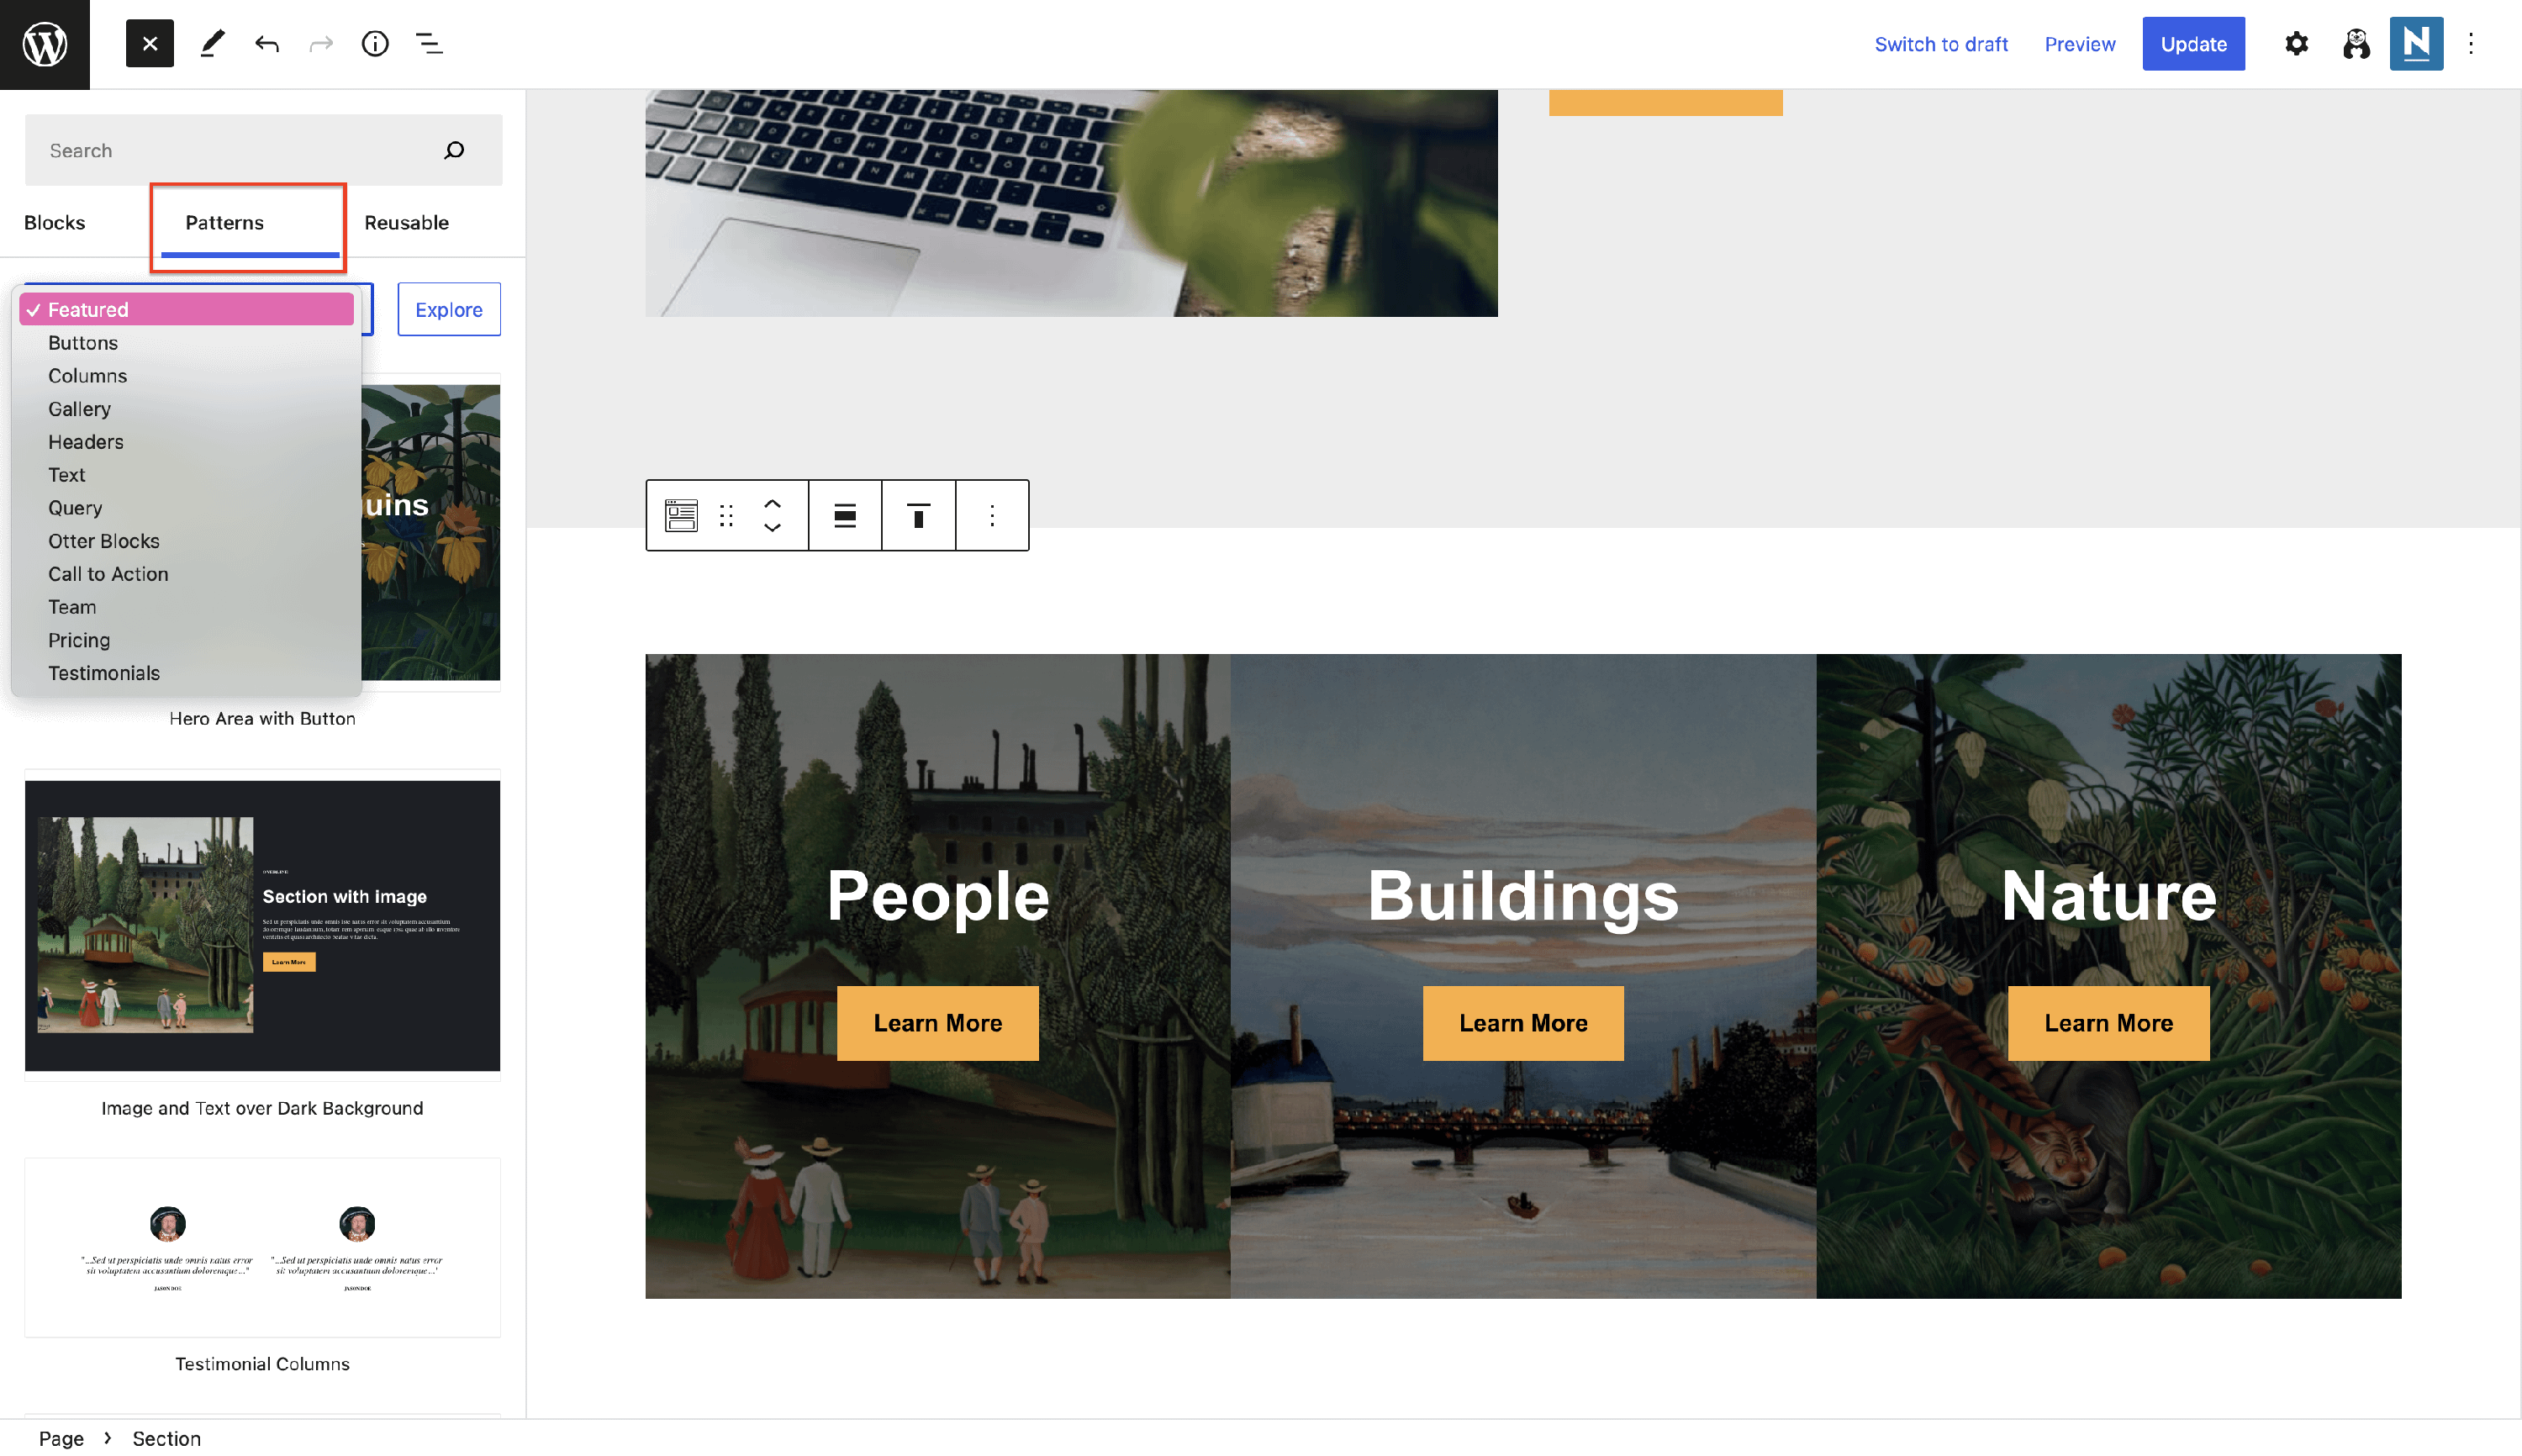 Patterns.
Allow your visitors to interact with you using the dedicated Otter Form blocks:
In this article
Form
The forms are helpful for evidence of the information and engaging the visitors. You can choose the Contact form or the Subscribe form.
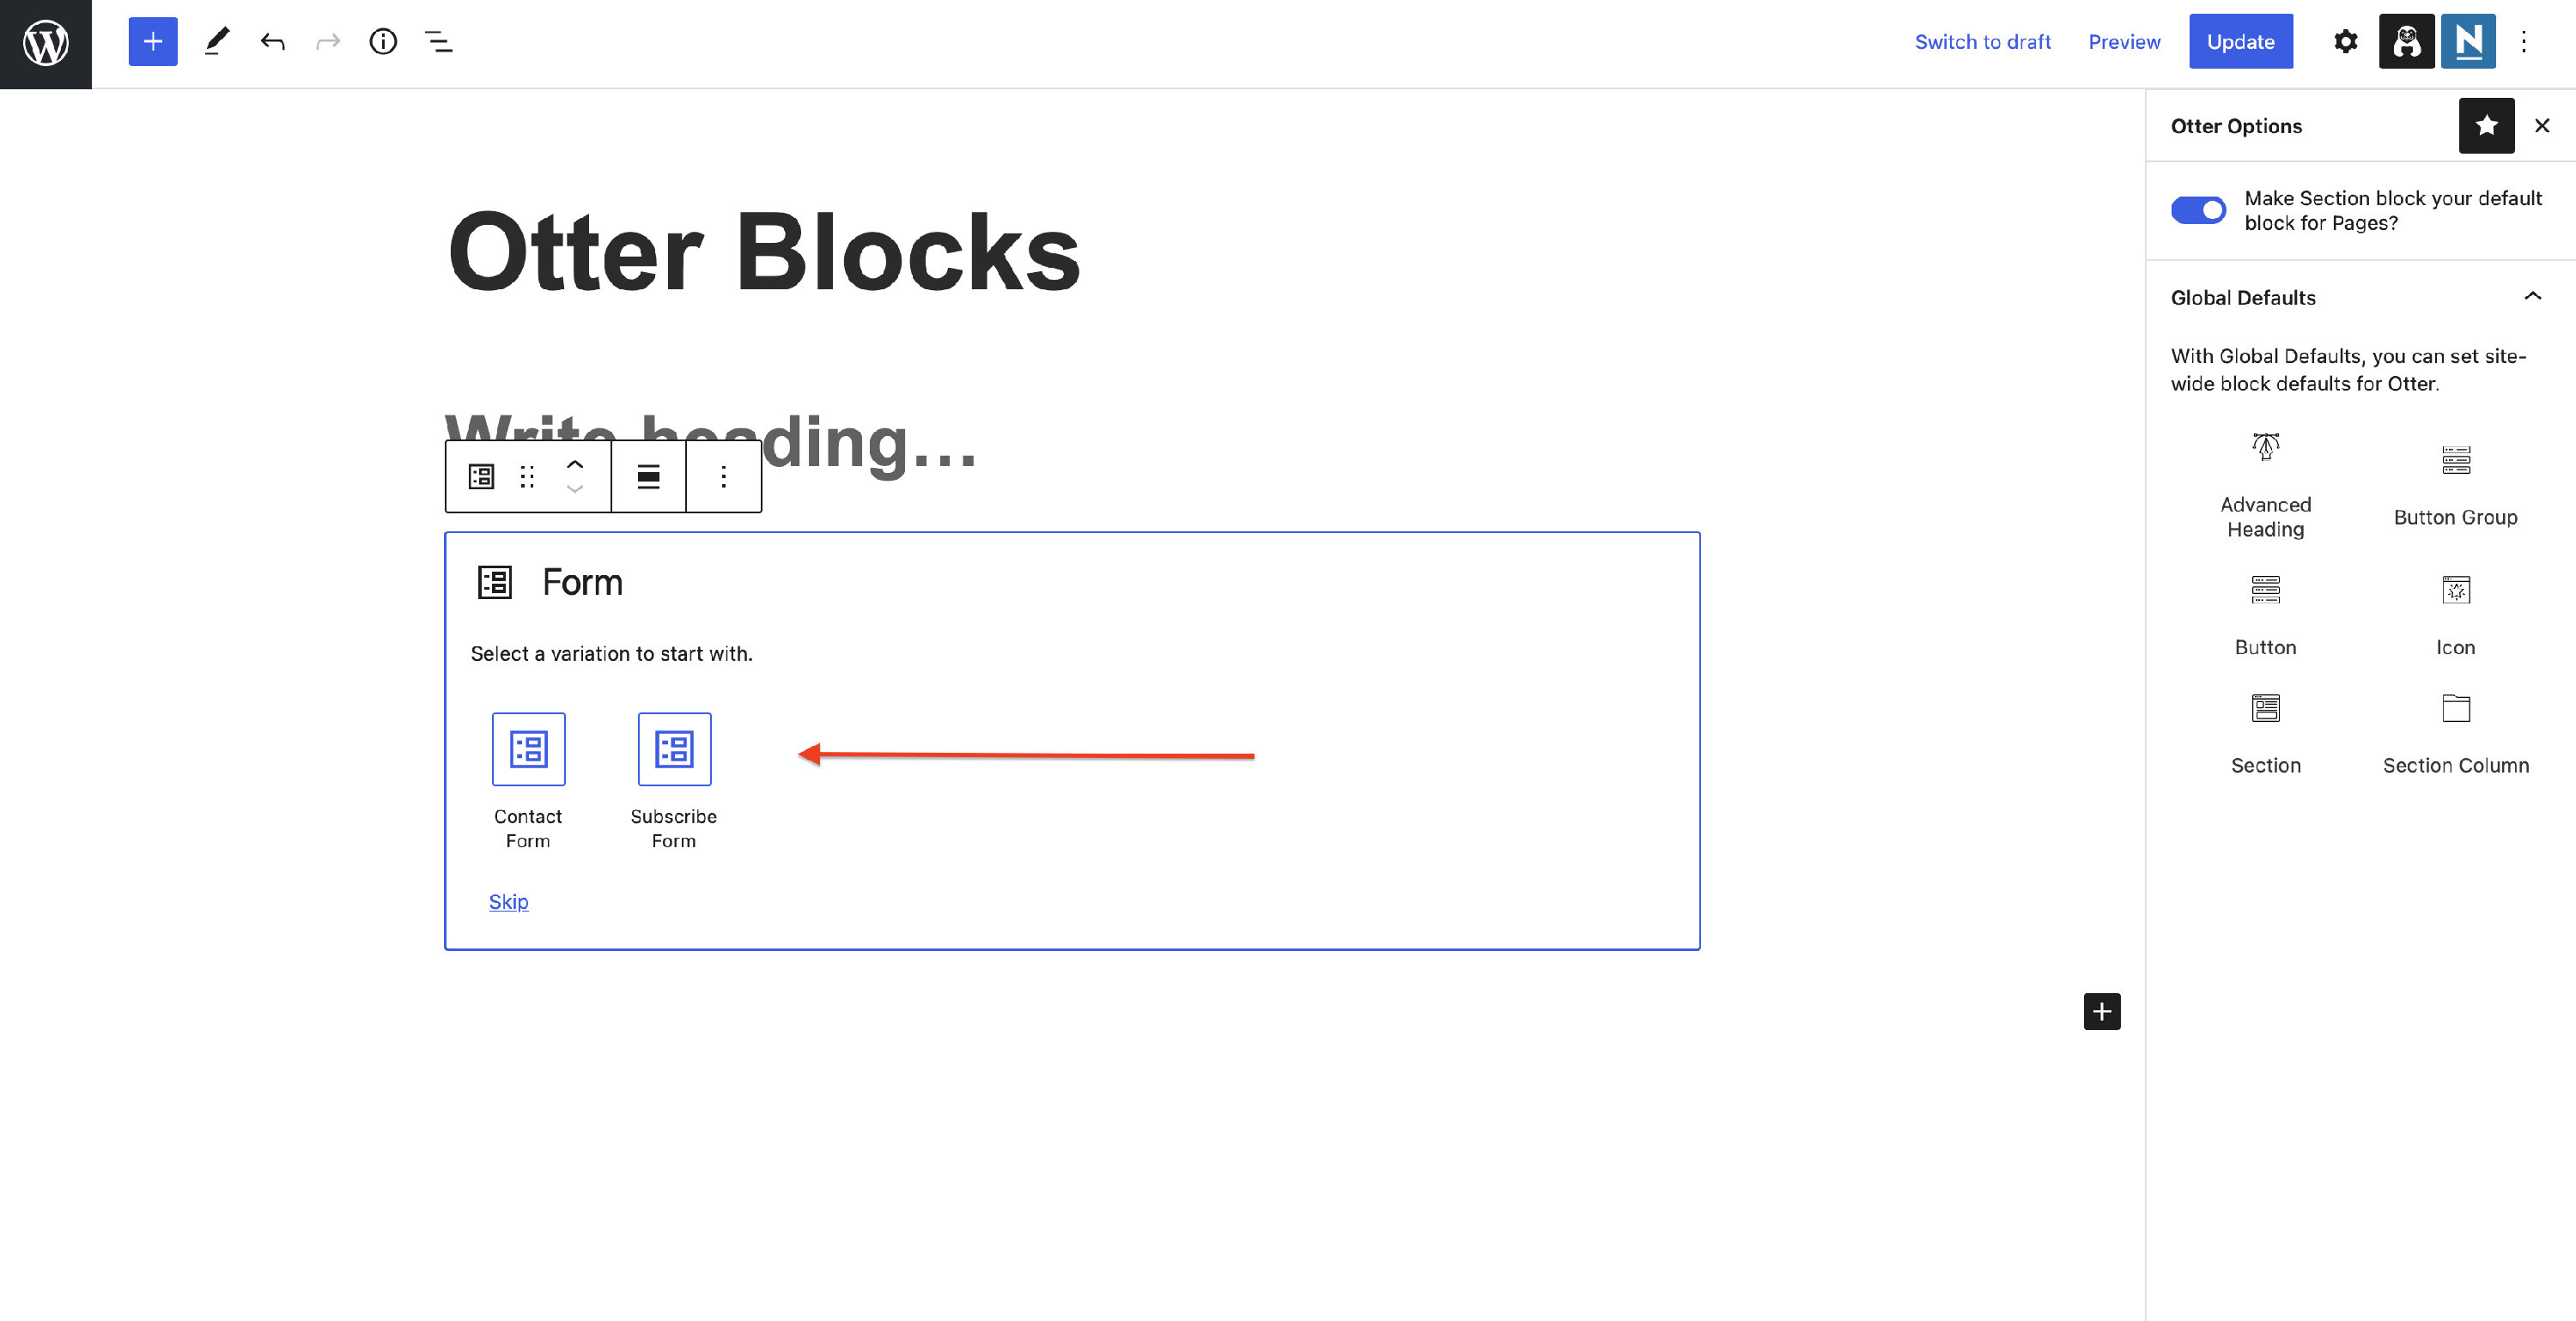
📝 Note: If you choose to skip, the Contact form will be added by default.
Settings Tab
Input fields - add new input fields, reorder, or edit them in this tab. If you choose to edit an input field, you can select a field type (Textarea, Checkbox, Stripe, Date, Email, Hidden, etc.), change its label or hide it, select a percentage width, insert placeholder and help text, or make it required.
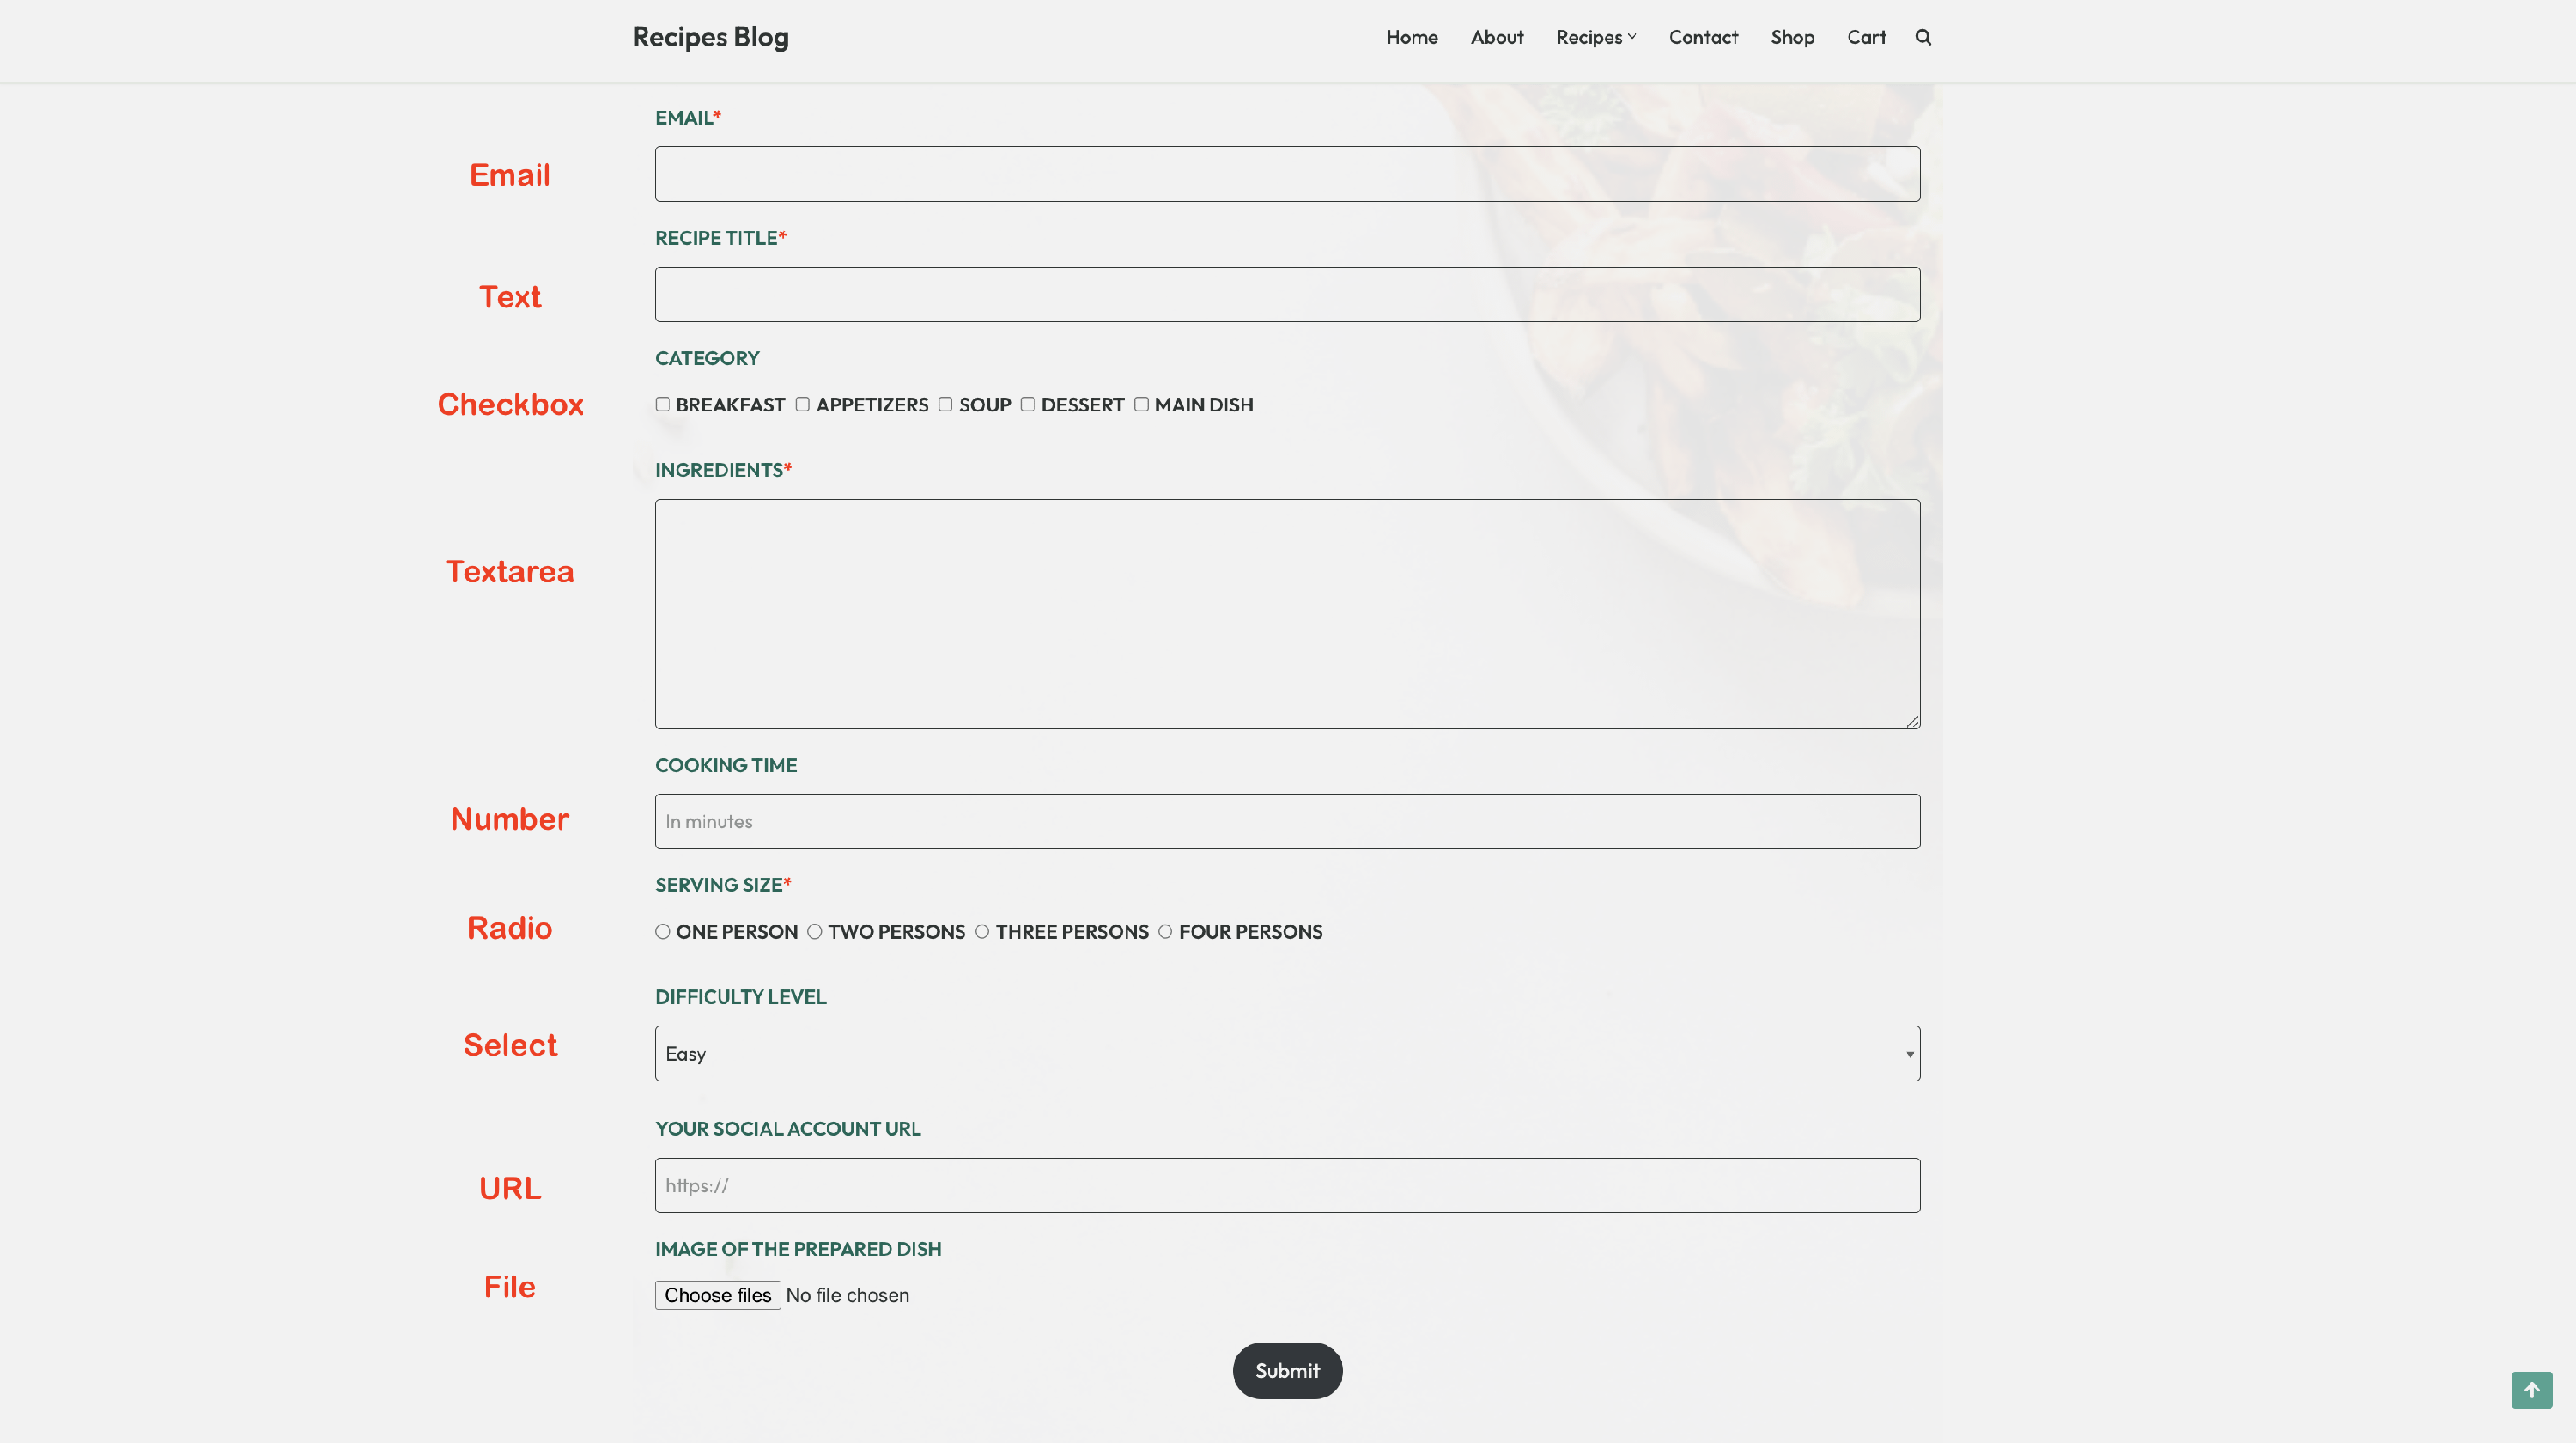
📝 Note: Each field type has specific settings, e.g. Checkbox allows you to insert options, File allows you to insert allowed file types, etc. A common option for all fields is the mapped name which helps in the process of webhooks. You can read more about this here.
Form Options - here, you will find the configurations of the email itself for the main address where you want to store emails, as well as for Cc and Bcc:
- Email To - send form data to another email ( Admin is the default ). If you need help with configuring the server, check this doc.
- Email Subject - customize the email title by adding an email subject.
- Email Notification - send an email to the site owner for each submission. Whether or not this is enabled, every valid submission is saved to the database first, before the email and any other delivery actions run, so leads are not lost if email delivery fails. You can review all submissions, along with any delivery errors, in Otter Blocks > Submissions.
- From Name - set the name of the sender.
- CC, BCC - insert the corresponding emails to send copies to.
- Reply-To Email - set the address that replies to the notification email should go to. If you leave it empty, replies go to the email address the visitor entered in the form.
- Redirect on Submit - redirects the user to another page after successfully submitting the form to a particular URL.
- Captcha - protect the form against bots by adding a dedicated Captcha block inside the form (see the Captcha section below). Bot protection is no longer a checkbox in Form Options.
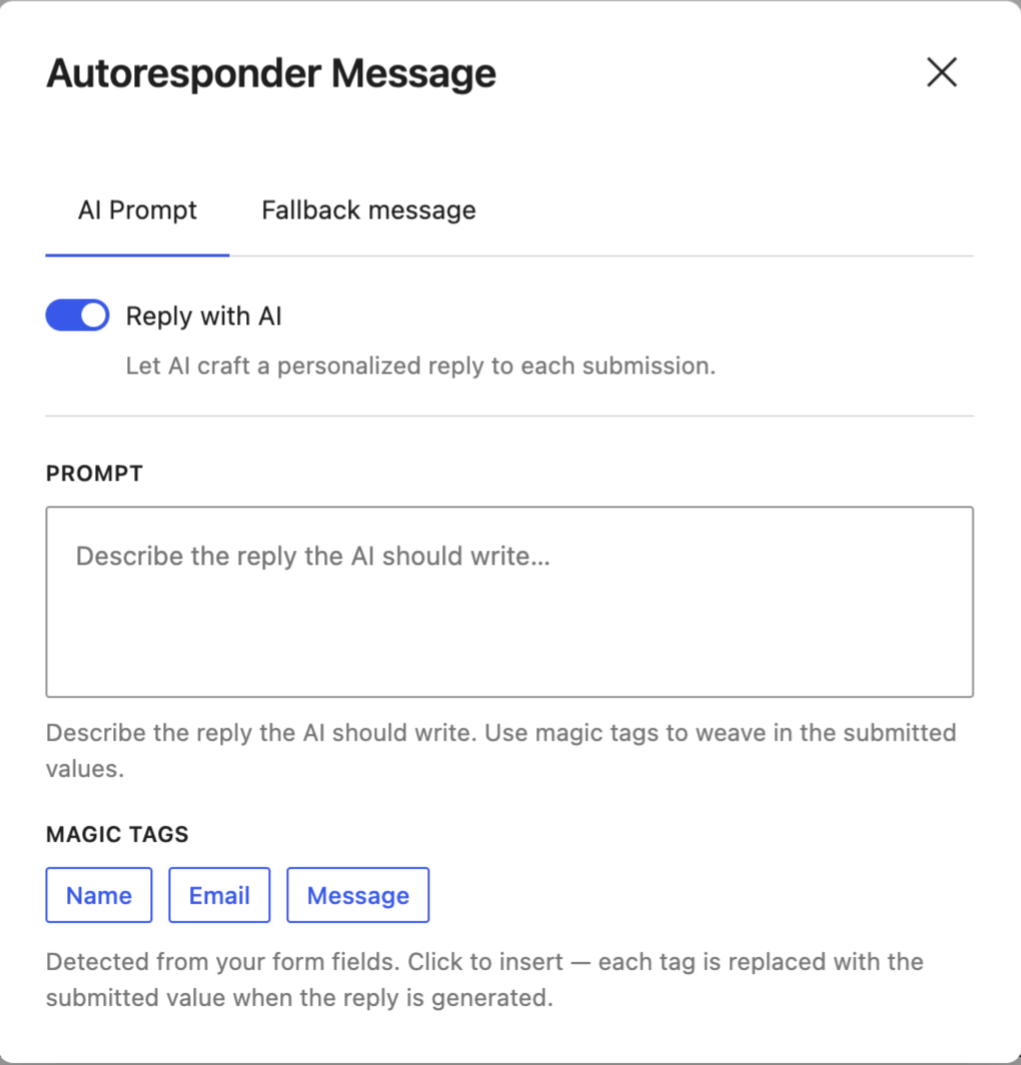
Autoresponder - customize the subject and body of the autoresponder email so your users know you received their submission. In Otter Pro, open the autoresponder message editor and enable Reply with AI to generate a personalized reply for each submission. Add a Prompt describing the reply you want, and click the magic tags for your form fields to insert the values the visitor submitted. On the Fallback message tab, set a static message that is sent as-is when an AI reply cannot be generated.
- Webhook - ensures communication between the form submissions, which collects real-time data, and another application. After enabling this form option, you will be able to select an existing Webhook or to
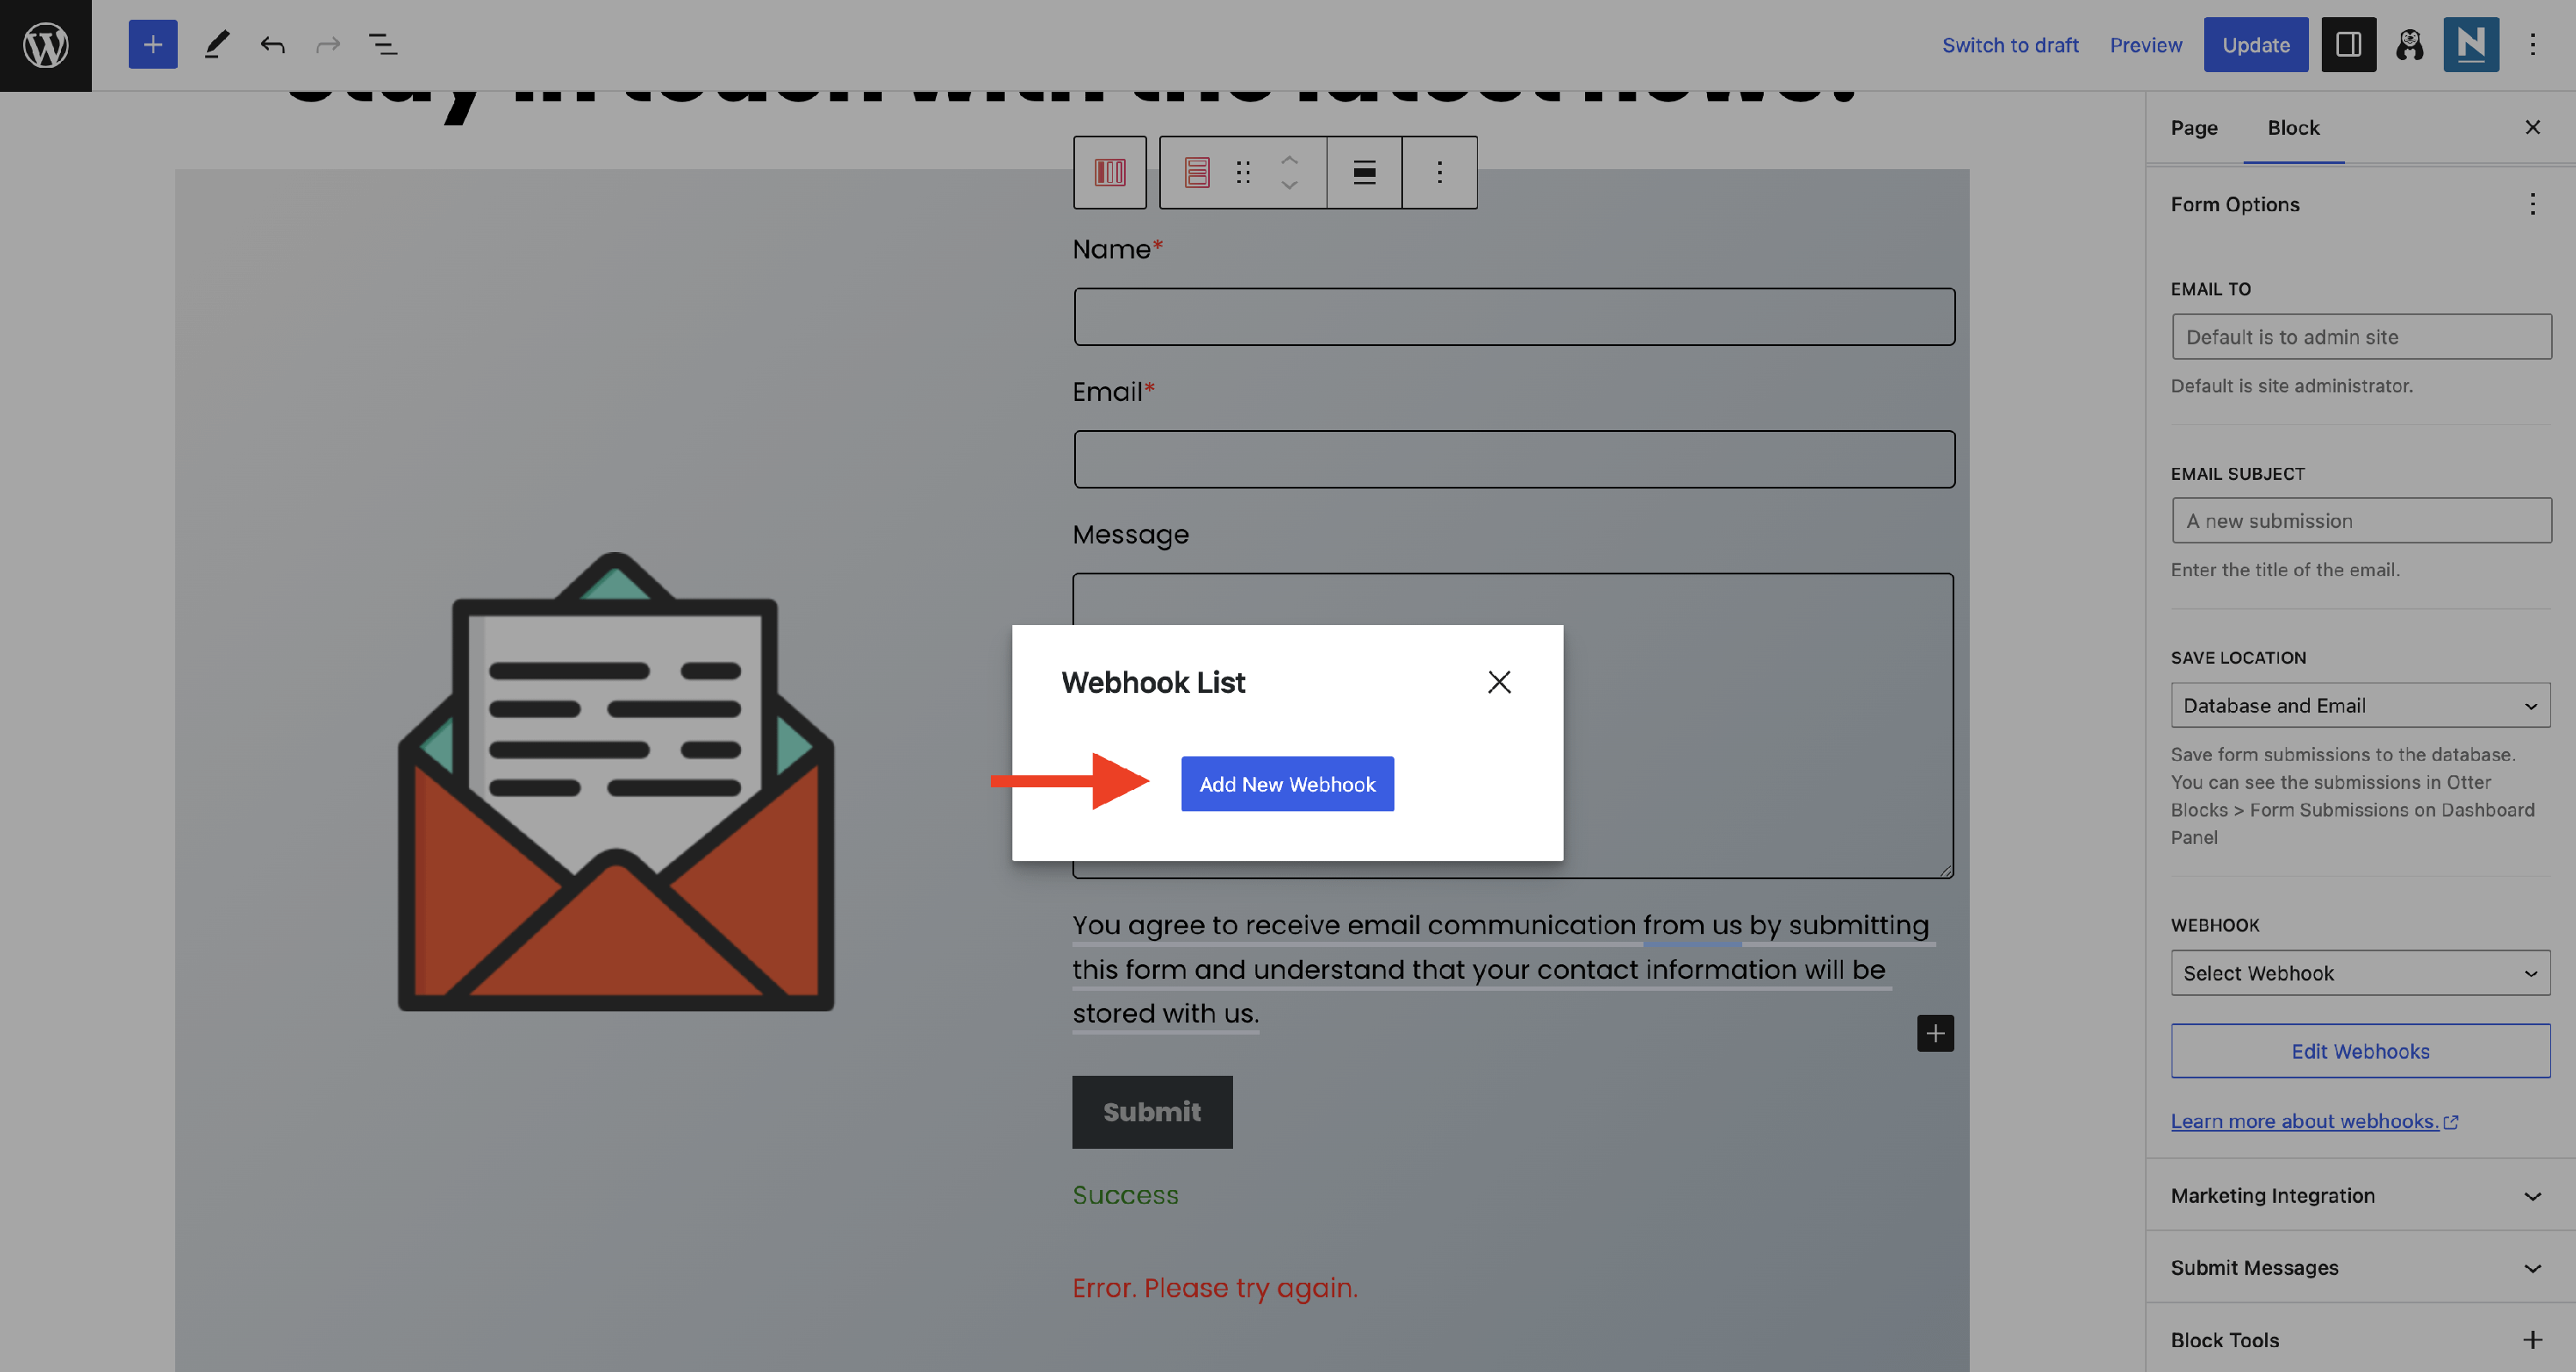 create new ones, using the Edit Webhooks button. Read more about the Webhooks in this doc.
Captcha
Protect the form against bots by adding a dedicated Captcha block inside your form: click the + button inside the form and search for Captcha. In the Captcha block, choose a Captcha Provider — Google reCaptcha or Cloudflare Turnstile — and add the matching site key and secret key. You can enter the keys directly in the Captcha block, or on the Integrations tab under Otter > Settings > Integrations.
You can also use hCaptcha through its own integration; see How to use hCaptcha with Otter.
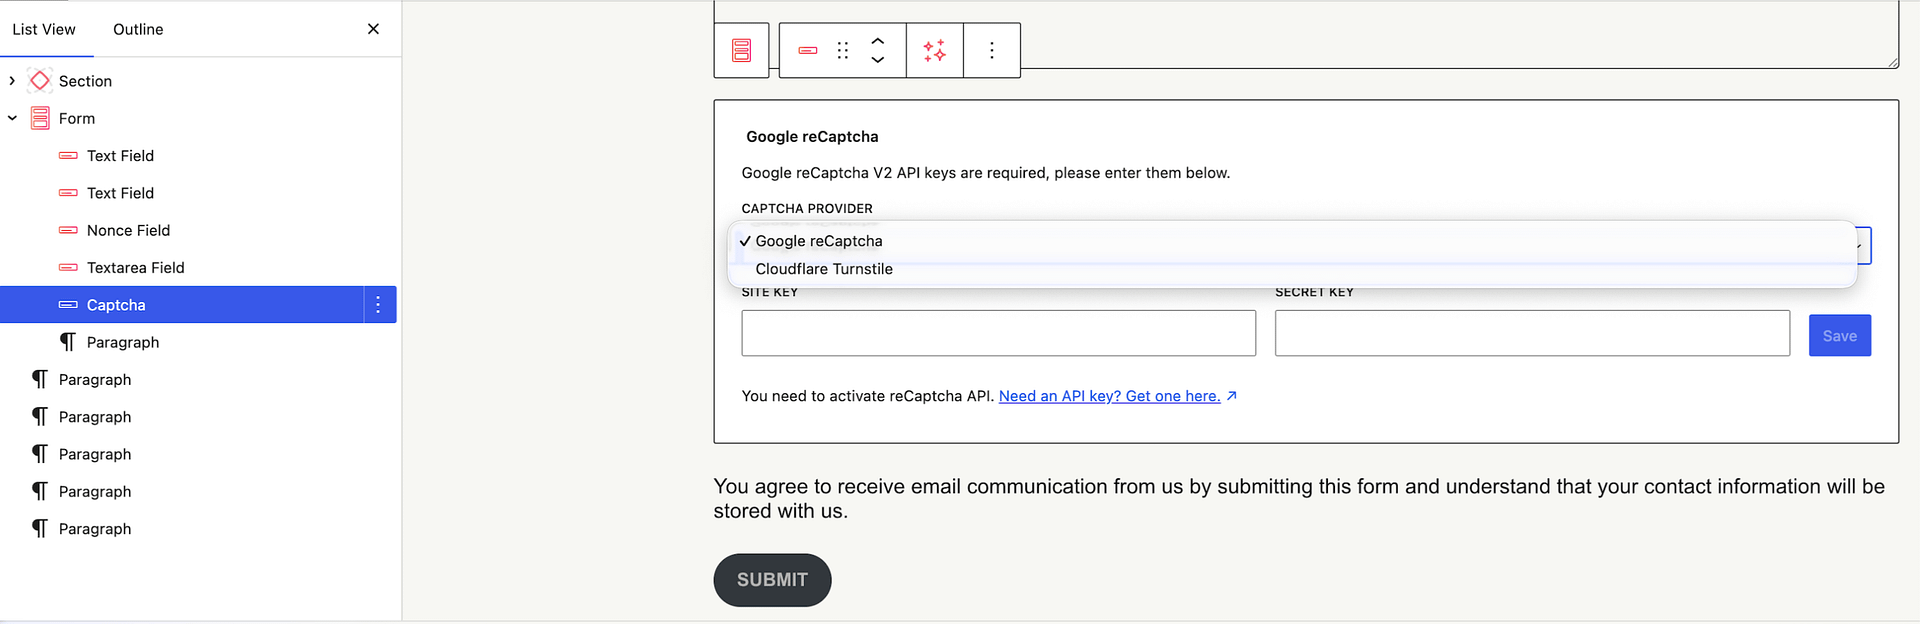
📝 Note: The captcha only appears on the published form once the selected provider's site key and secret key are saved — either in the Captcha block or under Otter > Settings > Integrations.
The fields from Form Options become available only after you enable them by clicking on the three dots and selecting from there:
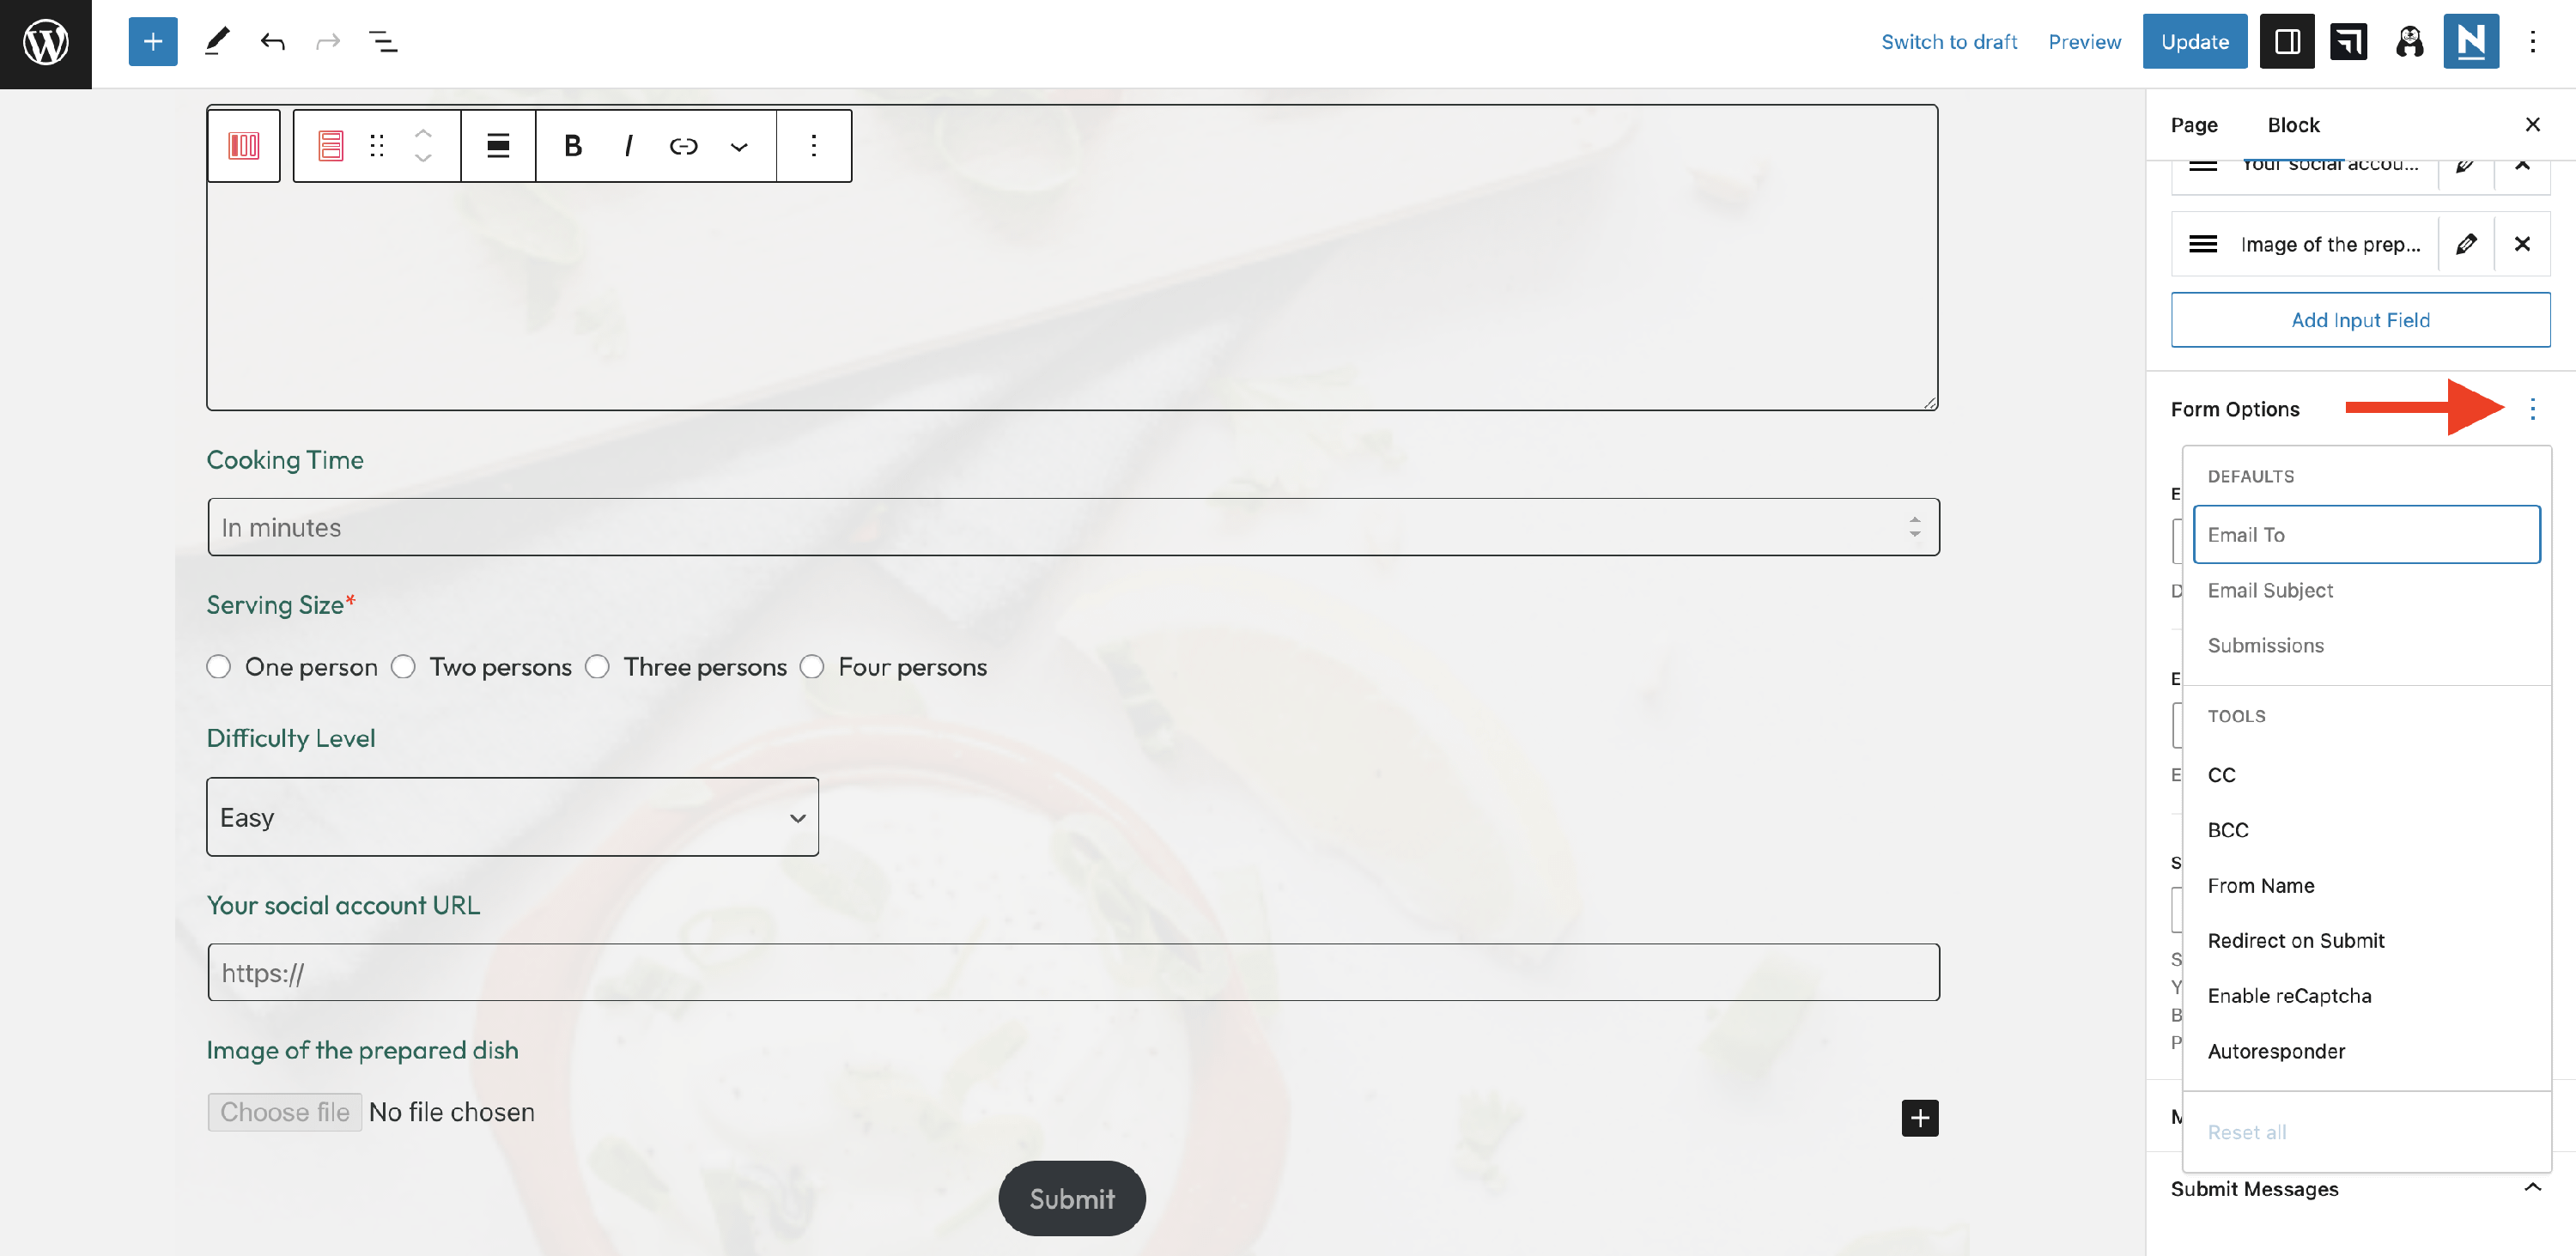
- Submit Messages - configure the content of the submit messages
- Success Message - show this message after the form is successfully submitted.
- Error Message - the message will be displayed when there are problems with the server.
- Marketing Integration - Mailchimp and Brevo providers are available.
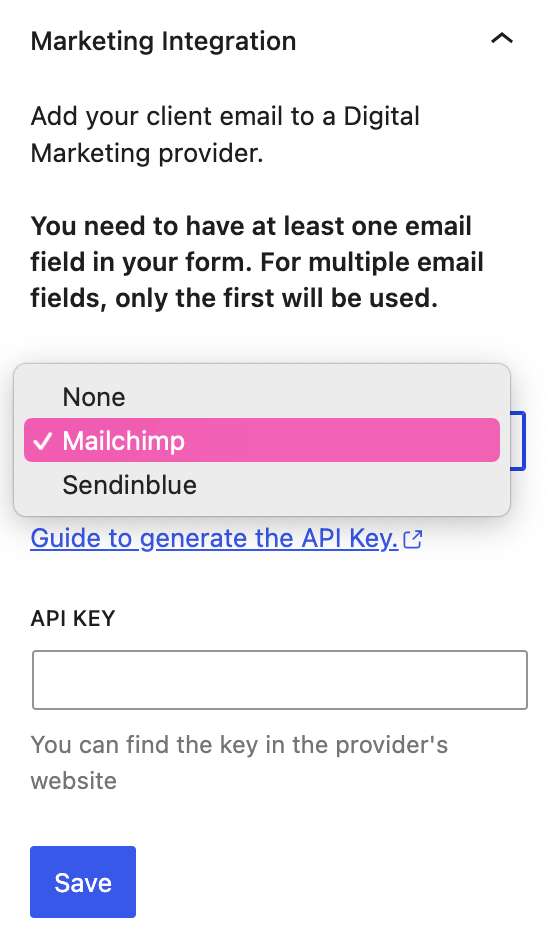
📝Note: Using Otter Blocks' Mapped Name, you can retrieve form data in the Mailchimp Dashboard. More details can be found here.
Style Tab
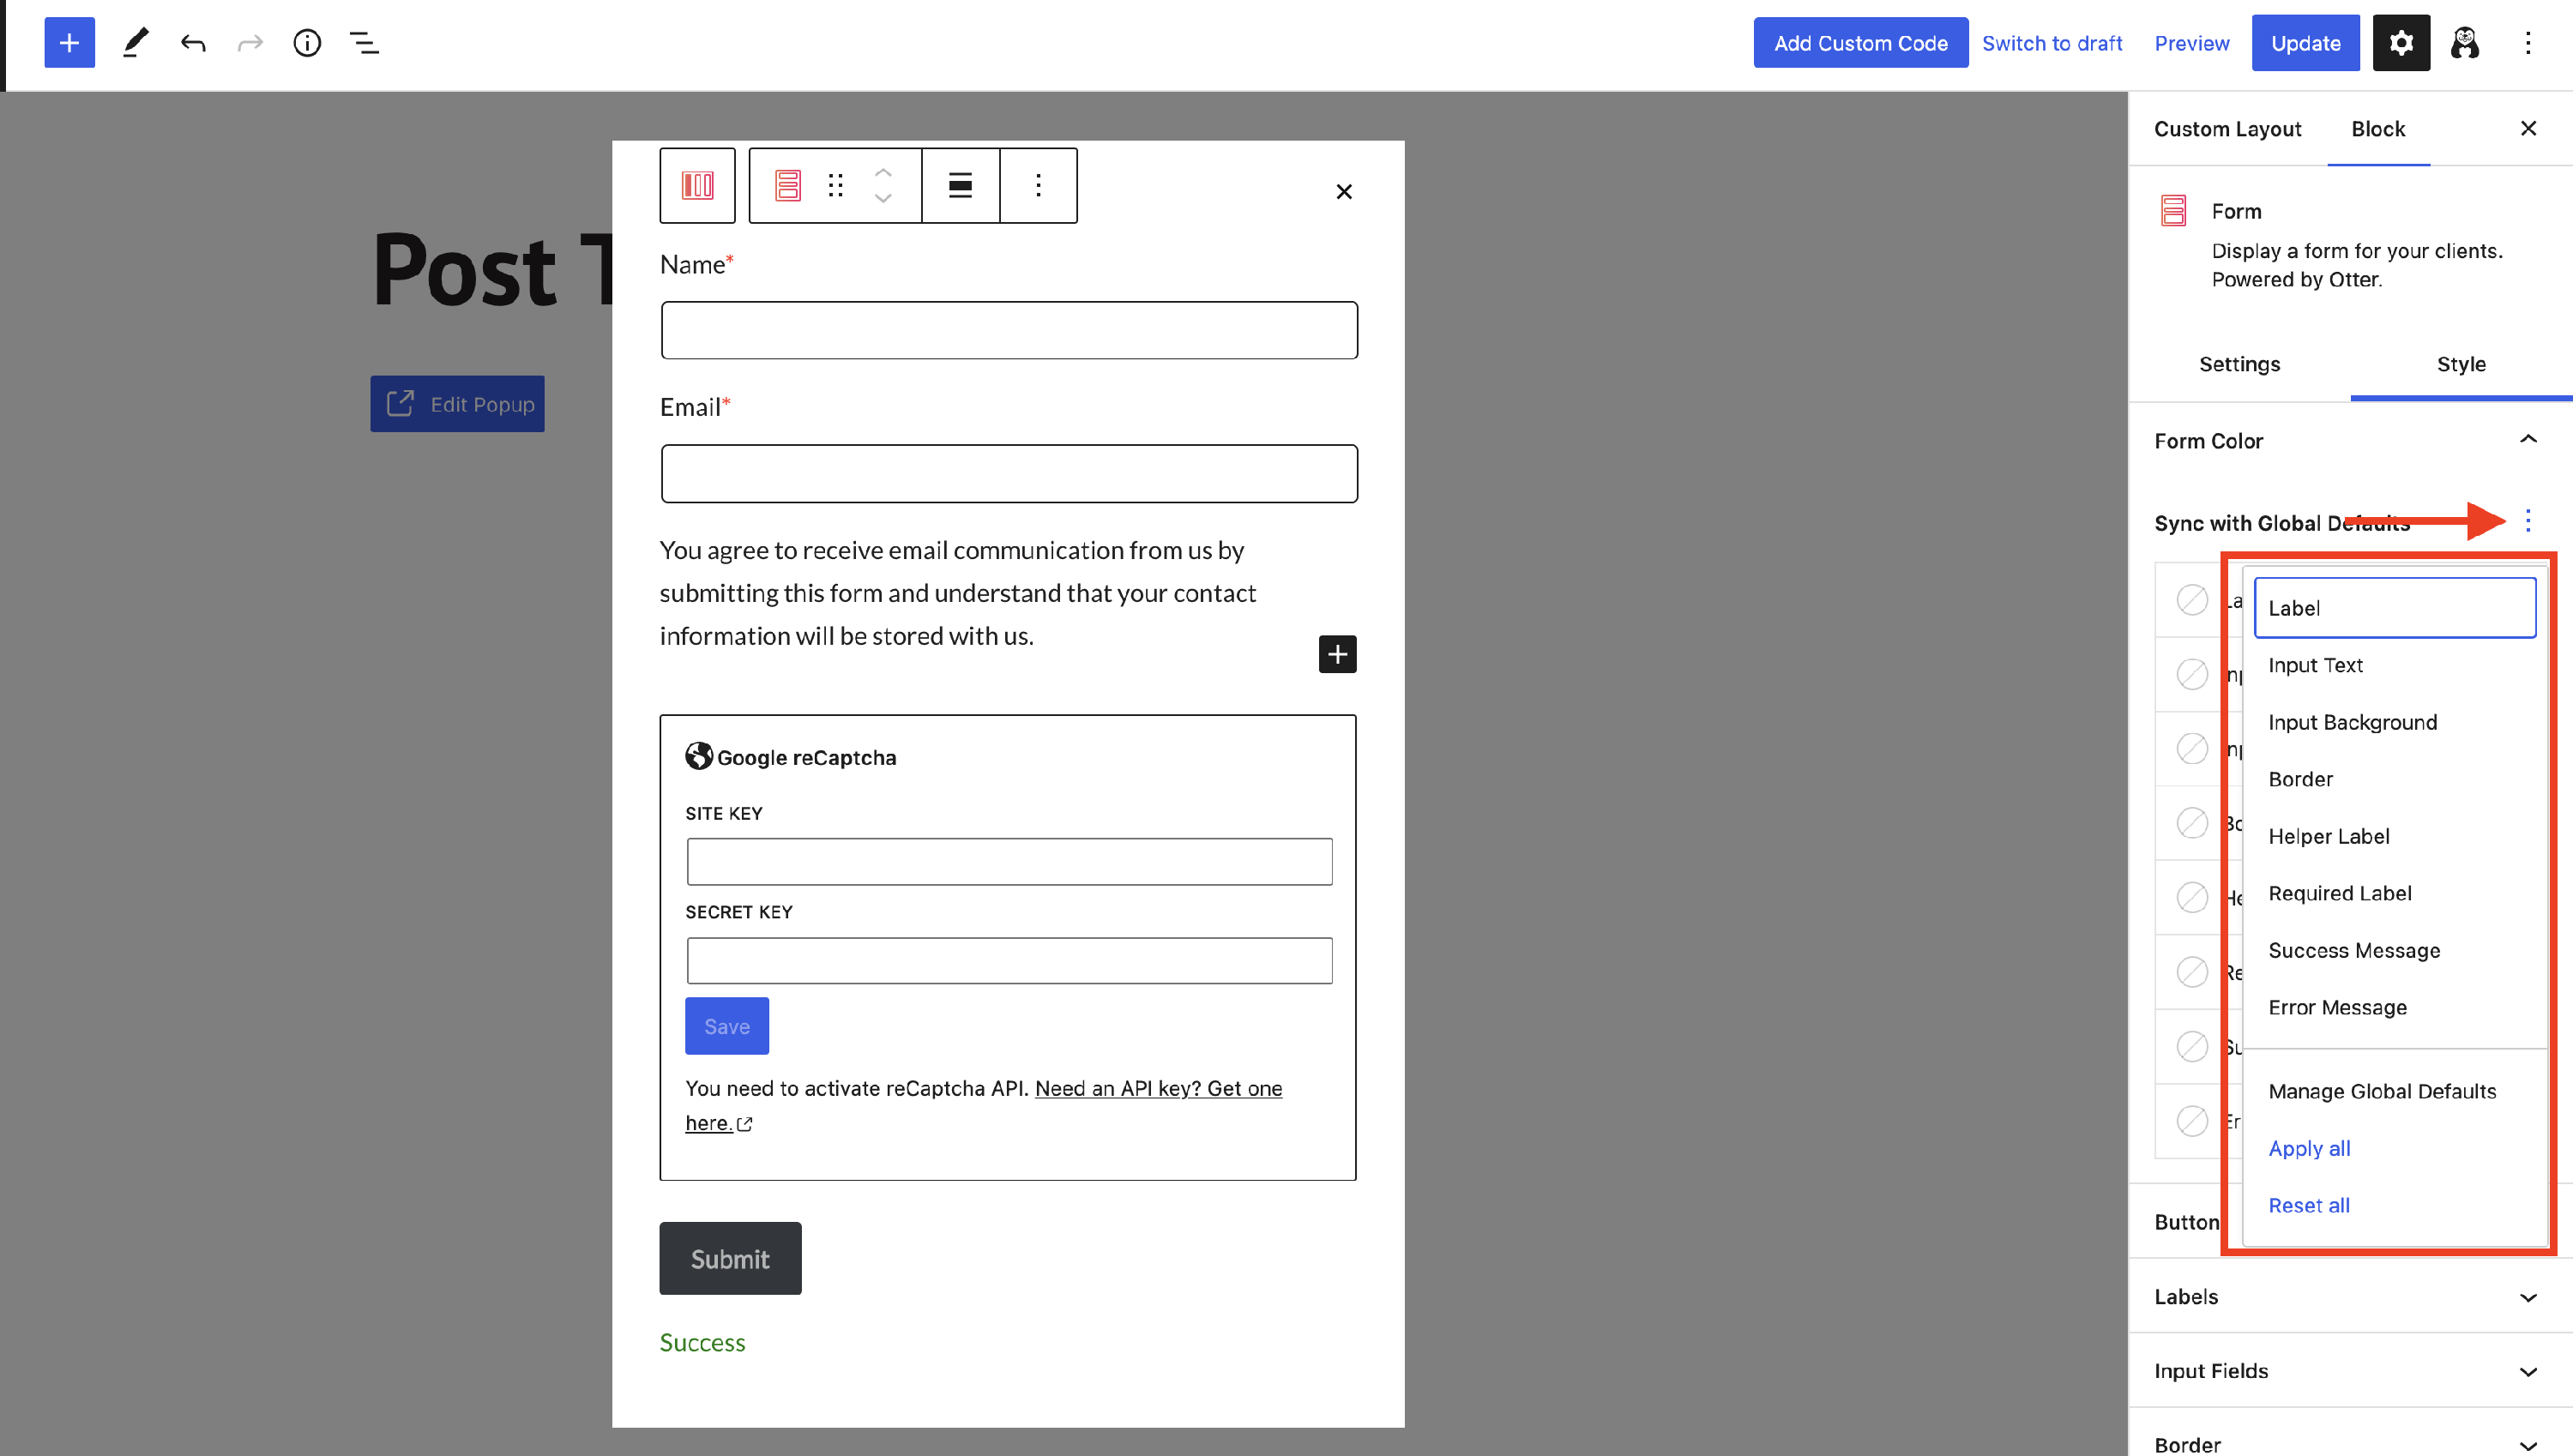
For an appealing style, you can customize the Colors of several areas such as Label, Input Text, Background, and many more. More than that, you can use the global defaults colors of those areas if you have previously configured them by clicking on the three dots:
- Button - configure the Submit button for normal and hover styles using colors, size, padding, and alignment.
- Labels - here, you can change the size and spacing of Labels ( Name, Email, Message ).
- Input Fields - adjustments for size, field spacing, and input padding.
- Border - adjust the border radius and width.
- Helper & Submit Messages - adjust the size of the helper text and success/error message size.
📝 Note: Boost your form's appearance using the Block Tools to add Animations, control its visibility, Transform it to a sticky block, or add your own CSS.
Form Submissions
All the form submissions will be visible inside Dashboard > Otter Blocks > Submissions:
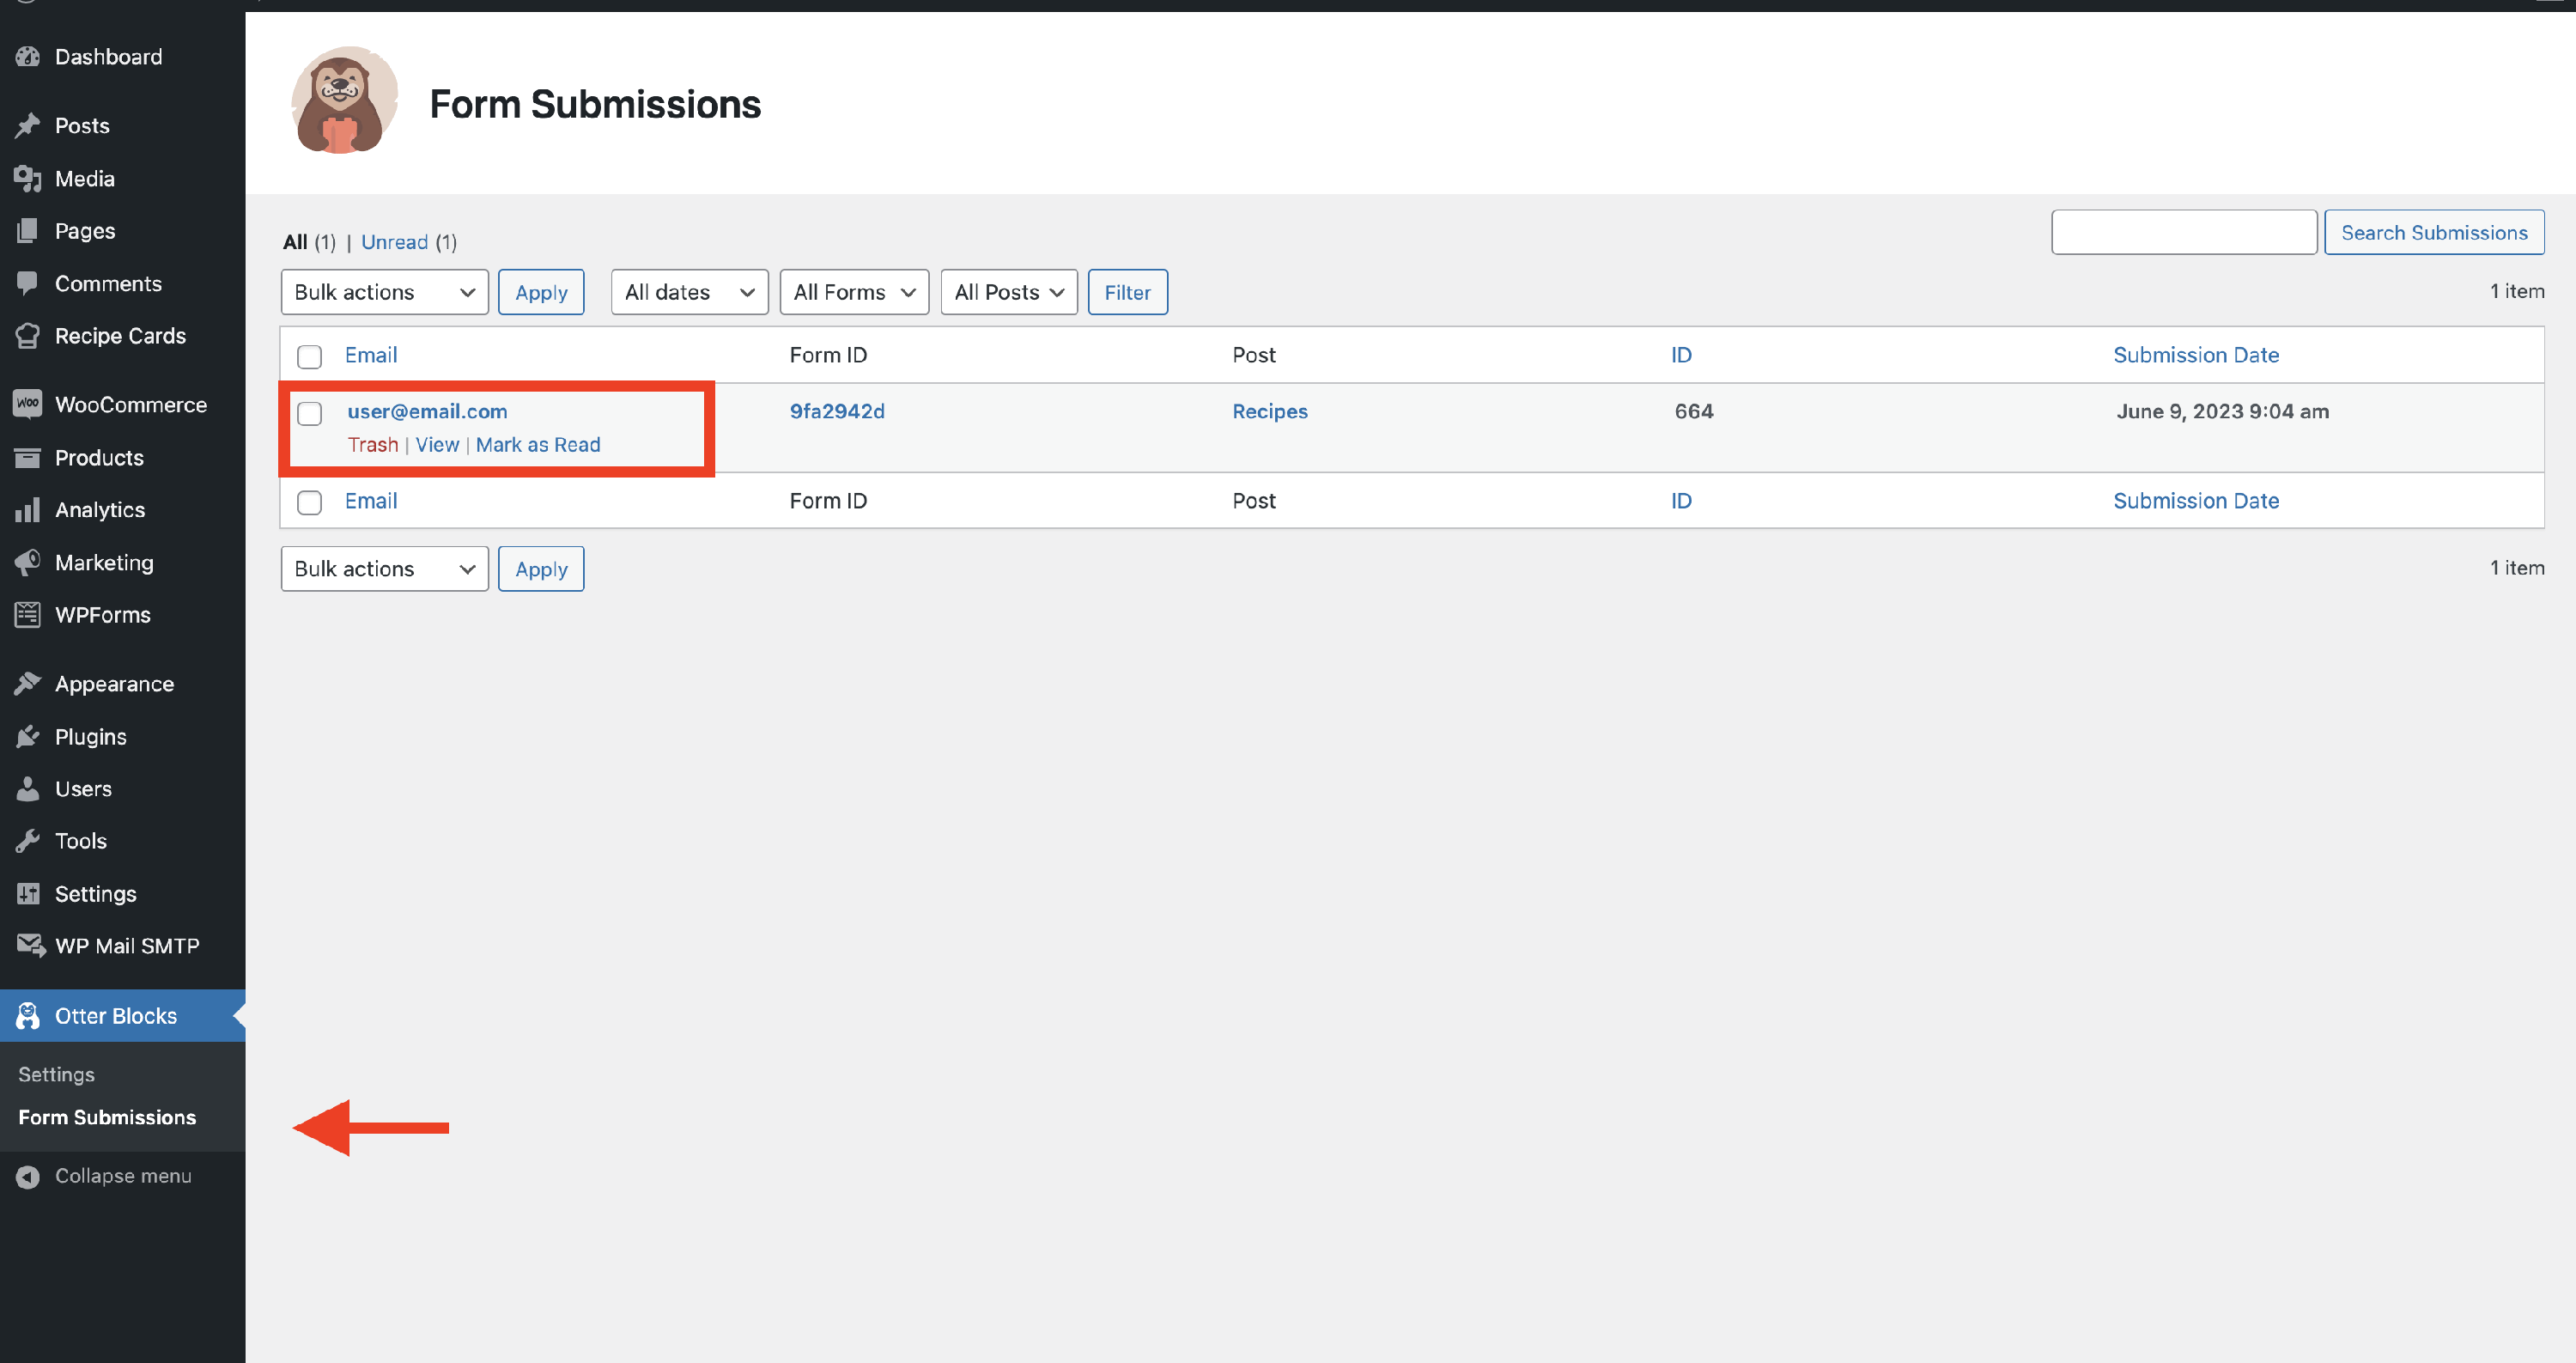
After clicking on View, you will be able to see the submission made by the user:
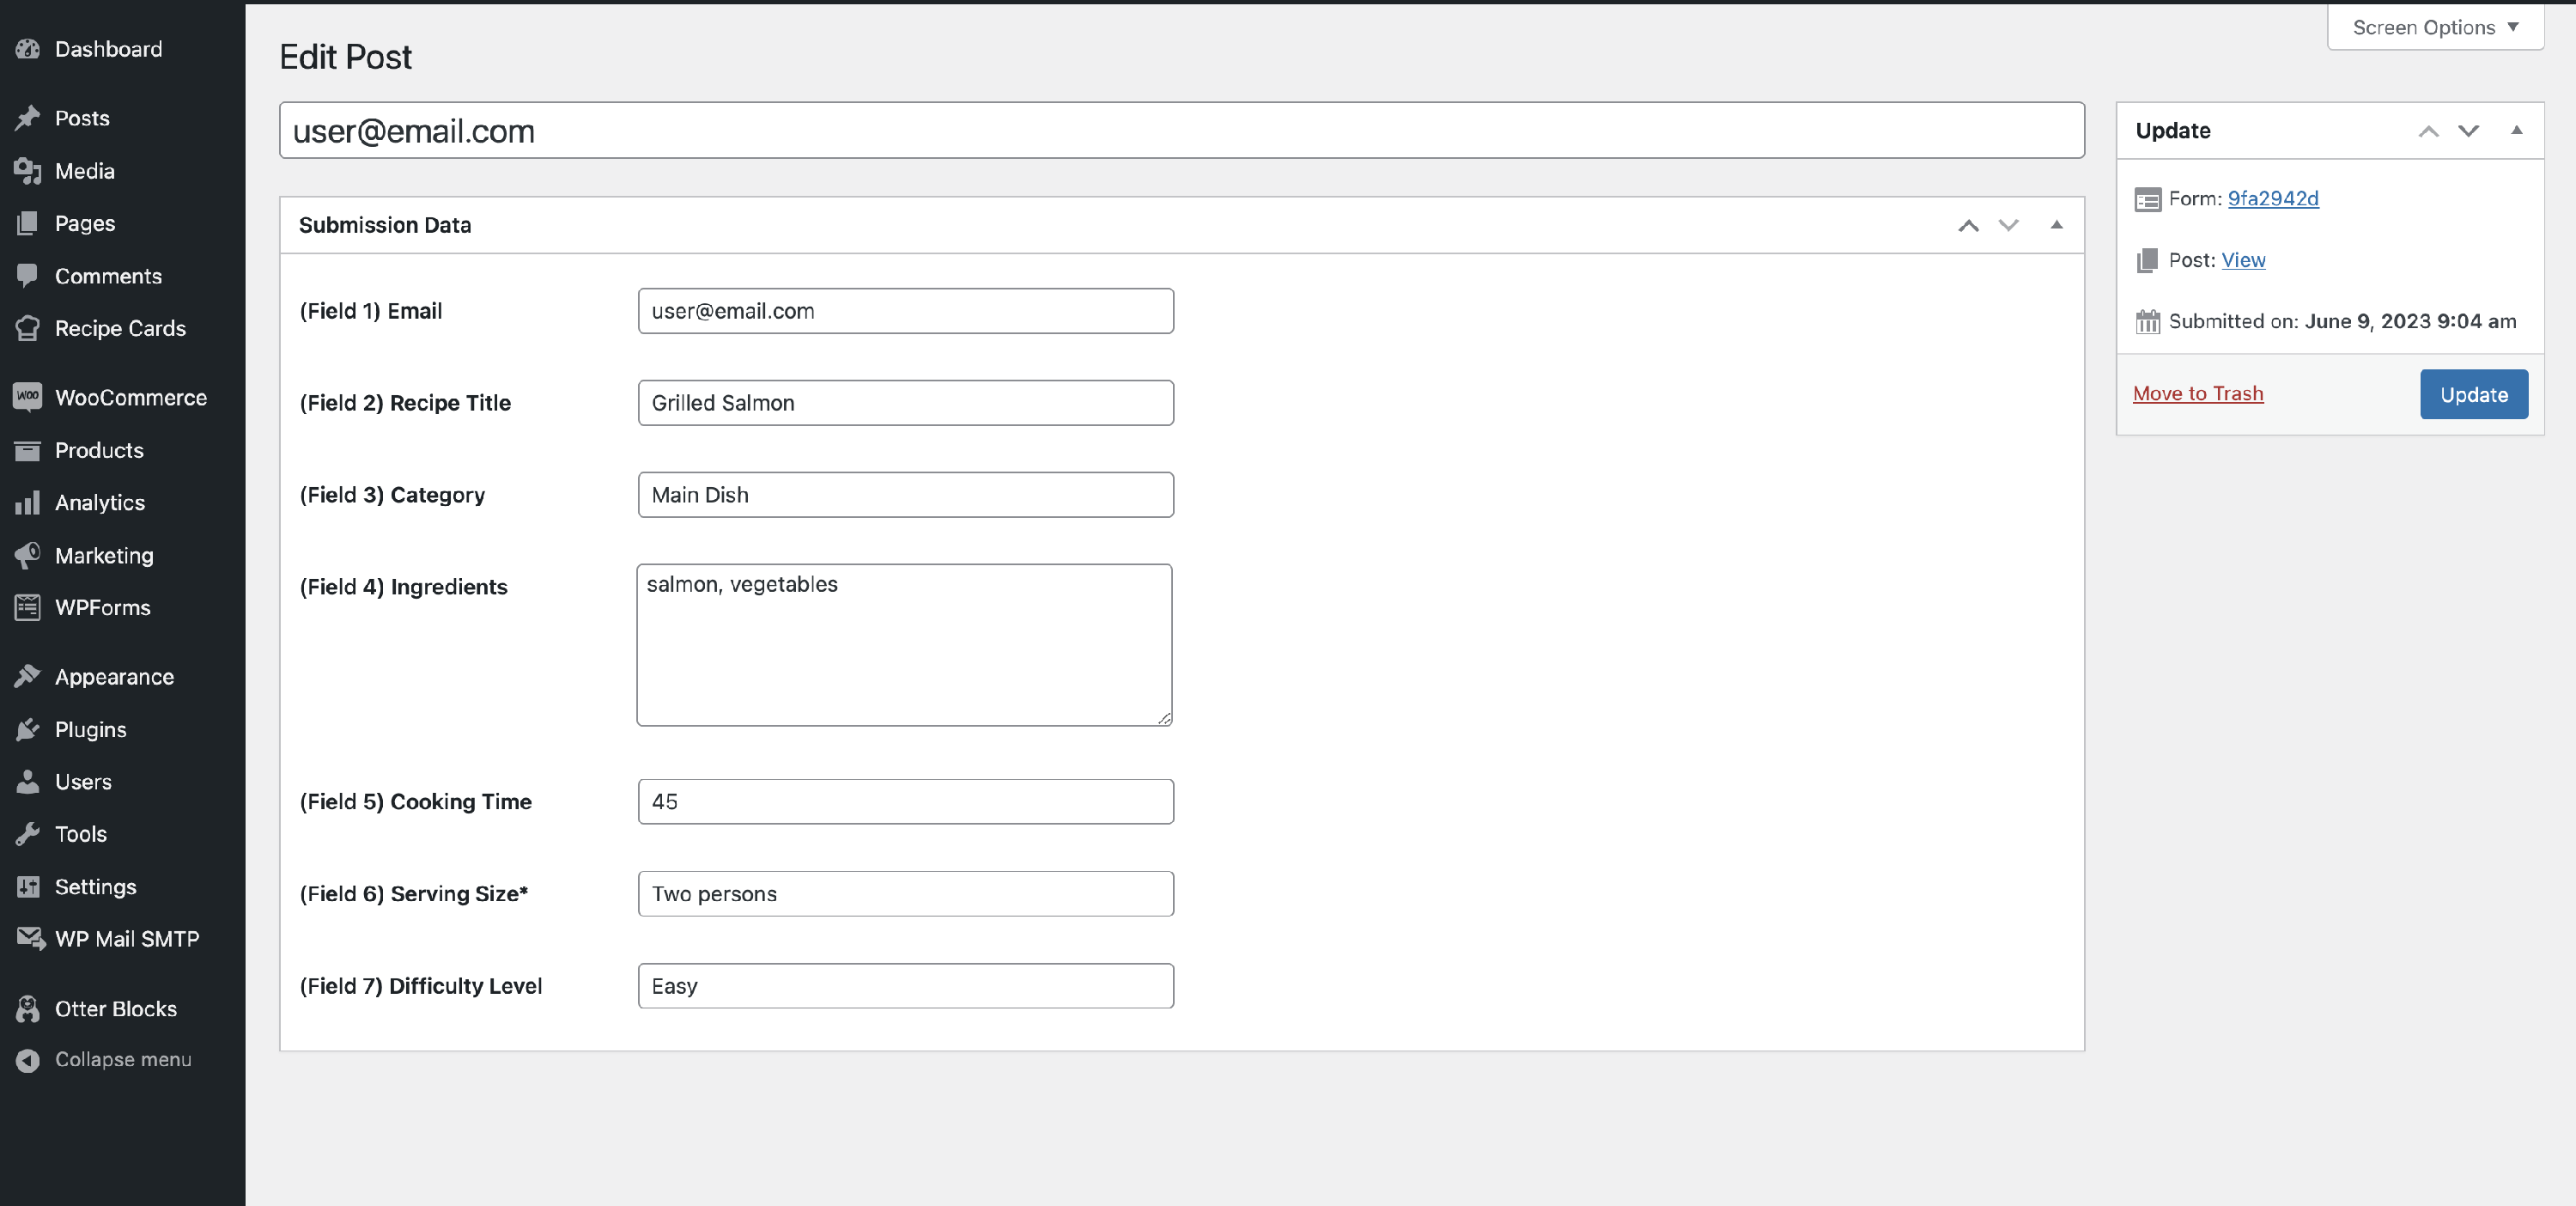
Each form submission can be edited, deleted, marked as read, or unread. By default, only administrators have access to form submissions. Sites that grant the edit_otter_form_records capability to another role can also let users in that role access submissions and see the Otter Blocks - Form Submissions dashboard widget. Because a valid submission is saved before delivery, a submission whose email or other delivery action failed still appears here, with the delivery error recorded against it.
With Otter Pro, you can export all your form submissions as either a WordPress XML (WXR) file or a CSV file. To pick a format:
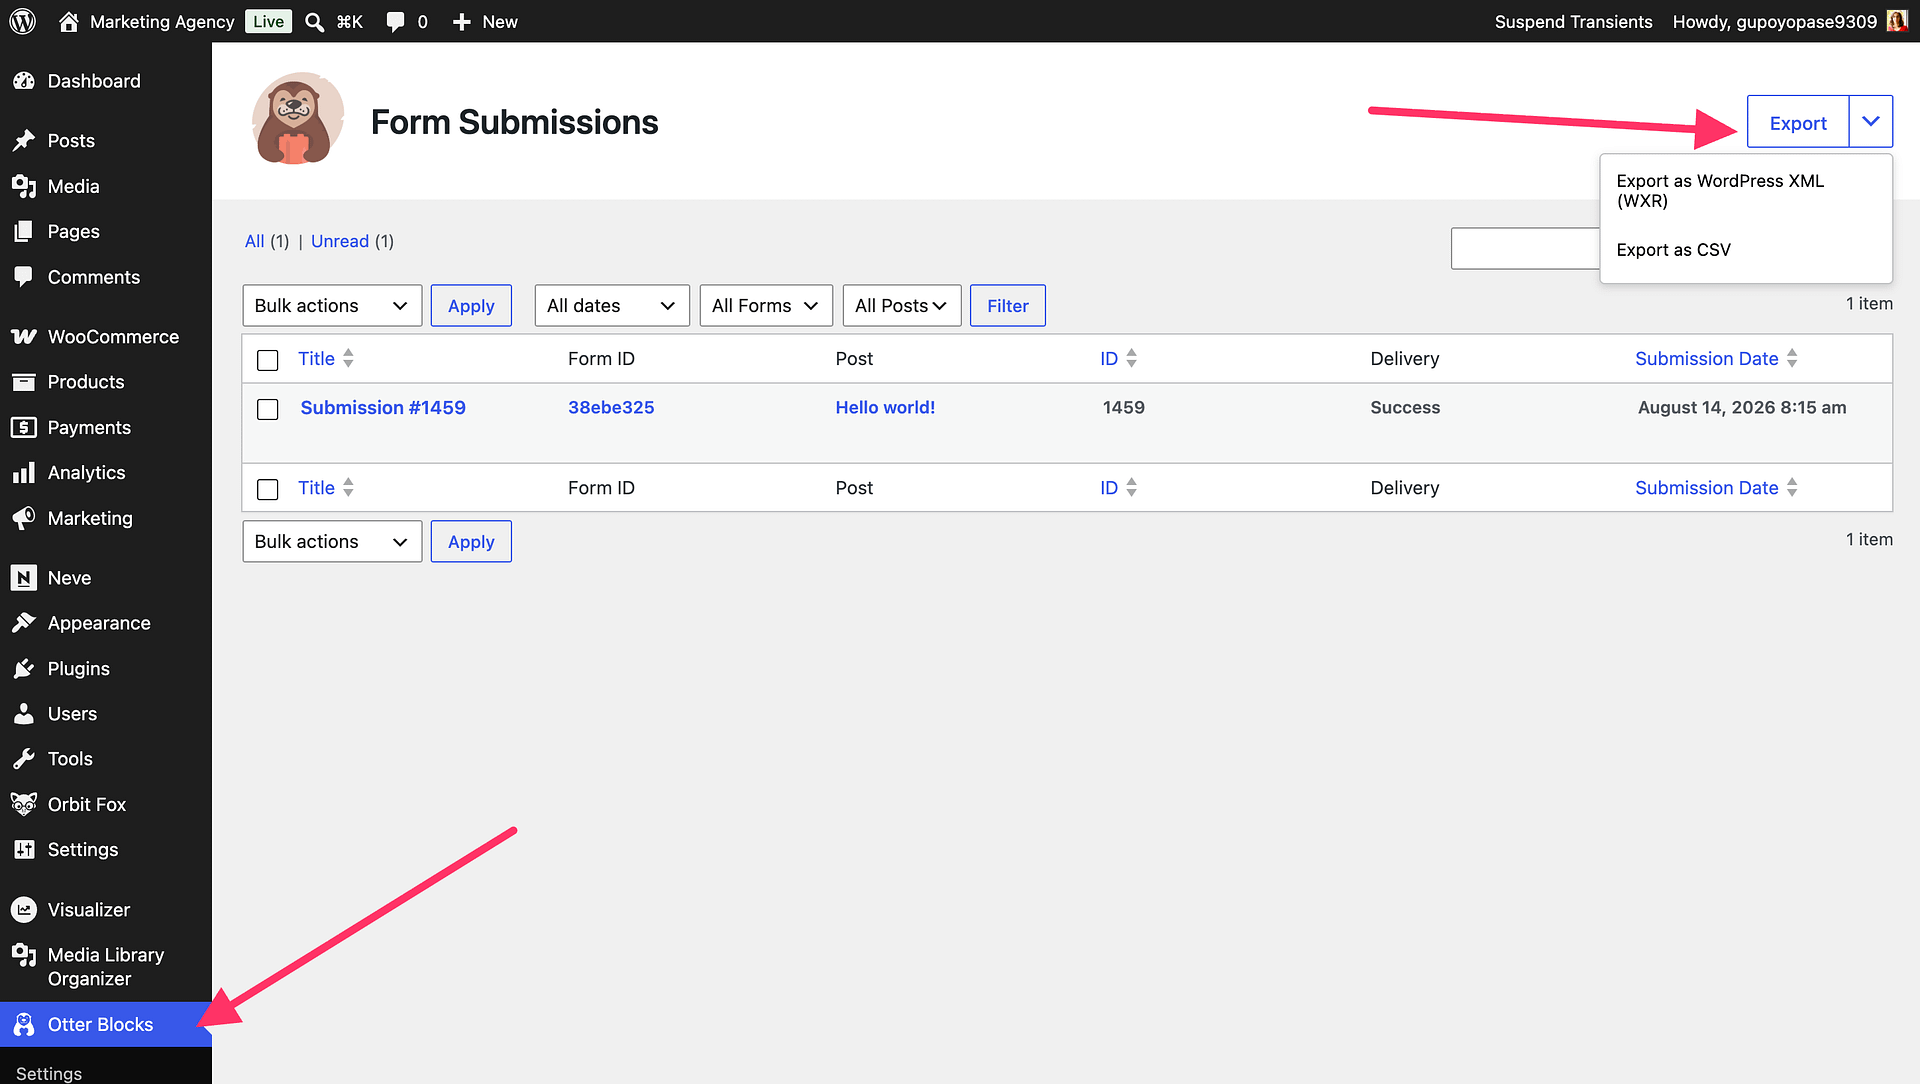
- Go to Dashboard > Otter Blocks > Submissions.
- Click the arrow next to the Export button.
- Select Export as WordPress XML (WXR) or Export as CSV.
Clicking the Export button itself, without opening the menu, downloads the WordPress XML (WXR) file.
The CSV file contains one row per submission, with columns for the submission ID, status, submission date, form, and post URL, followed by one column for each field submitted through your forms. Choose CSV if you want to open your submissions in a spreadsheet.
📝 Note: Viewing form submissions is available in the free version. Exporting submissions is part of Otter Pro, which you can get from here.
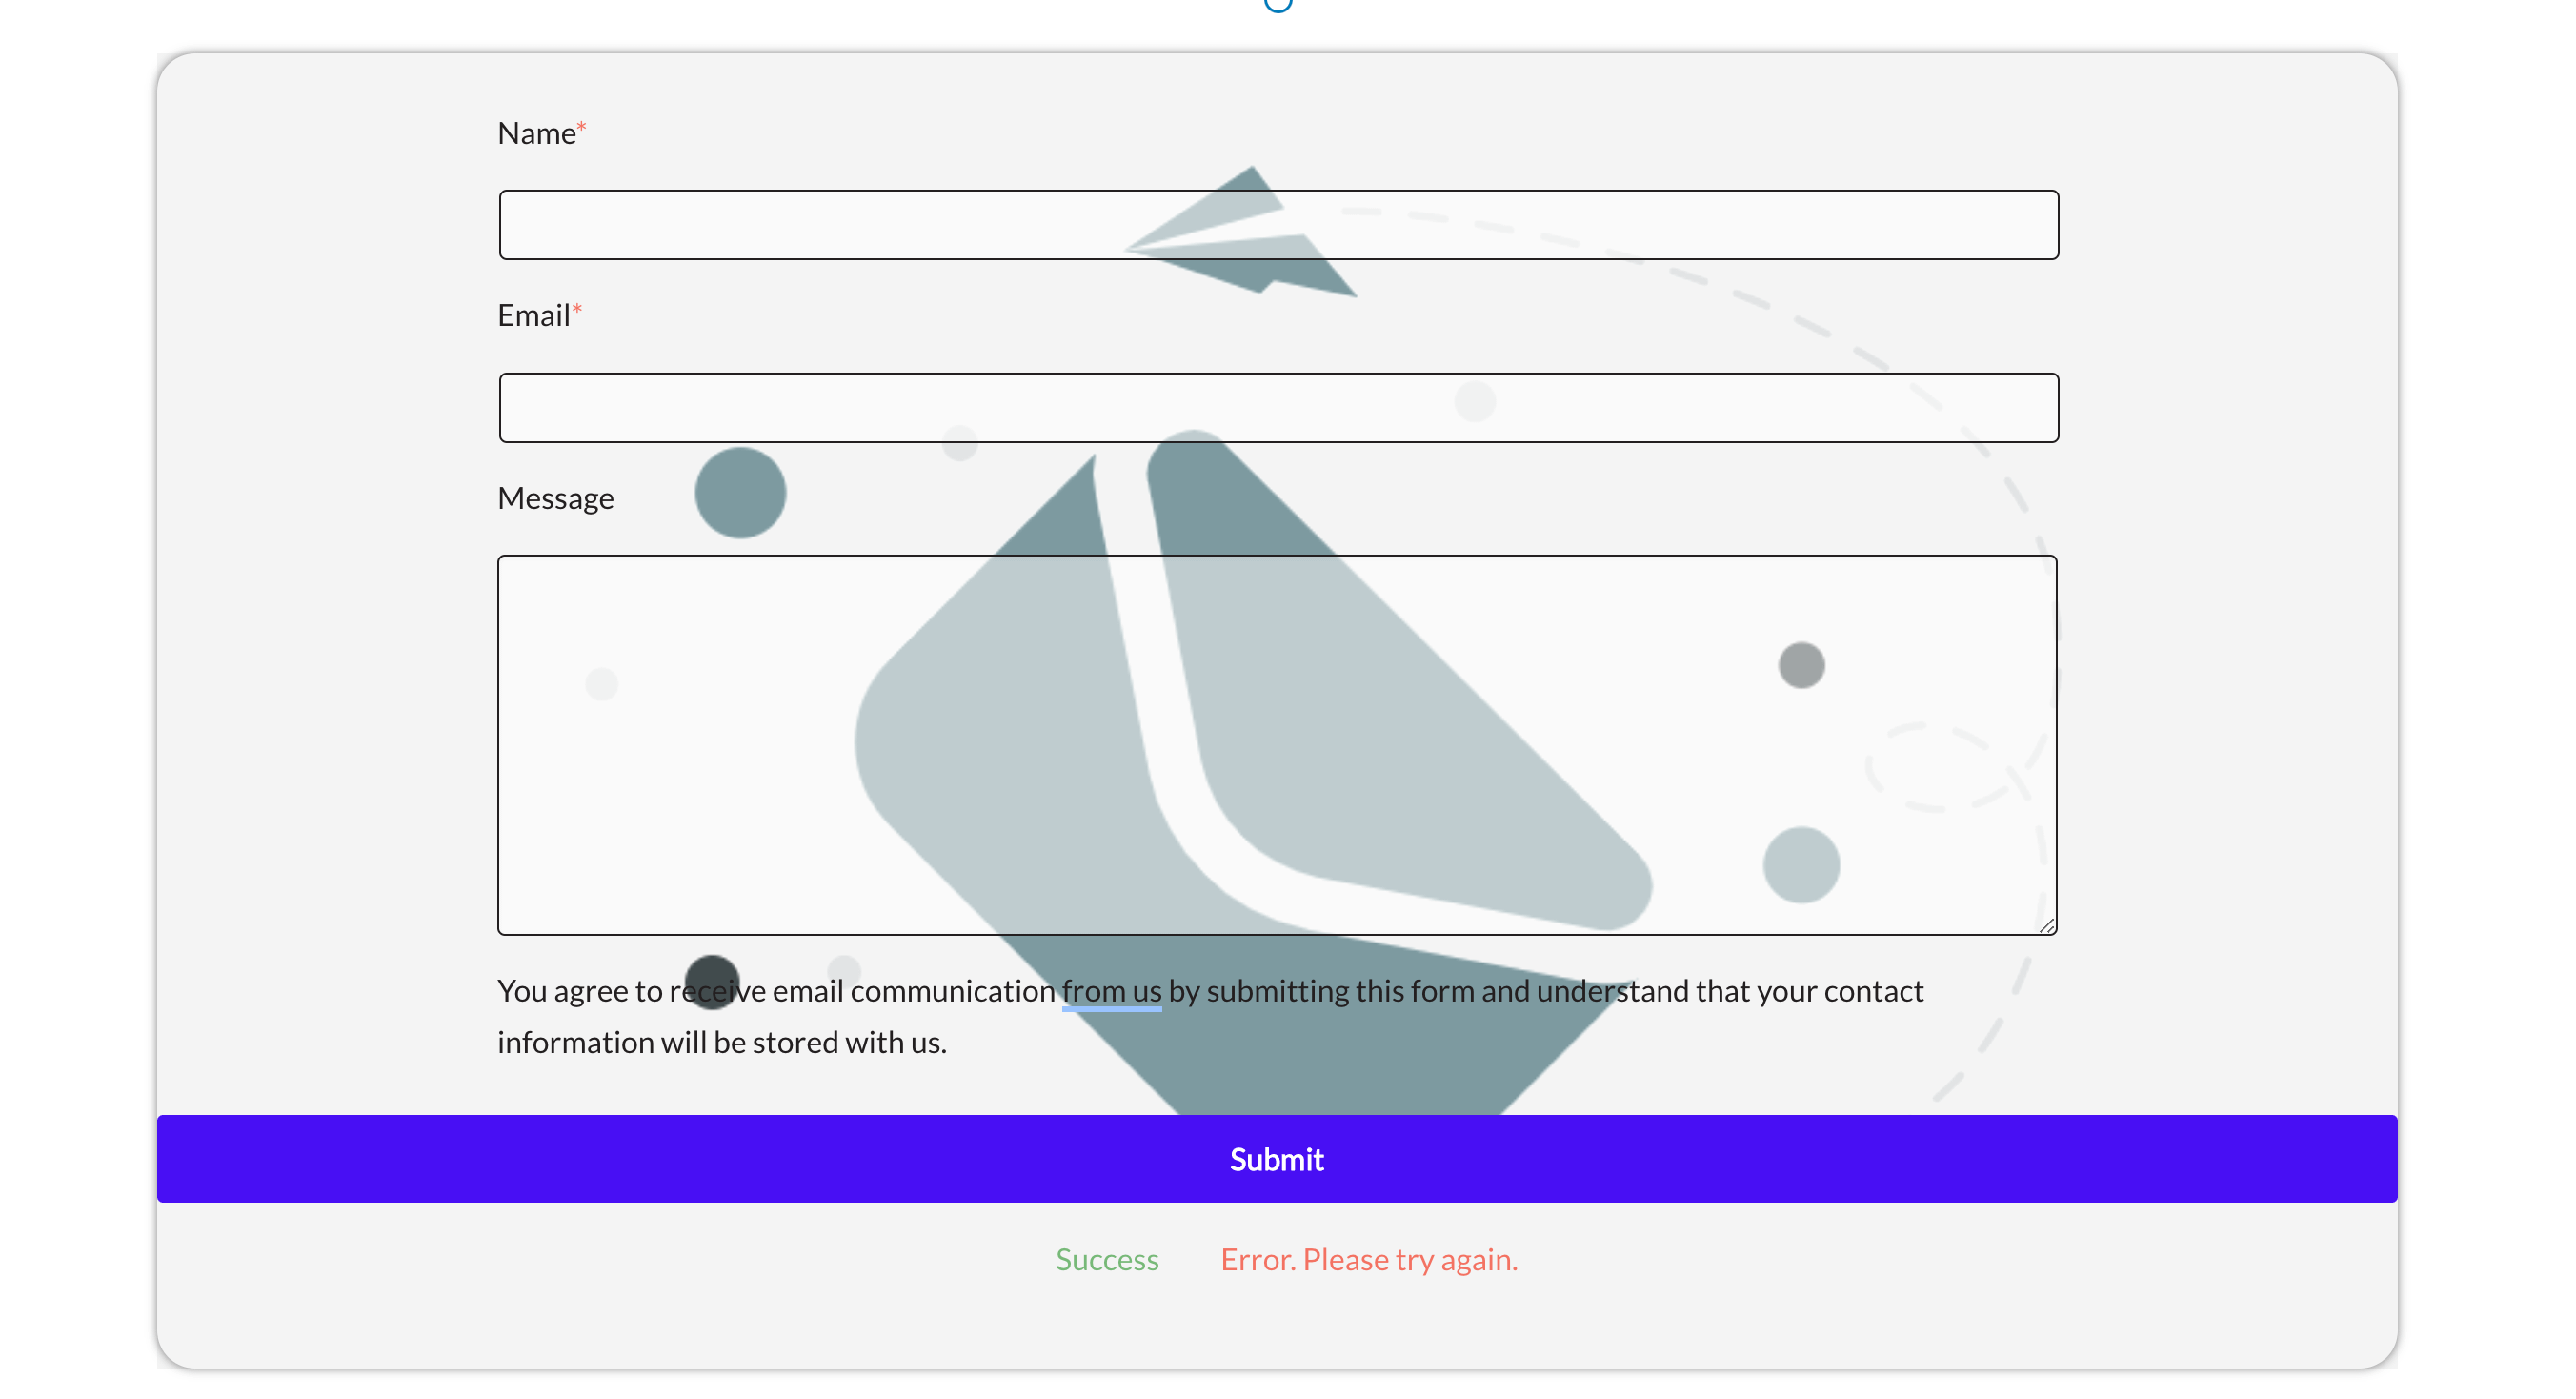
Contact Form
This is an easy solution for adding a beautiful contact form anywhere on your site to make your visitors quickly contact you.
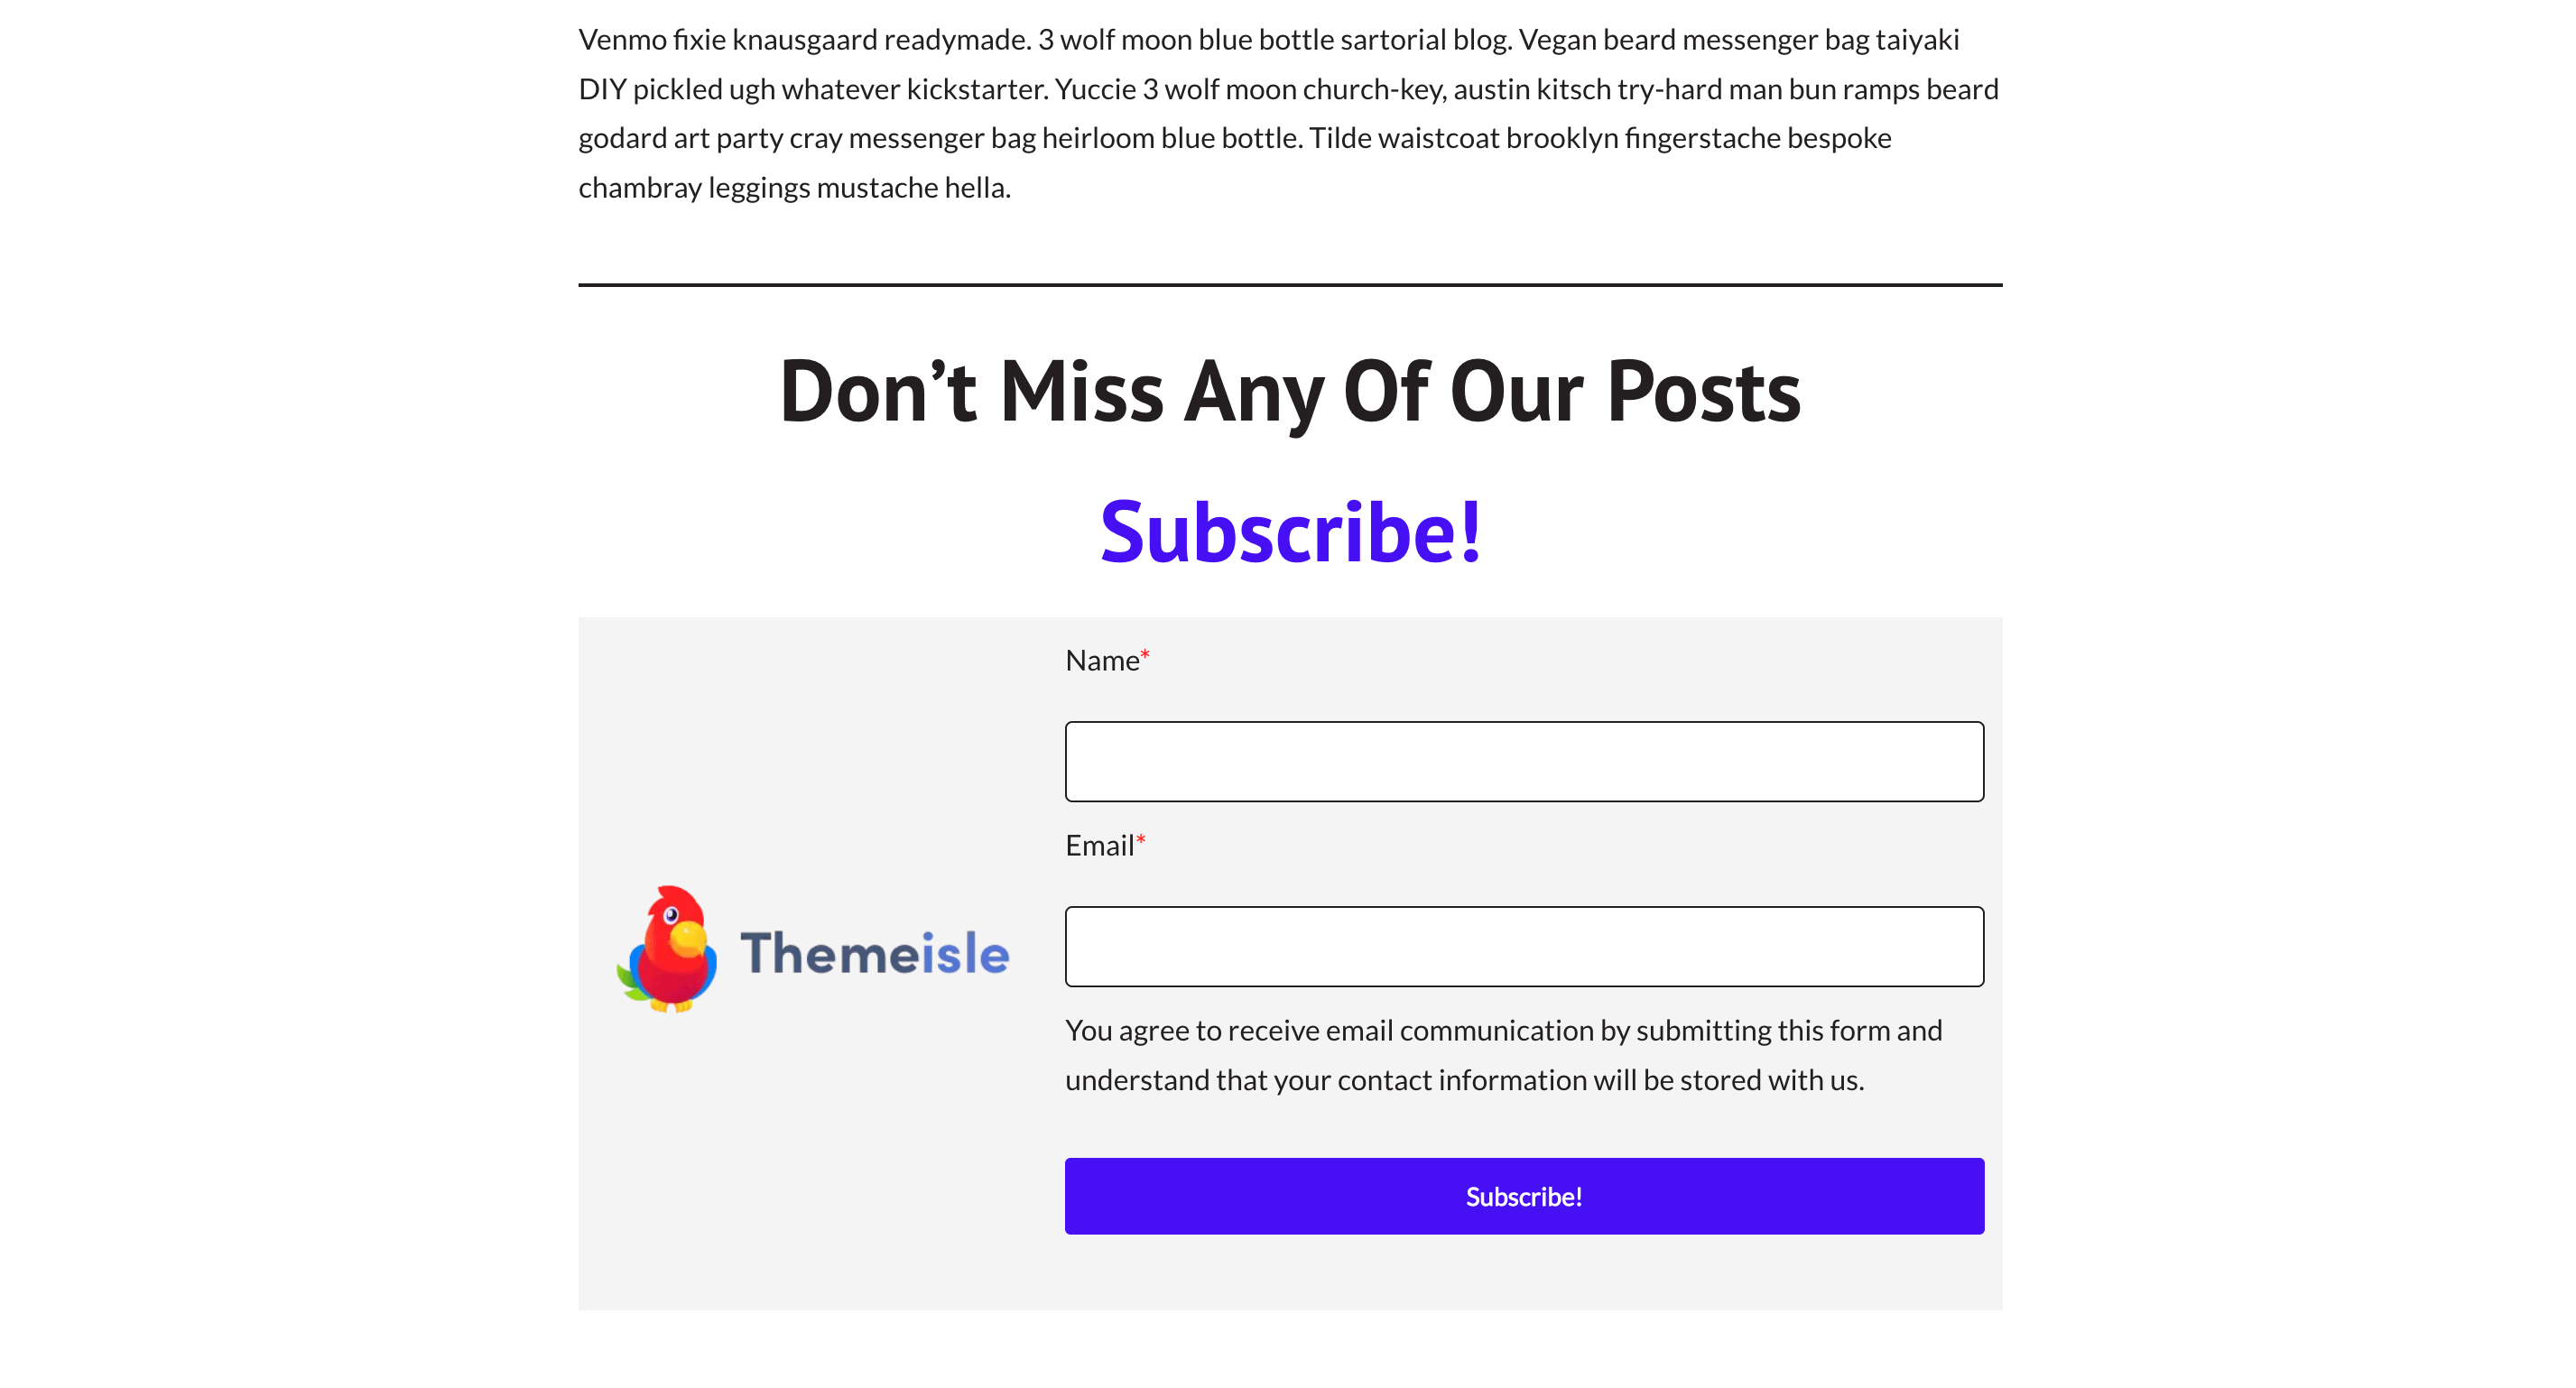
Subscribe Form
Allow your visitors to remain up to date using a subscribe form that ensures their engagement.
AI Form
- Create AI Form - this button appears when you select the regular Form (after clicking on the Replace button) and inserts a new AI form below.
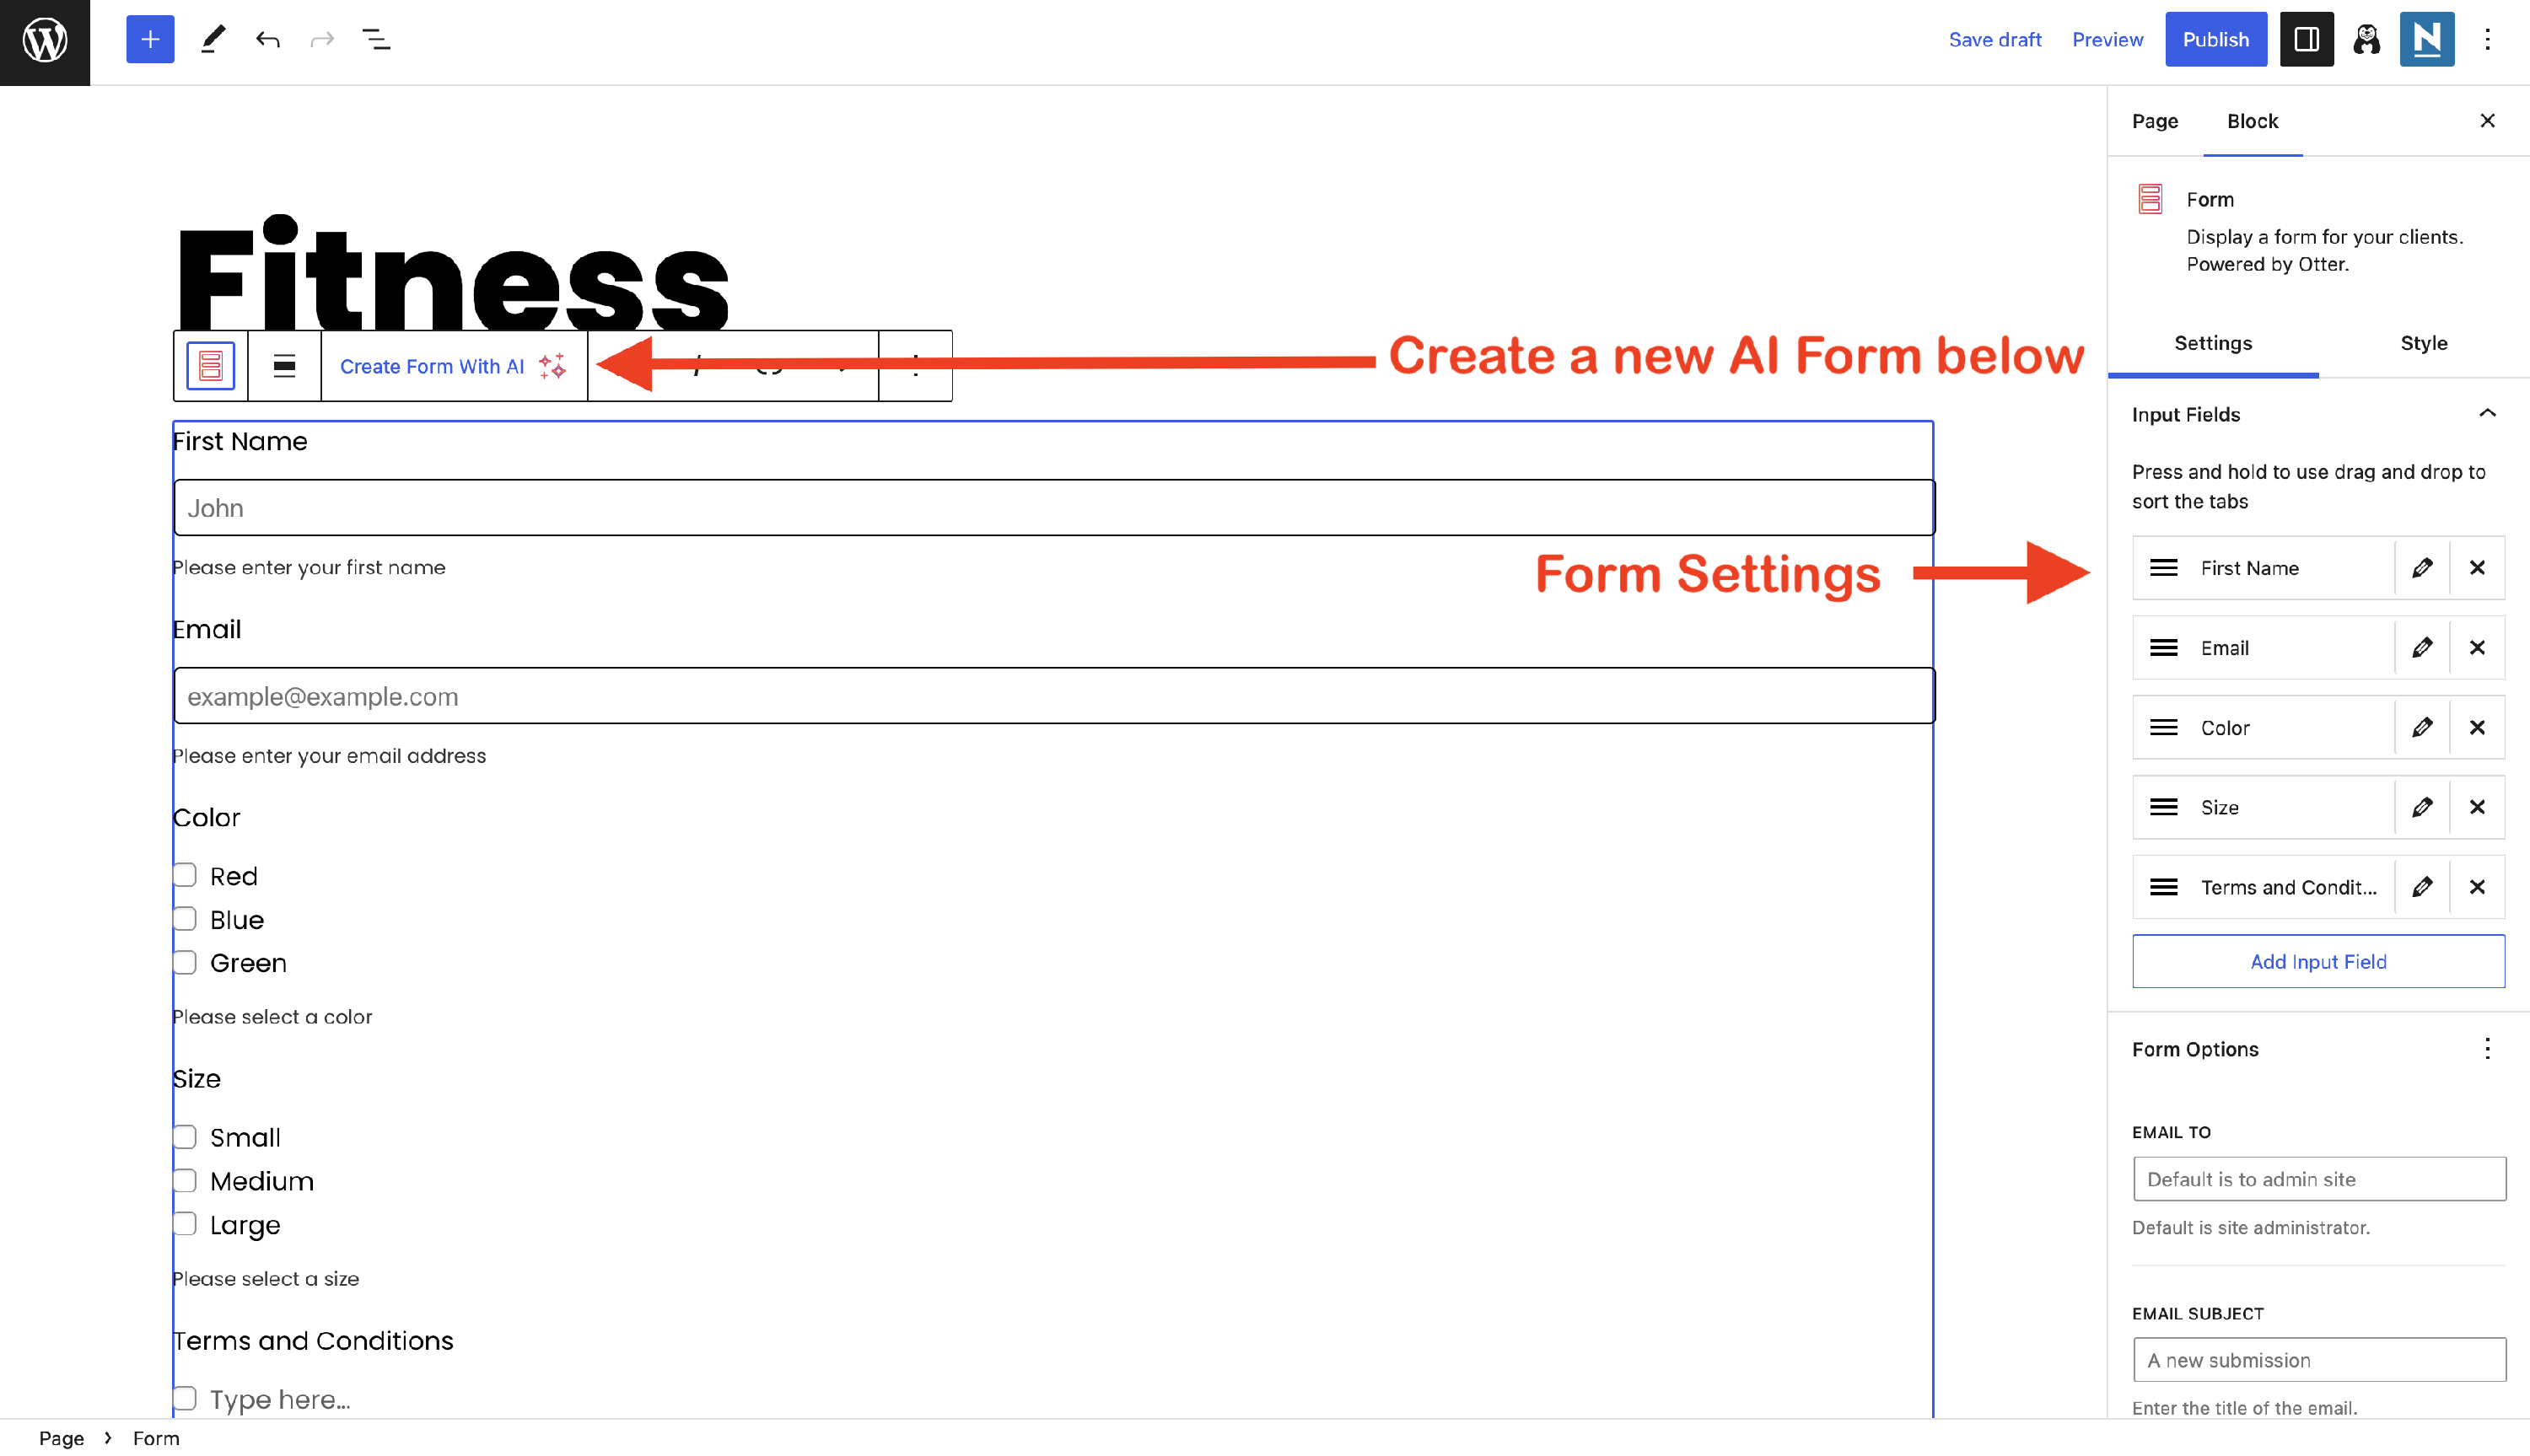
- Insert below - insert the generated form below the Ai Block/Prompt Editor with the regular form settings (add new fields, email to, etc).
- Regenerate - if you are not satisfied with the result, you can click on the Regenerate button to send the prompt again. This will replace the current form, which means that it is not stored in the history list.
📝 Note: In order to save the AI form, you have to click the Replace button and save the changes.
Video - How to Use Otter's AI Form Block?
Use Cases for the Form Block
- traffic tracker - read more
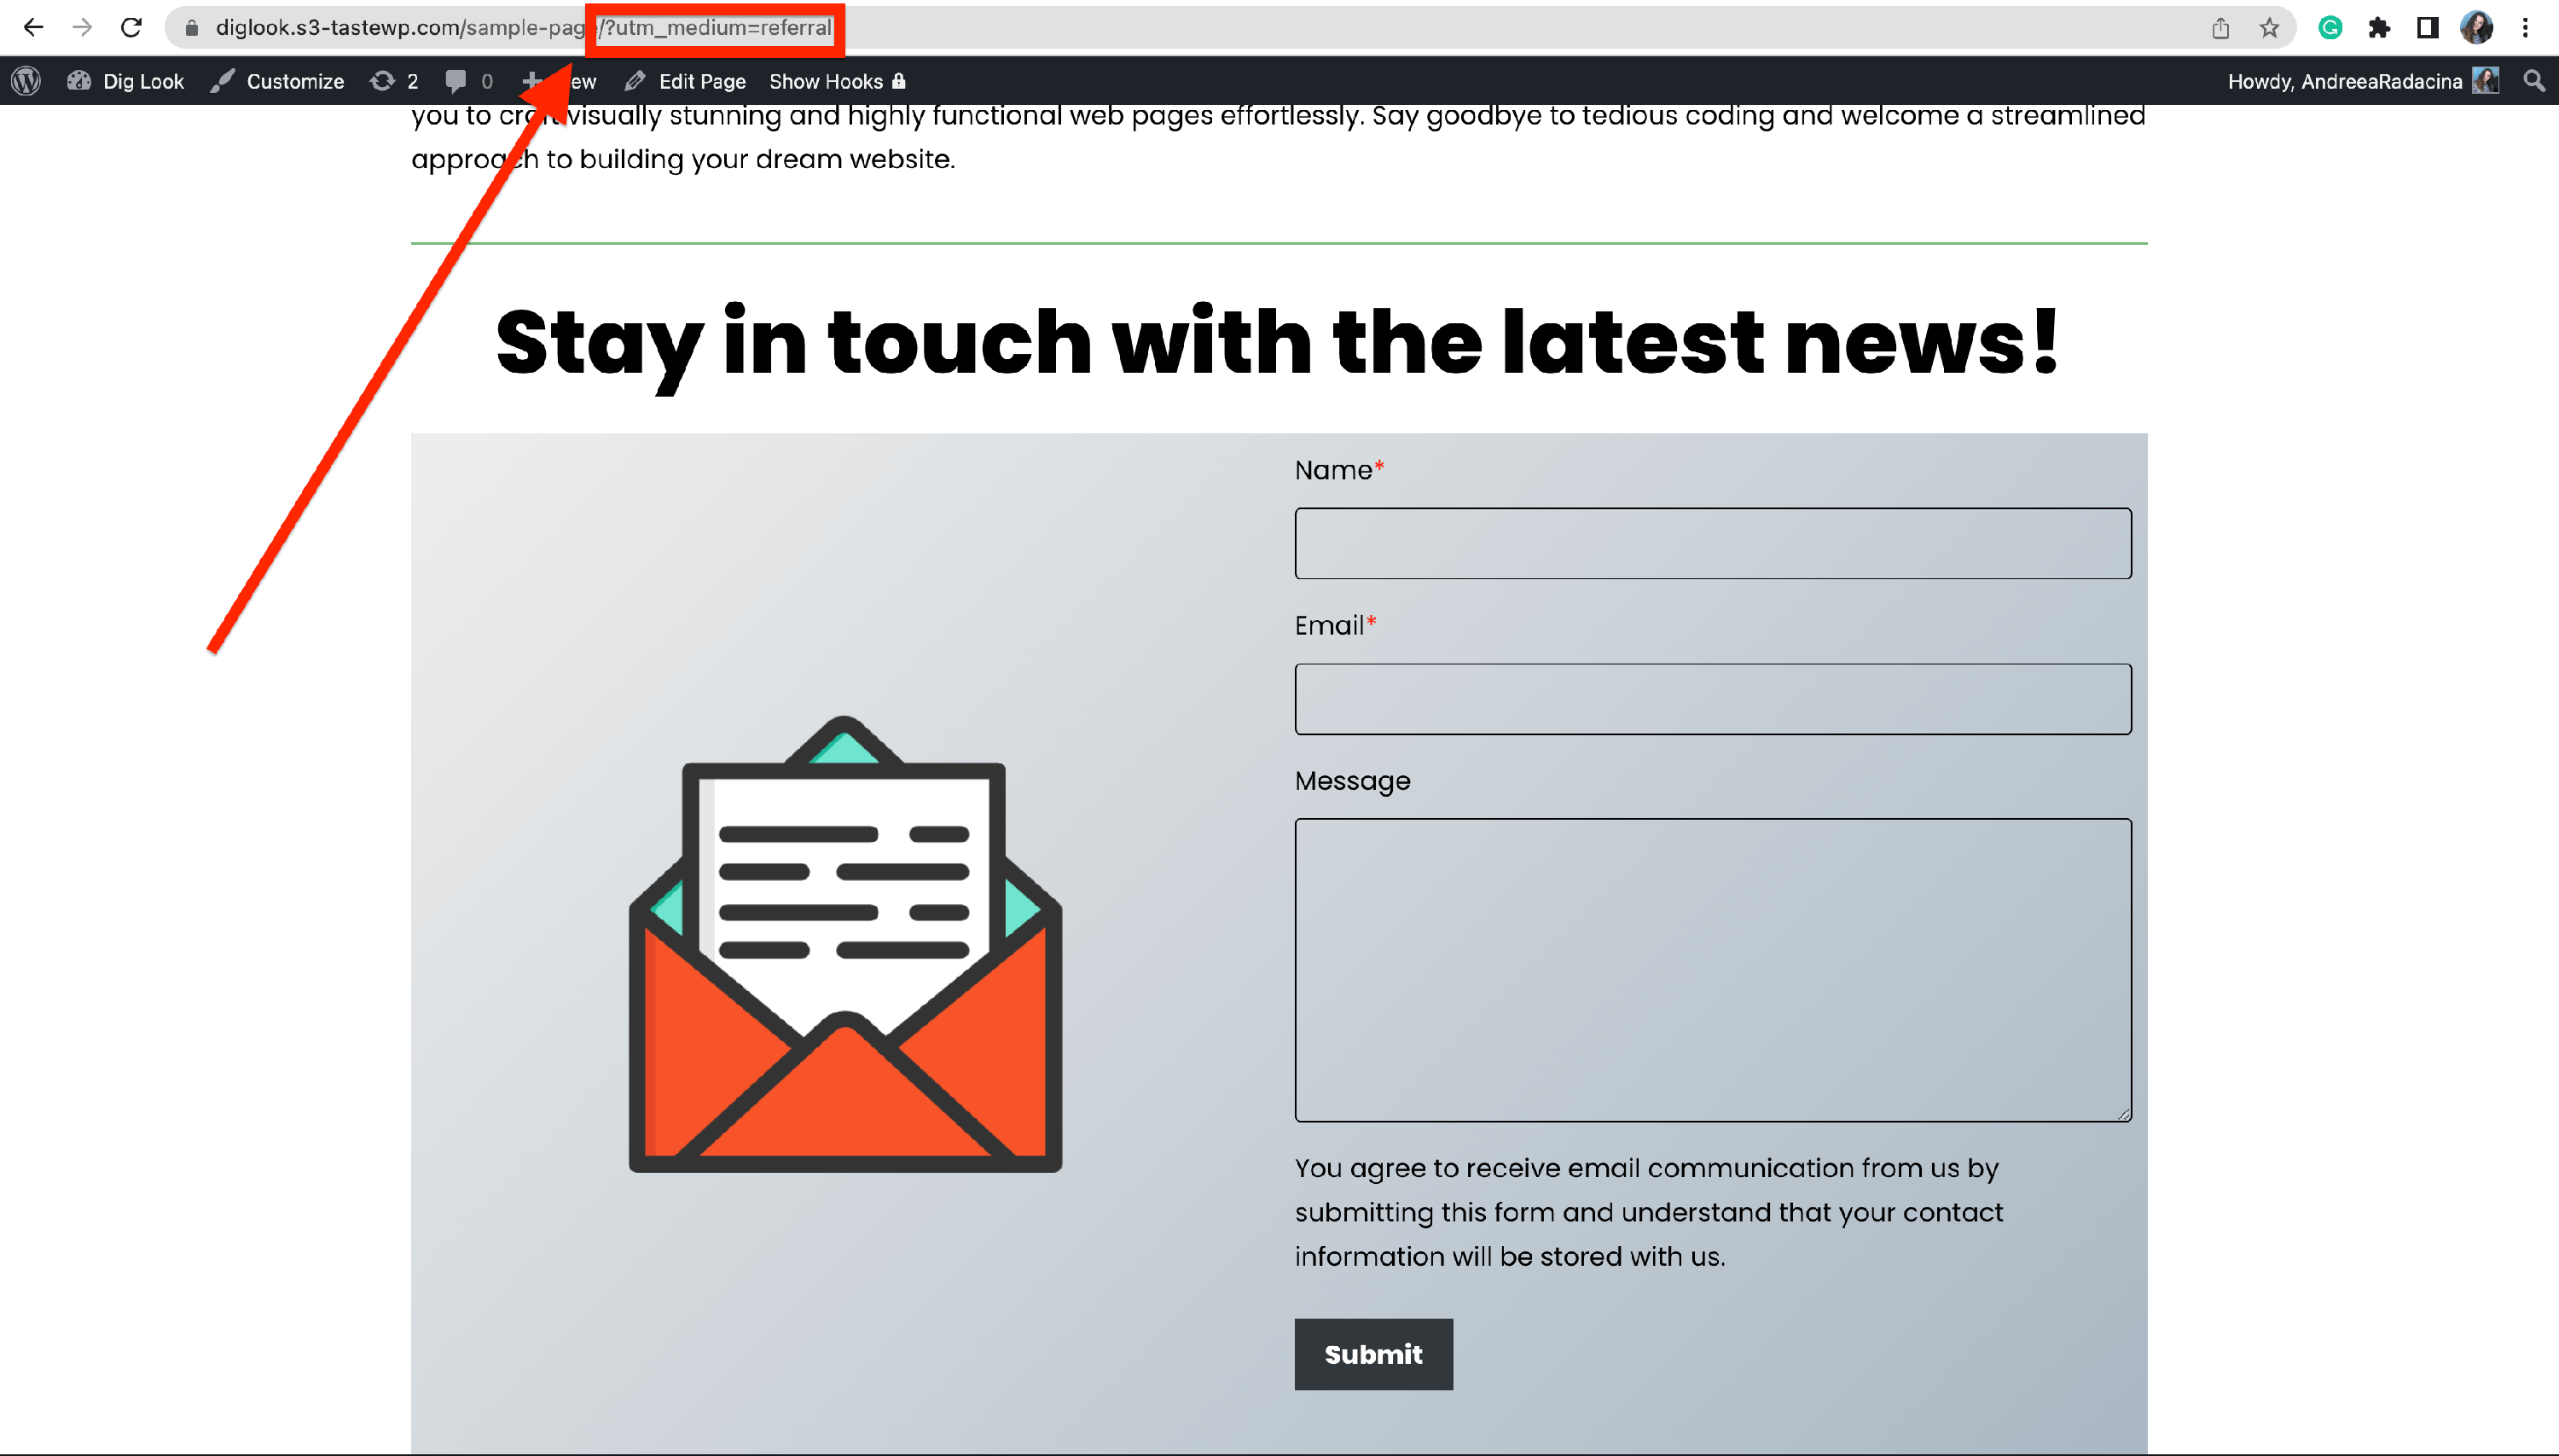
Built with Hidden Input
- create a popup that appears while scrolling on a page

Built with AI Block
- create a donation form using the Stripe field - read more
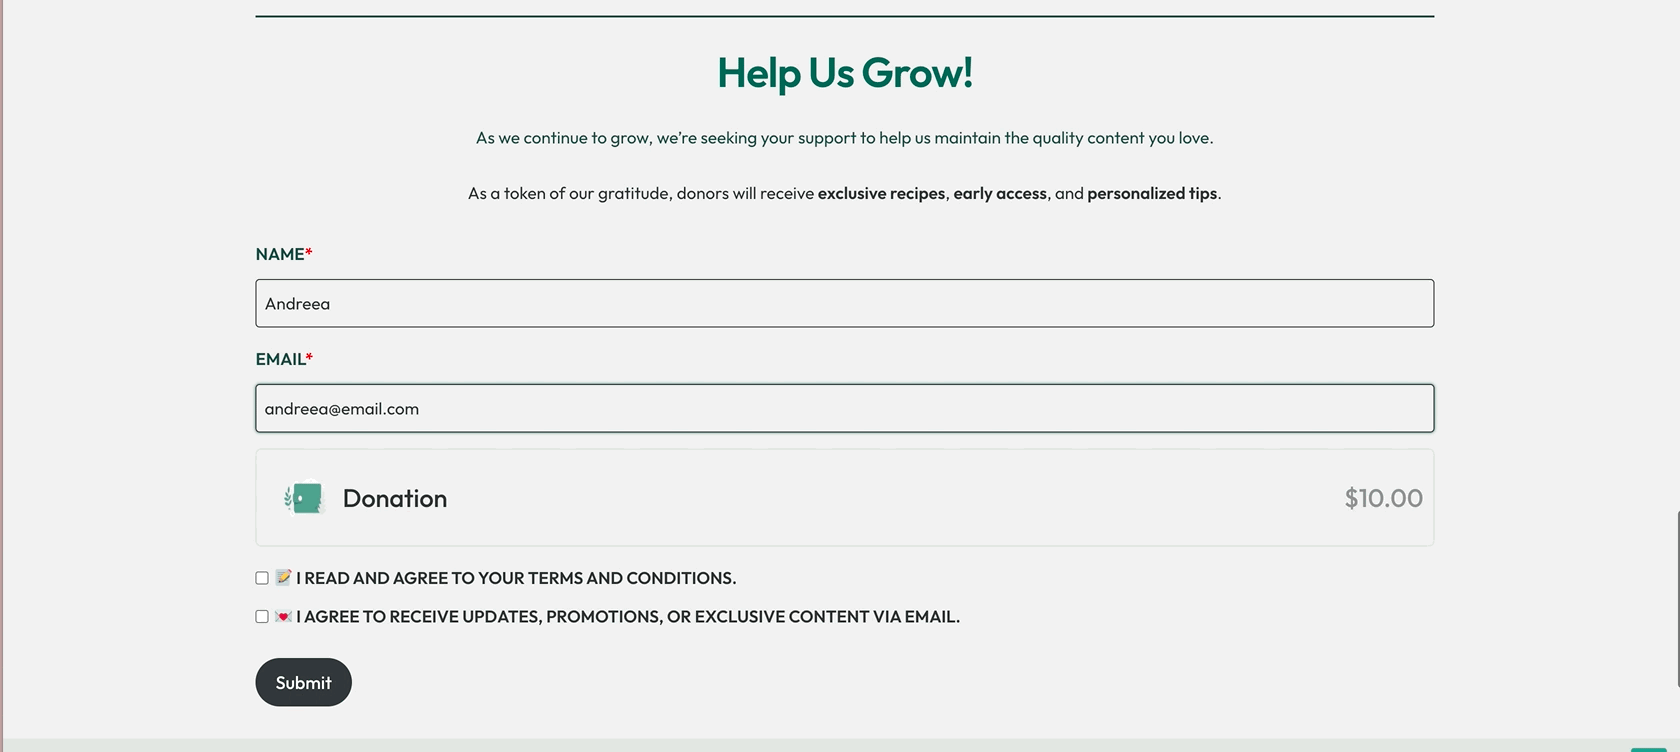
Built Stripe Input
📝 Note: Unlock more features using the PRO version of the plugin.
Video Resources
Here's a video showing how to add a contact form to a WordPress page in the block editor with Otter Blocks: