Protecting WP Full Pay Forms from Card Testing Attacks
This article explains how to recognize card testing activity on your WP Full Pay forms, what to do immediately when bots are actively attacking a form, and how to recover if Stripe has blocked or suspended your account as a result.
In this article
How to Recognize a Card Testing Attempt
Card testing (also called carding) is a type of fraud where automated bots submit a high volume of payment attempts to discover valid card details. Look for these signs in your Stripe Dashboard:
- A sudden spike in
payment_intent.createdevents, even though few or no payments are completing - Multiple failed payment attempts with small fixed amounts (for example, $1.00 or $0.01)
- A high volume of declined transactions from many different card numbers in a short period
Why Attempts Appear in Stripe but Not in WordPress
When bots target an inline WP Full Pay form, you may see a large number of failed or incomplete payment attempts in your Stripe Dashboard that have no matching records in your WordPress admin or WP Full Pay transaction list. This is expected behavior, and here is why:
- Inline forms can create a Stripe PaymentIntent during submission. The form no longer creates an unnecessary PaymentIntent just because the page loads. A PaymentIntent can still be created when a visitor or bot starts submitting the form before the payment is confirmed or completed.
- WordPress records are created only on successful completion. WP Full Pay only saves a transaction record in WordPress when a payment is fully processed and confirmed by Stripe. Incomplete or failed PaymentIntents do not result in a WordPress record.
As a result, the number of attempts visible in the Stripe Dashboard will be much higher than what appears in your WP Full Pay transaction list. This discrepancy is not a plugin bug — it reflects the difference between a Stripe PaymentIntent being created and an actual payment being completed.
Note: The Checkout layout keeps more of the payment flow on Stripe's hosted page and can still reduce exposure during card-testing attacks. See The difference between inline and checkout form layouts for a full comparison.
Immediate Containment Steps
If bots are actively targeting your WP Full Pay form right now, take these steps immediately to stop the abuse before applying a permanent fix:
- Remove or disable the affected inline form. Edit the page or post where the inline donation form shortcode is placed and either delete the shortcode or switch the page to draft mode. This stops new bot-generated PaymentIntents from being created in Stripe.
- Create a replacement Checkout form. Follow the steps in Recommended Solution: Use the Payment Form with Checkout Layout to create a new form using the Checkout layout.
- Replace the shortcode. Once the Checkout form is ready, add its shortcode back to the page and republish.
- Enable reCAPTCHA. Add Google reCAPTCHA to the new form as an additional layer of protection (see Enable Google reCAPTCHA).
- Add Stripe Radar rules. Consider adding rate-limiting rules in Stripe Radar to block suspicious patterns (see Use Stripe Radar Rules).
⚠️ Important: During active bot abuse, do not rely on reCAPTCHA alone to protect an inline form. Sophisticated bots can bypass reCAPTCHA challenges. Temporarily disabling the inline form or switching to the Checkout layout is the safest immediate mitigation.
If Your Stripe Account Was Blocked or Suspended
In severe cases, a high volume of failed bot-generated PaymentIntents can trigger Stripe's fraud detection systems and result in your Stripe account being blocked or suspended. If this happens:
- Stop new activity immediately. Remove or disable the affected inline form shortcode from your site to prevent further bot submissions (see Immediate Containment Steps above).
- Gather evidence from Stripe. In your Stripe Dashboard, go to Payments > All transactions and export a list of the failed/incomplete PaymentIntents. Document the date range affected, the total number of attempts, and any patterns you observe (such as small fixed amounts like $0.01 or $1.00, many different card numbers, or repeated attempts from the same IP address ranges).
- Contact Stripe Support. Open a support ticket with Stripe and explain the situation clearly:
- Your account received a high volume of fraudulent bot traffic targeting a donation form.
- The failed PaymentIntents were created by automated bots, not by real customers.
- You have identified the source (an inline donation form) and have already disabled it or replaced it with a Checkout layout form.
- You are requesting a review and reinstatement of your account.
- Provide supporting context. Share screenshots of the activity in your Stripe Dashboard and, if requested, export your WP Full Pay transaction records to demonstrate that the bot attempts did not result in any completed payments.
- Follow Stripe's instructions. Stripe's support team will guide you through their review process. Accounts that have been suspended due to identified fraudulent third-party bot activity — rather than the account holder's own actions — are typically eligible for reinstatement once the root cause is explained and addressed.
📝 Note: You can reach Stripe Support directly through your Stripe Dashboard by clicking the help icon and selecting Contact support.
Recommended Solution: Use the Payment Form with Checkout Layout
The most effective step you can take during an active attack is to use a WP Full Pay donation form with the Checkout layout. The Checkout layout includes built-in rate limiting and bot detection managed by Stripe, reducing automated abuse without requiring additional configuration.
📝 Note: With the Checkout layout, visitors are redirected to a Stripe-hosted page to complete their payment and then returned to your site. See The difference between inline and checkout form layouts for a full comparison of the two layouts.
How to create a Checkout donation form
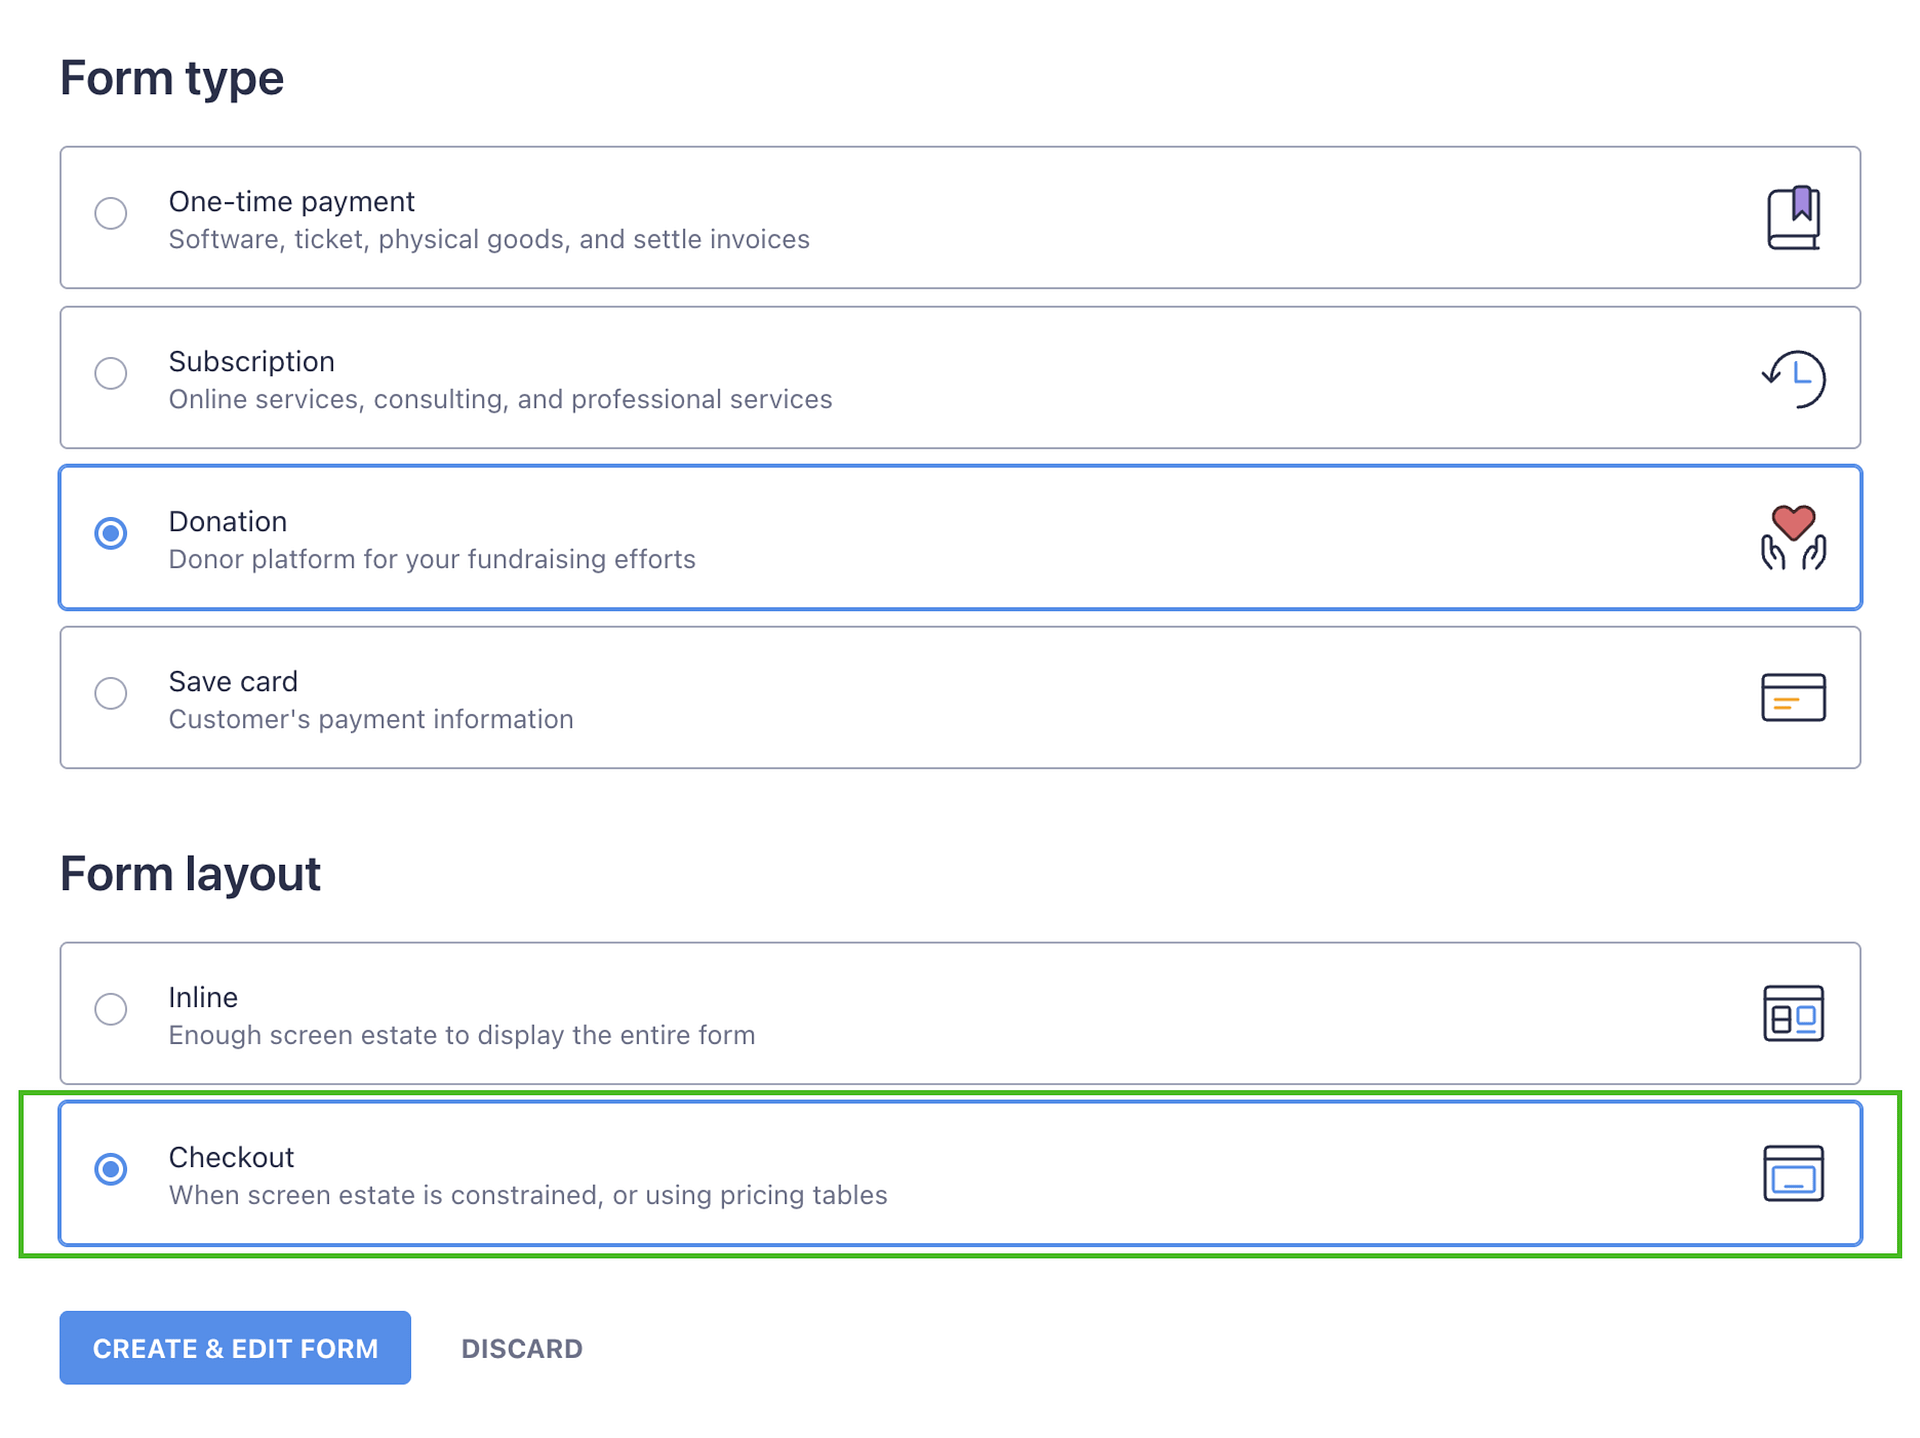
The form layout is selected when a new form is created. To replace an existing donation form with a Checkout version:
- In your WordPress admin, navigate to Full Pay > Payment Forms.
- Click Add form to create a new donation form.
- Enter a display name for the form.
- Under Form layout, select Checkout (not Inline).
- Click Create & edit form.
- On the Payment tab, configure your donation settings (currency, suggested amounts, donation frequency).
- Optionally configure a Thank you page on the General tab.
- Save the form and copy the new shortcode.
- Replace the old form shortcode on your donation page with the new Checkout form shortcode.
💡 Tip: After switching to the Checkout layout, check your Stripe Dashboard after a few days. You should see a significant reduction in payment_intent.created events and failed payment attempts.
Additional Mitigations
Consider applying these additional protections alongside the Checkout layout.
Enable Google reCAPTCHA
WP Full Pay supports Google reCAPTCHA v2 on both inline and Checkout forms. Enabling reCAPTCHA adds a challenge step that makes it harder for bots to submit your forms.
⚠️ Important: reCAPTCHA helps reduce automated submissions, but it is not sufficient protection on its own during an active bot attack on an inline form. If bots are actively targeting your site, switching to the Checkout layout or temporarily disabling the inline form is the safer immediate action. Use reCAPTCHA as an additional layer of protection, not as a primary defense.
To enable reCAPTCHA:
- Navigate to Full Pay > Settings > Security.
- Check the box next to Inline forms and/or Checkout forms to enable reCAPTCHA on those form types.
- Paste your Google reCAPTCHA Site Key and Secret Key into the fields provided.
- Click Save settings.
📝 Note: You need to register your site with Google to obtain reCAPTCHA API keys. See Register your website for Google reCAPTCHA for step-by-step instructions.
Use Stripe Radar Rules
Stripe Radar is Stripe's built-in fraud detection system. You can add custom rules in your Stripe Dashboard to automatically block suspicious payment patterns, such as:
- Multiple payment attempts from the same IP address in a short period
- Payments below a minimum amount threshold (to catch $0.01 or $1.00 test attempts)
- Cards issued in countries outside your normal customer base
To configure Stripe Radar rules, go to your Stripe Dashboard and navigate to Radar > Rules. Refer to Stripe's Radar documentation for guidance on writing effective rules.
Verifying the Improvement
After switching to the Checkout layout and enabling reCAPTCHA, verify the changes are working:
- In your Stripe Dashboard, open Payments > All transactions and filter by
payment_intent.createdevents or failed payments. - Over the next 24–48 hours, the volume of incomplete payment intents and declined attempts should drop significantly.