How to configure the Mailchimp add-on?
Mailchimp is a popular email marketing and automations platform. WP Full Pay customers can integrate directly with Mailchimp using the Mailchimp add-on for WP Full Pay.
In this article
Requirements
The Mailchimp add-on requires a current WP Full Pay installation.
Installation
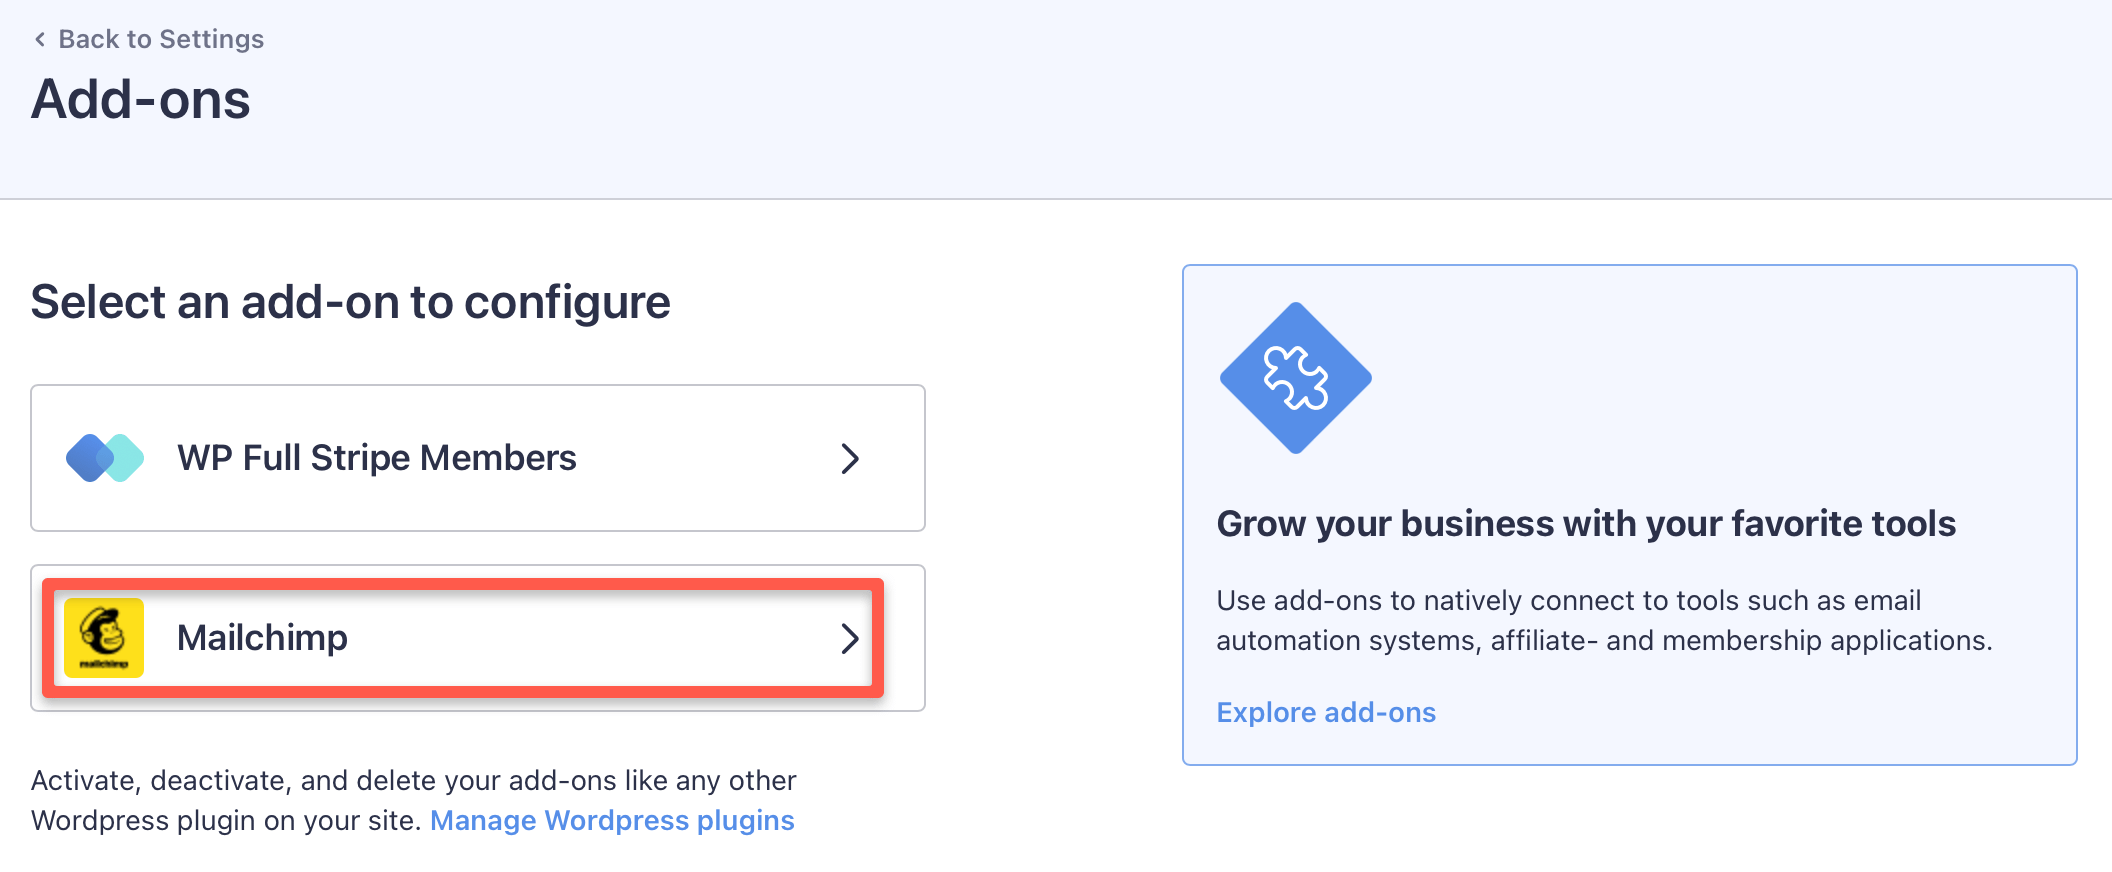
You can install the add-on on the Full Pay / Add-ons page in WP admin.
Configuration
You can configure the add-on on the Full Pay / Settings / Add-ons page in WP admin:
Setting the connection parameters
The first step is to set the Mailchimp API key and server prefix:

See how to obtain the API key and server prefix below for how to find the information from your Mailchimp account.
Press the “Save settings” button to validate the connection.
Selecting audiences
If the connection to Mailchimp is successful then you can select the audiences per form to which the email address of customers will be synchronized after payment:
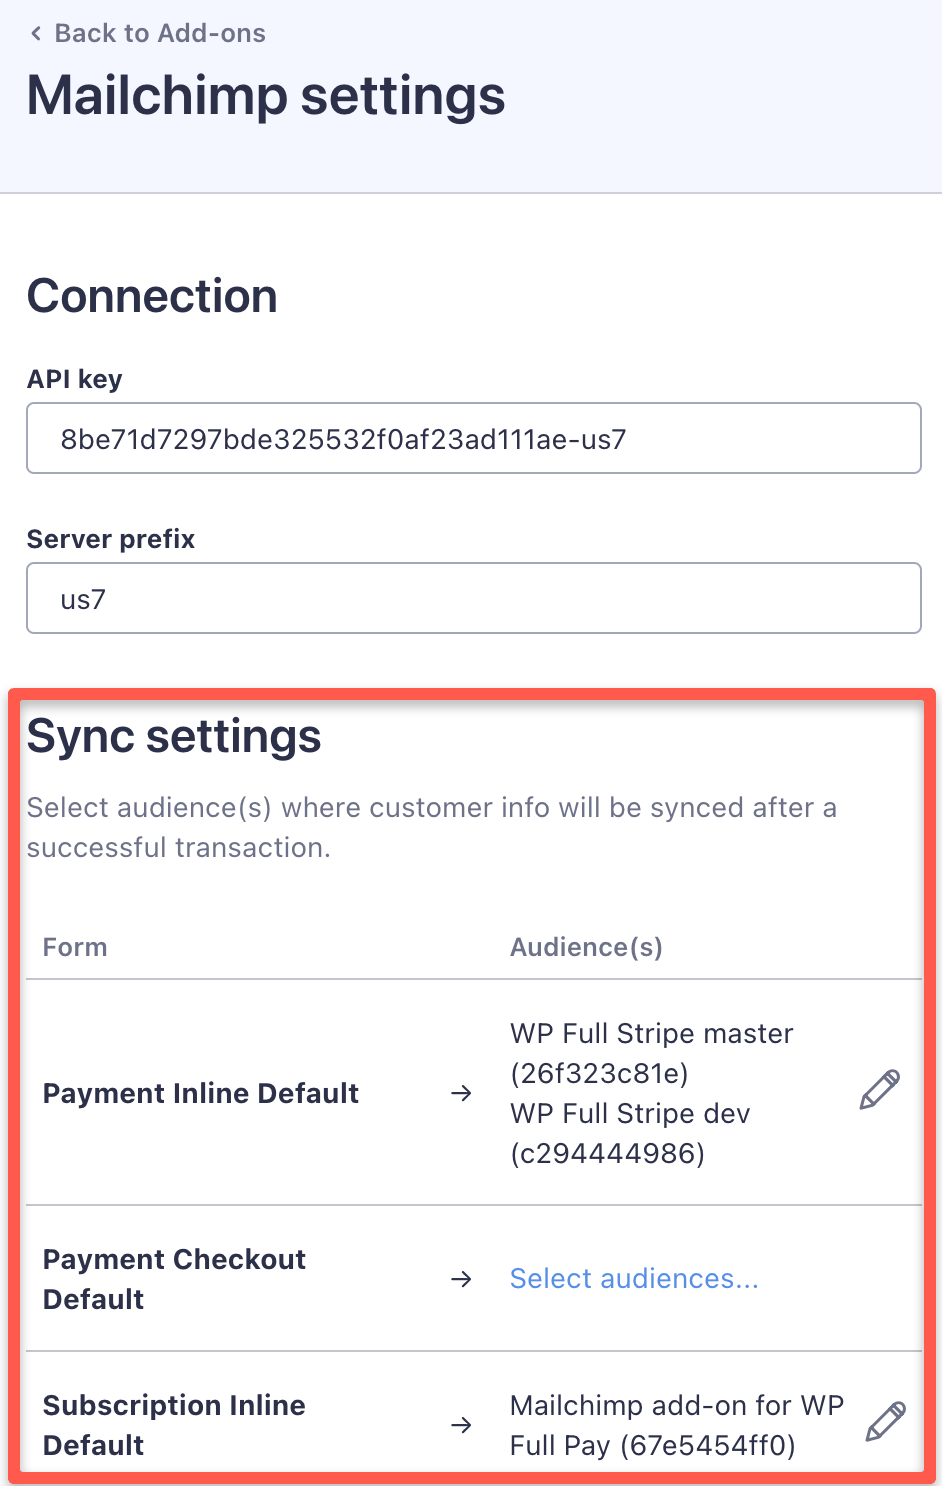
You can select or modify audiences assigned to a form by clicking on the “Select audiences” link or “Edit” icon next to the form, and it will pop up the “Select audiences” dialog:
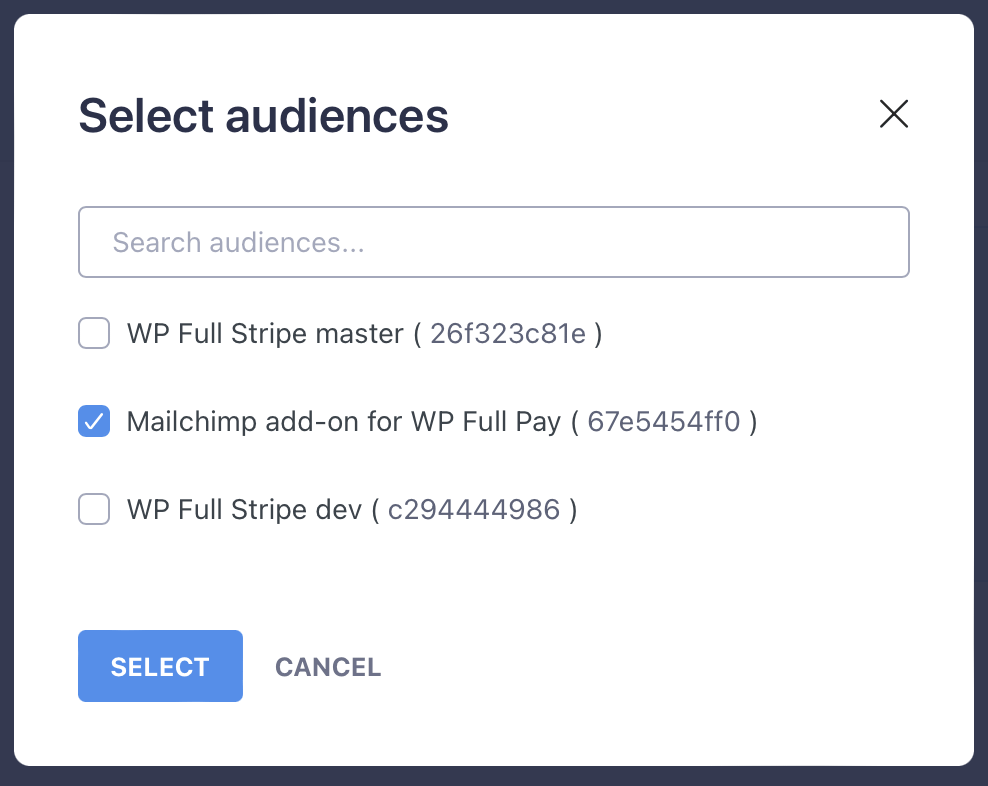
Select the audiences to which customer emails should be synchronized, and save the settings.
Obtaining the Mailchimp API key and server prefix
Log in to your Mailchimp account to obtain the API key and the server prefix.
The server prefix is the leftmost subdomain of the URL that you can see in the address bar (it’s us7 below):

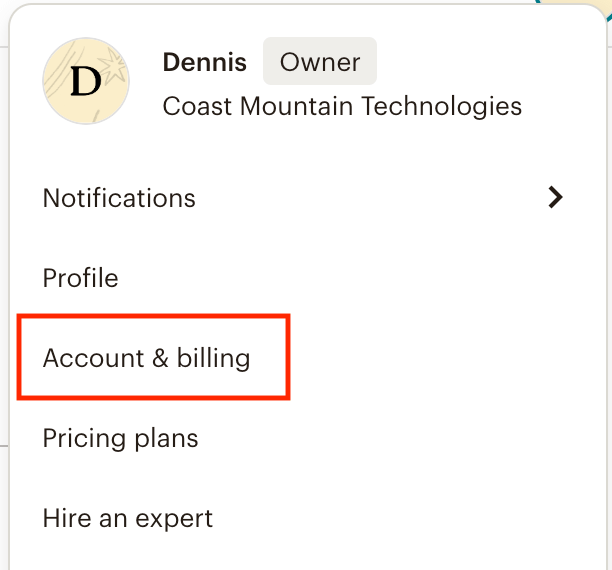
For obtaining the API key, click on your account menu in the bottom-left corner, and select “Account & billing”:
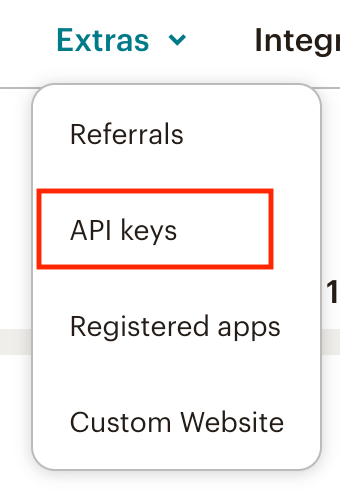
Select the “Extras" and "API keys” page from the menu:
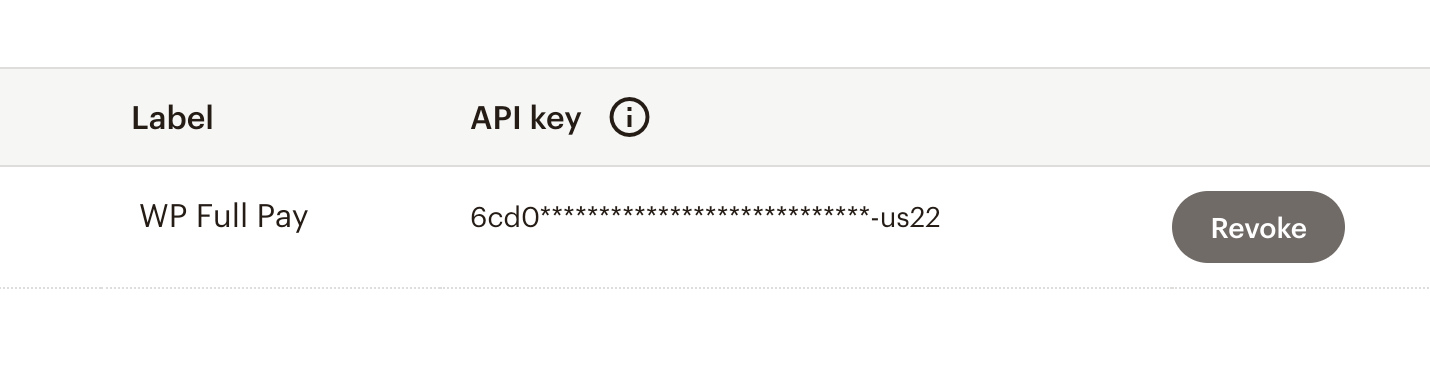
Finally create a new key to use for WP Full Pay Mailchimp add-on. If you have an existing key you will still need to create a new one as keys cannot be viewed/copied once created. You revoke the old key if it is no longer being used