Custom Fields in WP Full Pay Forms
Custom fields let you collect additional information from customers during checkout. This article explains which field types are available, what layout limits apply, and what data is sent to Stripe as metadata.
In this article
Supported custom field types
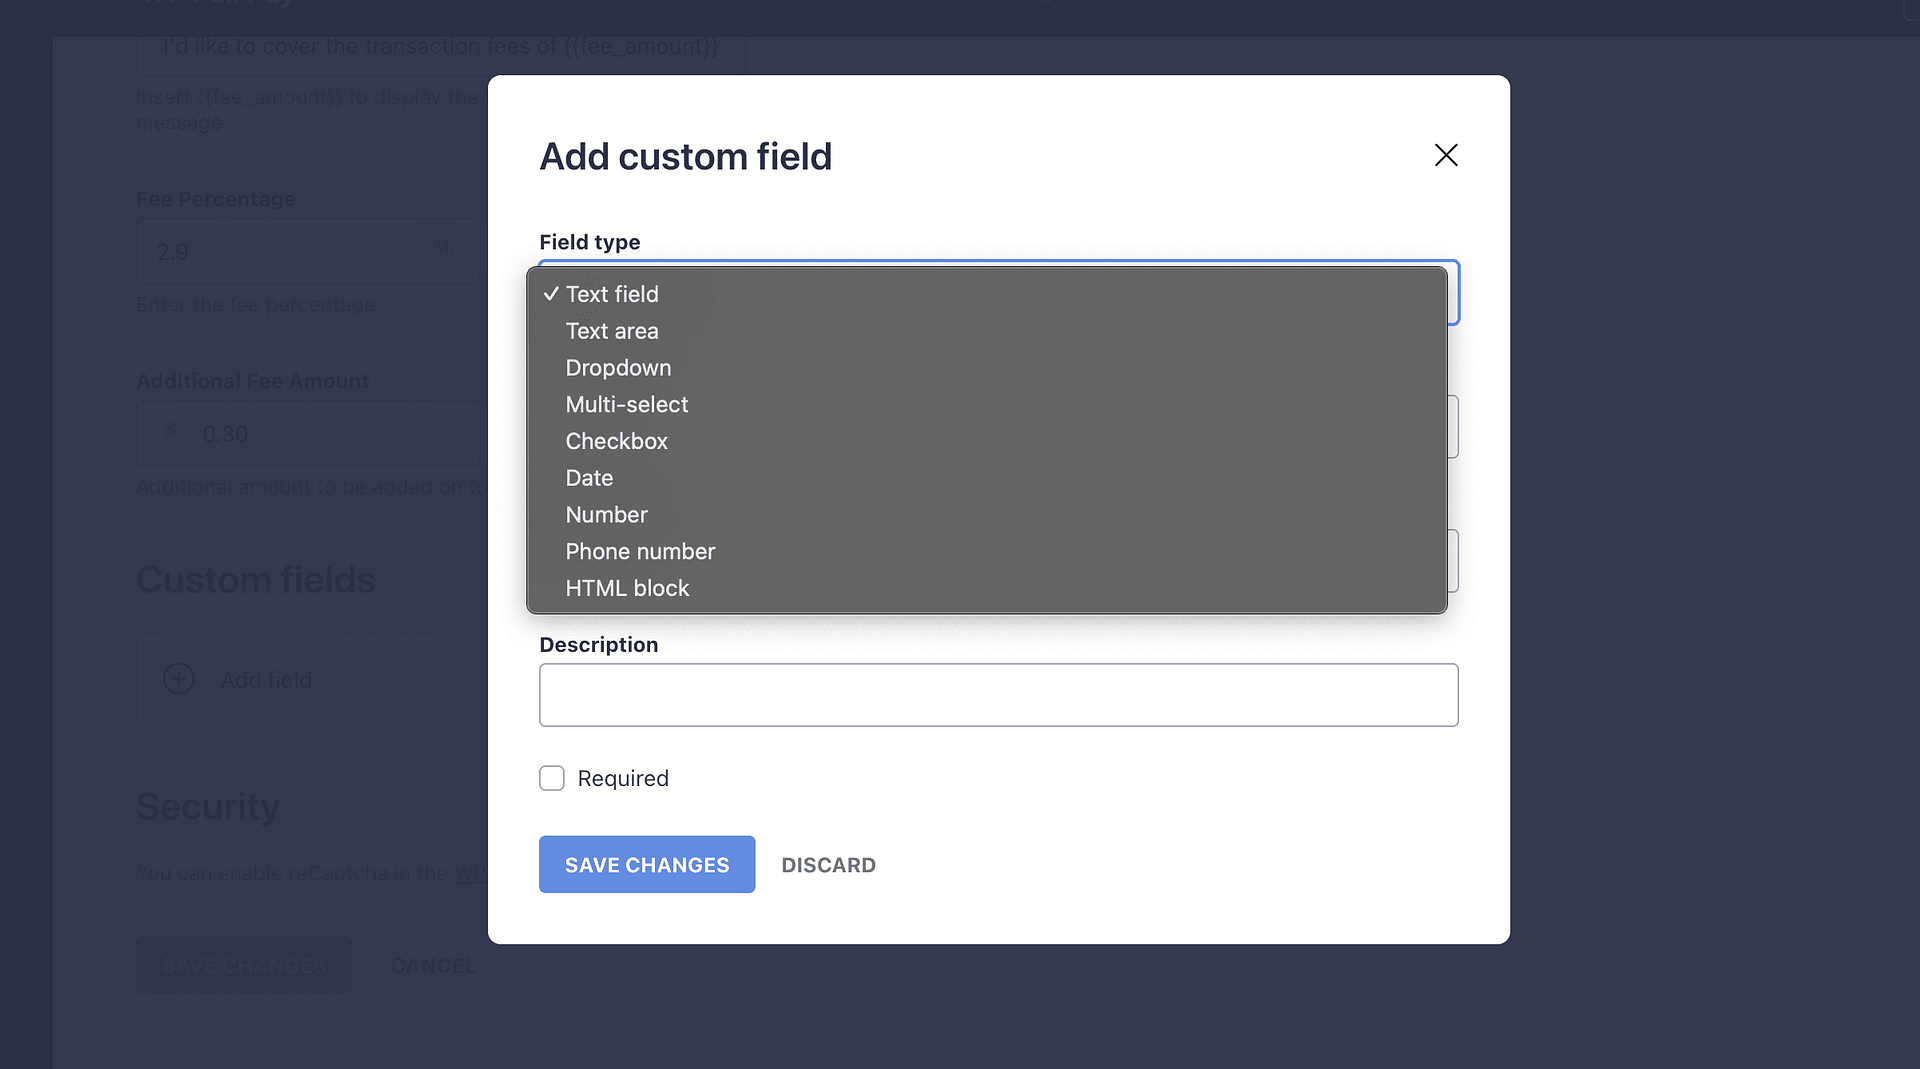
WP Full Pay supports up to 10 custom fields per form. Available field types are text, textarea, dropdown, multi-select, checkbox, date, number, phone, and HTML content.
HTML content is display-only. You can use it to add explanatory text or markup to the form, but the customer does not submit it and it is not sent to Stripe.
To add custom fields to a form:
- Open WP Full Pay → Forms and select the form you want to edit.
- Go to the Form Fields section of the form editor.
- Under Custom fields, click Add custom field.
- Choose the field type, then configure the relevant options such as label, placeholder, description, dropdown choices, rows, maximum length, minimum and maximum values, or step size.
- Mark individual fields as required when the customer must provide a value before submitting.
- Save the form.
You can reorder custom fields within the Custom fields list.
Custom fields and built-in fields follow the supported form layout and editor options. You cannot place a custom field or checkbox in an arbitrary location on the form.
Interactive custom field values are stored with the transaction as Stripe metadata. See What metadata is sent to Stripe for details.
What metadata is sent to Stripe
Interactive custom field values are stored as Stripe metadata on the transaction. Display-only HTML content is not submitted and is not stored as metadata.
Where you find metadata depends on the form type:
- Donation and one-time payment forms: metadata is on the Stripe charge (visible in Stripe Dashboard → Payments).
- Subscription forms: metadata is on the Stripe subscription (visible in Stripe Dashboard → Customers → Subscriptions).
- Save card forms: metadata is on the Stripe customer (visible in Stripe Dashboard → Customers).
The built-in Terms of Service checkbox should not be treated as guaranteed Stripe metadata. If you relabel that checkbox for a checkbox-style opt-in, test the resulting Stripe object in test mode before going live.
To store checkbox-style consent in Stripe, add a checkbox custom field. When the customer ticks it, the value is stored as Stripe metadata; when it is left unticked, no metadata is stored for that field. Test the resulting Stripe object in test mode before going live.
For step-by-step screenshots of each location, see Where are custom fields on the Stripe dashboard?
If you need to attach metadata that comes from URL parameters rather than form fields, see Adding custom metadata to payments.
When to use Stripe settings instead
Custom fields are for collecting extra customer input or showing display-only form content. If you are trying to configure recurring billing behaviour or customer emails, use the related WP Full Pay and Stripe settings instead:
- For recurring receipts, upcoming renewal emails, failed payment emails, and installment-plan notifications, see How to configure email notifications?. Some notifications are sent by WP Full Pay, while others must be enabled in Stripe.
- For subscription product names, transaction descriptions, installment limits, and Billing cycle starts behavior, see Creating a subscription form.