
Configure Browser Caching for Static Assets on Nginx
Super Page Cache can prepare browser-caching rules for static assets such as images, CSS, and JavaScript. Apache can apply these rules automatically, but Nginx requires you to add the generated server rules manually. Cloudflare caching and disk page caching continue to work on Nginx independently of these manual static-asset browser-caching rules.
In this article
Before you start
Make sure you have:
- Super Page Cache installed and active.
- Access to the Nginx configuration for the site, or a hosting provider who can apply the changes.
- A recent backup of your Nginx configuration.
If you still need to enable the plugin's page cache, follow How to enable page caching for the first time. For Cloudflare integration, see How to setup Super Page Cache.
❗ Important: Invalid or misplaced Nginx rules can prevent the web server from reloading or break WordPress loopback requests. If you do not manage Nginx yourself, send the generated instructions to your hosting provider instead of editing the server configuration.
Enable the browser-caching option
- In your WordPress dashboard, go to Settings > Super Page Cache.
- On the plugin settings page, enable Show Advanced Settings if the Advanced tab is not visible.
- Open Advanced > Browser Caching.
- Enable Add Browser Caching Rules for Static Assets.
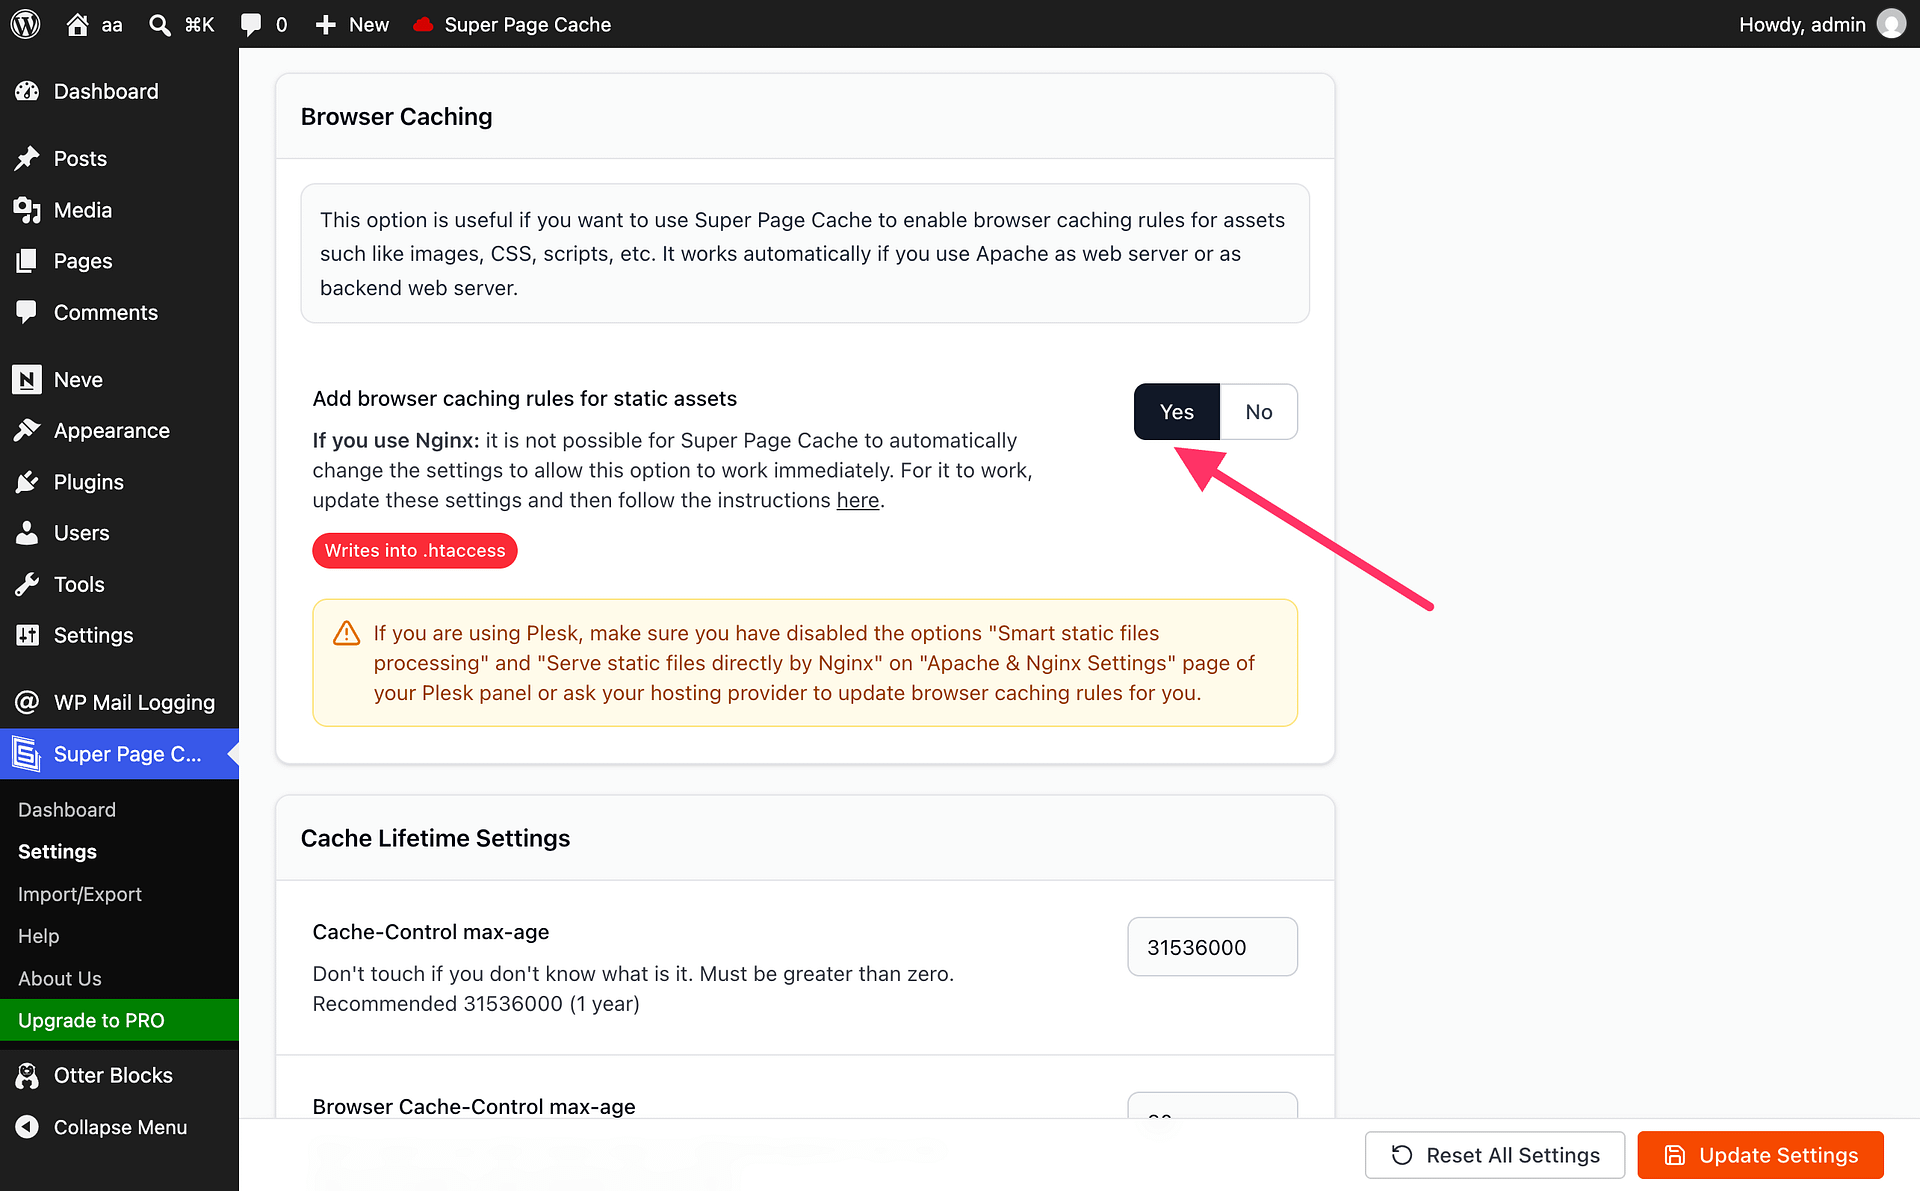
The option covers static files such as images, stylesheets, JavaScript, and other assets. On Nginx, enabling it in WordPress does not change the server configuration by itself; use the Nginx instructions shown by the plugin in the next step.
Add the generated rules to Nginx
- Copy the Nginx rules or instructions provided by Super Page Cache after you enable the browser-caching option. Do not copy Apache
.htaccessrules into Nginx. - Open the Nginx server configuration for the domain.
- Add the copied rules to the site-specific server block or to a host-approved include file, following the placement guidance shown by the plugin. Do not assume they belong only in a static-assets location.
- Save the Nginx configuration.
- Test the configuration with your host's normal Nginx configuration-test command.
- Reload Nginx only after the configuration test succeeds.
If your host does not provide access to the Nginx configuration, contact the host and ask them to apply the generated Super Page Cache rules for static assets. The plugin setting and the server rules work together: the setting identifies that browser caching should be used, while Nginx must send the rules to visitors.
Verify browser caching
- Open your site in a private or incognito browser window.
- Open the browser's developer tools and select the Network tab.
- Reload the page and select an image, stylesheet, or JavaScript request.
- Review the response details and confirm that the server supplies a browser-caching policy for the asset.
- Reload the page again and confirm that repeat visits can reuse the static asset instead of downloading it as a new file each time.
📝 Note: Cloudflare caching and disk page caching are independent of browser caching for static assets. On Nginx, both can remain active even when the manual static-asset rules have not been added; the manual rules only control how visitors' browsers reuse static files.
Troubleshooting
The option is enabled, but assets are not cached
Confirm that the generated Nginx rules were added to the active server configuration, not only to a local file or an inactive virtual host. Test and reload Nginx after making changes, then check a fresh private-window request.
Nginx fails to reload
Restore the previous configuration, run the Nginx configuration test again, and compare the copied rules with the instructions shown by Super Page Cache. Do not replace Nginx rules with Apache syntax. If you cannot identify the syntax error, ask your hosting provider to apply the generated rules.
Conditional 405 errors or WP-Cron loopback failures
Incorrectly placed or overly broad custom rules can cause WordPress loopback requests to return a 405 response. This can prevent WP-Cron from running and may affect scheduled tasks.
❗ Important: If you see conditional 405 loopback errors or WP-Cron failures after adding the rules, revert the custom Nginx rules before troubleshooting anything else.
- Revert the custom browser-caching rules to the previous Nginx configuration.
- Test the configuration, then reload or restart Nginx using your host's normal procedure.
- Check whether the loopback request and WP-Cron work again.
- Ask your hosting provider to adapt the rules for your server and site configuration before adding them again.
Changes do not appear during testing
A browser may already have an older copy of an asset. Use a private window or clear the browser cache, reload the page, and inspect the asset request again. Also make sure you are testing the same hostname and asset URL that Nginx serves.