Send Contact Form 7 Submissions to Pipedrive
Create a new person and deal in Pipedrive every time someone submits your Contact Form 7 form. This is useful for sales teams who want inbound leads to appear directly in their pipeline without manually copying data from email.
This integration uses the Webhook Integration feature in Redirection for Contact Form 7 (available from the Marketer plan).
The simplest approach is a direct connection using Pipedrive's REST API — no third-party automation platform needed. If you are already using Zapier, Make, or n8n, those options are covered at the end of this page.
In this article
What You'll Need
- Redirection for Contact Form 7 on the Marketer plan or higher
- A Pipedrive account
- Your Pipedrive API token
How It Works
CF7 Form Submission → RCF7 Webhook → Pipedrive API → New Person in PipedriveOption A – Connect Directly via Pipedrive API (Recommended)
Pipedrive supports API key authentication, which means RCF7 can create persons (and deals) directly without routing through a third-party platform.
Step 1 – Get Your Pipedrive API Token
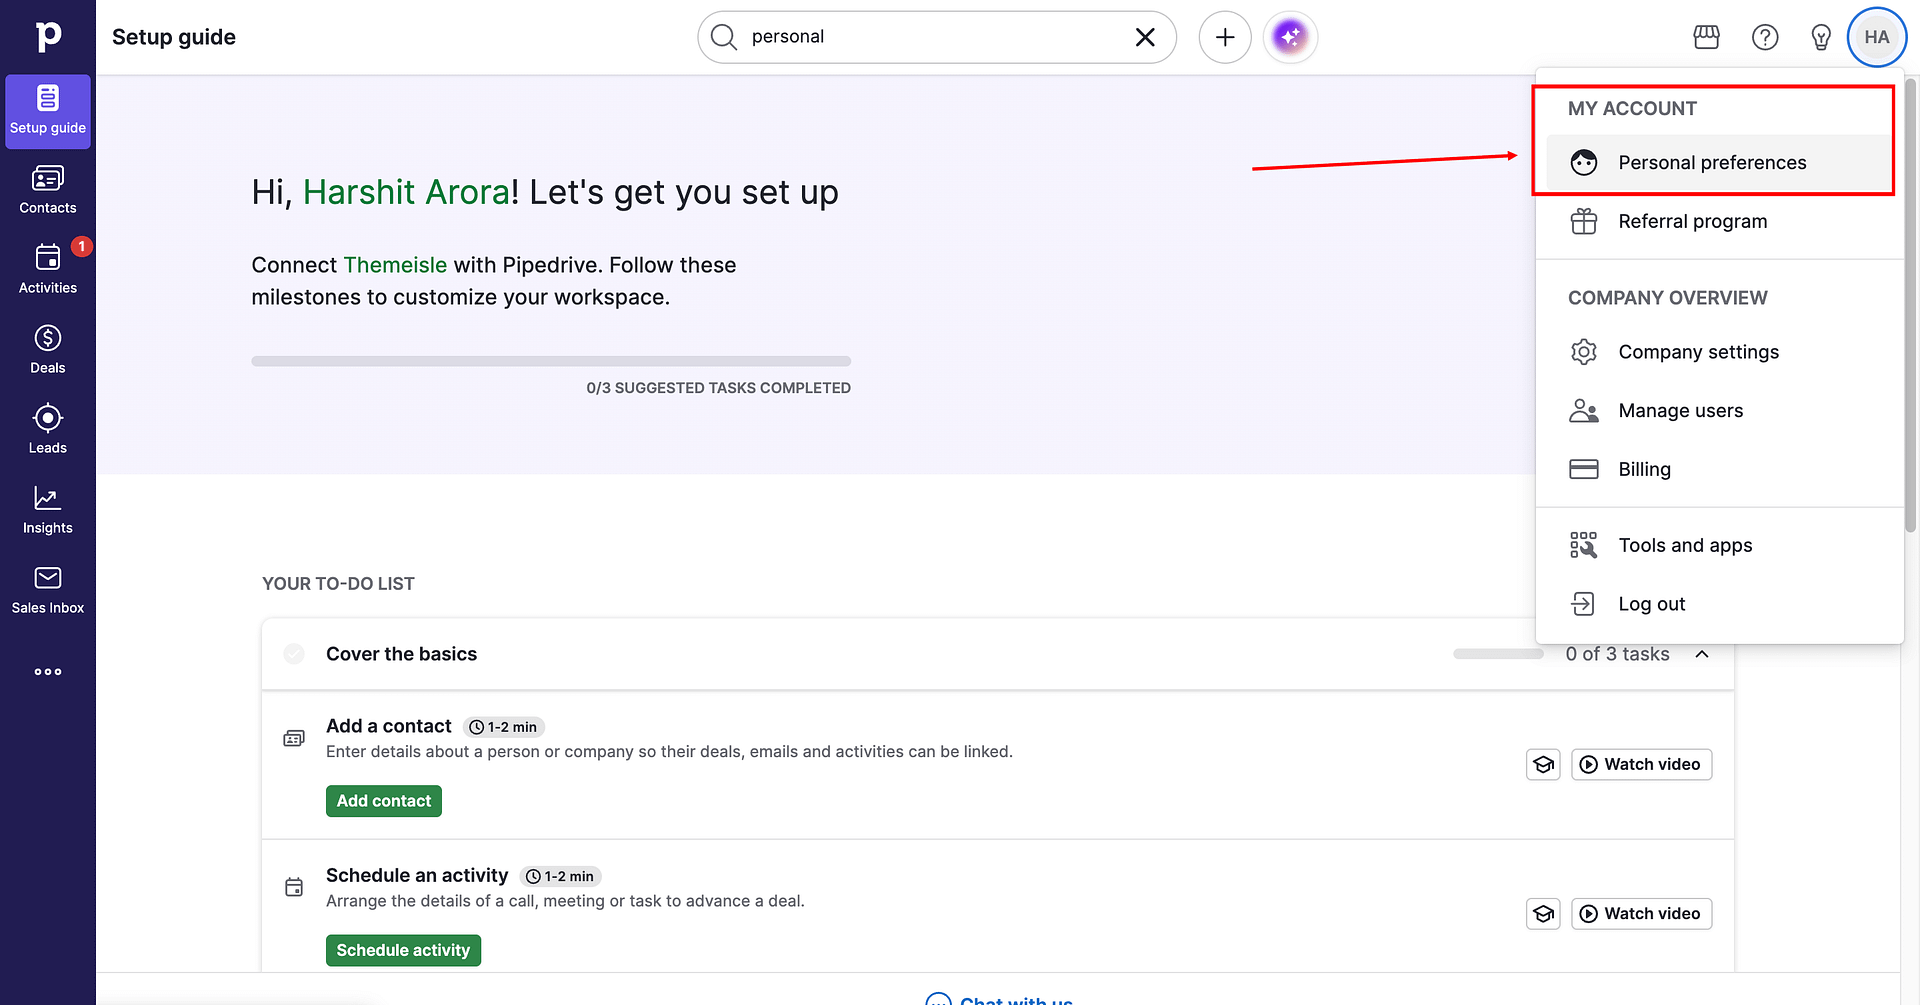
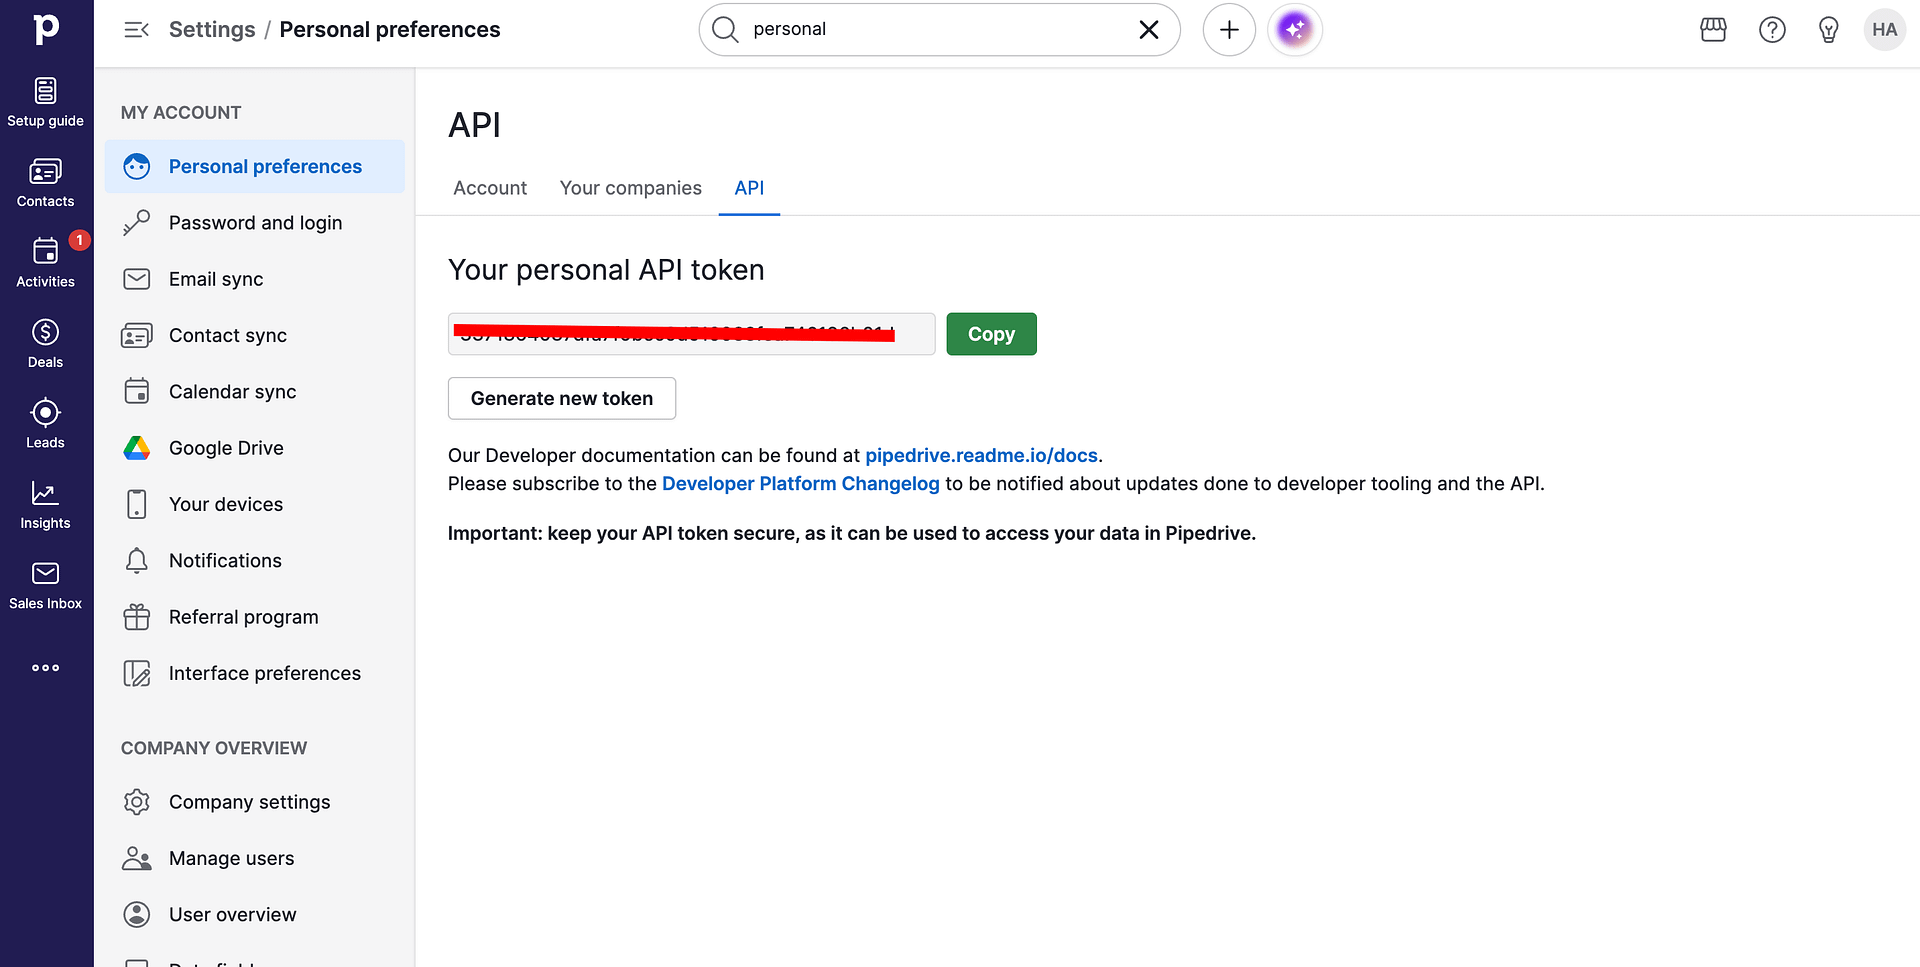
- Log in to Pipedrive and go to Settings → Personal Preferences → API.
- Copy your Personal API Token.
Step 2 – Configure the Webhook Action in RCF7
- In your WordPress dashboard, go to Contact → Contact Forms and edit the form you want to connect.
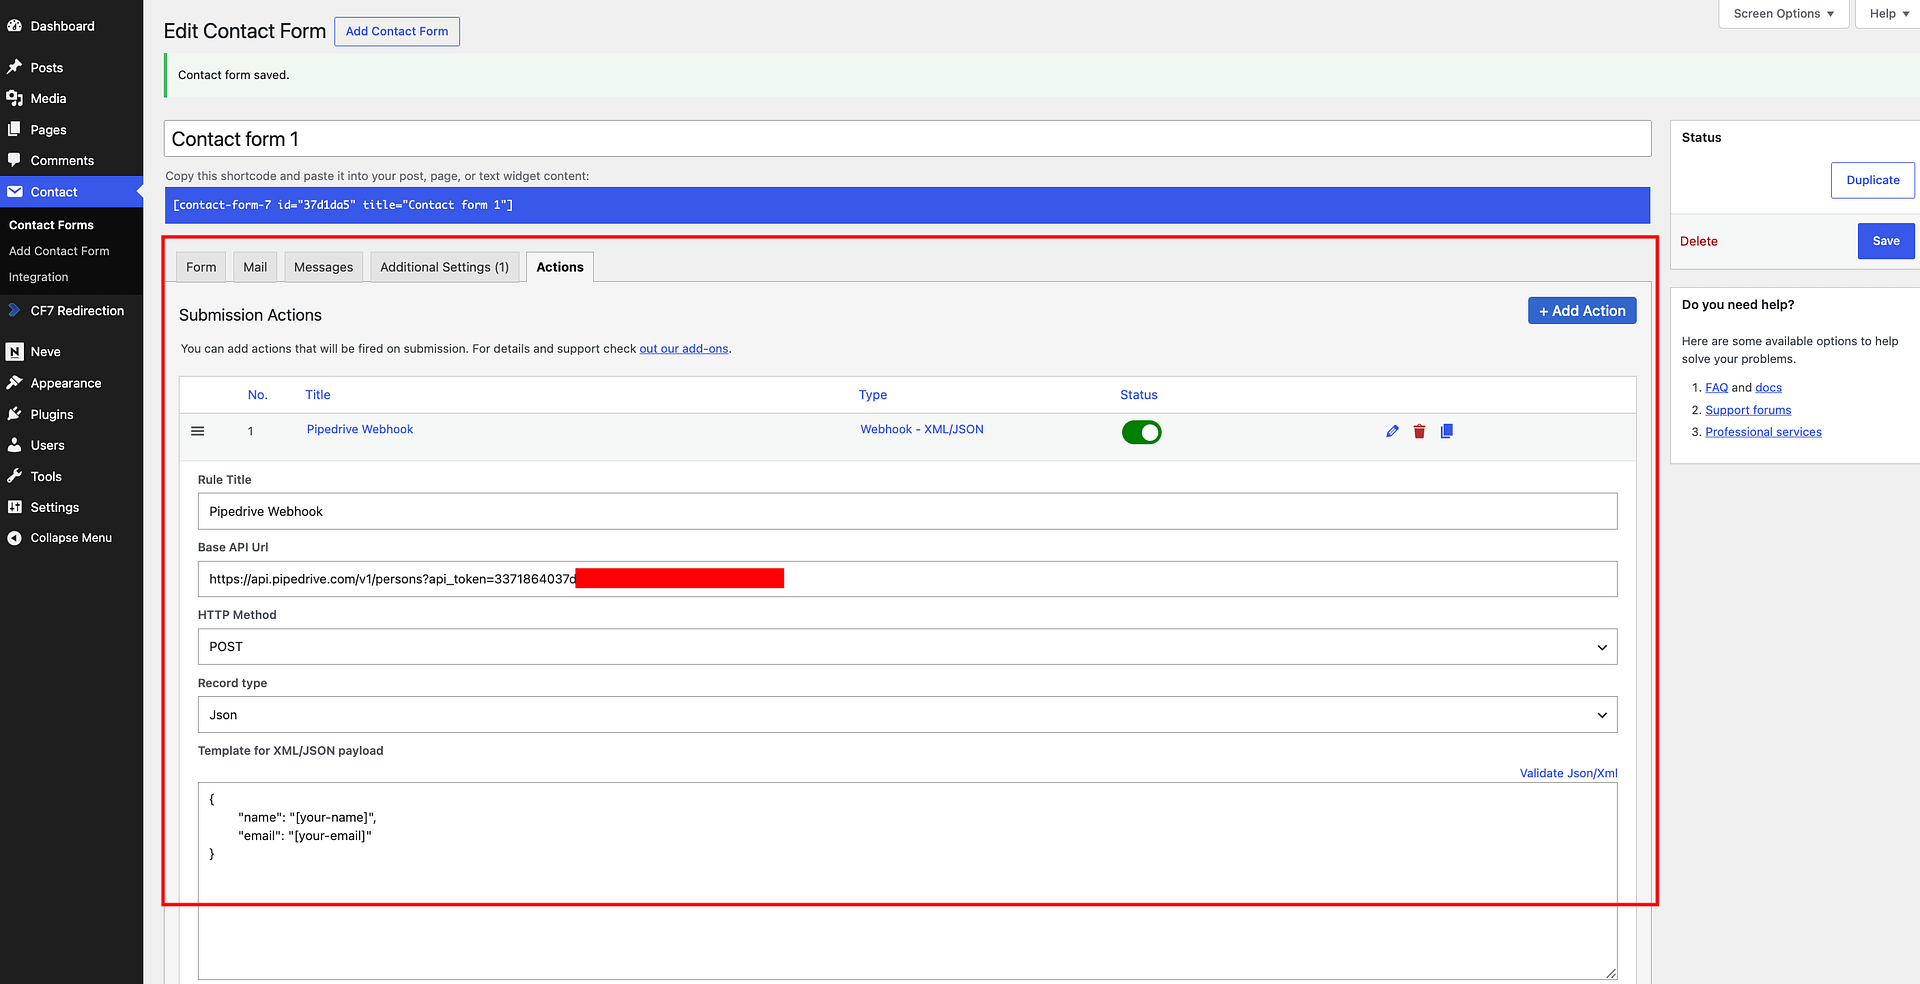
Click the Actions tab.
Click Add Action and select Webhook - XML/JSON.
In the action settings:
Base API Url: Enter the following, replacing
YOUR_API_TOKENwith your actual token:https://api.pipedrive.com/v1/persons?api_token=YOUR_API_TOKENHTTP Method: Set to POST
Record type: Set to JSON
If you want to explore additional endpoints or payload formats, use the official Pipedrive API docs. The URL in this guide (
/v1/persons?api_token=...) combines the Persons endpoint with your API token for authentication.
In the Template for XML/JSON payload field, map your form fields to Pipedrive's person fields:
json{ "name": "[your-name]", "email": "[your-email]" }Replace the field tags with the actual CF7 shortcodes from your form. Use the Available mail tags dropdown to confirm the correct tag names.
Click Save on the contact form.
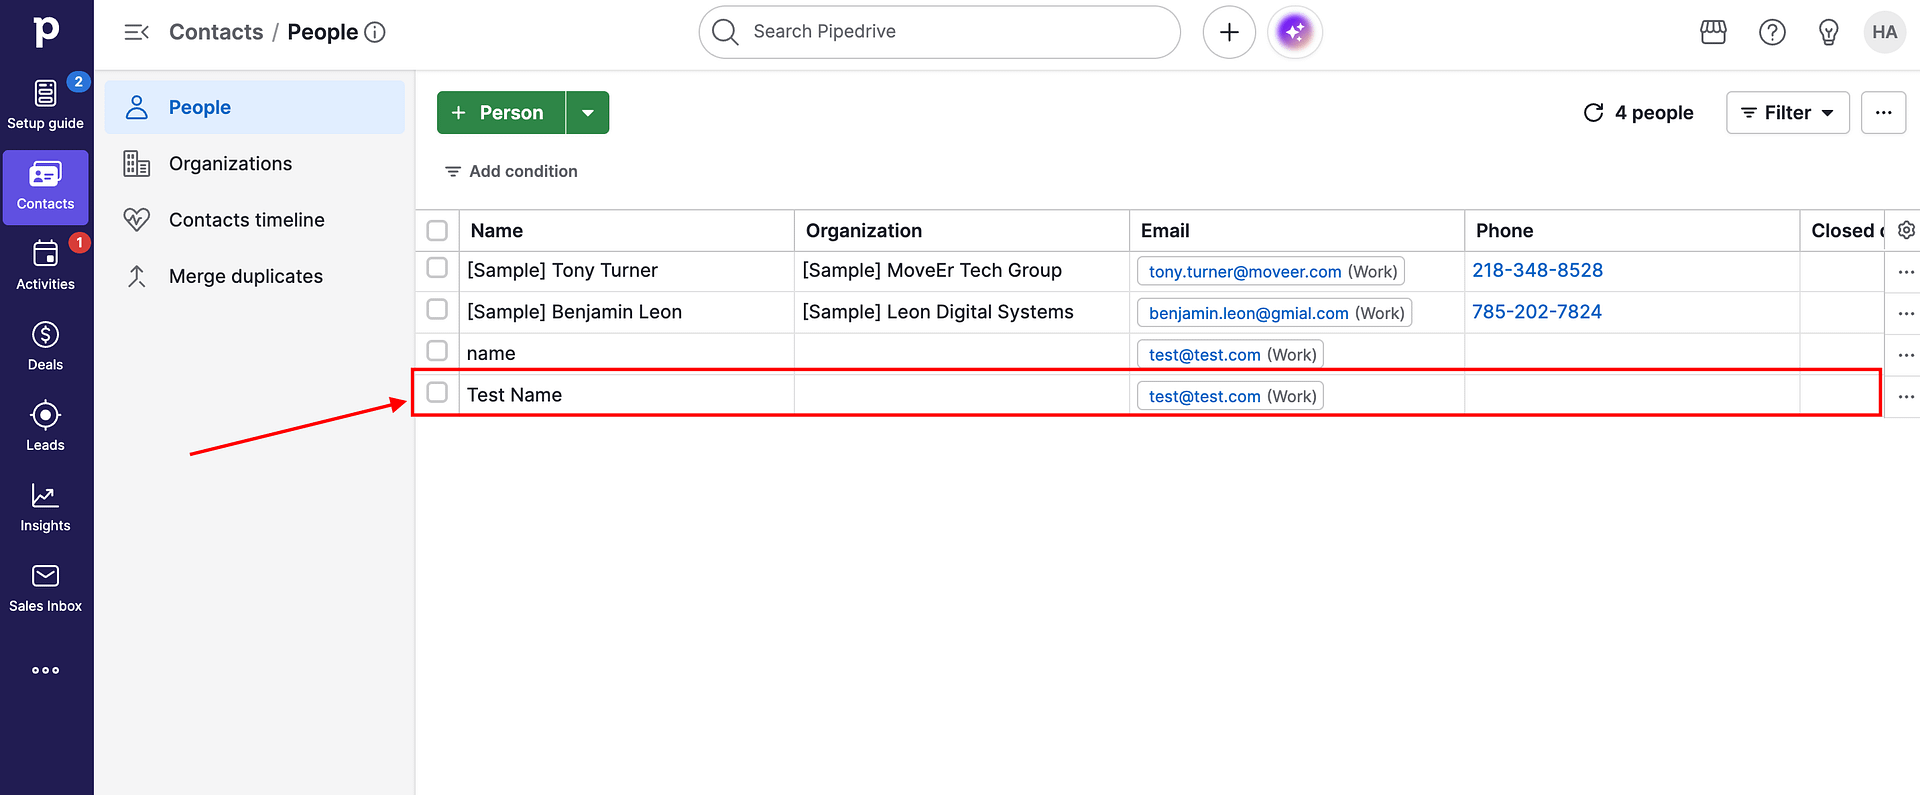
Step 3 – Test the Connection
Submit your Contact Form 7 form with test data. Open Pipedrive and check Contacts → People to confirm the new person appeared.
Optional – Also Create a Deal
To automatically create a deal linked to the new person, add a second Webhook action on the same form that POSTs to:
https://api.pipedrive.com/v1/deals?api_token=YOUR_API_TOKENWith a payload such as:
{
  "title": "Enquiry from [your-name]",
  "person_id": null
}
Note: Linking the deal to the person automatically requires the person ID returned from the first request. This is not possible with two separate RCF7 webhook actions alone — for automatic linking, use an automation platform (Option B below) which can chain the two steps together.
Option B – Connect via an Automation Platform
If you want to create a person and a linked deal in a single flow, or if you need to combine this with other actions, use Zapier, Make, or n8n.
Note: Zapier requires a paid plan for webhook triggers. Make and n8n support webhooks on their free plans.
Follow the relevant guide to set up the RCF7 webhook trigger, then add Pipedrive actions:
- Integrate Contact Form 7 with Zapier — add a Pipedrive → Create Person action, then optionally a Pipedrive → Create Deal action linked to it
- Integrate Contact Form 7 with Make — add a Pipedrive → Create a Person module, then optionally a Pipedrive → Create a Deal module
- Integrate Contact Form 7 with n8n — add a Pipedrive → Create Person node, then optionally a Pipedrive → Create Deal node
Troubleshooting
No person was created after the test submission Check that the API token in the URL is correct. You can test the URL directly by pasting it into a tool like Postman or by using the Payload Test section in the RCF7 webhook action settings.
401 Unauthorized error The API token is missing or incorrect. Go back to Pipedrive under Settings → Personal Preferences → API and copy the token again.
The person was created but fields are blank The field tags in your JSON payload must match the CF7 shortcodes in your form exactly (for example, [your-name] not [name]). Use the Available mail tags dropdown in the RCF7 webhook action to confirm the correct tag names.
The form shows "There was an error trying to send your message" This error comes from CF7's built-in email notification failing and is unrelated to the webhook. Fix it by installing an SMTP plugin such as WP Mail SMTP or Fluent SMTP. Alternatively, add skip_mail: on to your form's Additional Settings tab to bypass email sending during testing.