
How to move Hyve chat widget to a different position
Hyve’s floating chat widget appears in the bottom-right corner of your site by default. If it overlaps your cookie banner, floating buttons, or other UI elements, you can move it to the other side of the screen with the built-in Position setting, or adjust how high it sits with custom CSS.
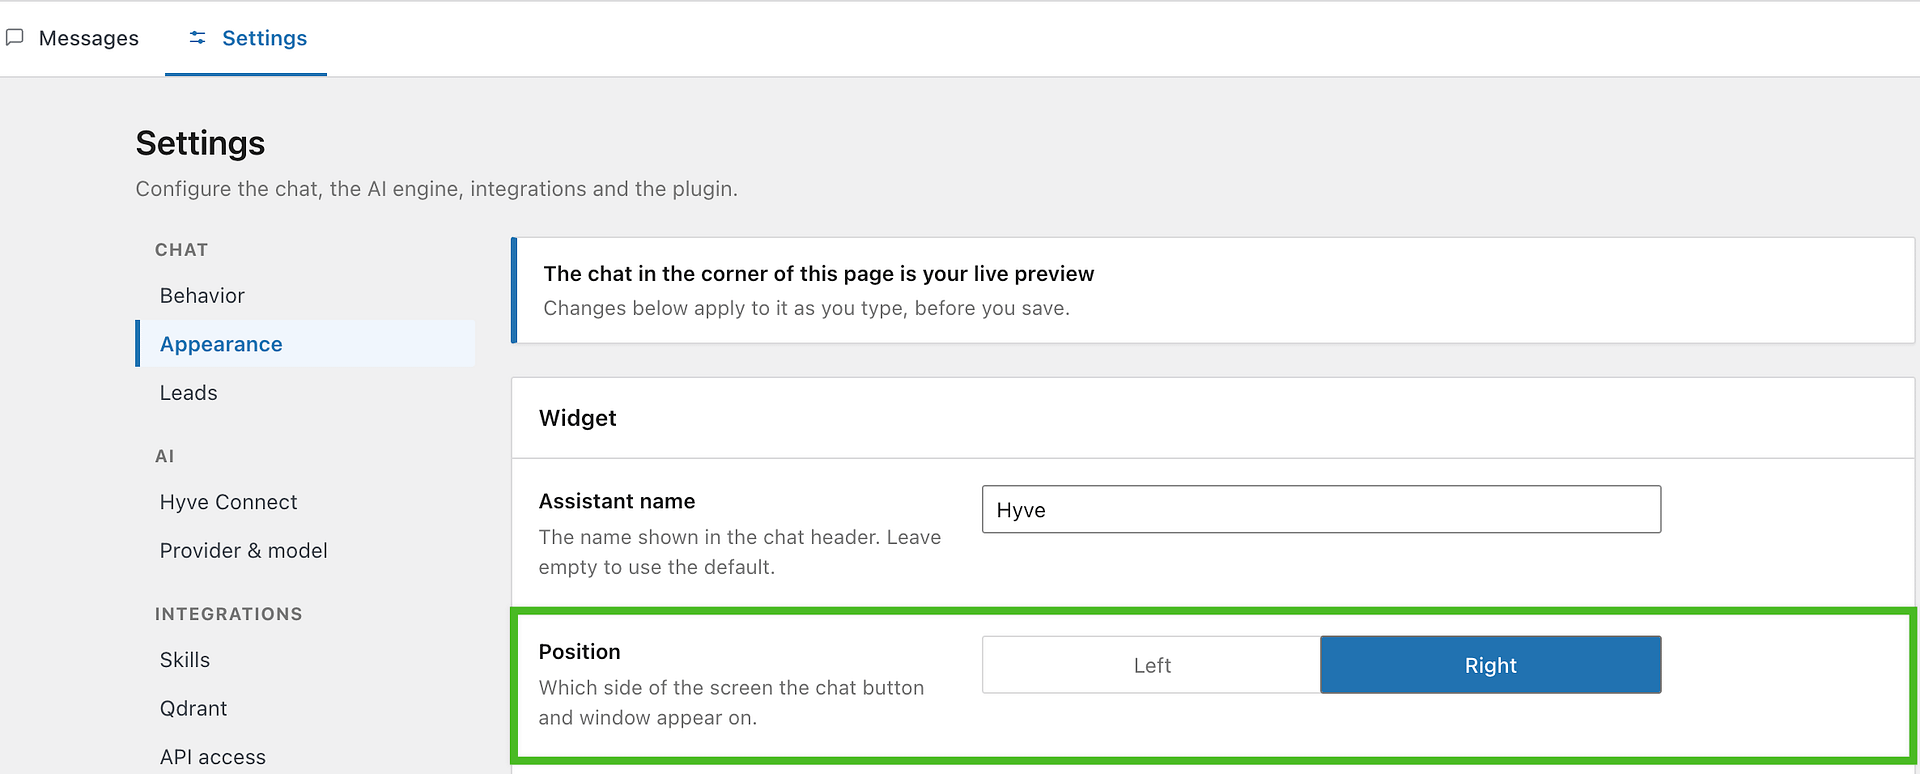
Move the widget to the left or right
- In your WordPress dashboard, go to Hyve > Settings > Chat > Appearance.
- In Position, select Left or Right.
- Click Save changes.
- Open your site on the frontend and confirm the chat button and chat window appear on the side you selected.
📝 Info: Position is available in the free version of Hyve. A custom assistant name, chat icon, and colors require Hyve Pro. If you do not see the Position setting, update Hyve to the latest version.
Adjust the vertical position with CSS
The Position setting controls which side of the screen the widget uses. Use custom CSS when you need to move the widget higher or lower, or to fit a placement the setting does not cover.
- In WordPress, go to Appearance > Customize > Additional CSS (or your theme’s custom CSS area).
- Add CSS similar to this and adjust the values:
#hyve-open,
#hyve-close {
  bottom: 90px;
}

#hyve-window {
  bottom: 166px;
}
#hyve-open and #hyve-close are the floating chat button in its closed and open states, and #hyve-window is the chat window. Raise both by the same amount so the window stays anchored above the button. Change only the bottom value: setting left or right here overrides the Position setting and can leave the widget stuck on one side.
- Publish your CSS changes.
- Reload your site and confirm the widget no longer overlaps other elements.
⚠️ Warning: If you use a caching plugin or CDN, purge cache after changing CSS so the new widget position appears for visitors.