Check our latest theme
The theme you are looking for is not scheduled to receive new features going forward. If you are using the pro version, you no longer have to pay for it.
Instead, we proudly announce to you that our most popular theme, Neve, just had the latest release and brought in front a lot of new features, but also optimizations that bring down the CSS size.
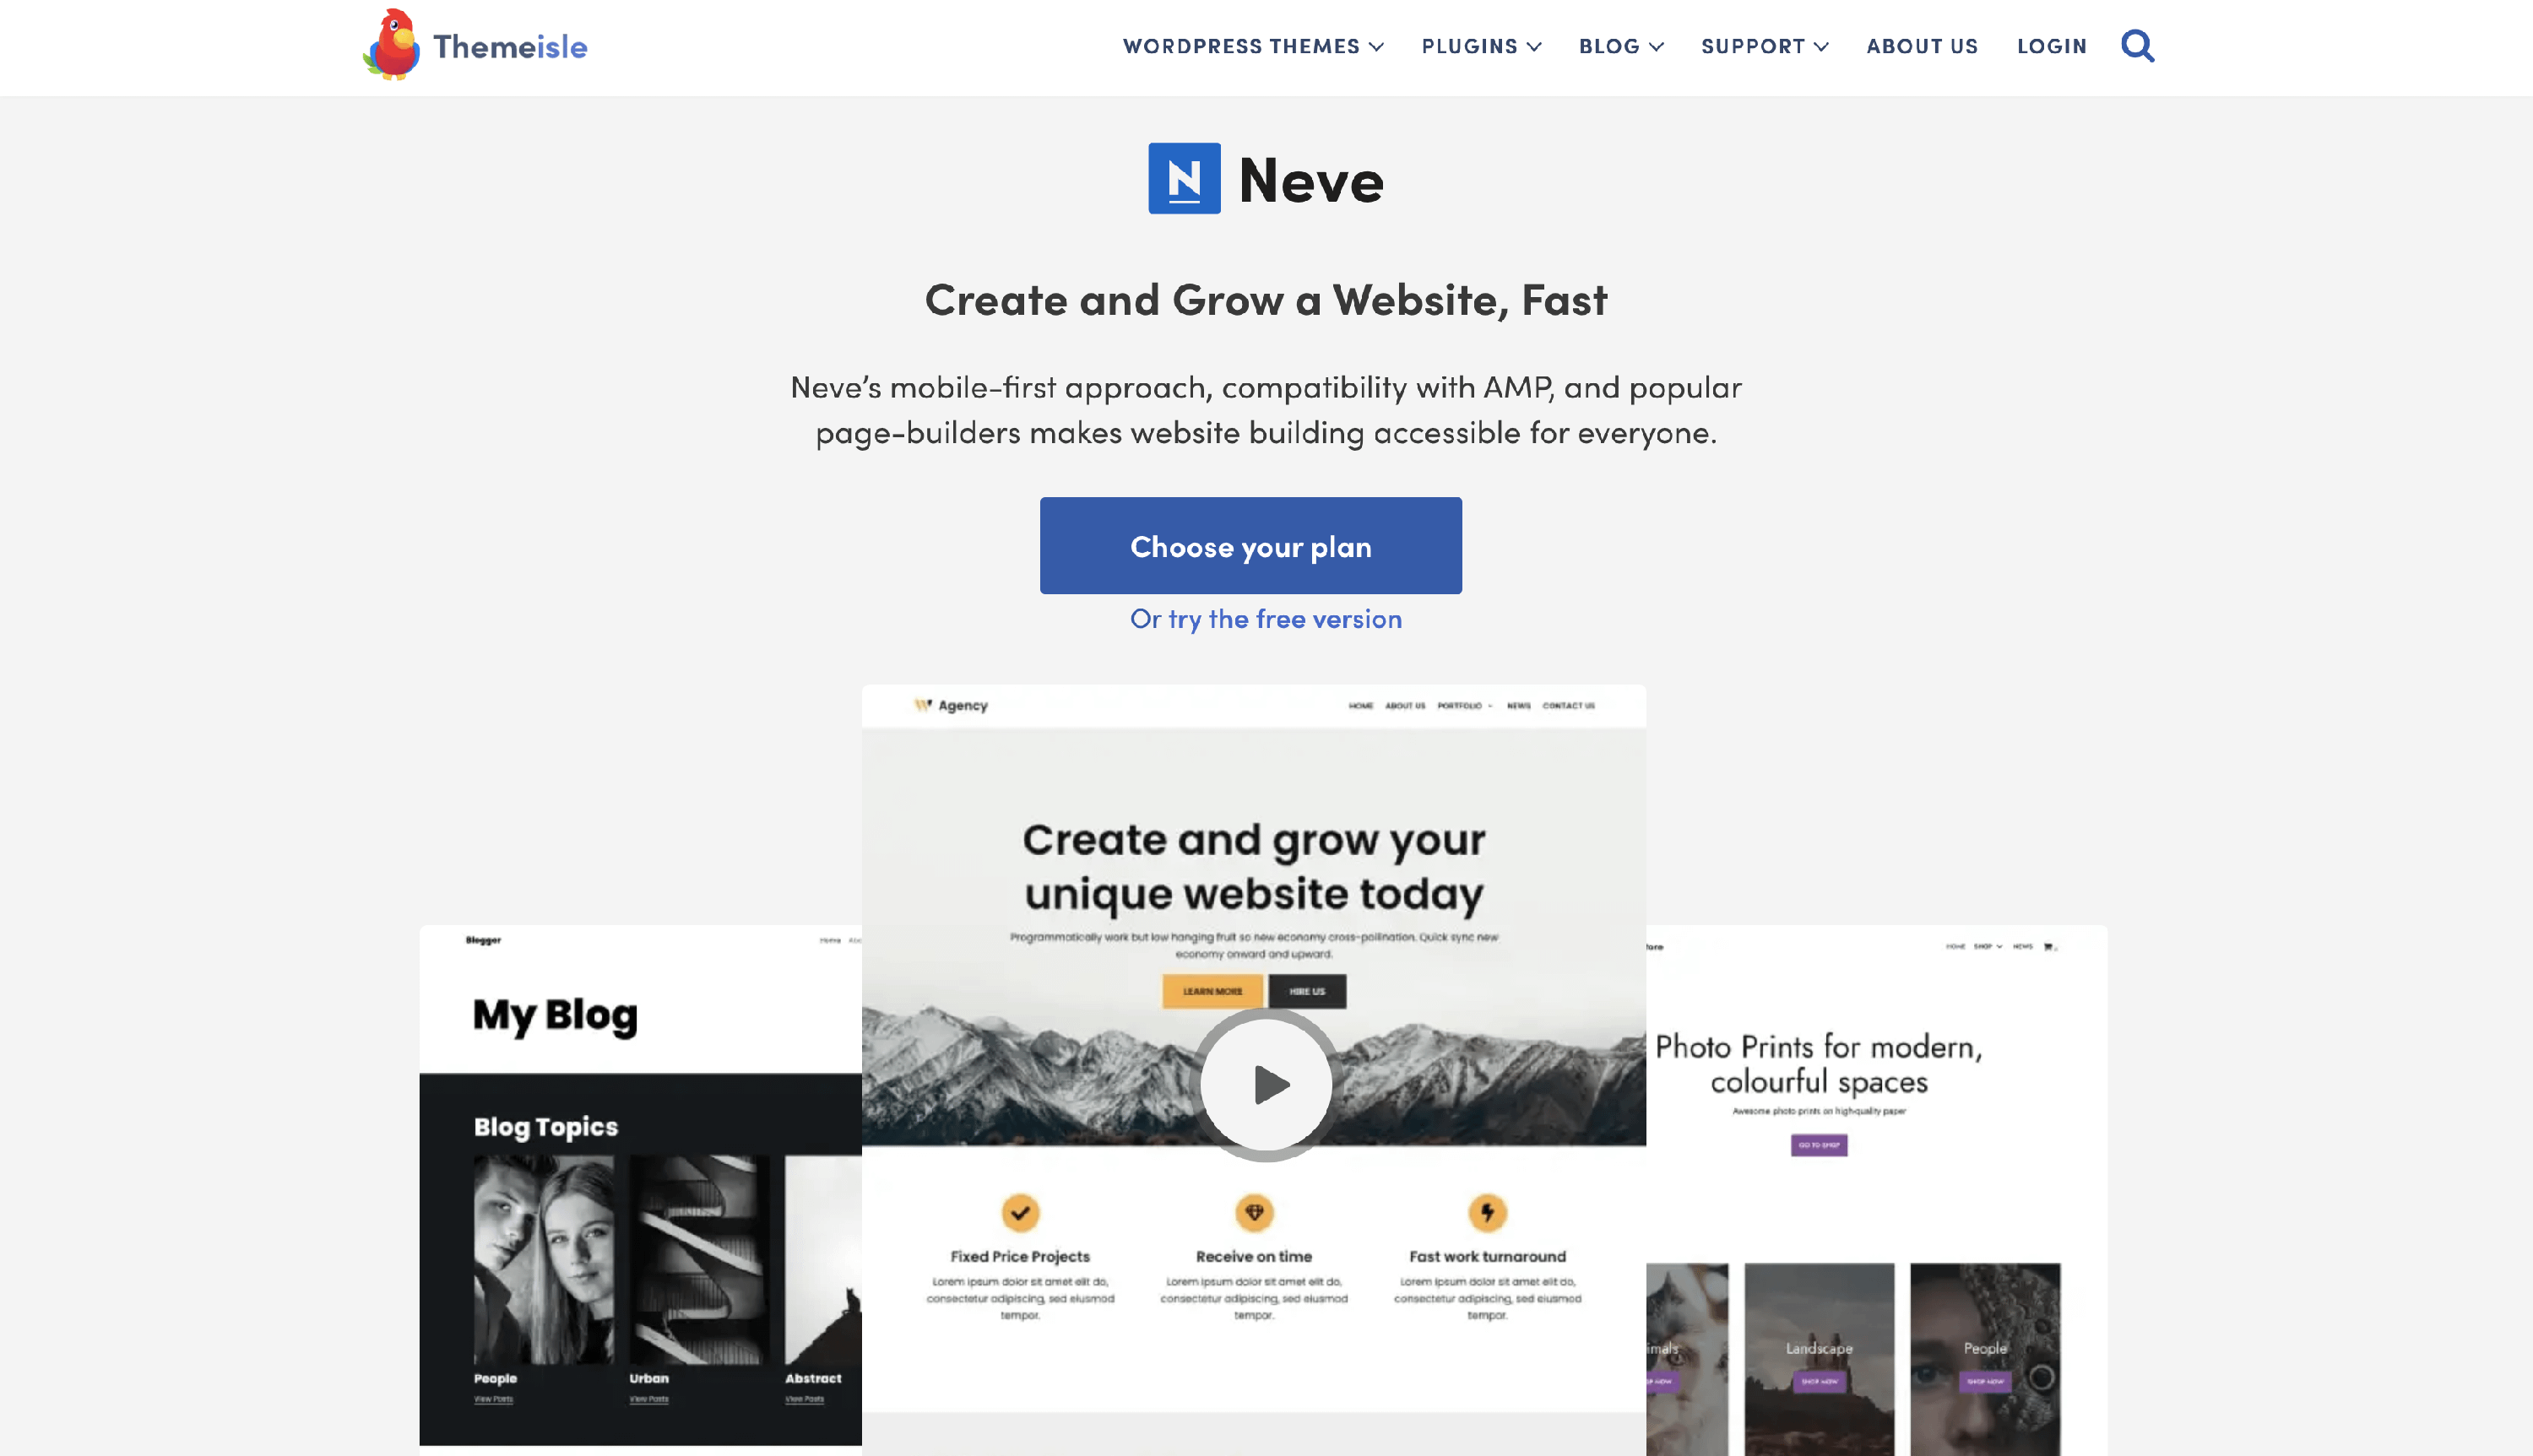
Why is the Neve theme the best choice?
- 🚀 super- fast - it will load in a few seconds and adapt perfectly on any viewing device
- 🖌 easy customizable - due to the large variety of page builders and presets which help you create a website with a few clicks or with drag-and-drop
- 📌 clean default design - very accessible and intuitive to use, that brings speed to your website
- 🖇 multi-purpose - perfect for blogs, e-commerce shops, agencies, startups
- 🔝 top rankings in Google Search - due to the highly SEO-optimized code
- 🏗️ compatibility - it works perfectly with the most popular page builders ( Elementor, Brizy, Beaver Builder, Visual Composer, SiteOrigin, Divi )
- 🌐 RTL & translation ready
Getting started with Neve
Here are some useful docs, in order to get started with Neve:
→ Neve Documentation - overview of the free version
→ Neve PRO Documentation - go pro for even more outstanding features
→ Starter Sites Library - build your website in a few seconds
→ How to install the Neve theme
📝 Note: If you still have questions regarding the product you are looking for, feel free to reach us on this page.