Integrations - Related Blocks
📝 Note: These blocks are part of the Otter Blocks plugin, which you can get from here.
📝 Note: The blocks' appearance can be improved using the Otter features, such as Transform to Sticky, Visibility conditions, Dynamic Values or Images, as well as Counting / Typing / Loading animations, and 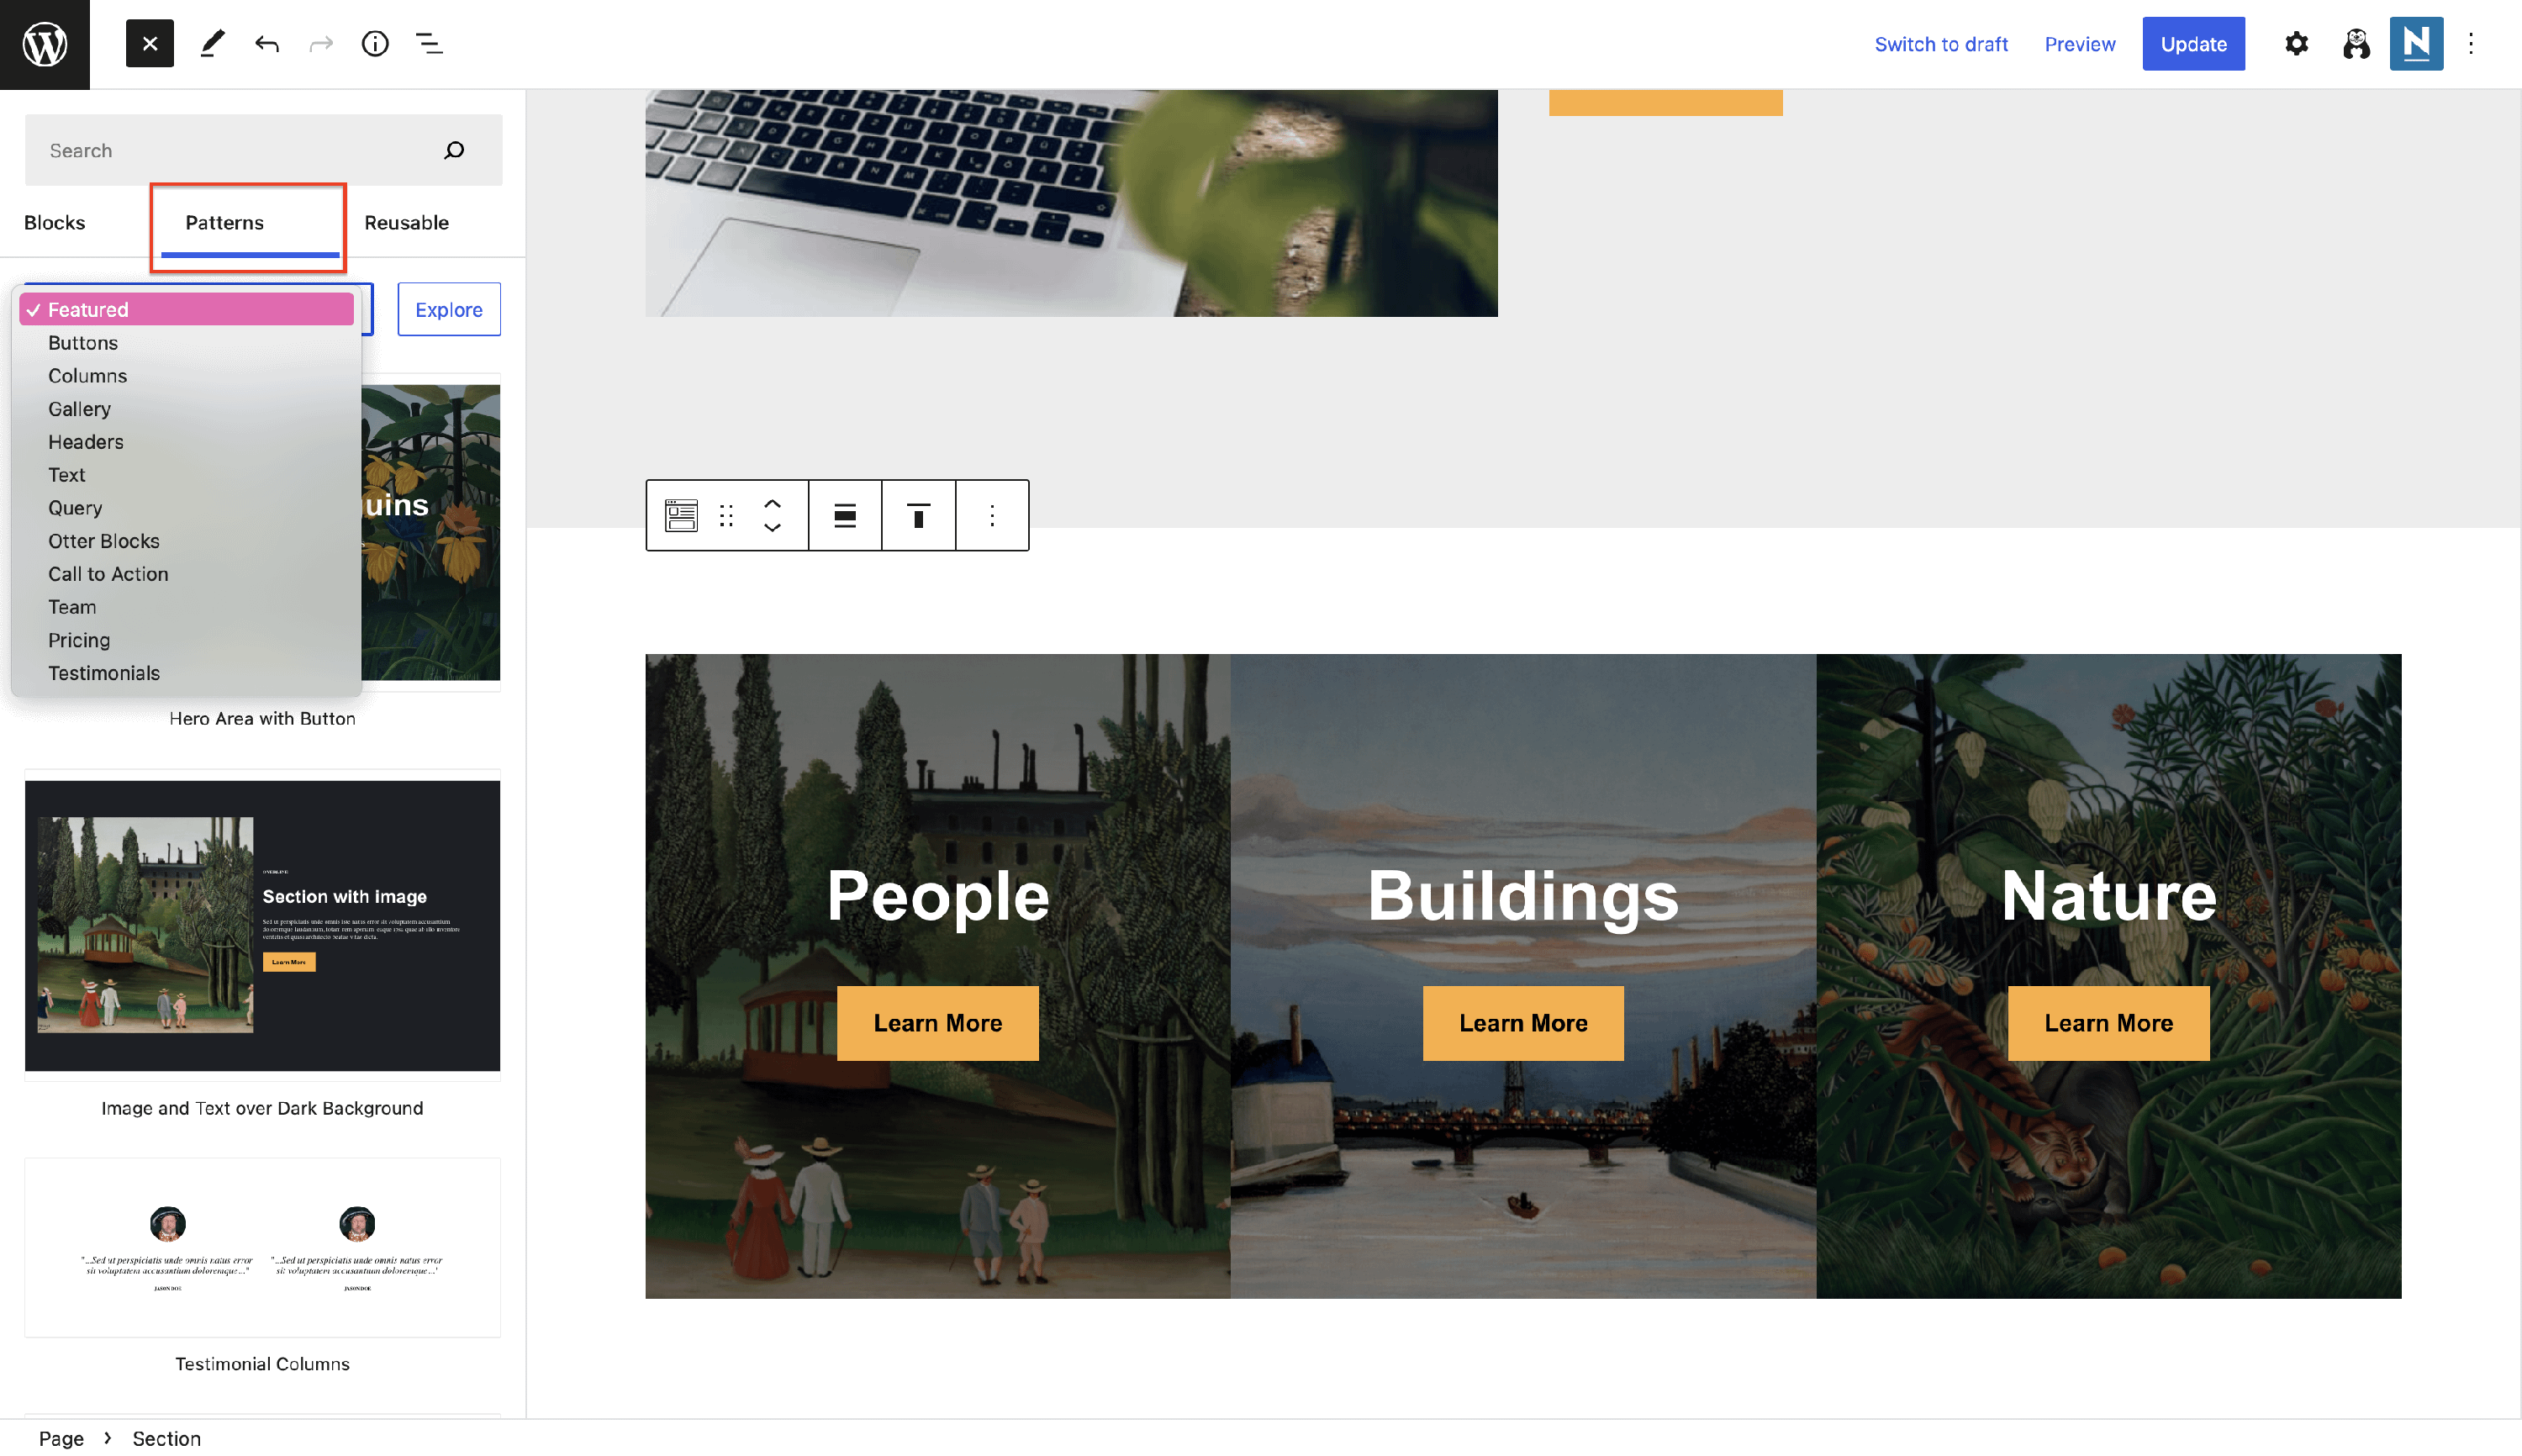 Patterns.
🧩 Plugin Card
NOTE: We have discontinued the Plugin Card block.
The Plugin Card block allows you to display plugin data on any website page. Insert the name of the desired plugin, then click on enter and select the plugin.
Use cases of the Plugin Card
- create a presenting section with the products (plugins) that your company provides
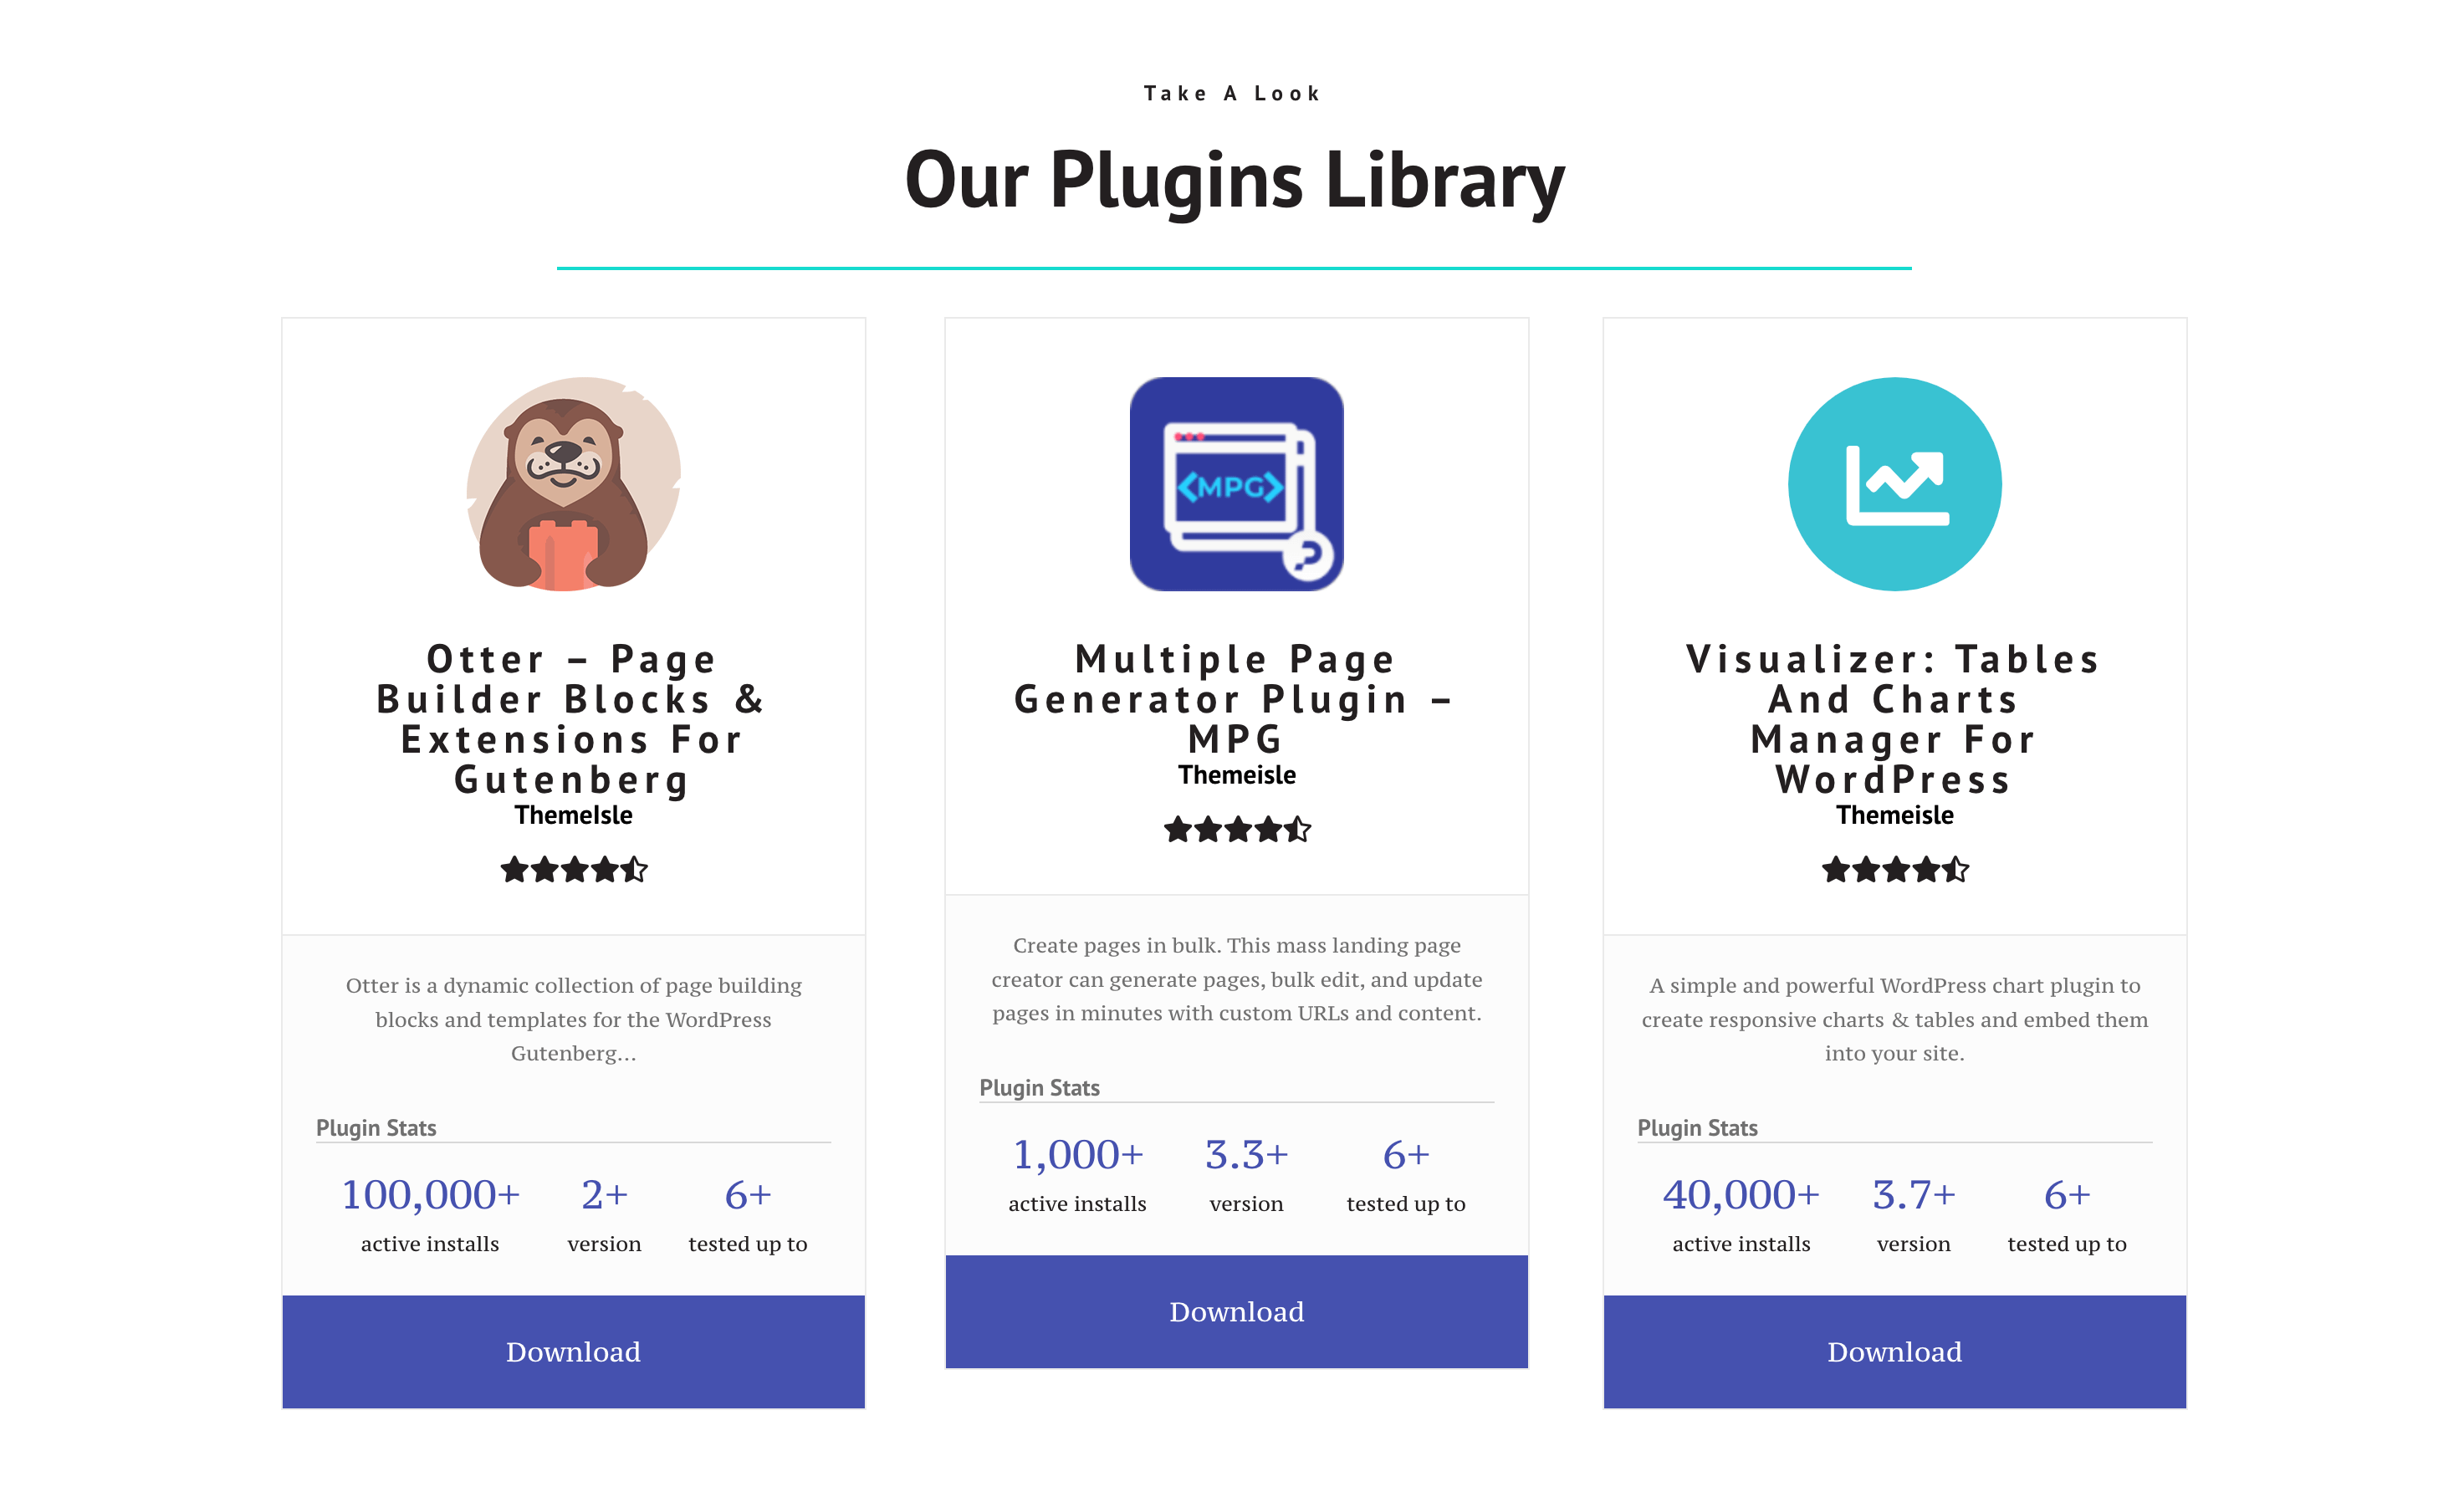
- present a top of the best WordPress Plugins on your blog page
📝 Note: Unlock more features using the PRO version of the plugin.
💳 Stripe Checkout
This block might be useful if you want to sell a couple of products without setting up a whole store, such as ebooks, some licenses, etc.
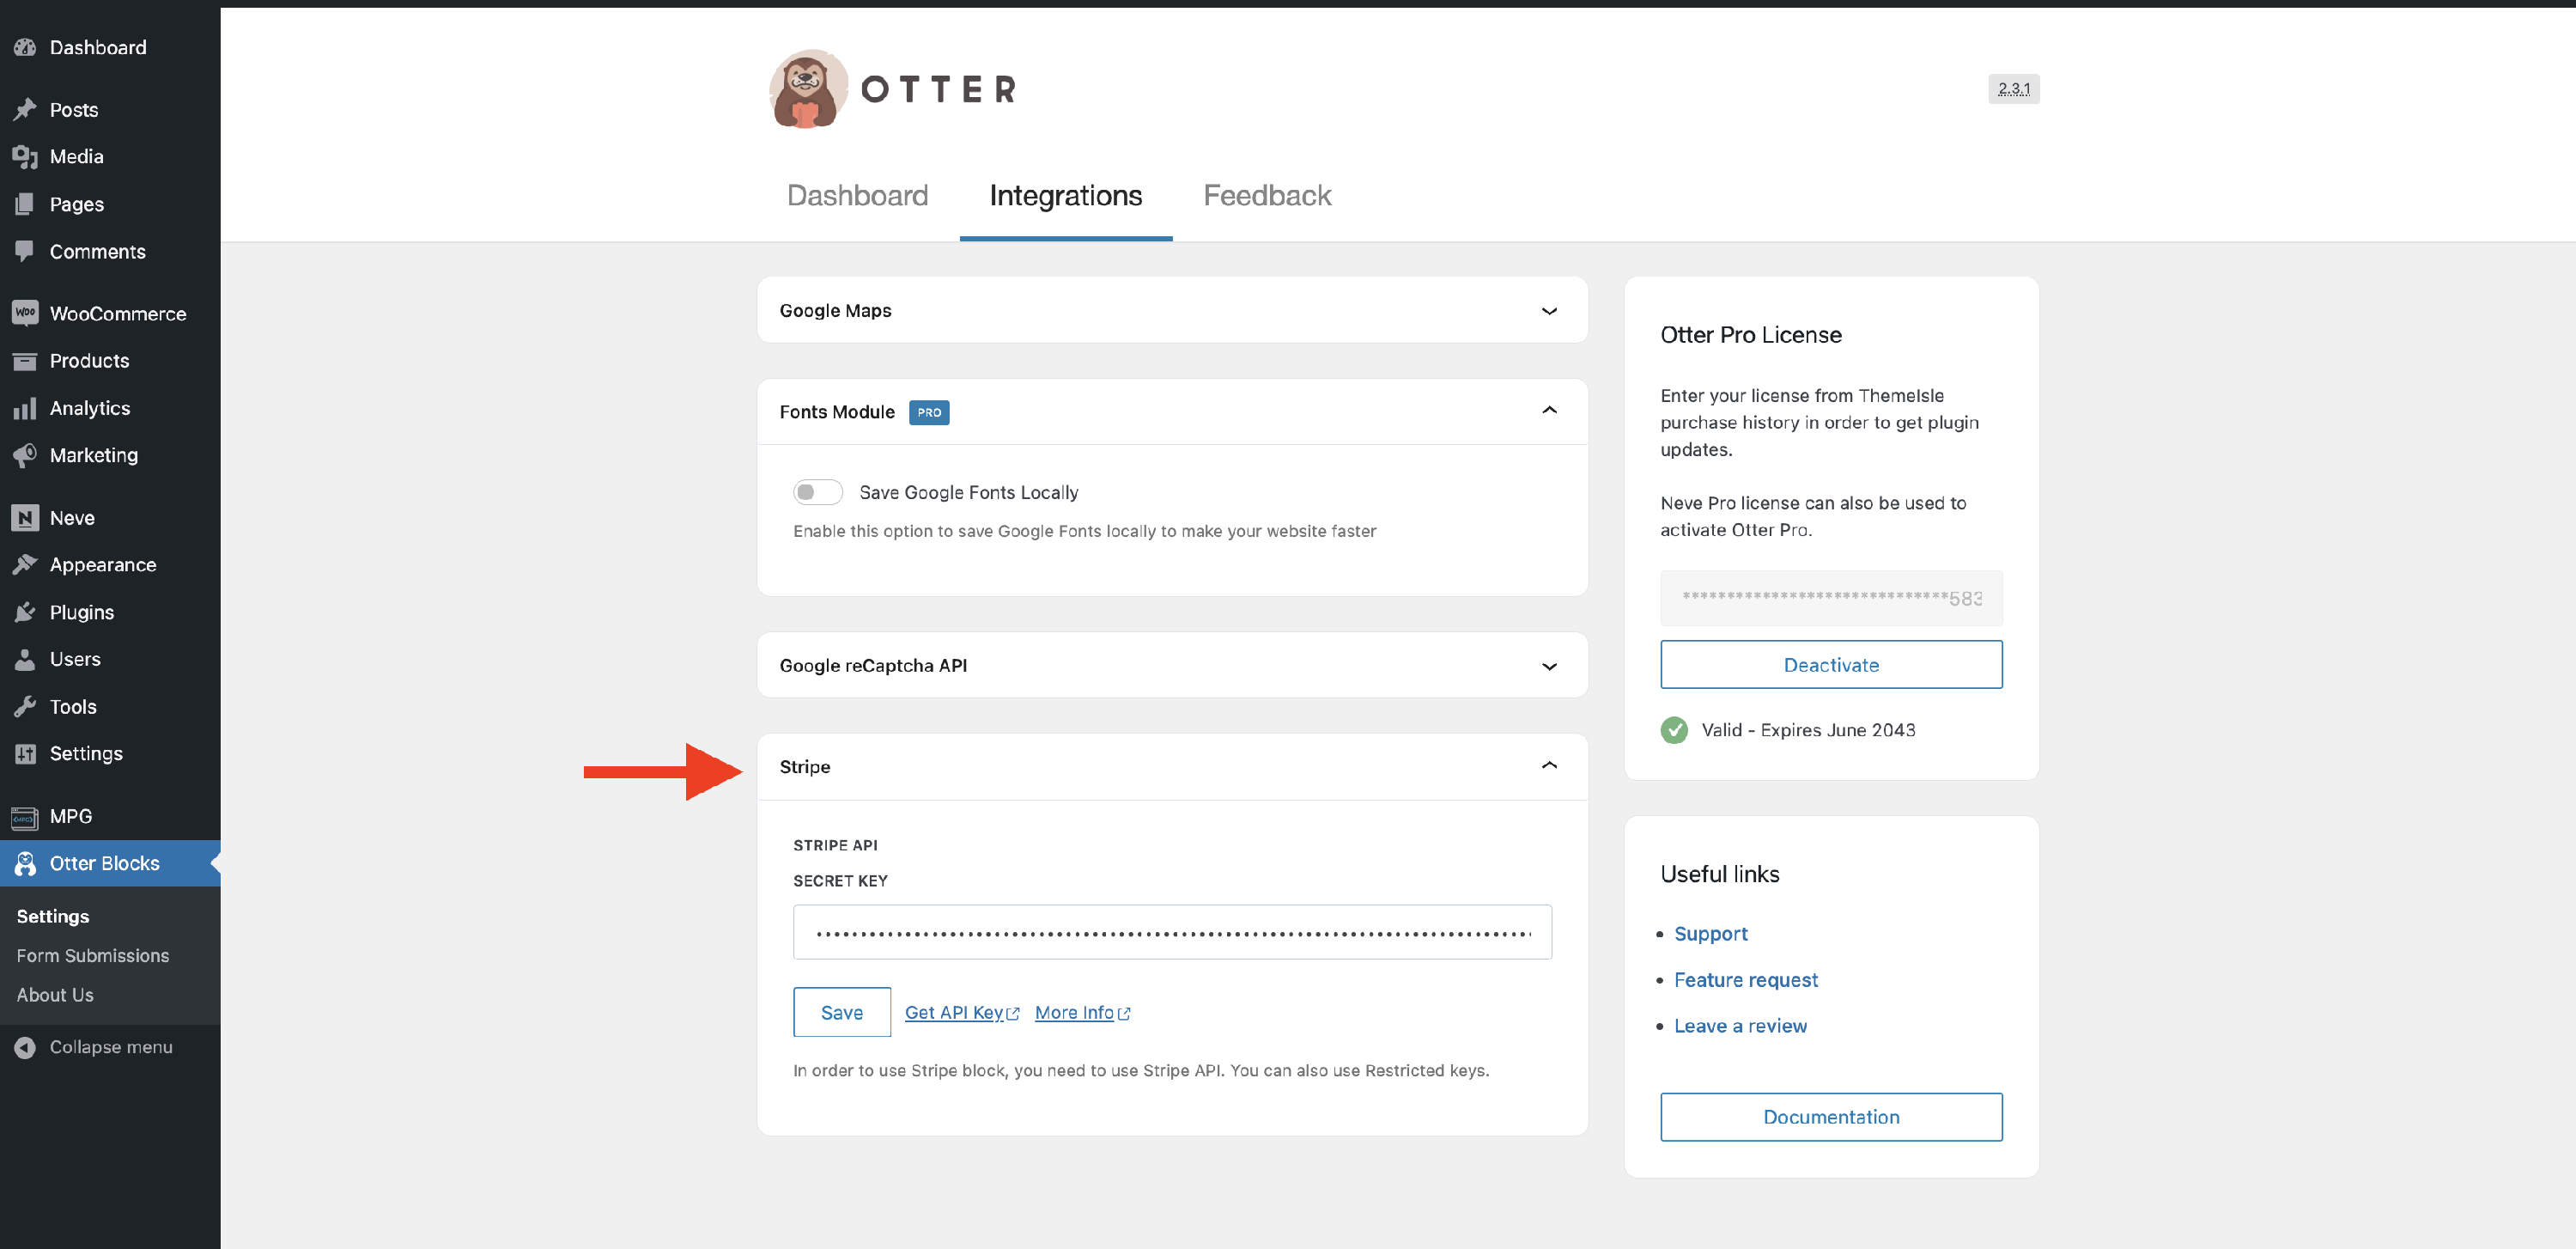
To use the Stripe Checkout block, first, you have to insert the credentials. For this, navigate to the Otter panel, then switch to Settings > Integrations in the Stripe accordion:
After that, navigate to the desired page and add the Stripe Checkout block. Then, select the product that you want to sell and the price for it (in our example, the price is available in euros or dolars).
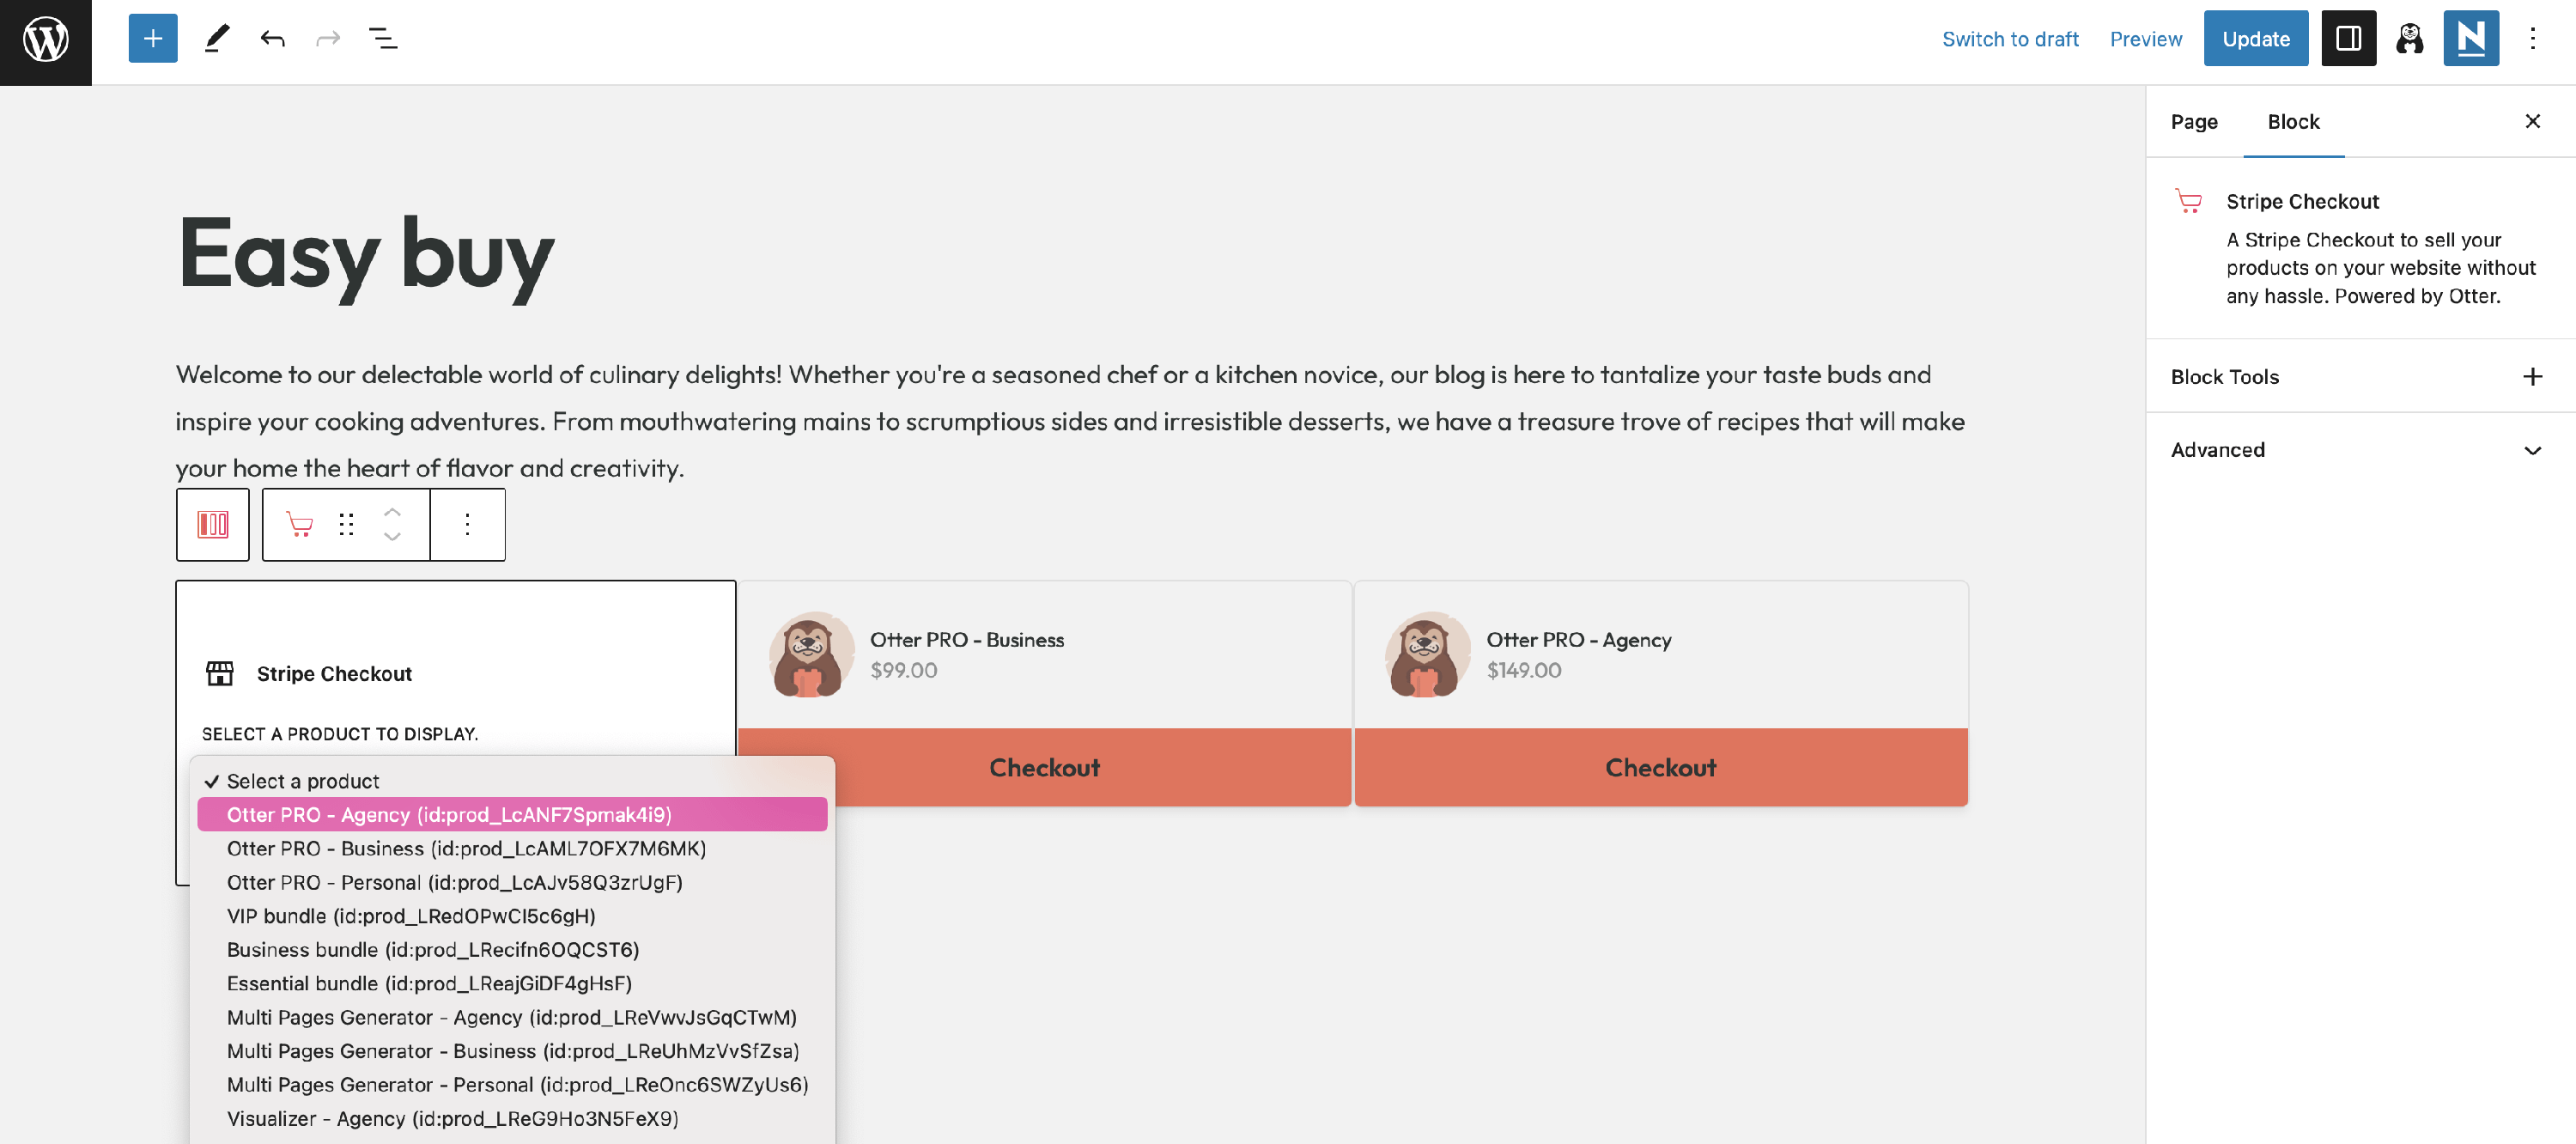
📝 Note: Please note that selecting products is possible only after you set up products in your Stripe dashboard. If no products are priorly added to your Stripe dashboard, the dropdown will be empty.
You can also configure the Success & Cancel Messages:
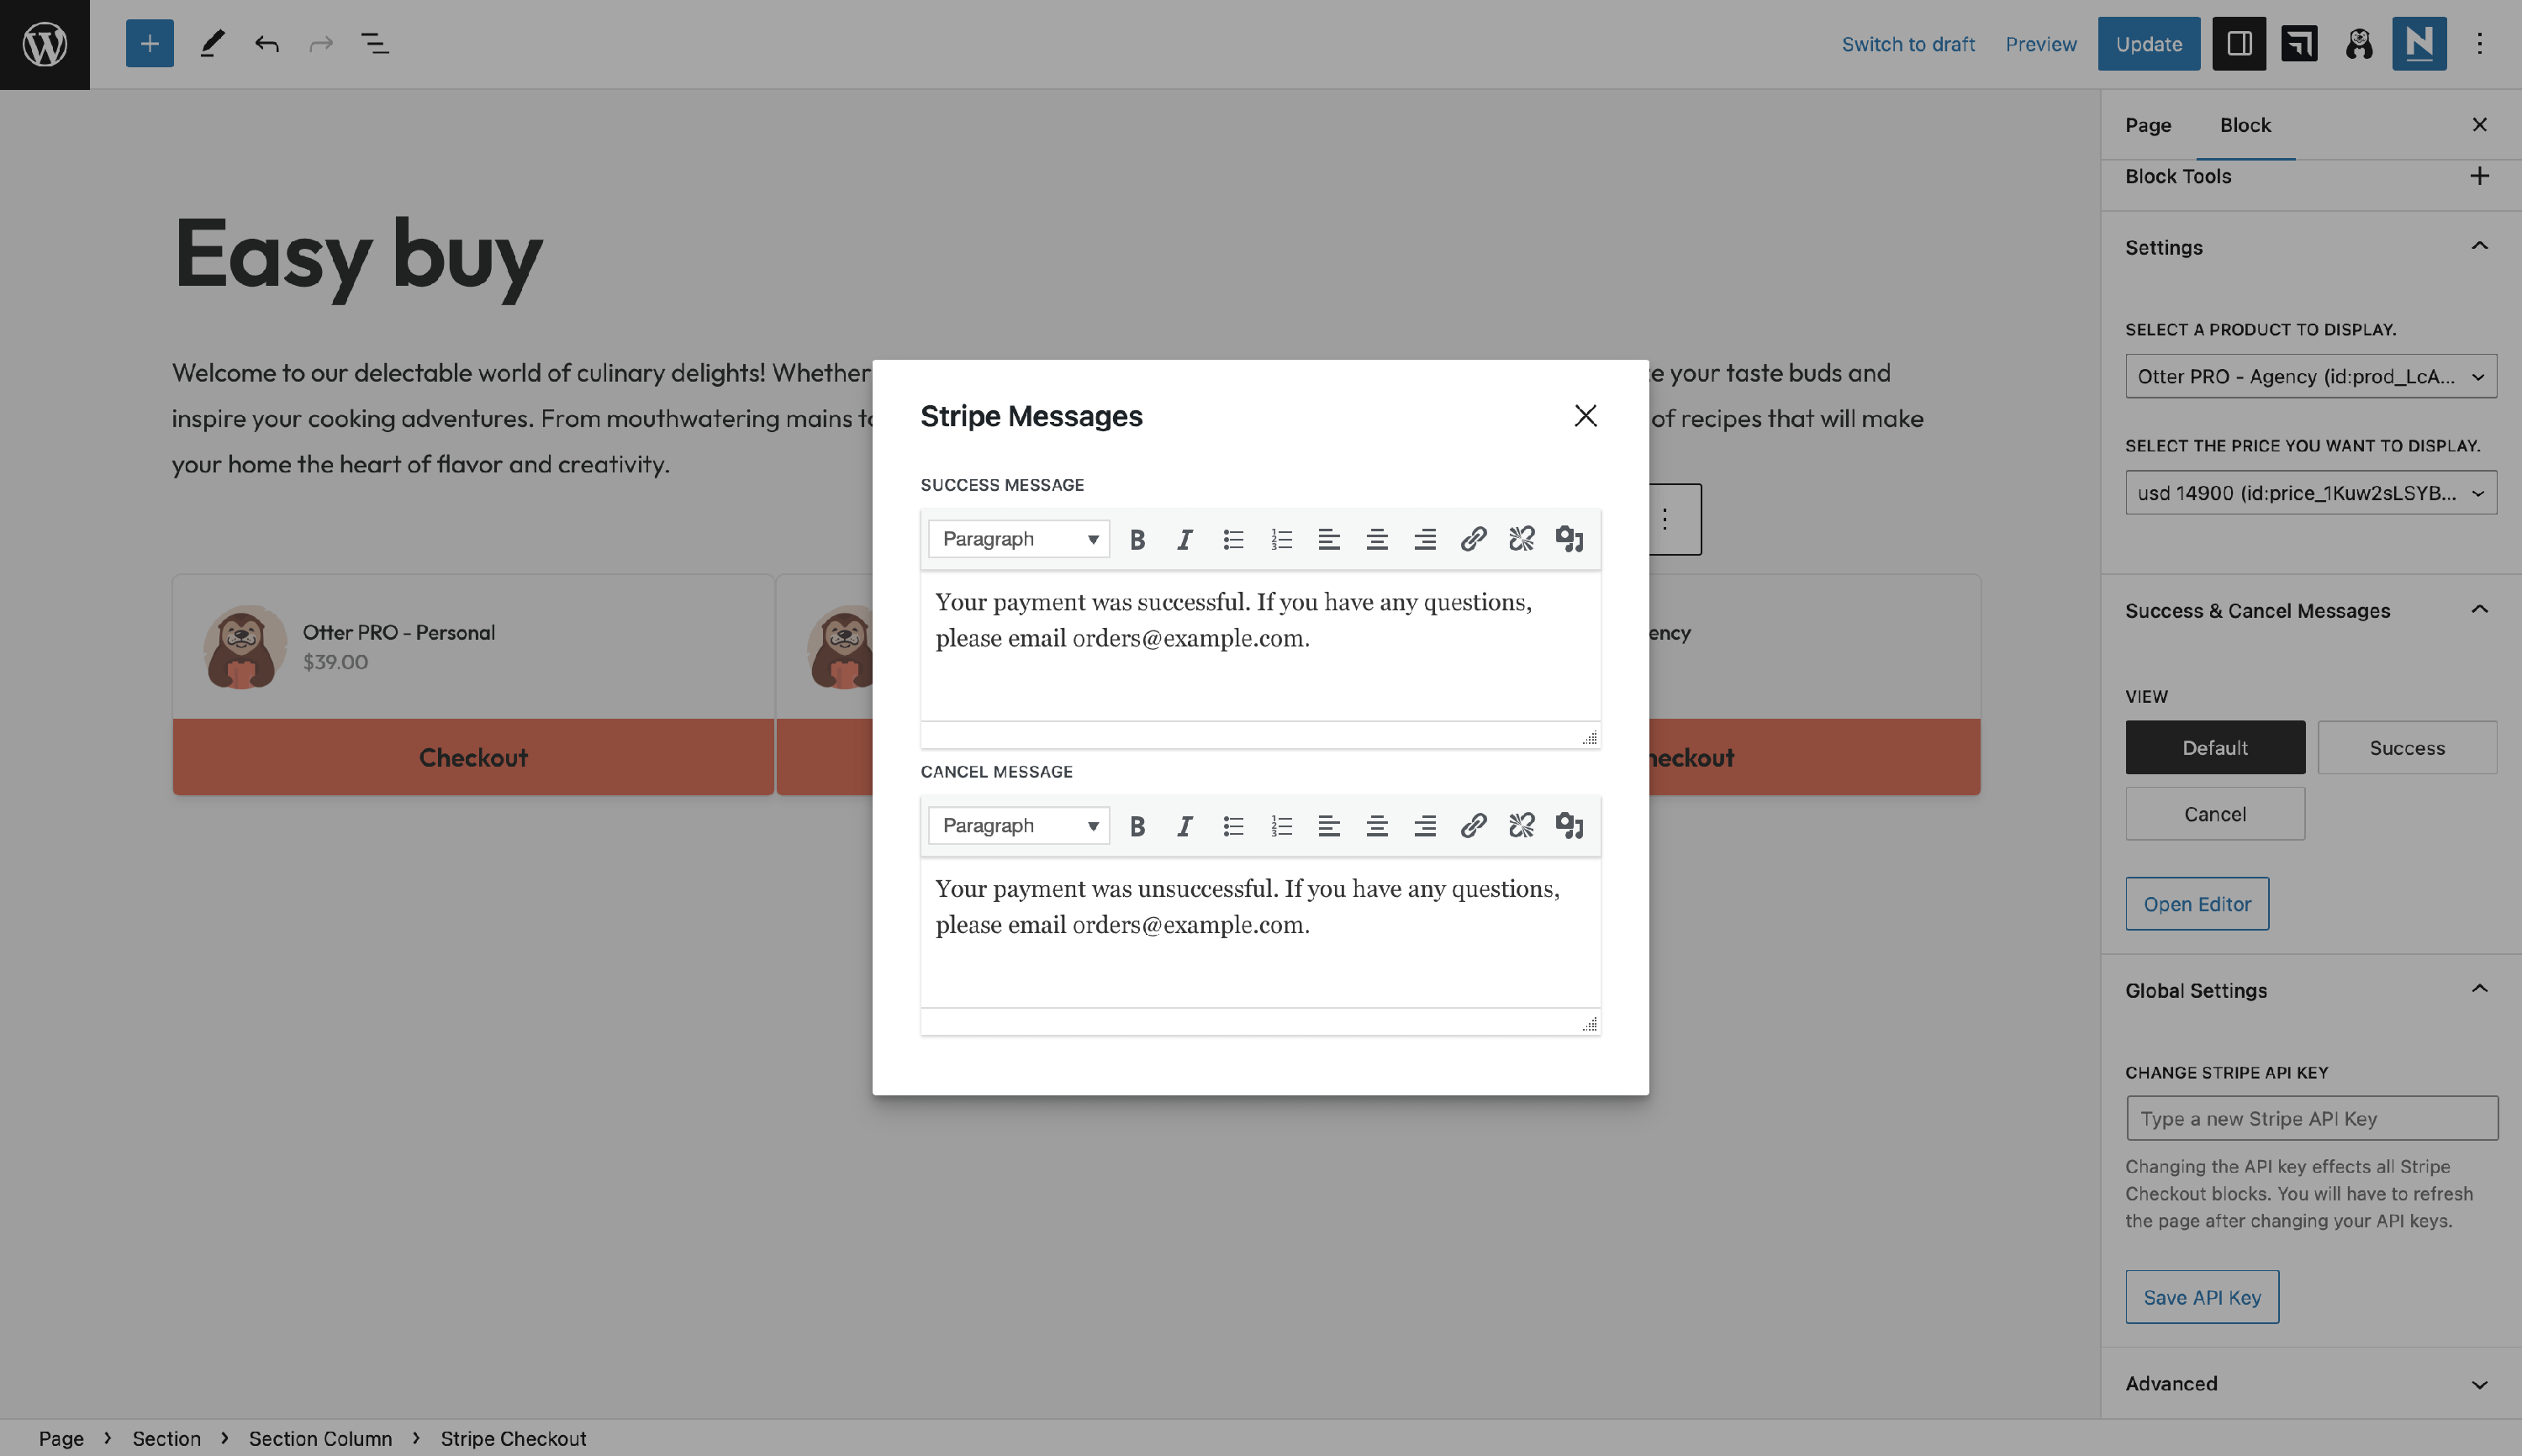
More than that, you can use the View panel to see how the message will appear after clicking on the Checkout button:

Alternatively, the Stripe API key can be changed locally, inside the editor, under the Global Settings accordion:

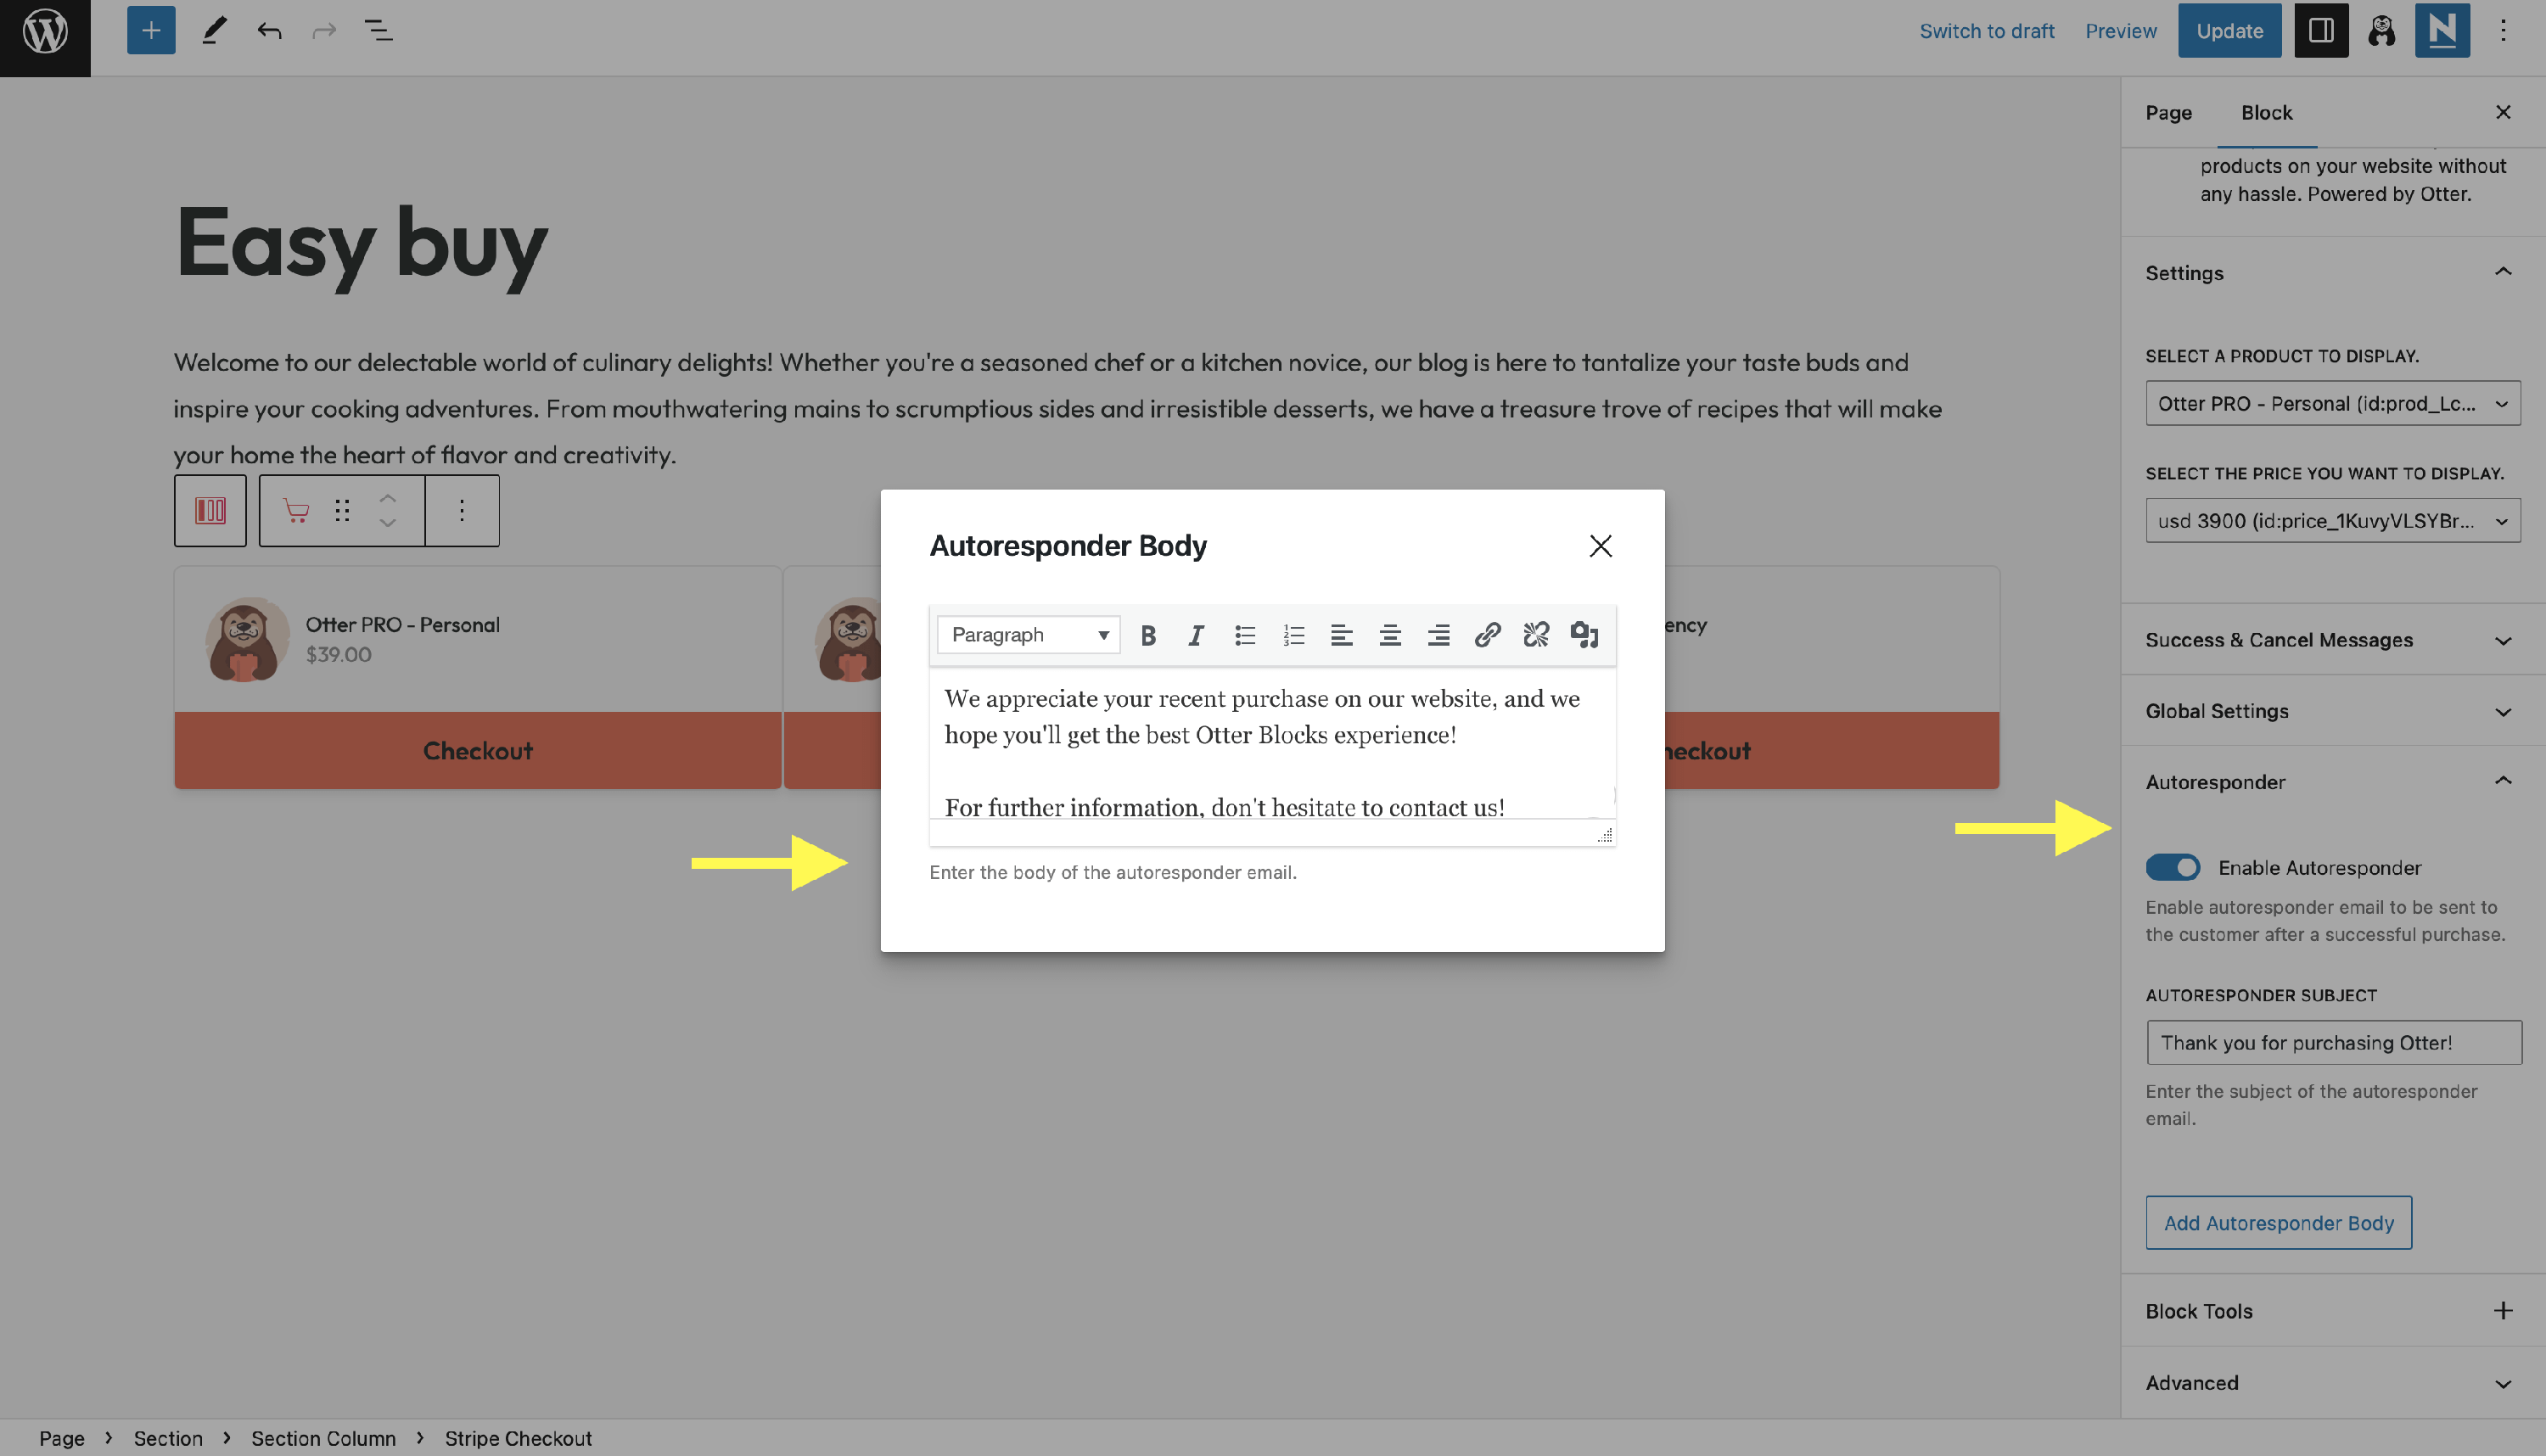
To enhance user experience on your website, you can either:
- enable Autoresponder, which will allow you to automatically send messages to customers after successfully making a purchase. Inside the Autoresponder accordion, you can customize the email subject to let the customer know what the mail is about, then add a personal body text:
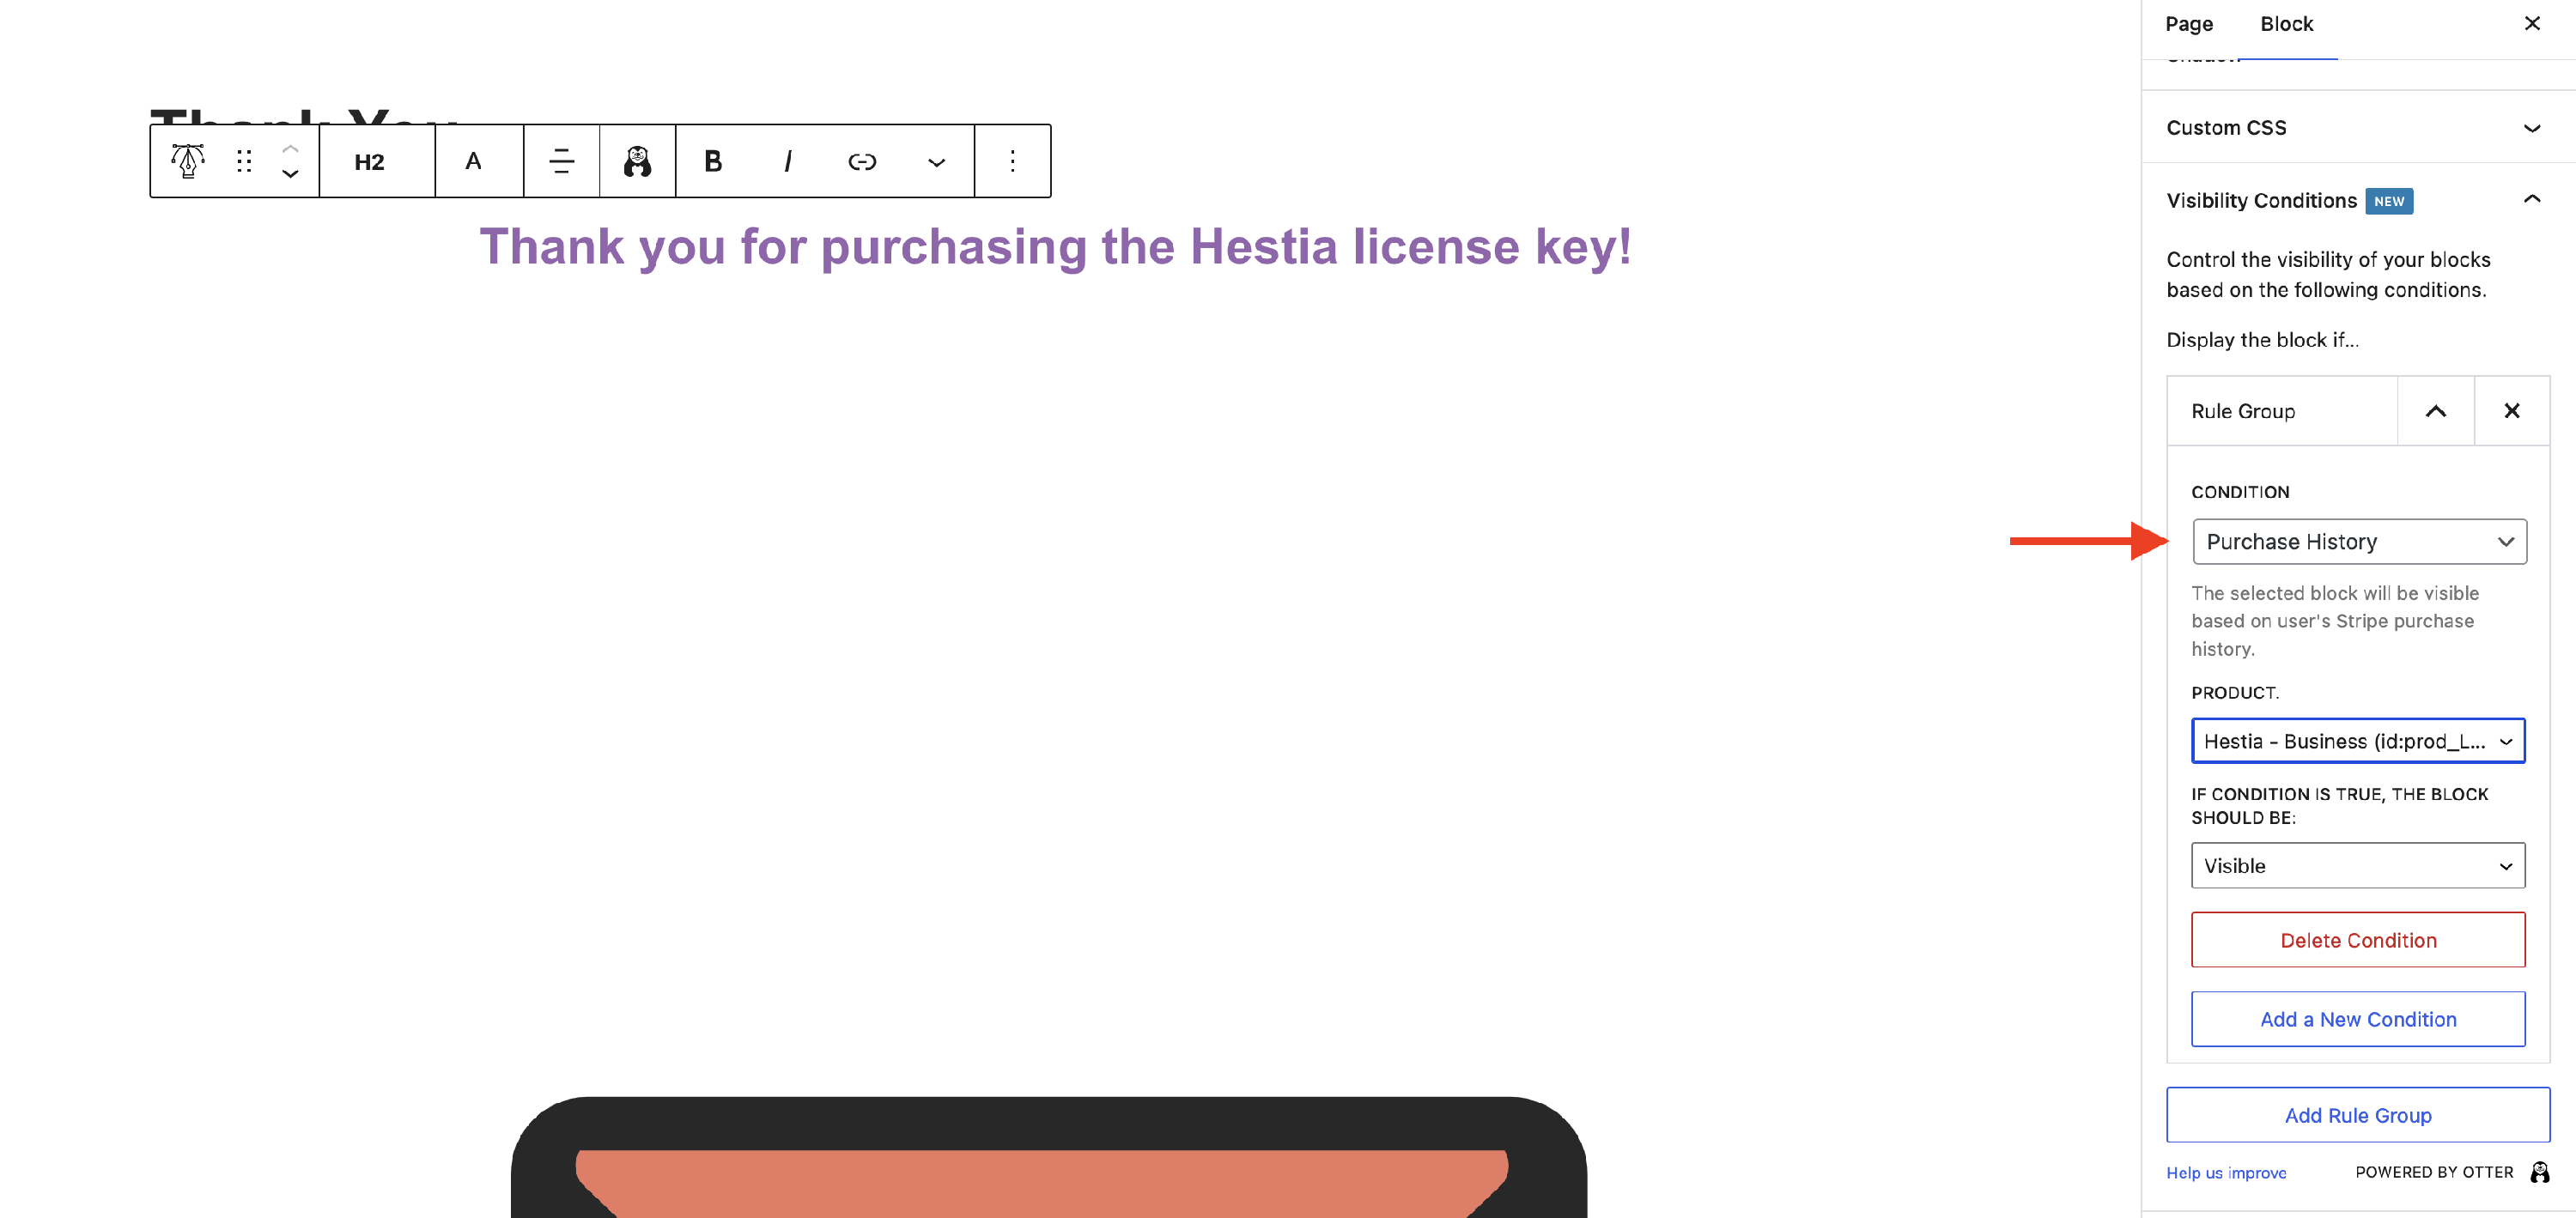
- set up a thank you page that will work based on visibility conditions. For the example above, we have configured this page:
📝 Note: If you have encountered errors when using the Stripe Checkout block, please check this doc.
Use Cases for the Stripe Checkout Block
- create a pricing section on the homepage
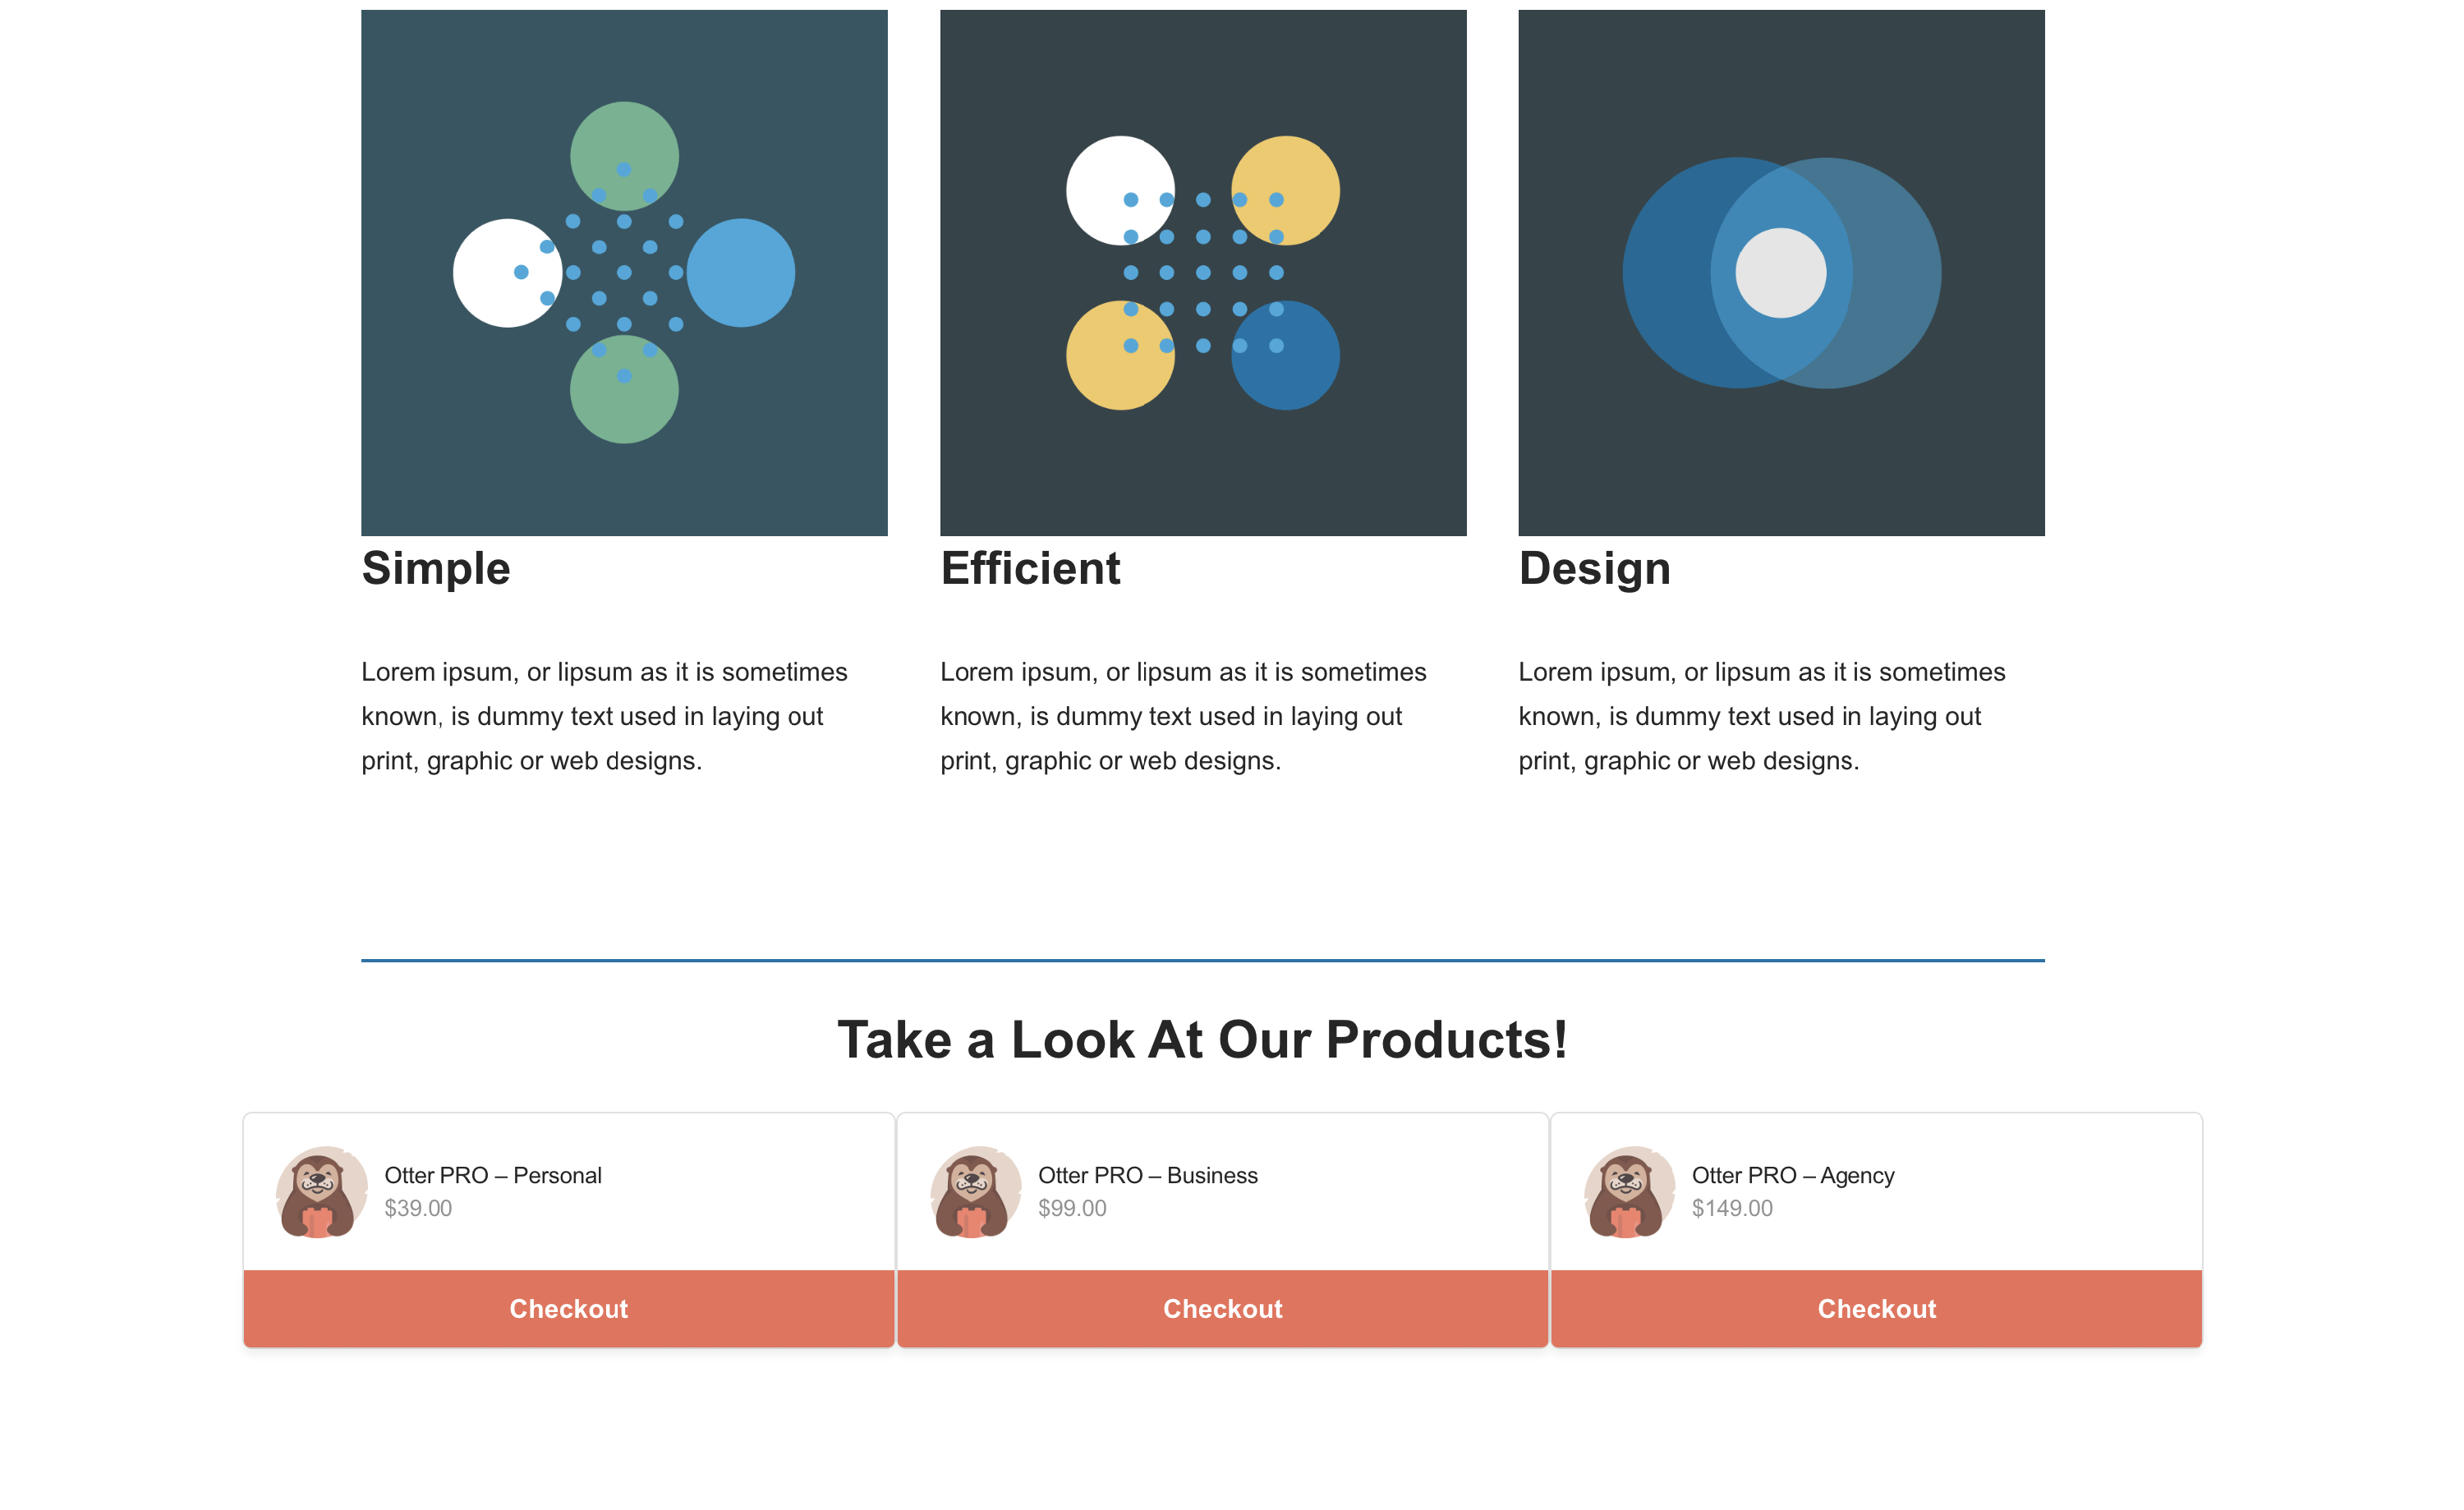
By clicking on the Checkout button, the customer will be redirected to the Stripe payment portal.