How to create the Hestia contact form in WPForms
WPForms is a great plugin that allows you to easily create any contact form you want. It comes with pre-built form templates that can be easily customized, so you don’t ever have to start from scratch unless you want to. To use the contact form you just need to copy the shortcode of the form and paste it wherever it fits your needs.
🧰Tools needed:
- The Hestia Theme - more details about installing and options can be found here.
- The WPForms plugin - more details about installing and options can be found here.
💌Creating the Contact Form
The contact form can be created in two ways:
Import the Hestia contact form template
If you want to create a new WPForms form, similar to the form in Hestia, this is the step for you. To make it easy for you to get the contact form template of Hestia, we created a WPForms template that you will need to import into WPForms.
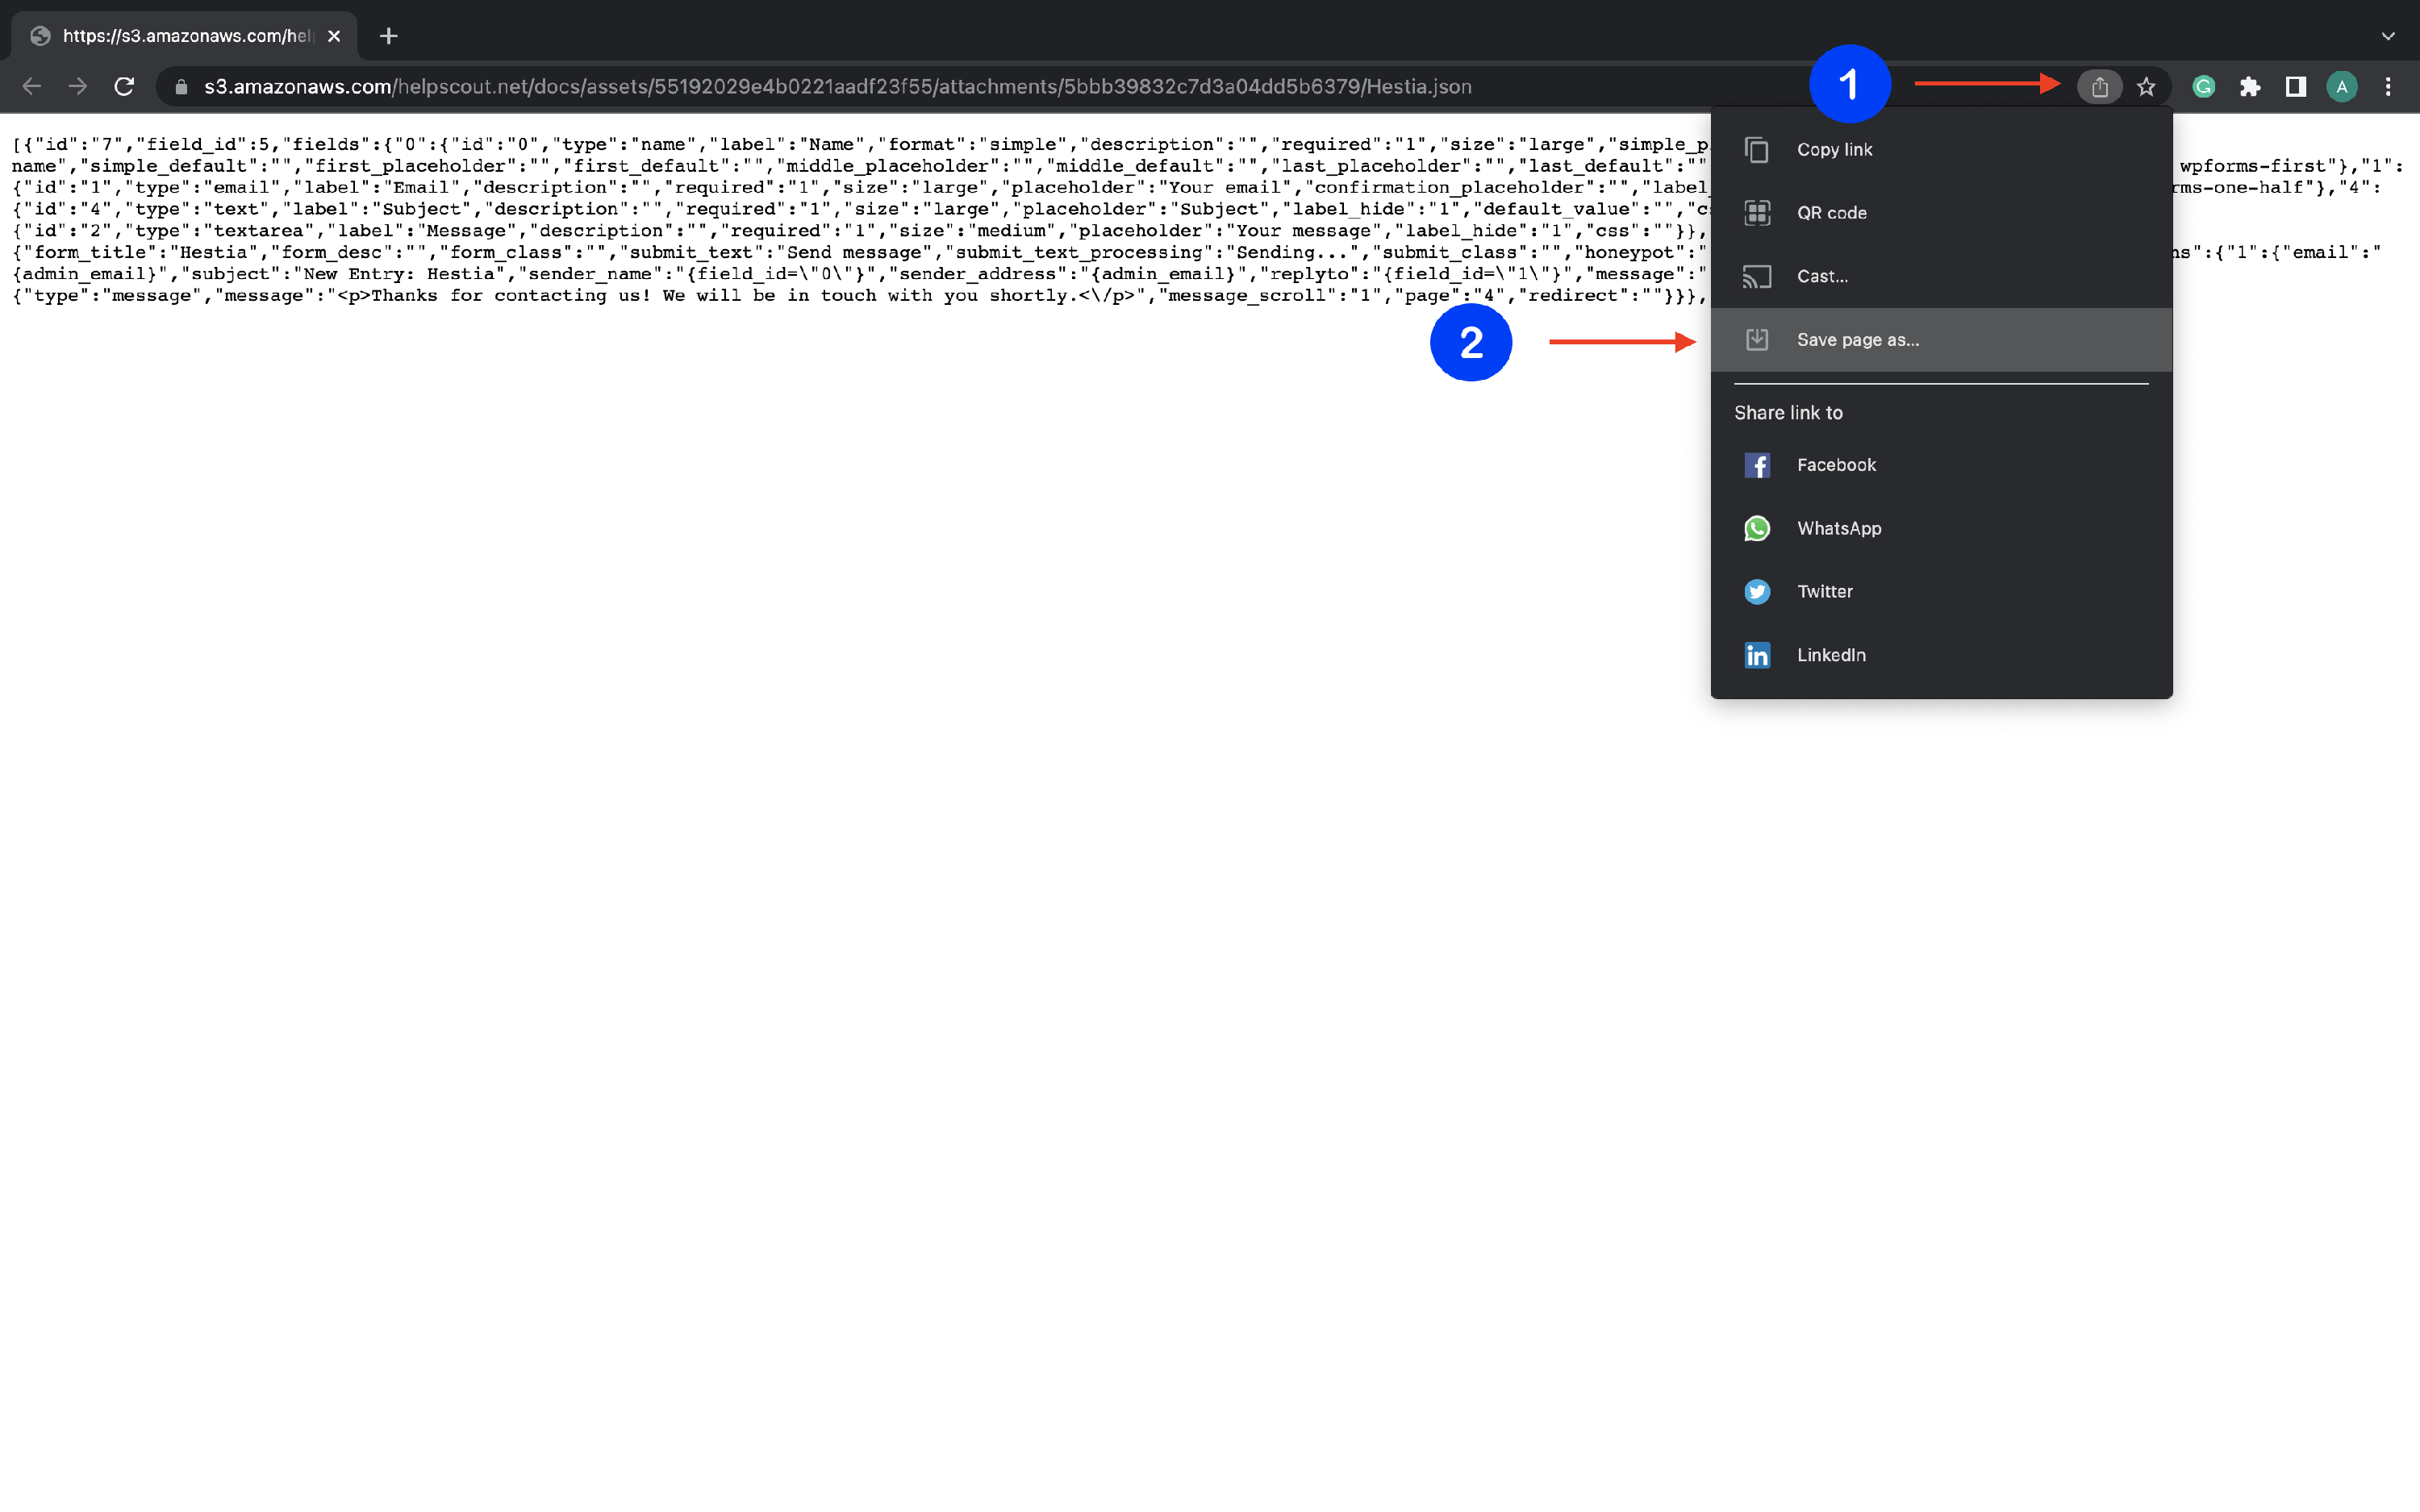
1. Click on this link to open the template and download the .json file.
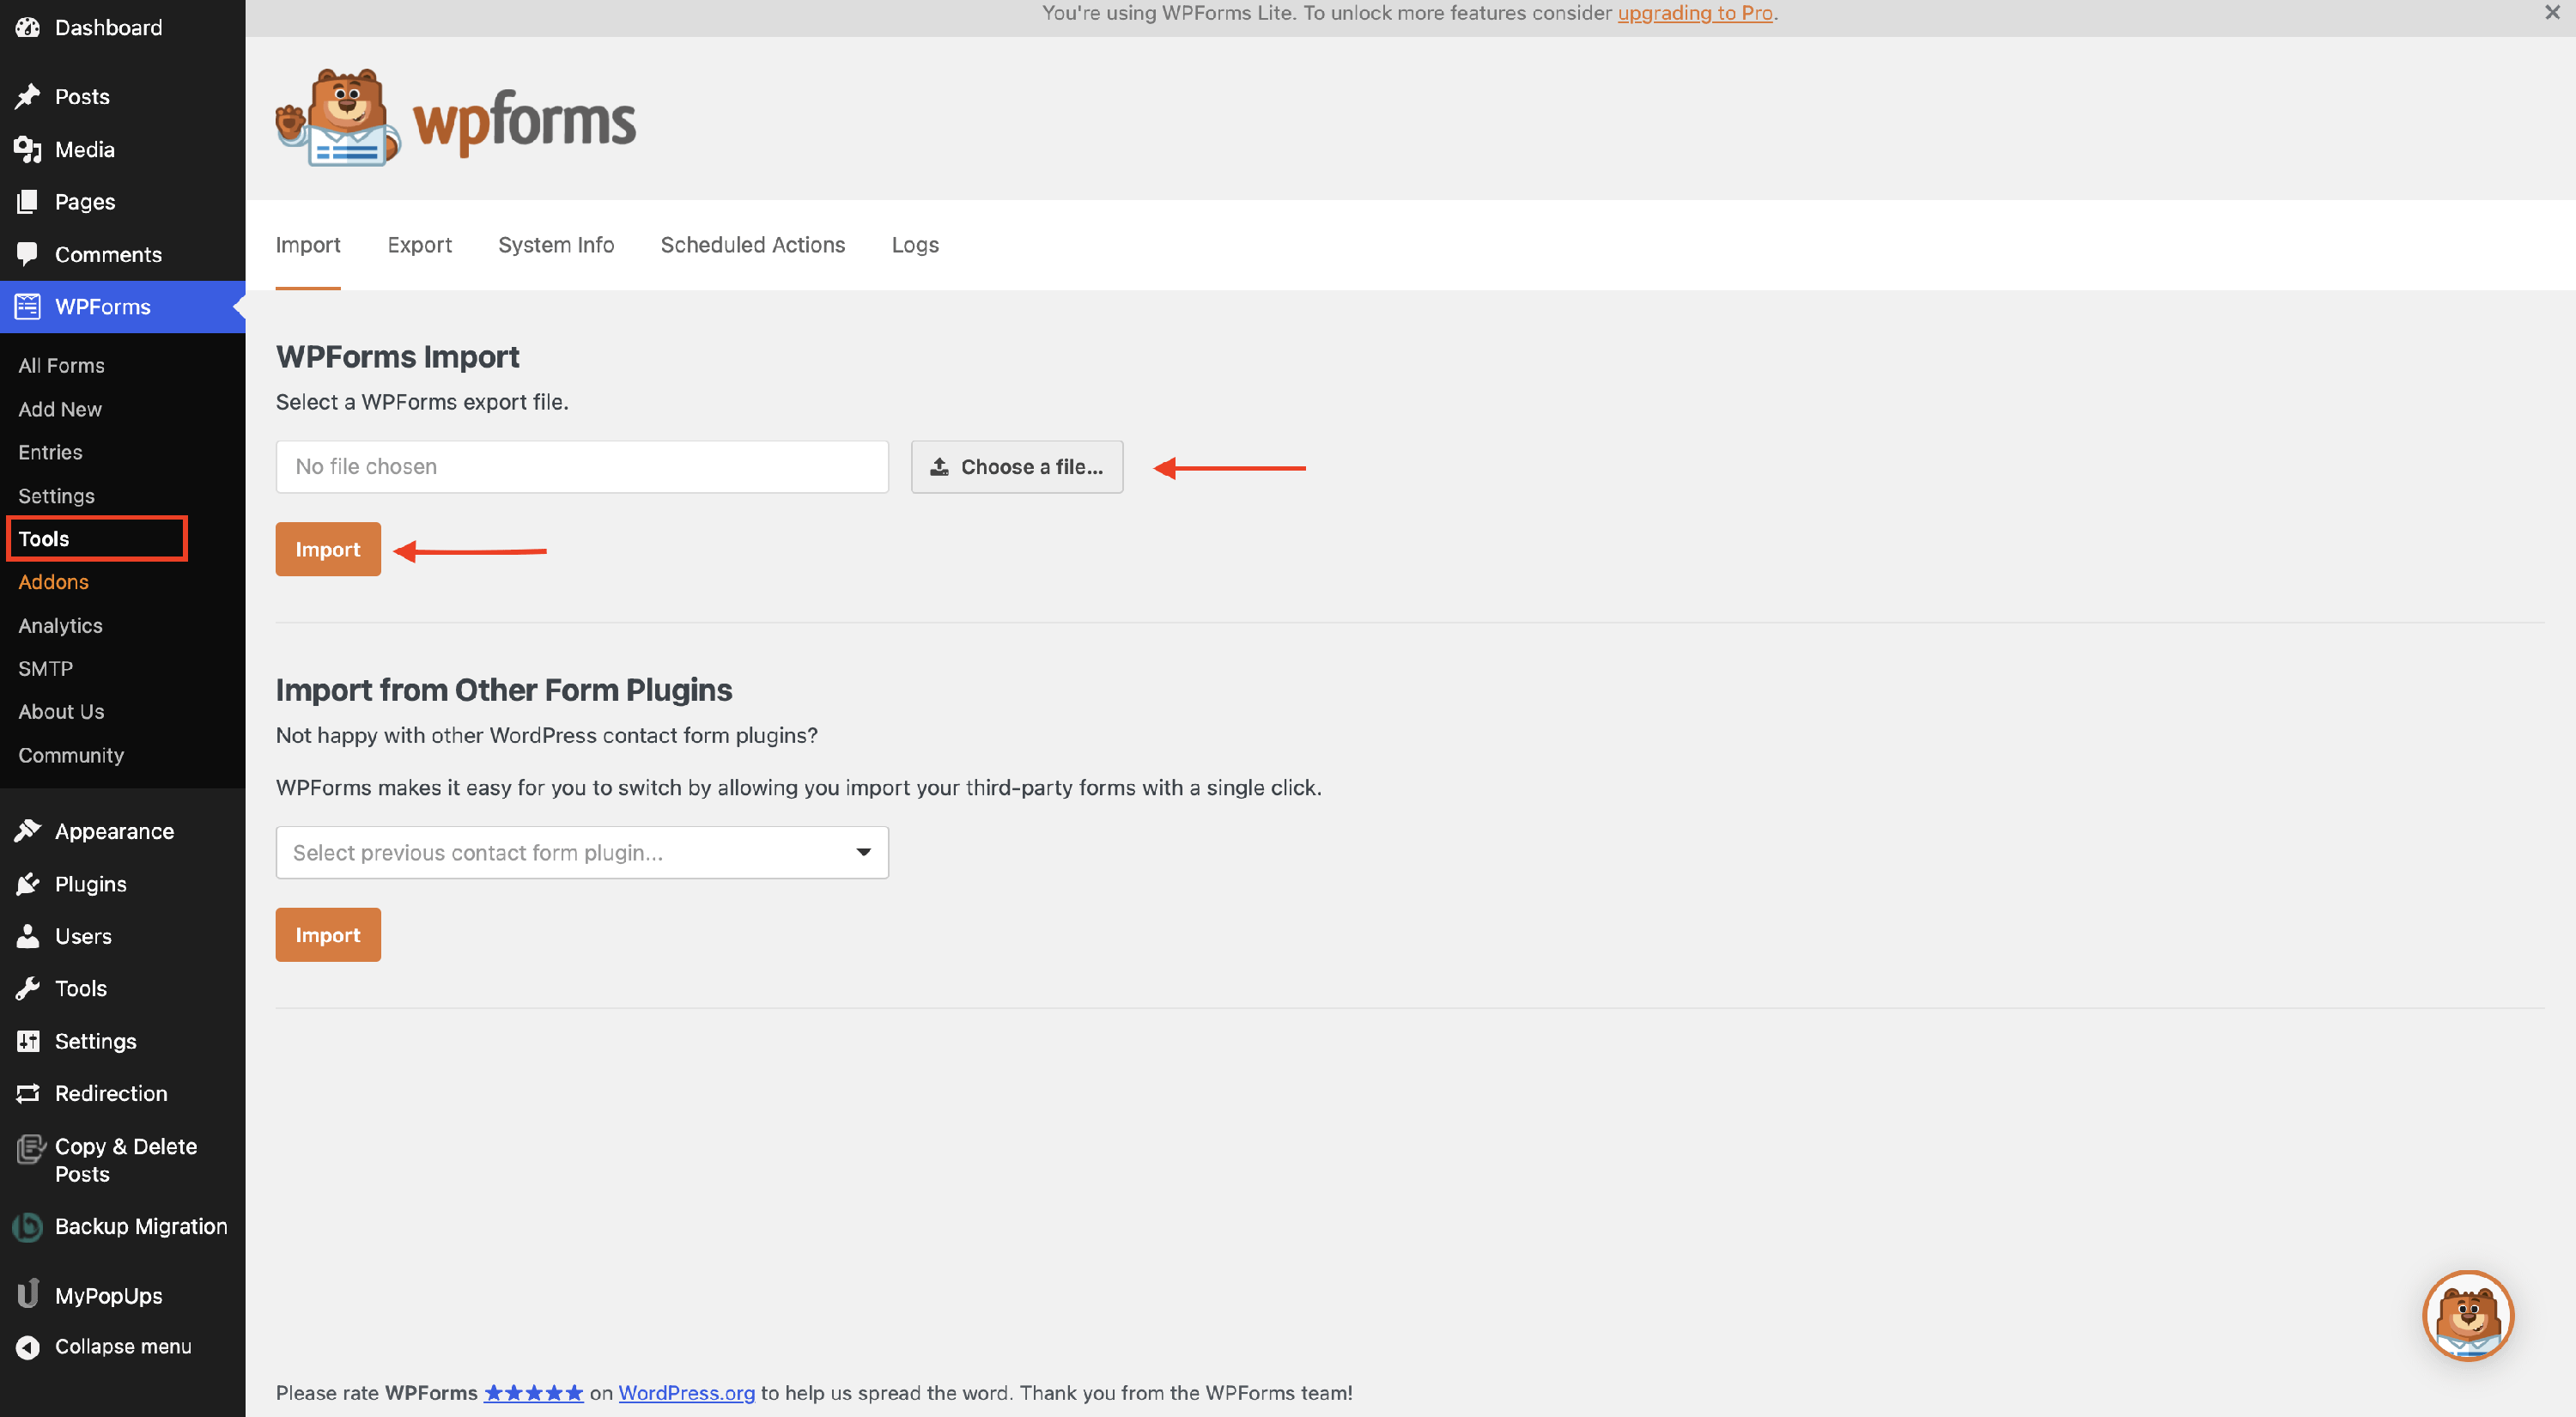
2. Navigate to Dashboard > WPForms > Tools.
3. Under the WPForms Import click " Select File" and upload the template you previously downloaded, then click " Import".
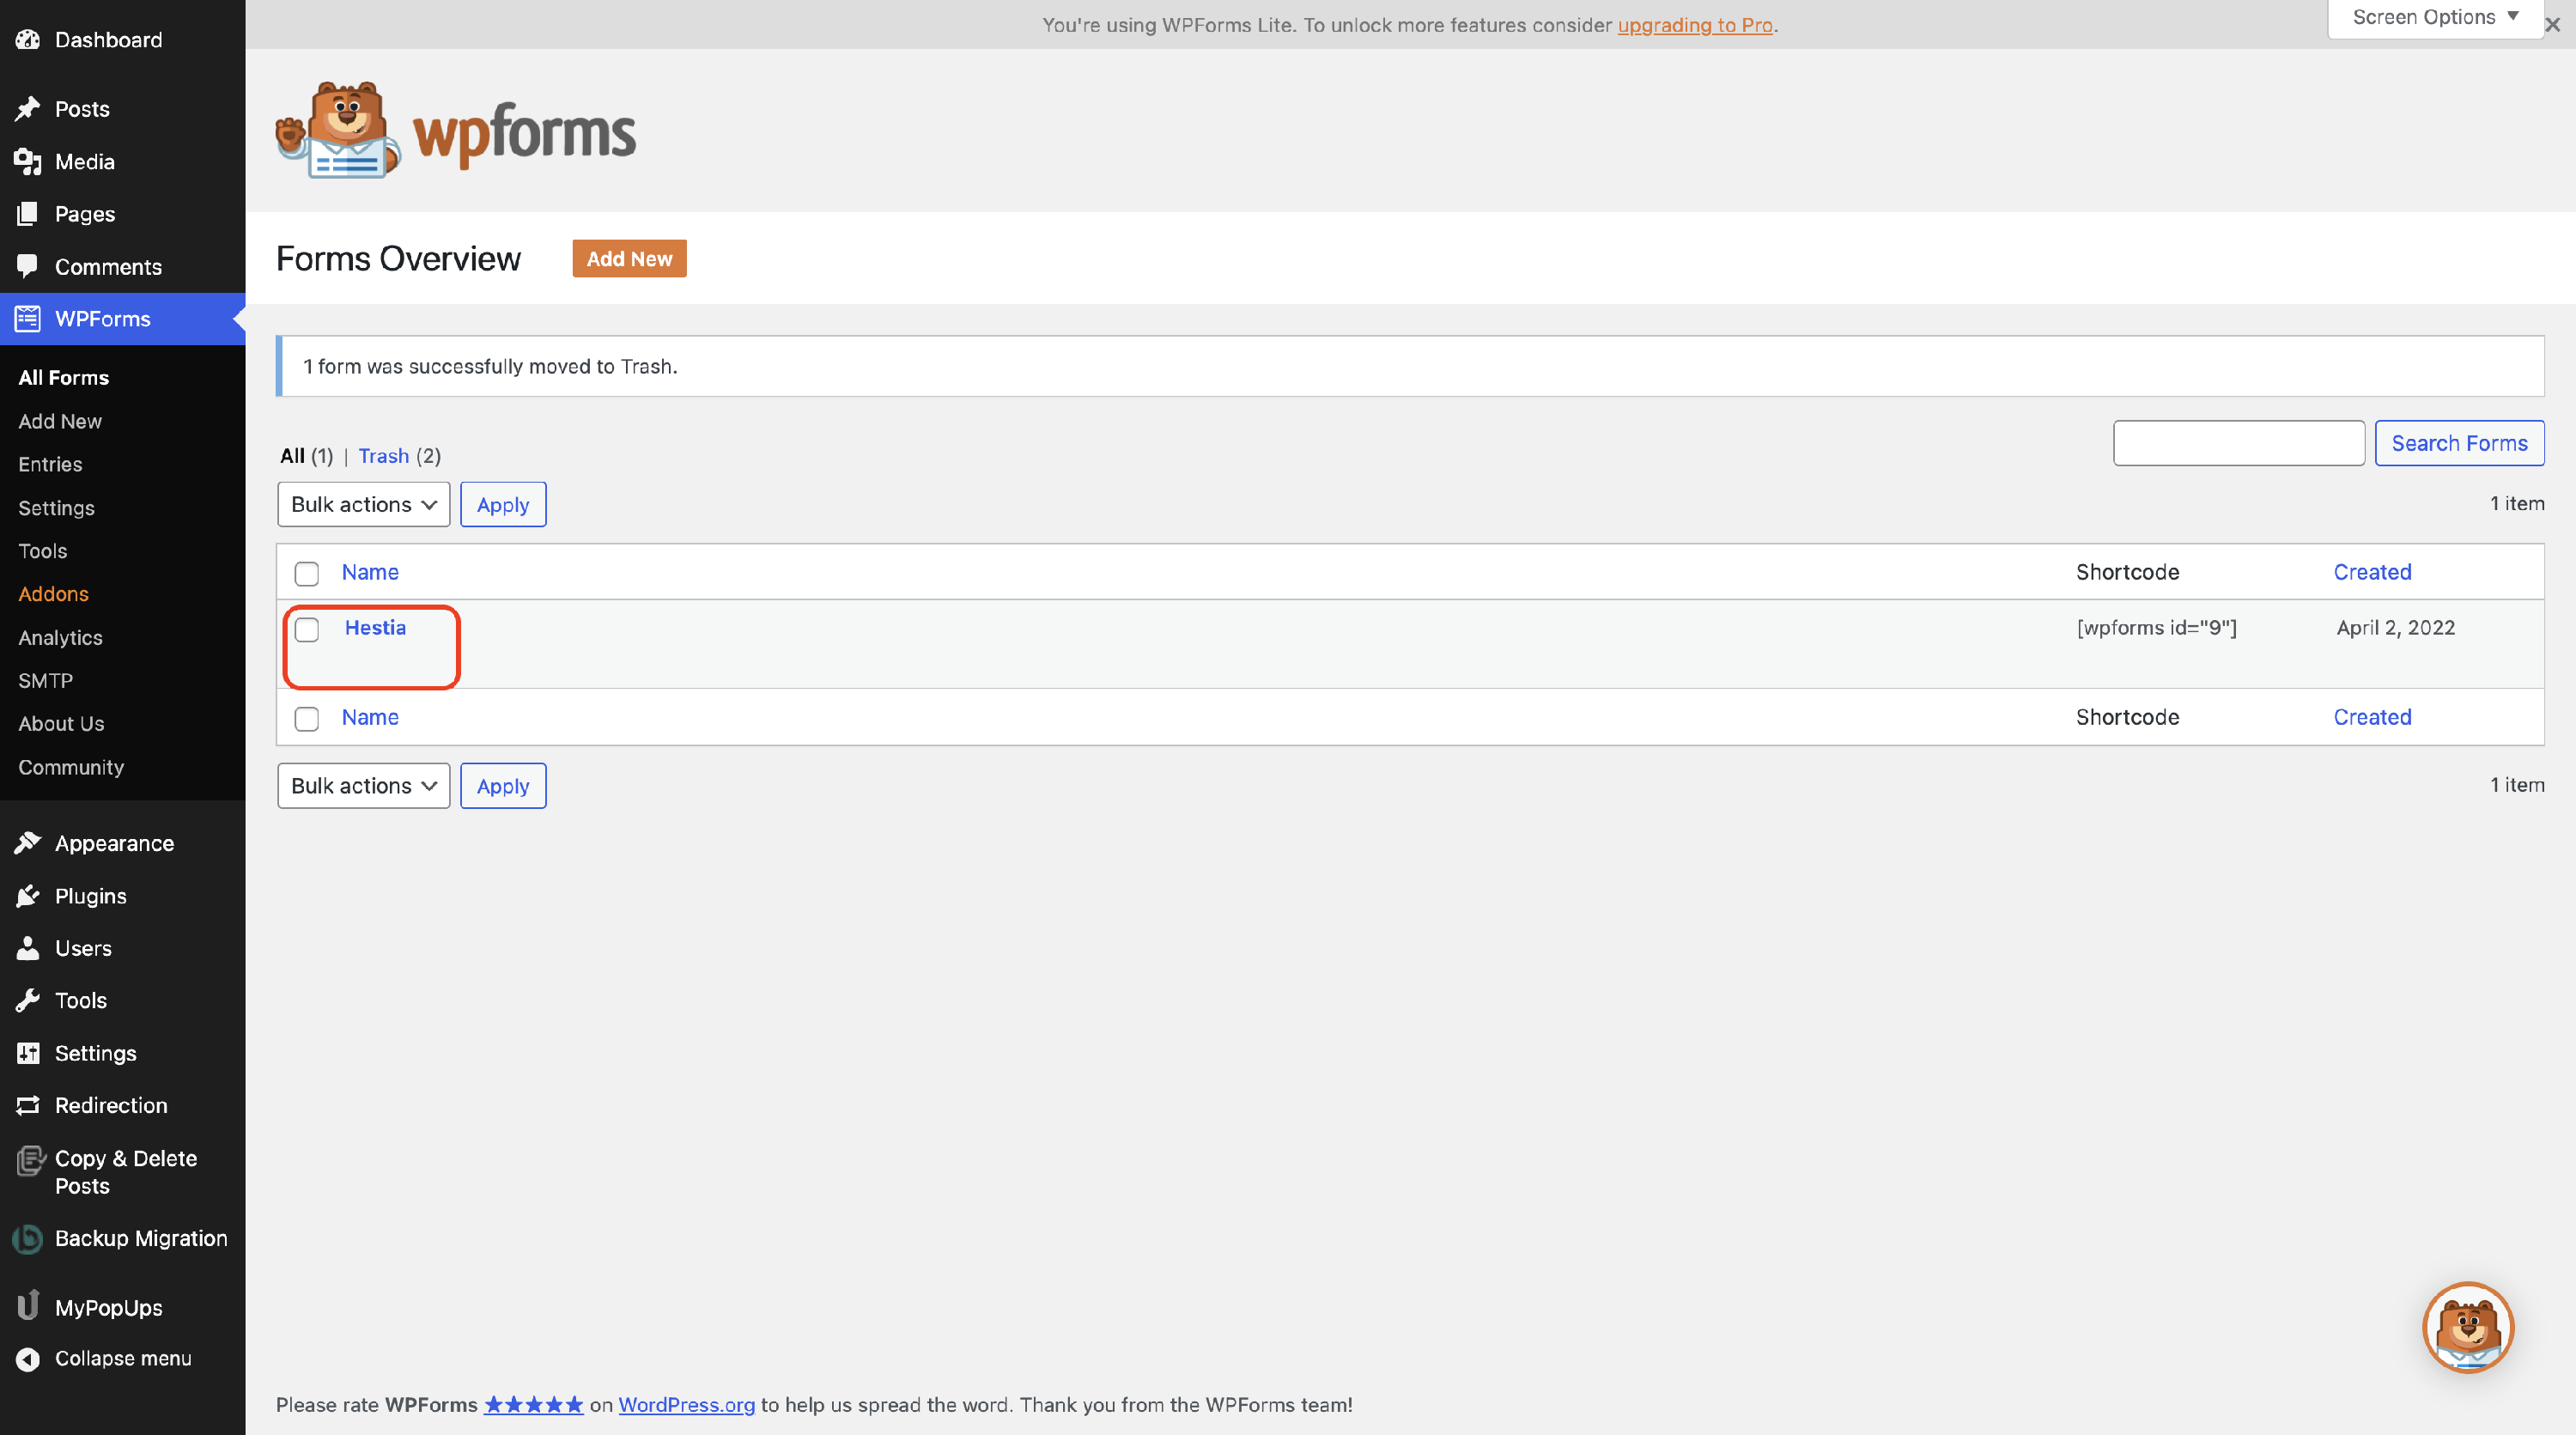
4. Once the import was successfully finished, you can go and check your forms and you'll see a newly created form named " Hestia".
📝 Note: Check the Using the contact form section for more details about how to use it.
Using an already existing contact form
Select one of your already existing forms and click on edit. From this point, you will have to configure or add the five elements that appear on the Contact Form, to suit Hestia's contact form template: Name, Email, Subject, Message, and Submit button. Make sure you follow the below instruction carefully:
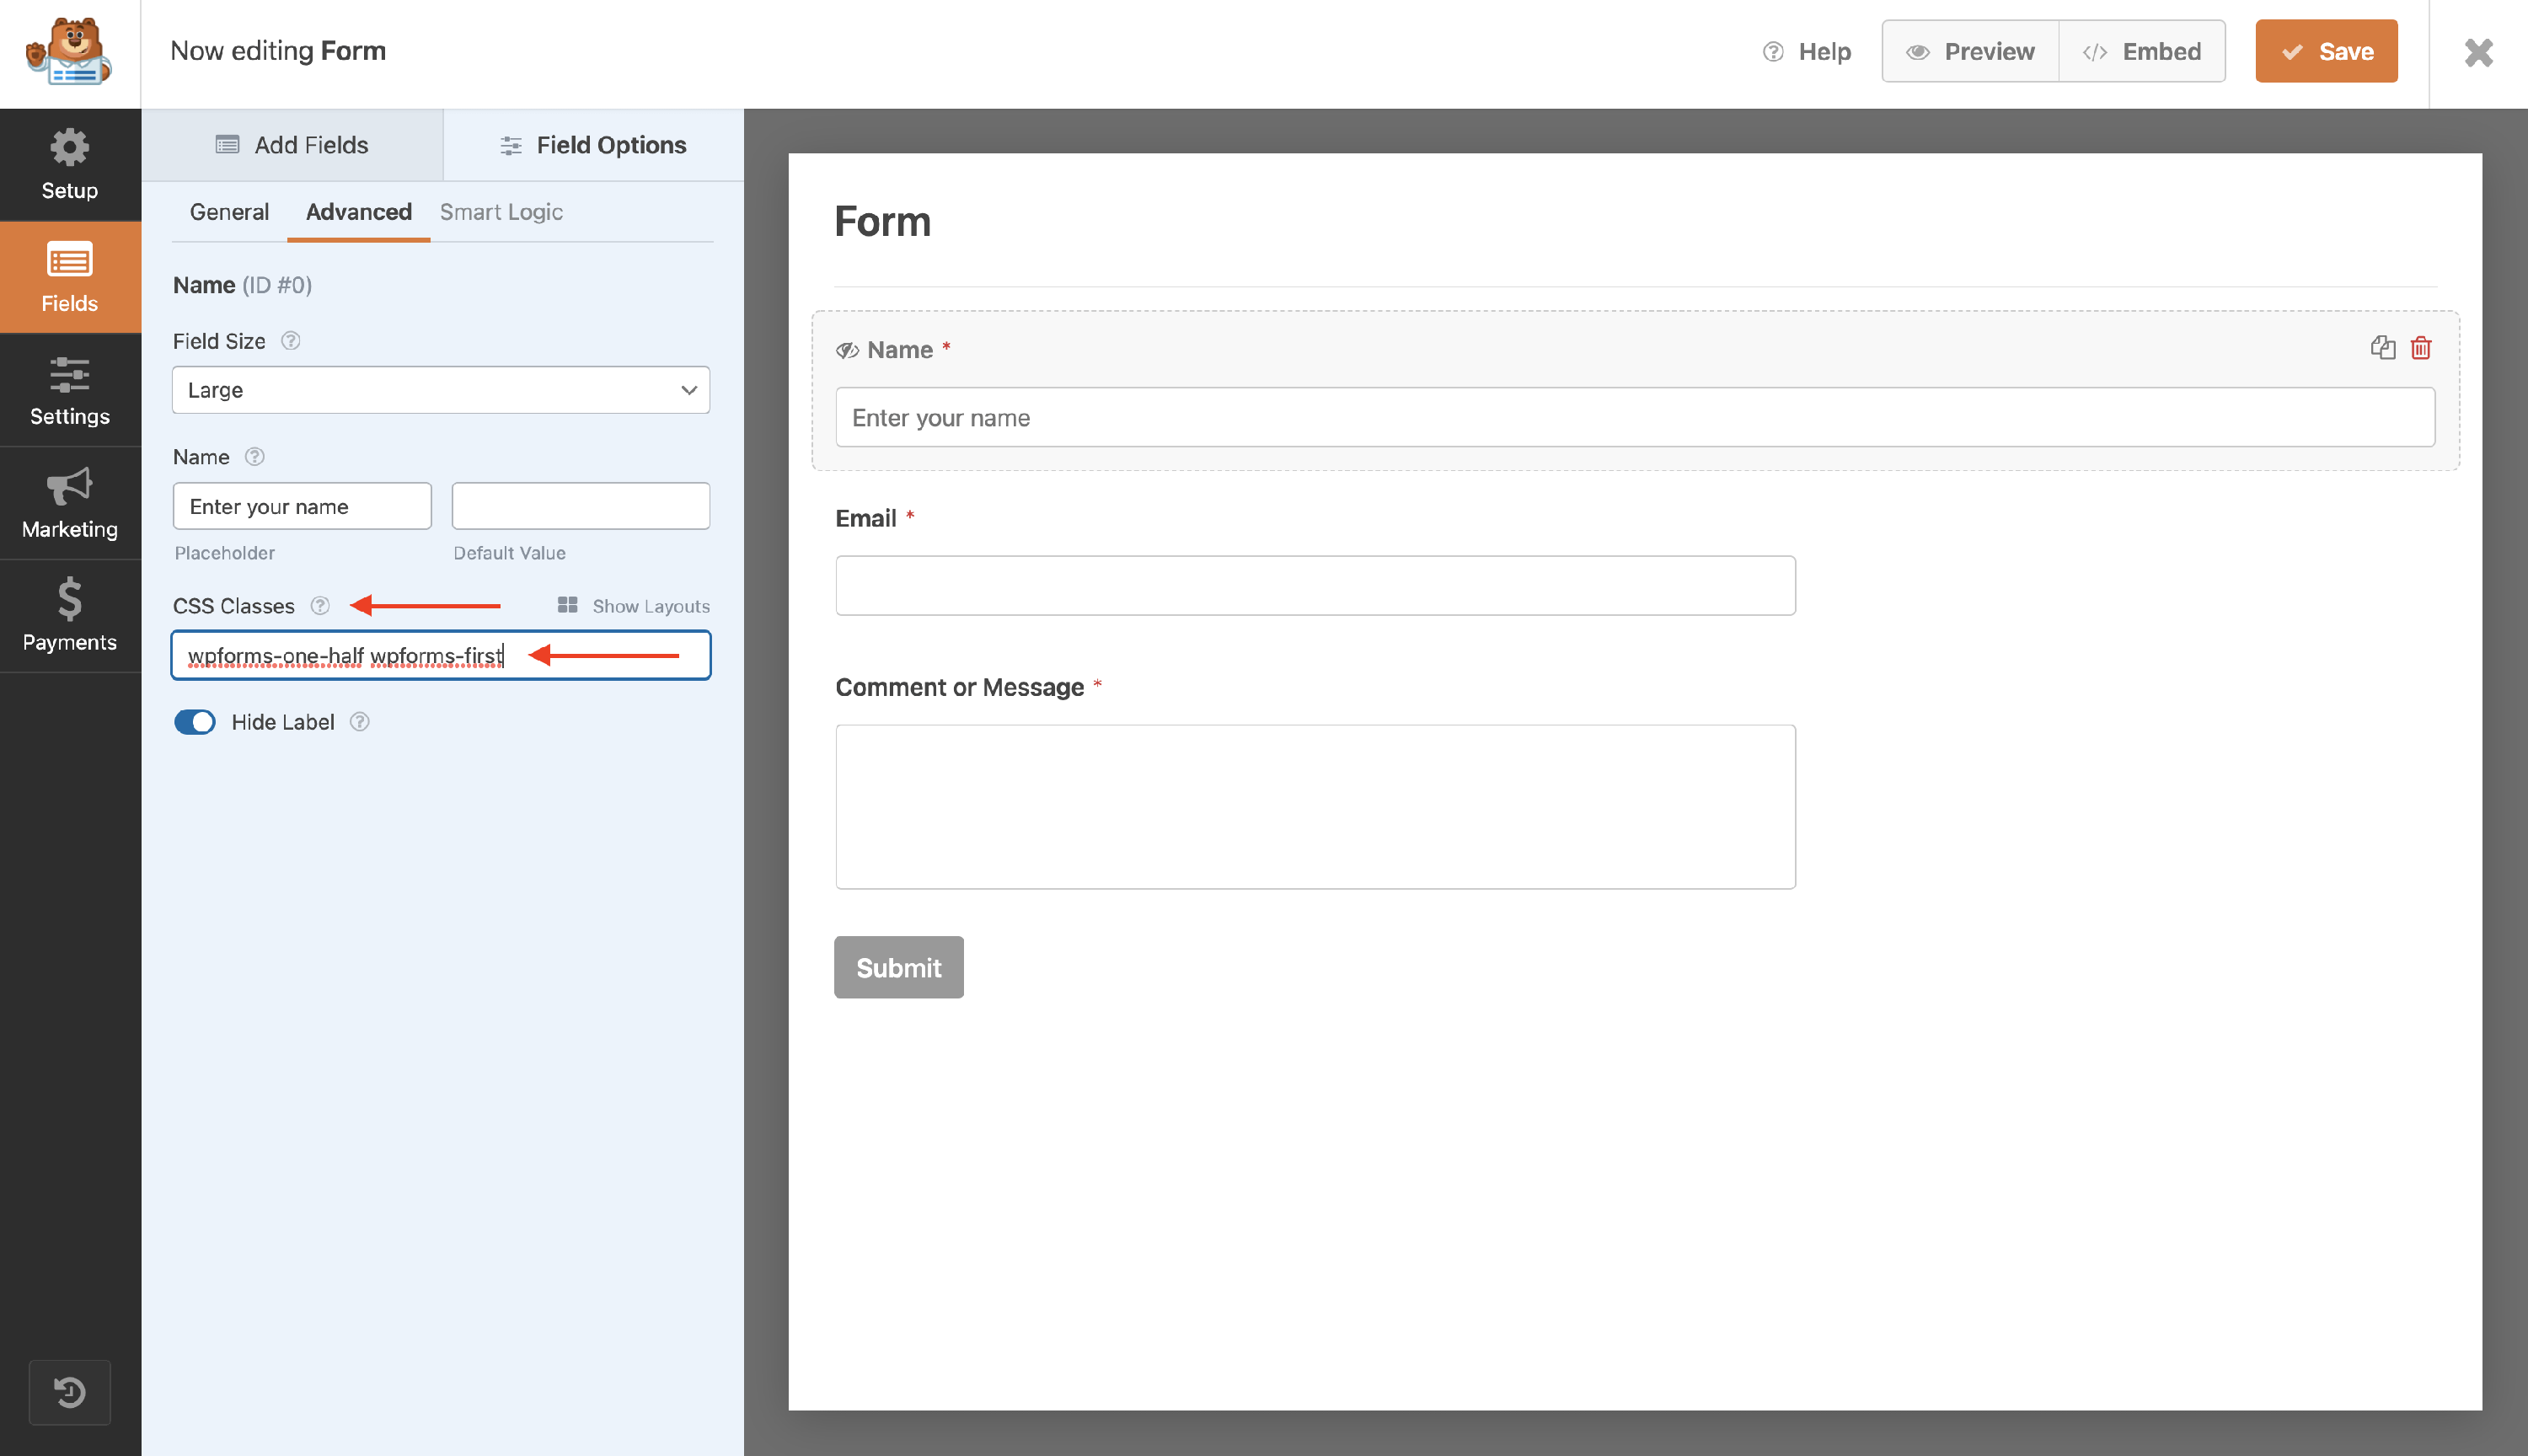
Name Block
- Under the Fields menu, you will have to apply some changes. In the General tab, click on the Format dropdown and select the Simple option.

- Click on the Advanced tab and open the Field Size dropdown. Select the Large option.

- Introduce a specific placeholder for the Name field ( such as Enter your name ) and enable the Hide Label option.
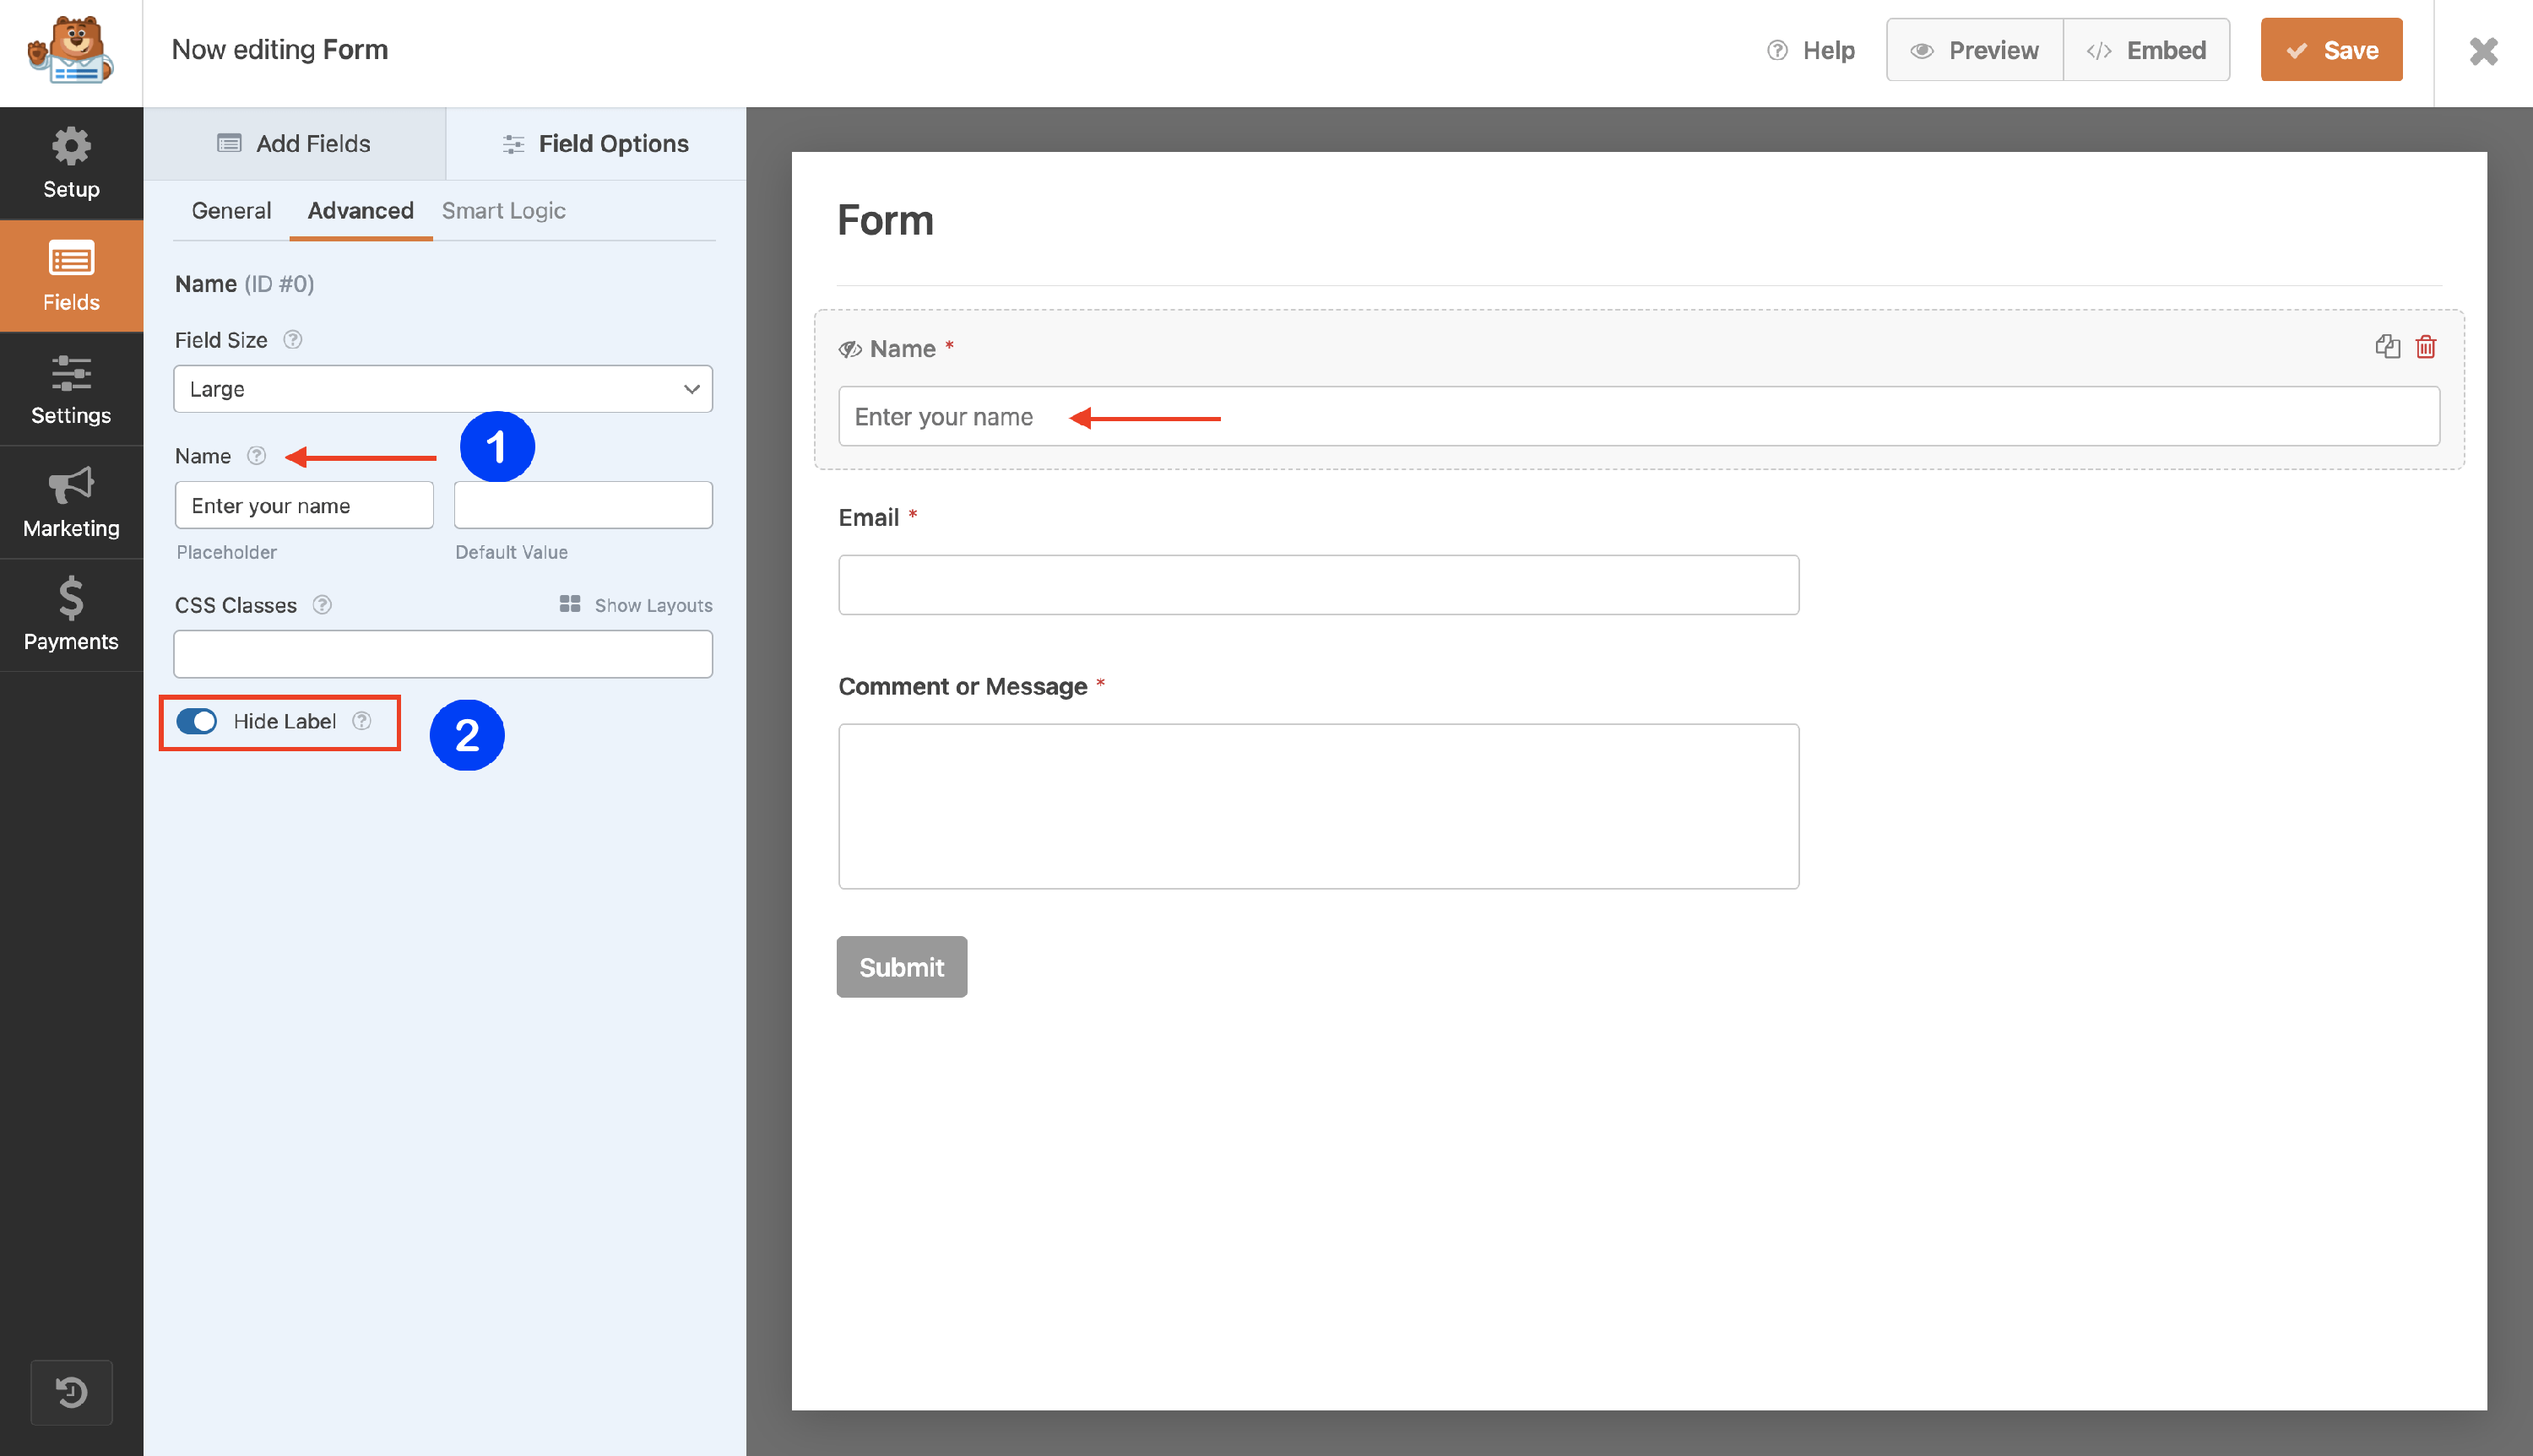
- Add the CSS classes: wpforms-one-half wpforms-first (or select from the "Show Layouts" menu)
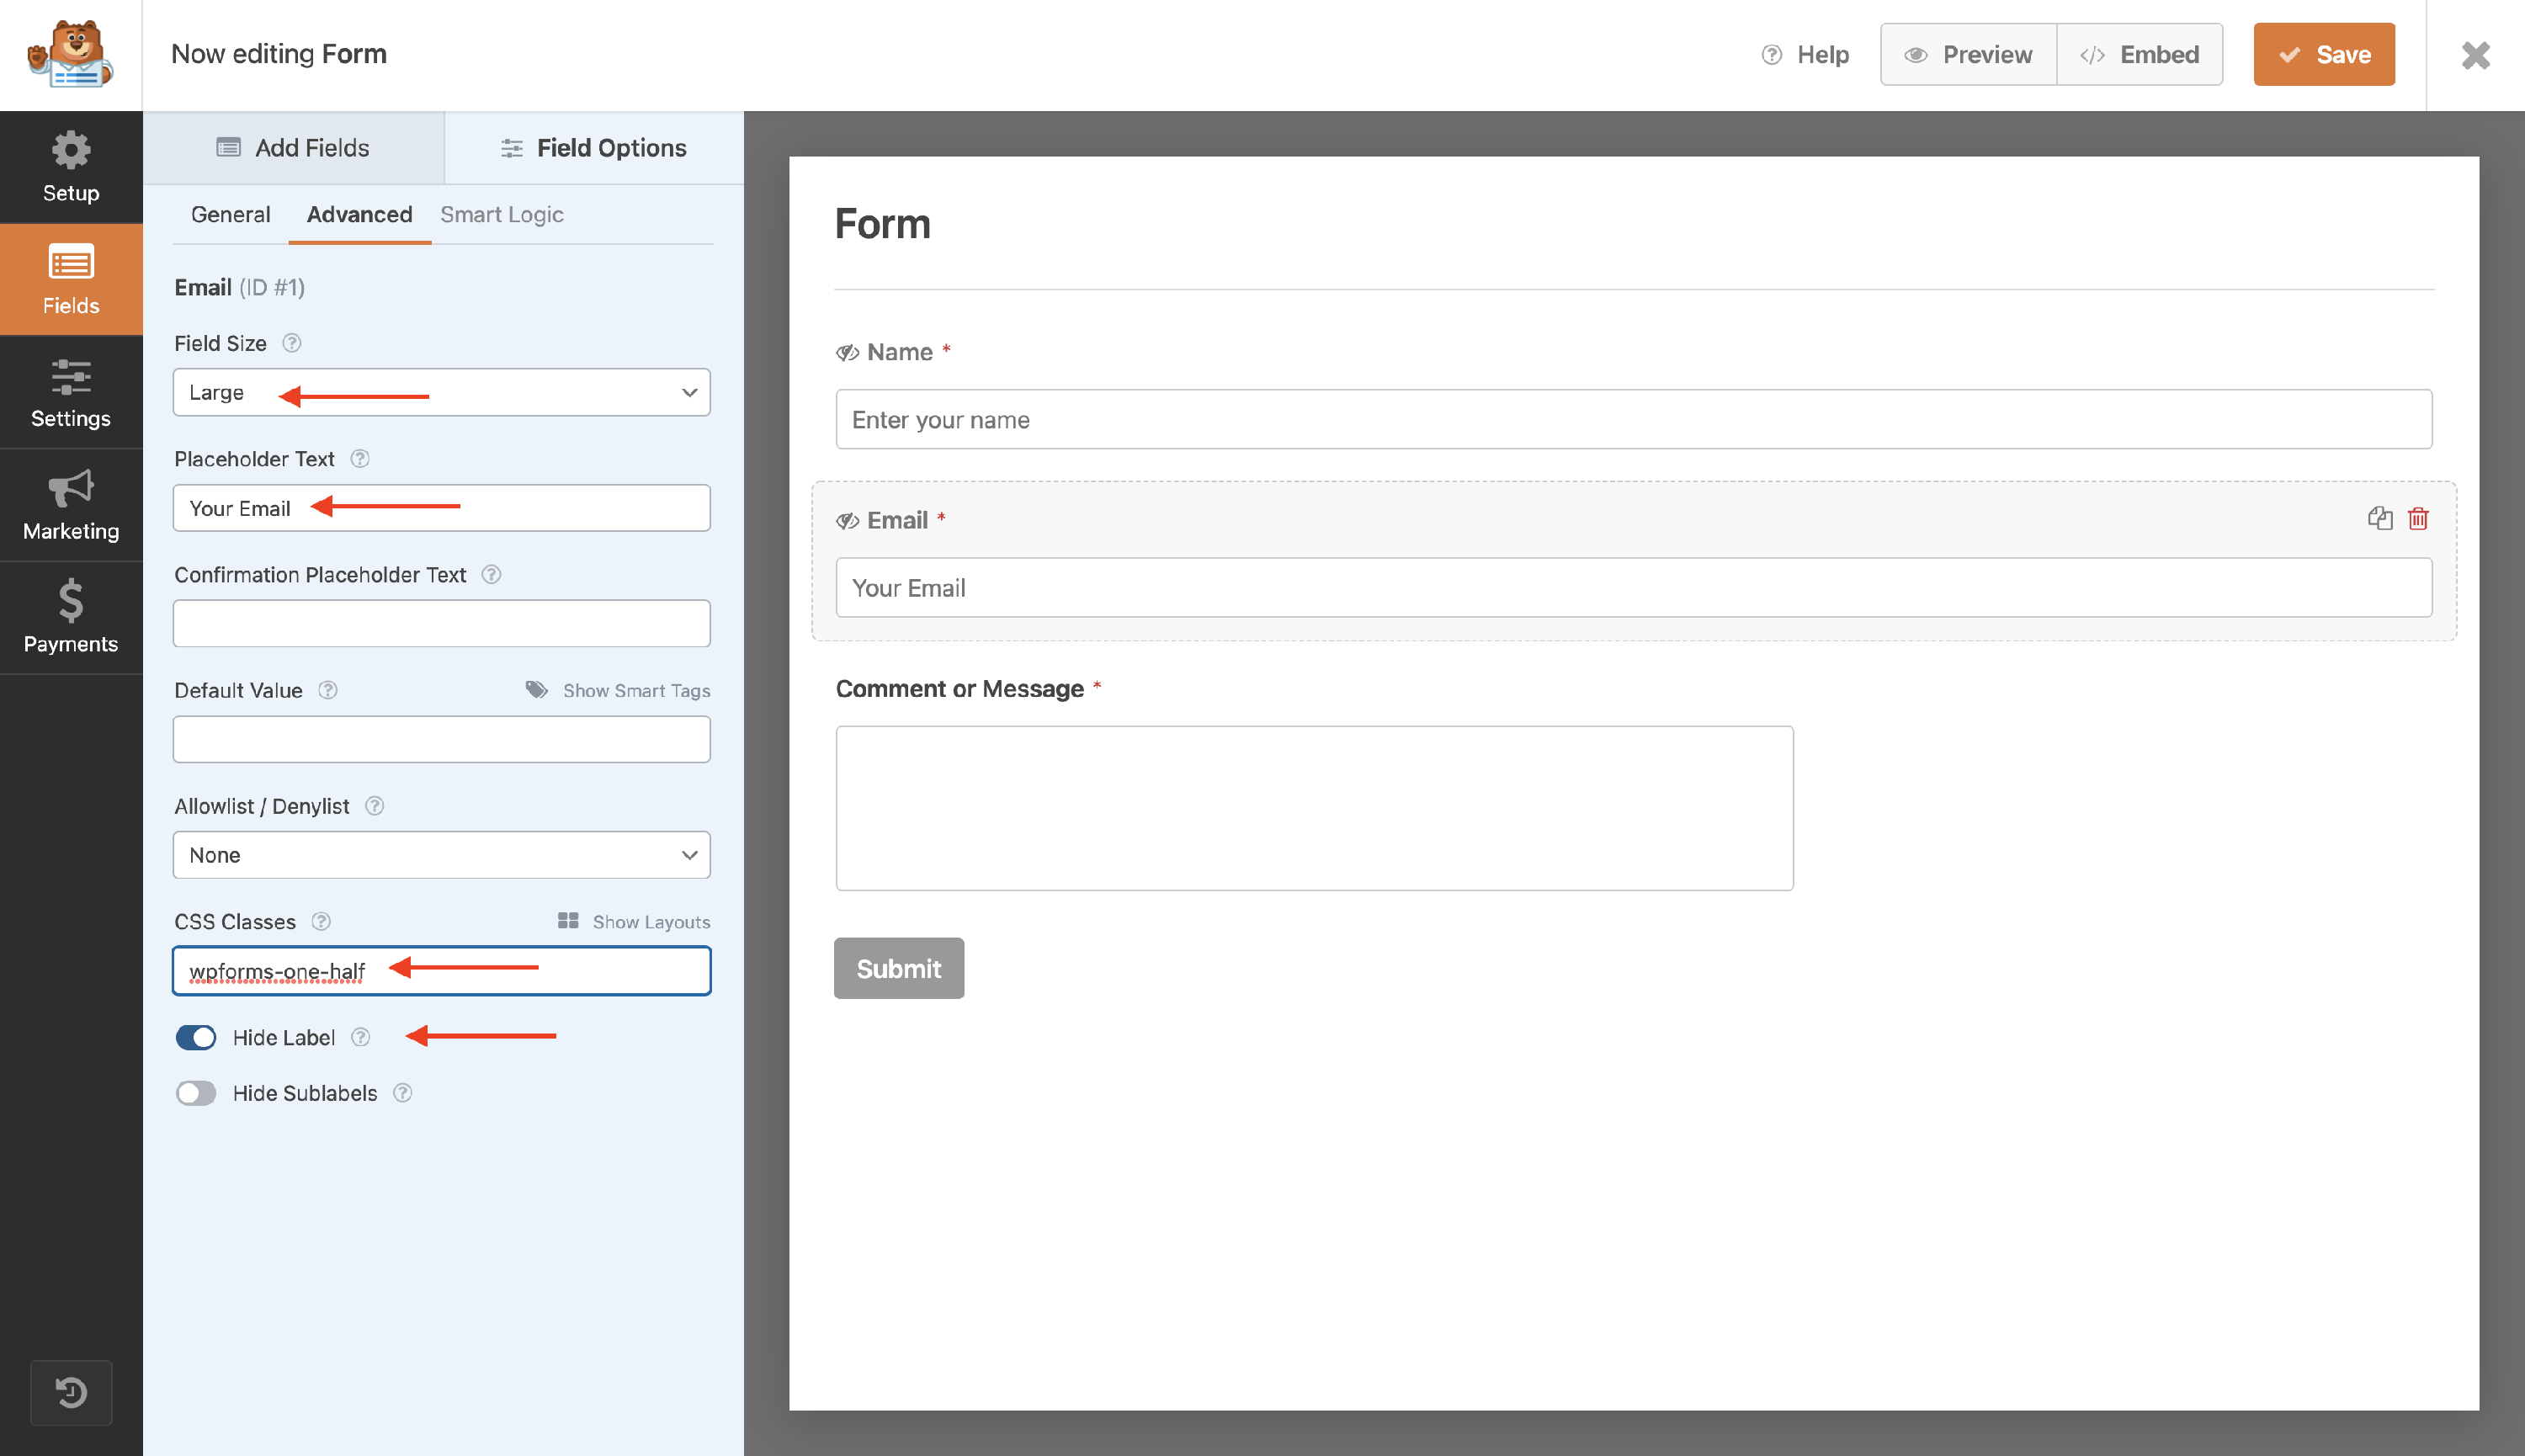
Email Block
- Click on the Email block and navigate to the Advanced tab.

- Under the Field Size dropdown click on the Large size.
- Introduce the Placeholder Text: Your Email ( or the text you want as a placeholder ).
- Make sure you check the Hide Label option.
- Add the CSS class: wpforms-one-half.
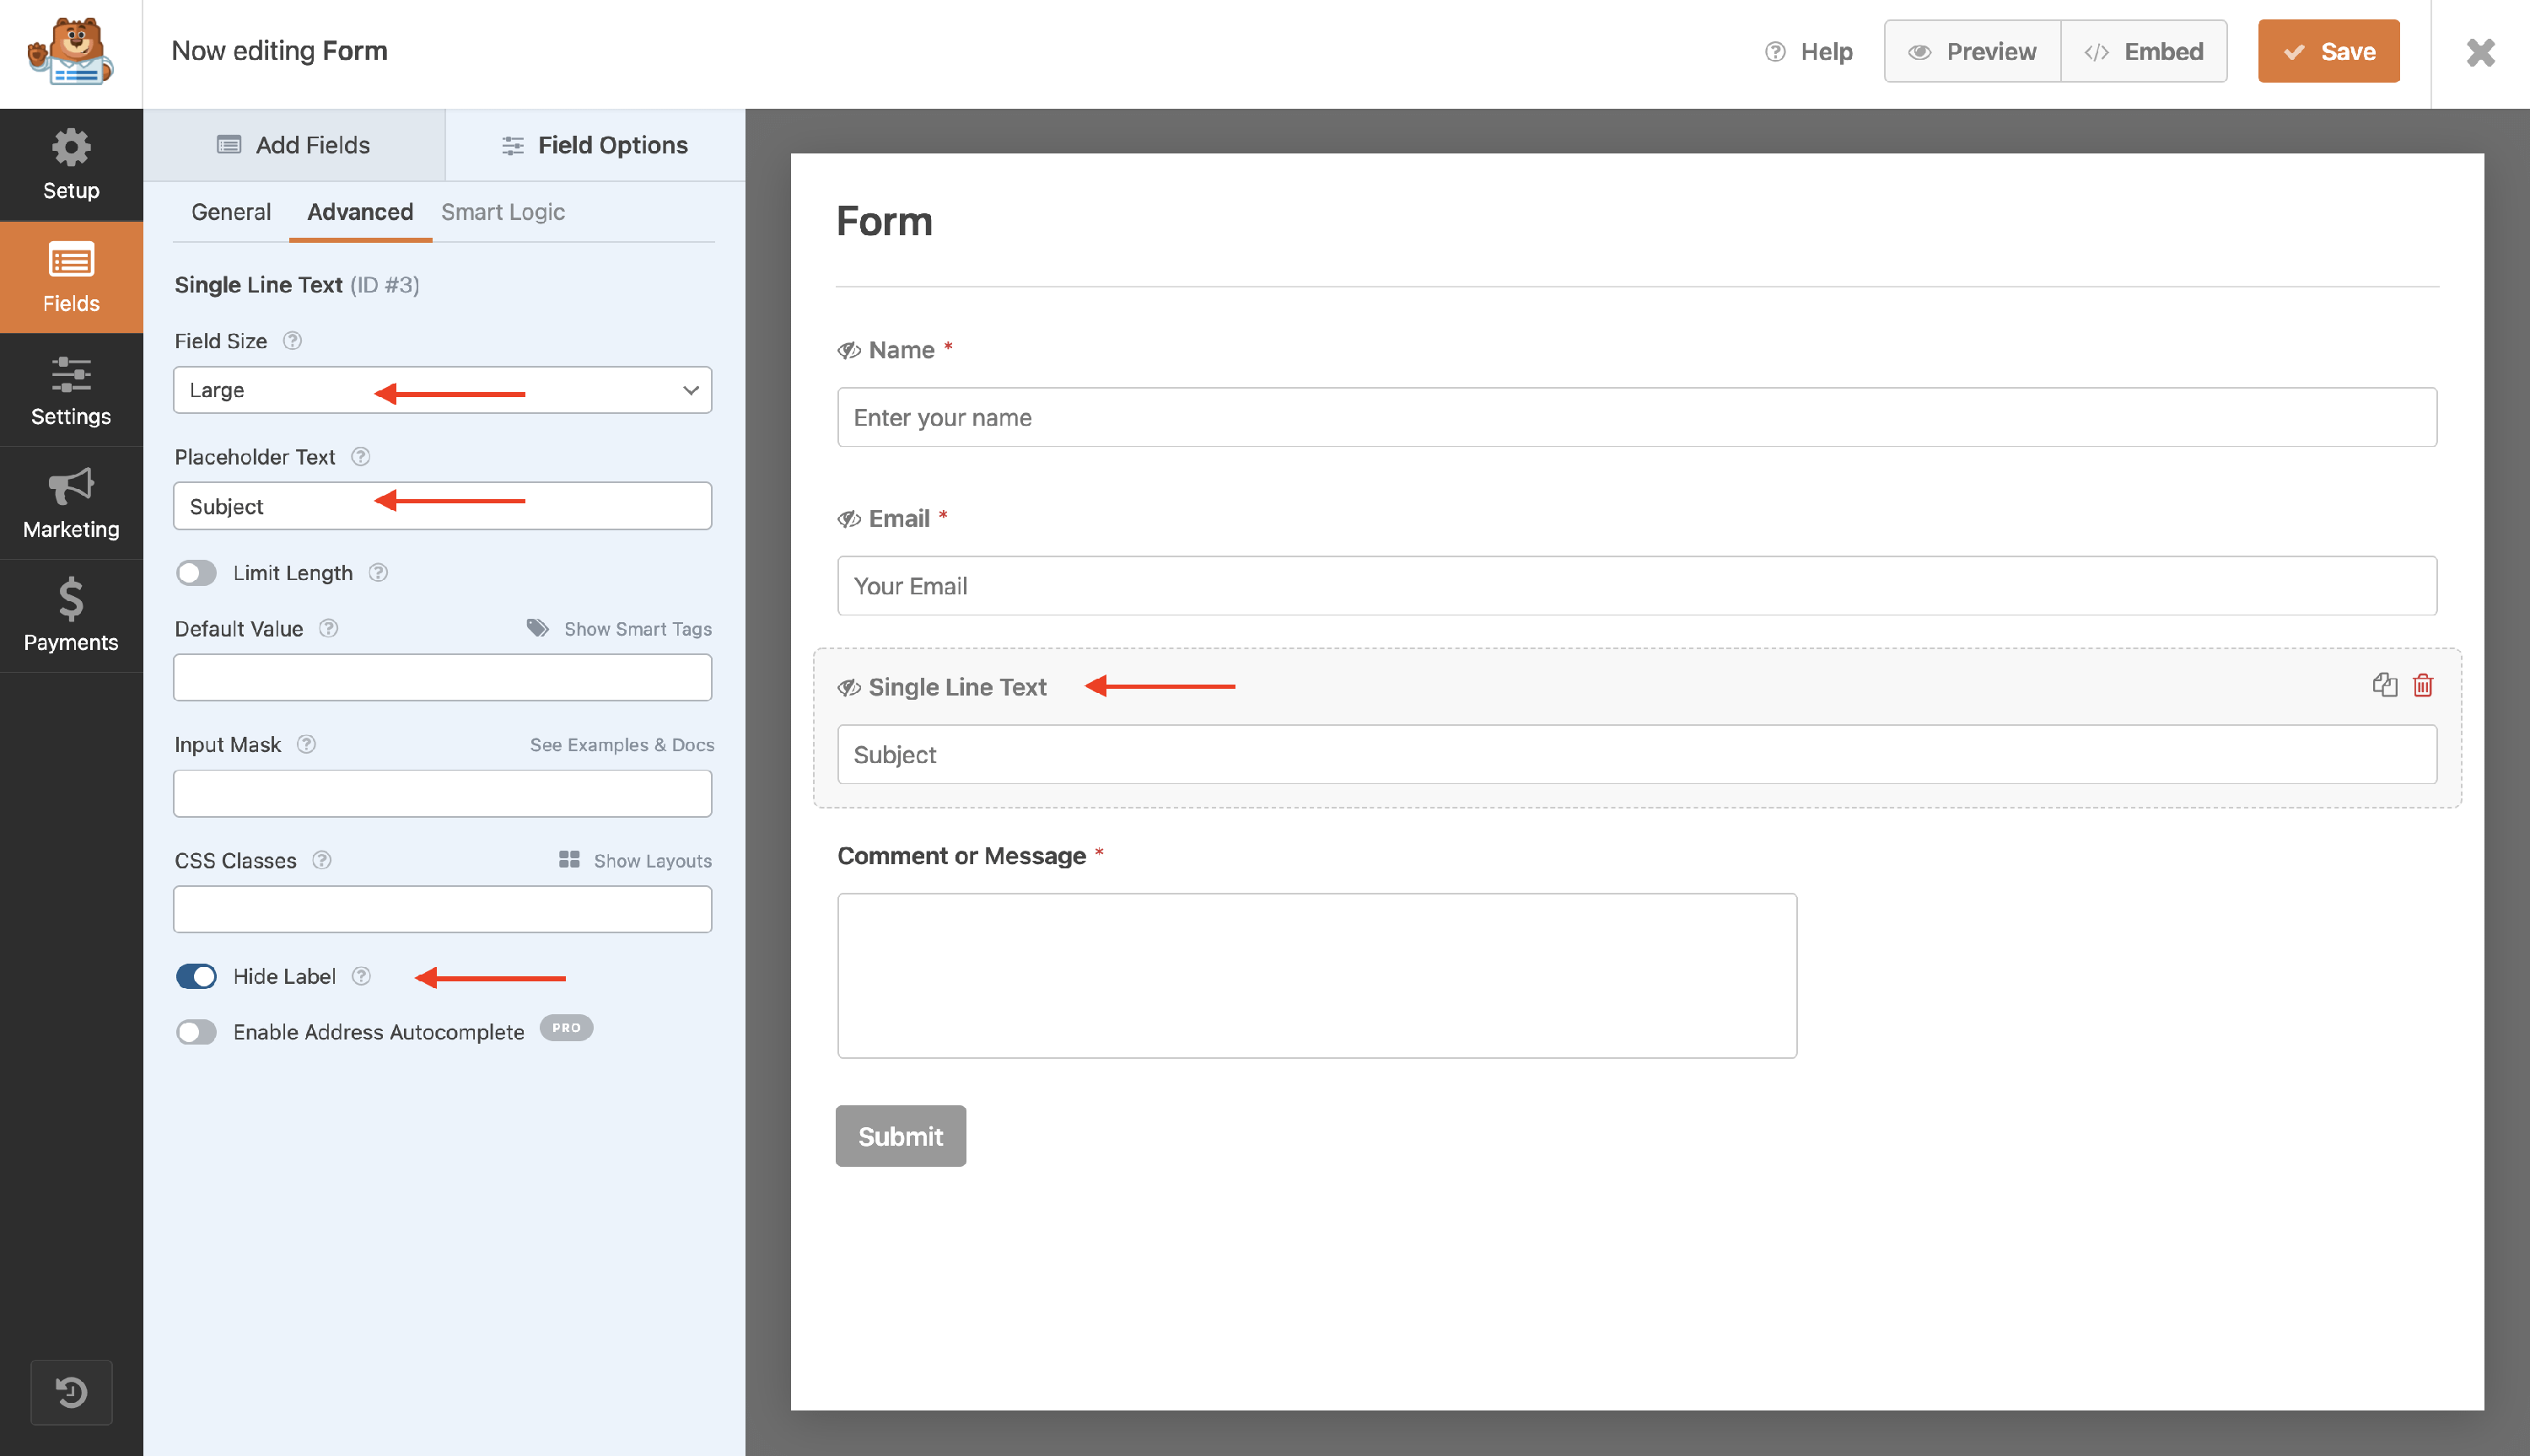
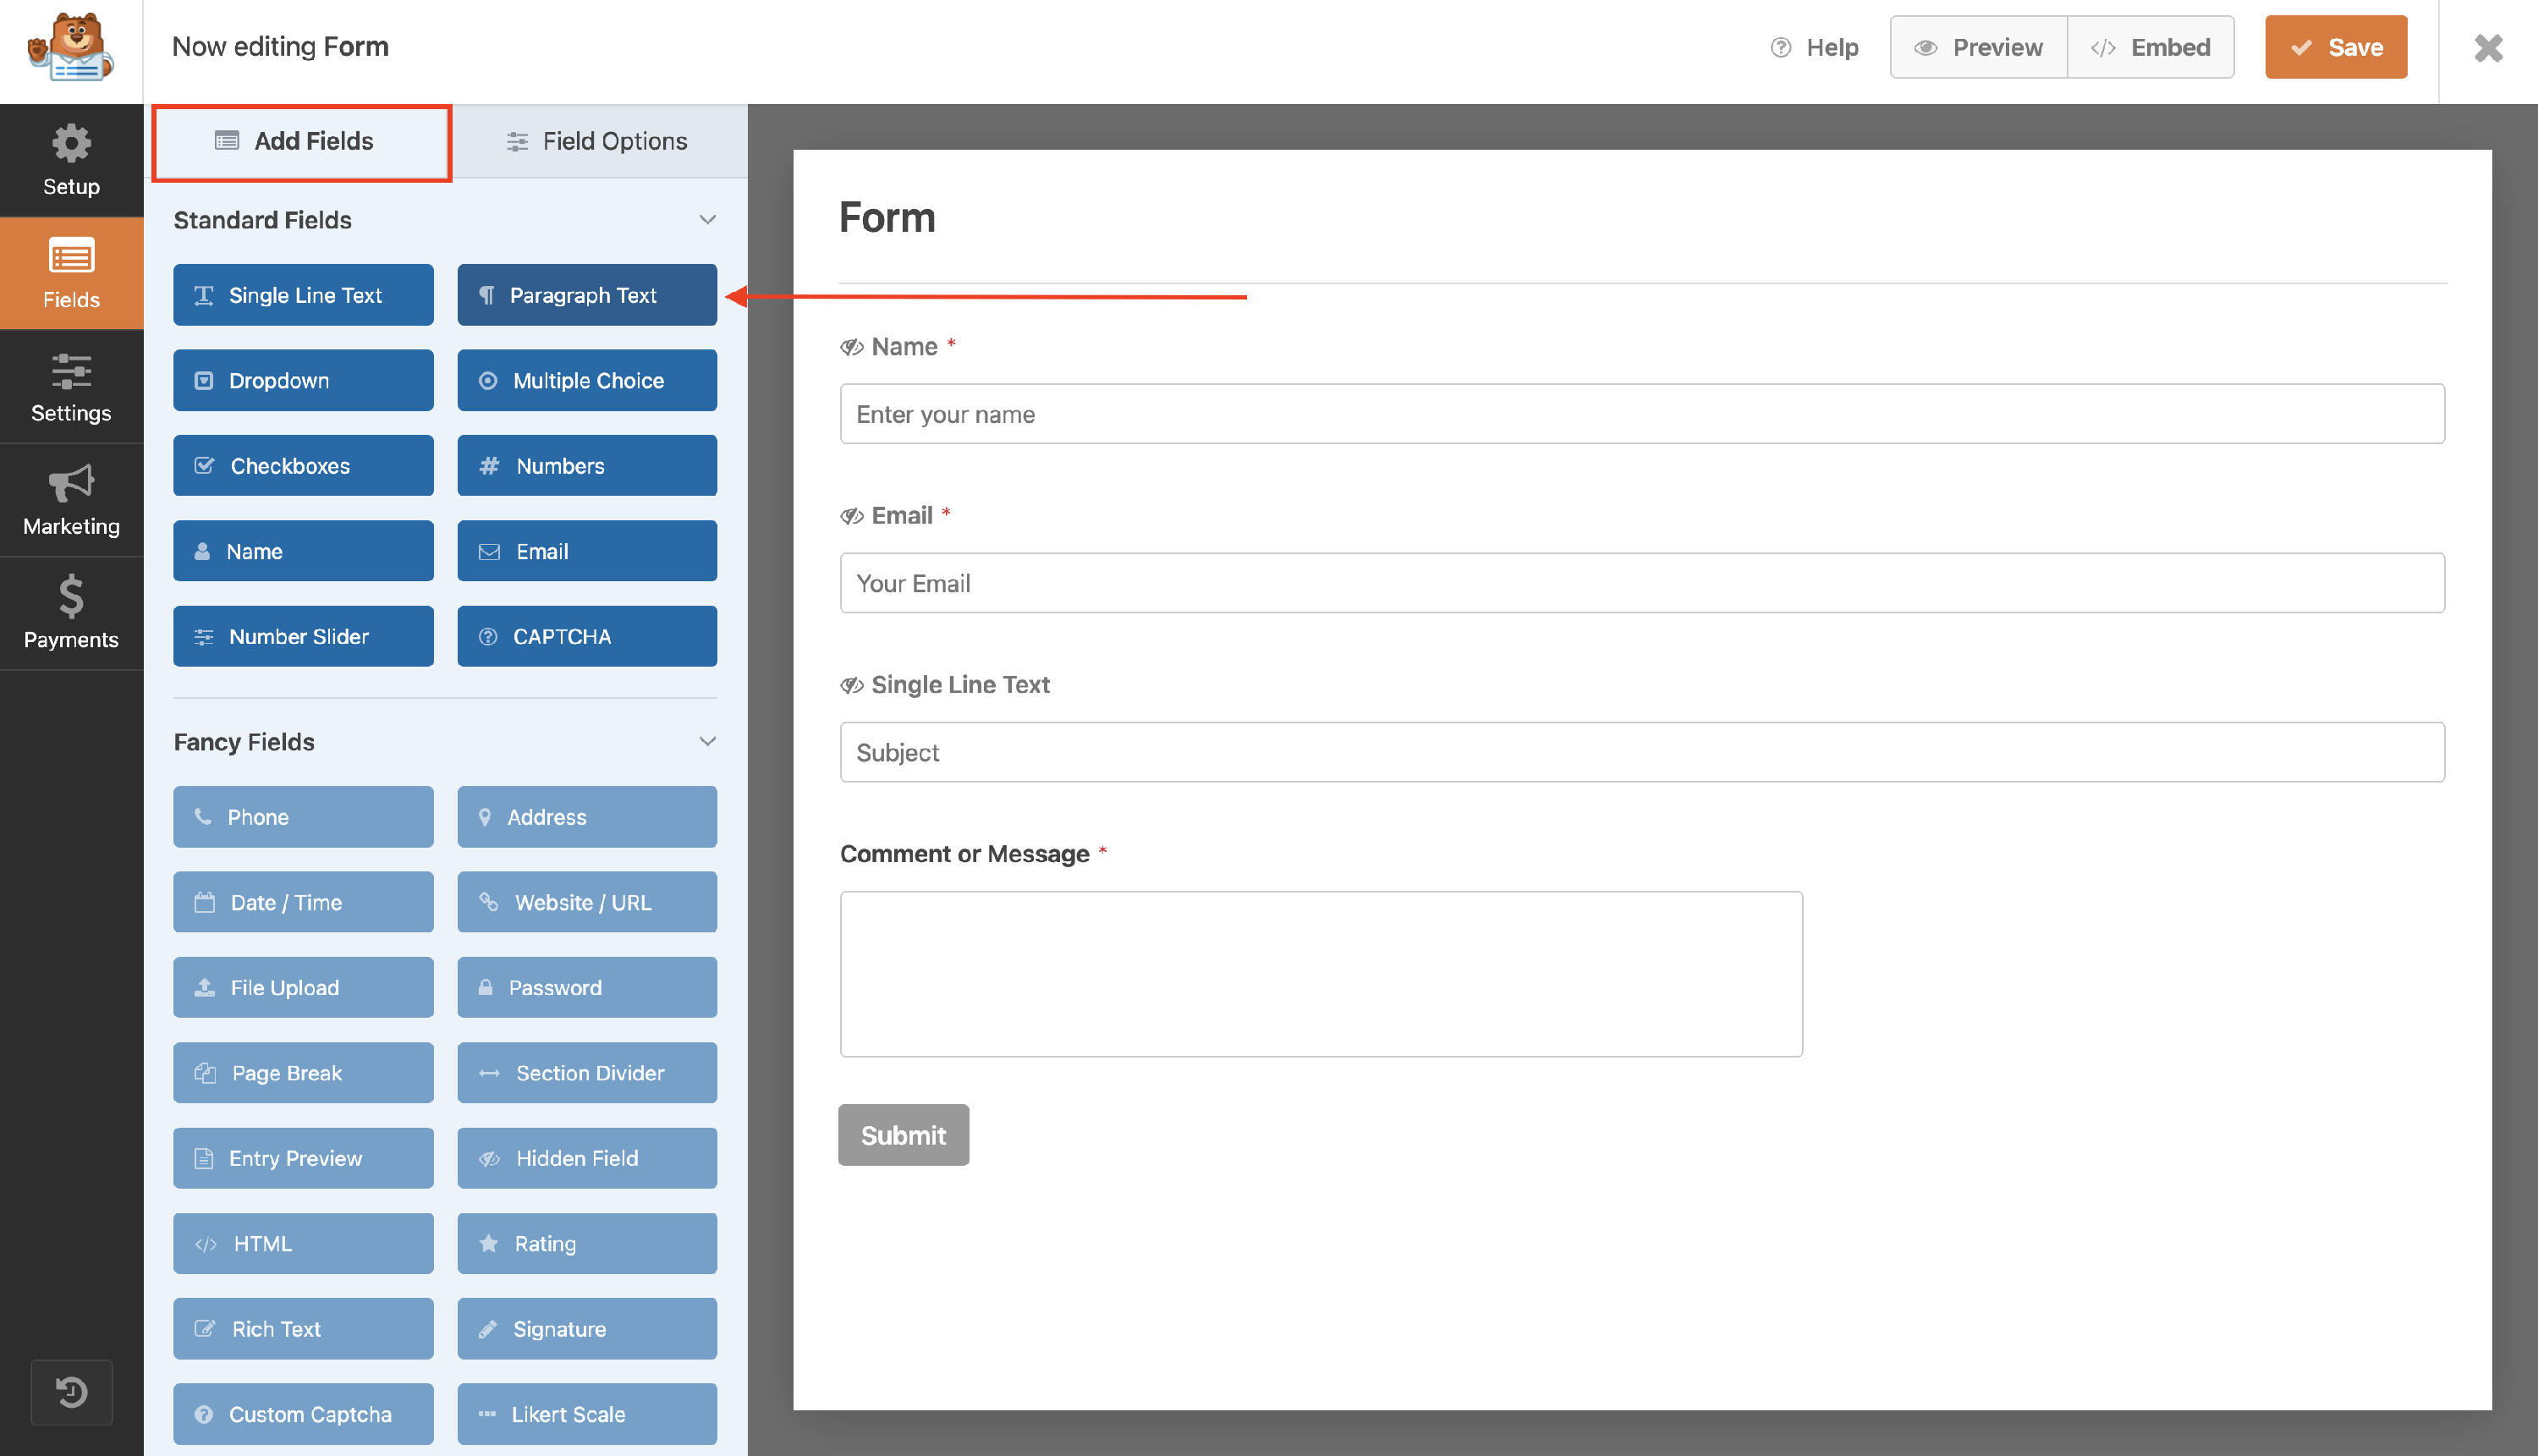
Subject Block
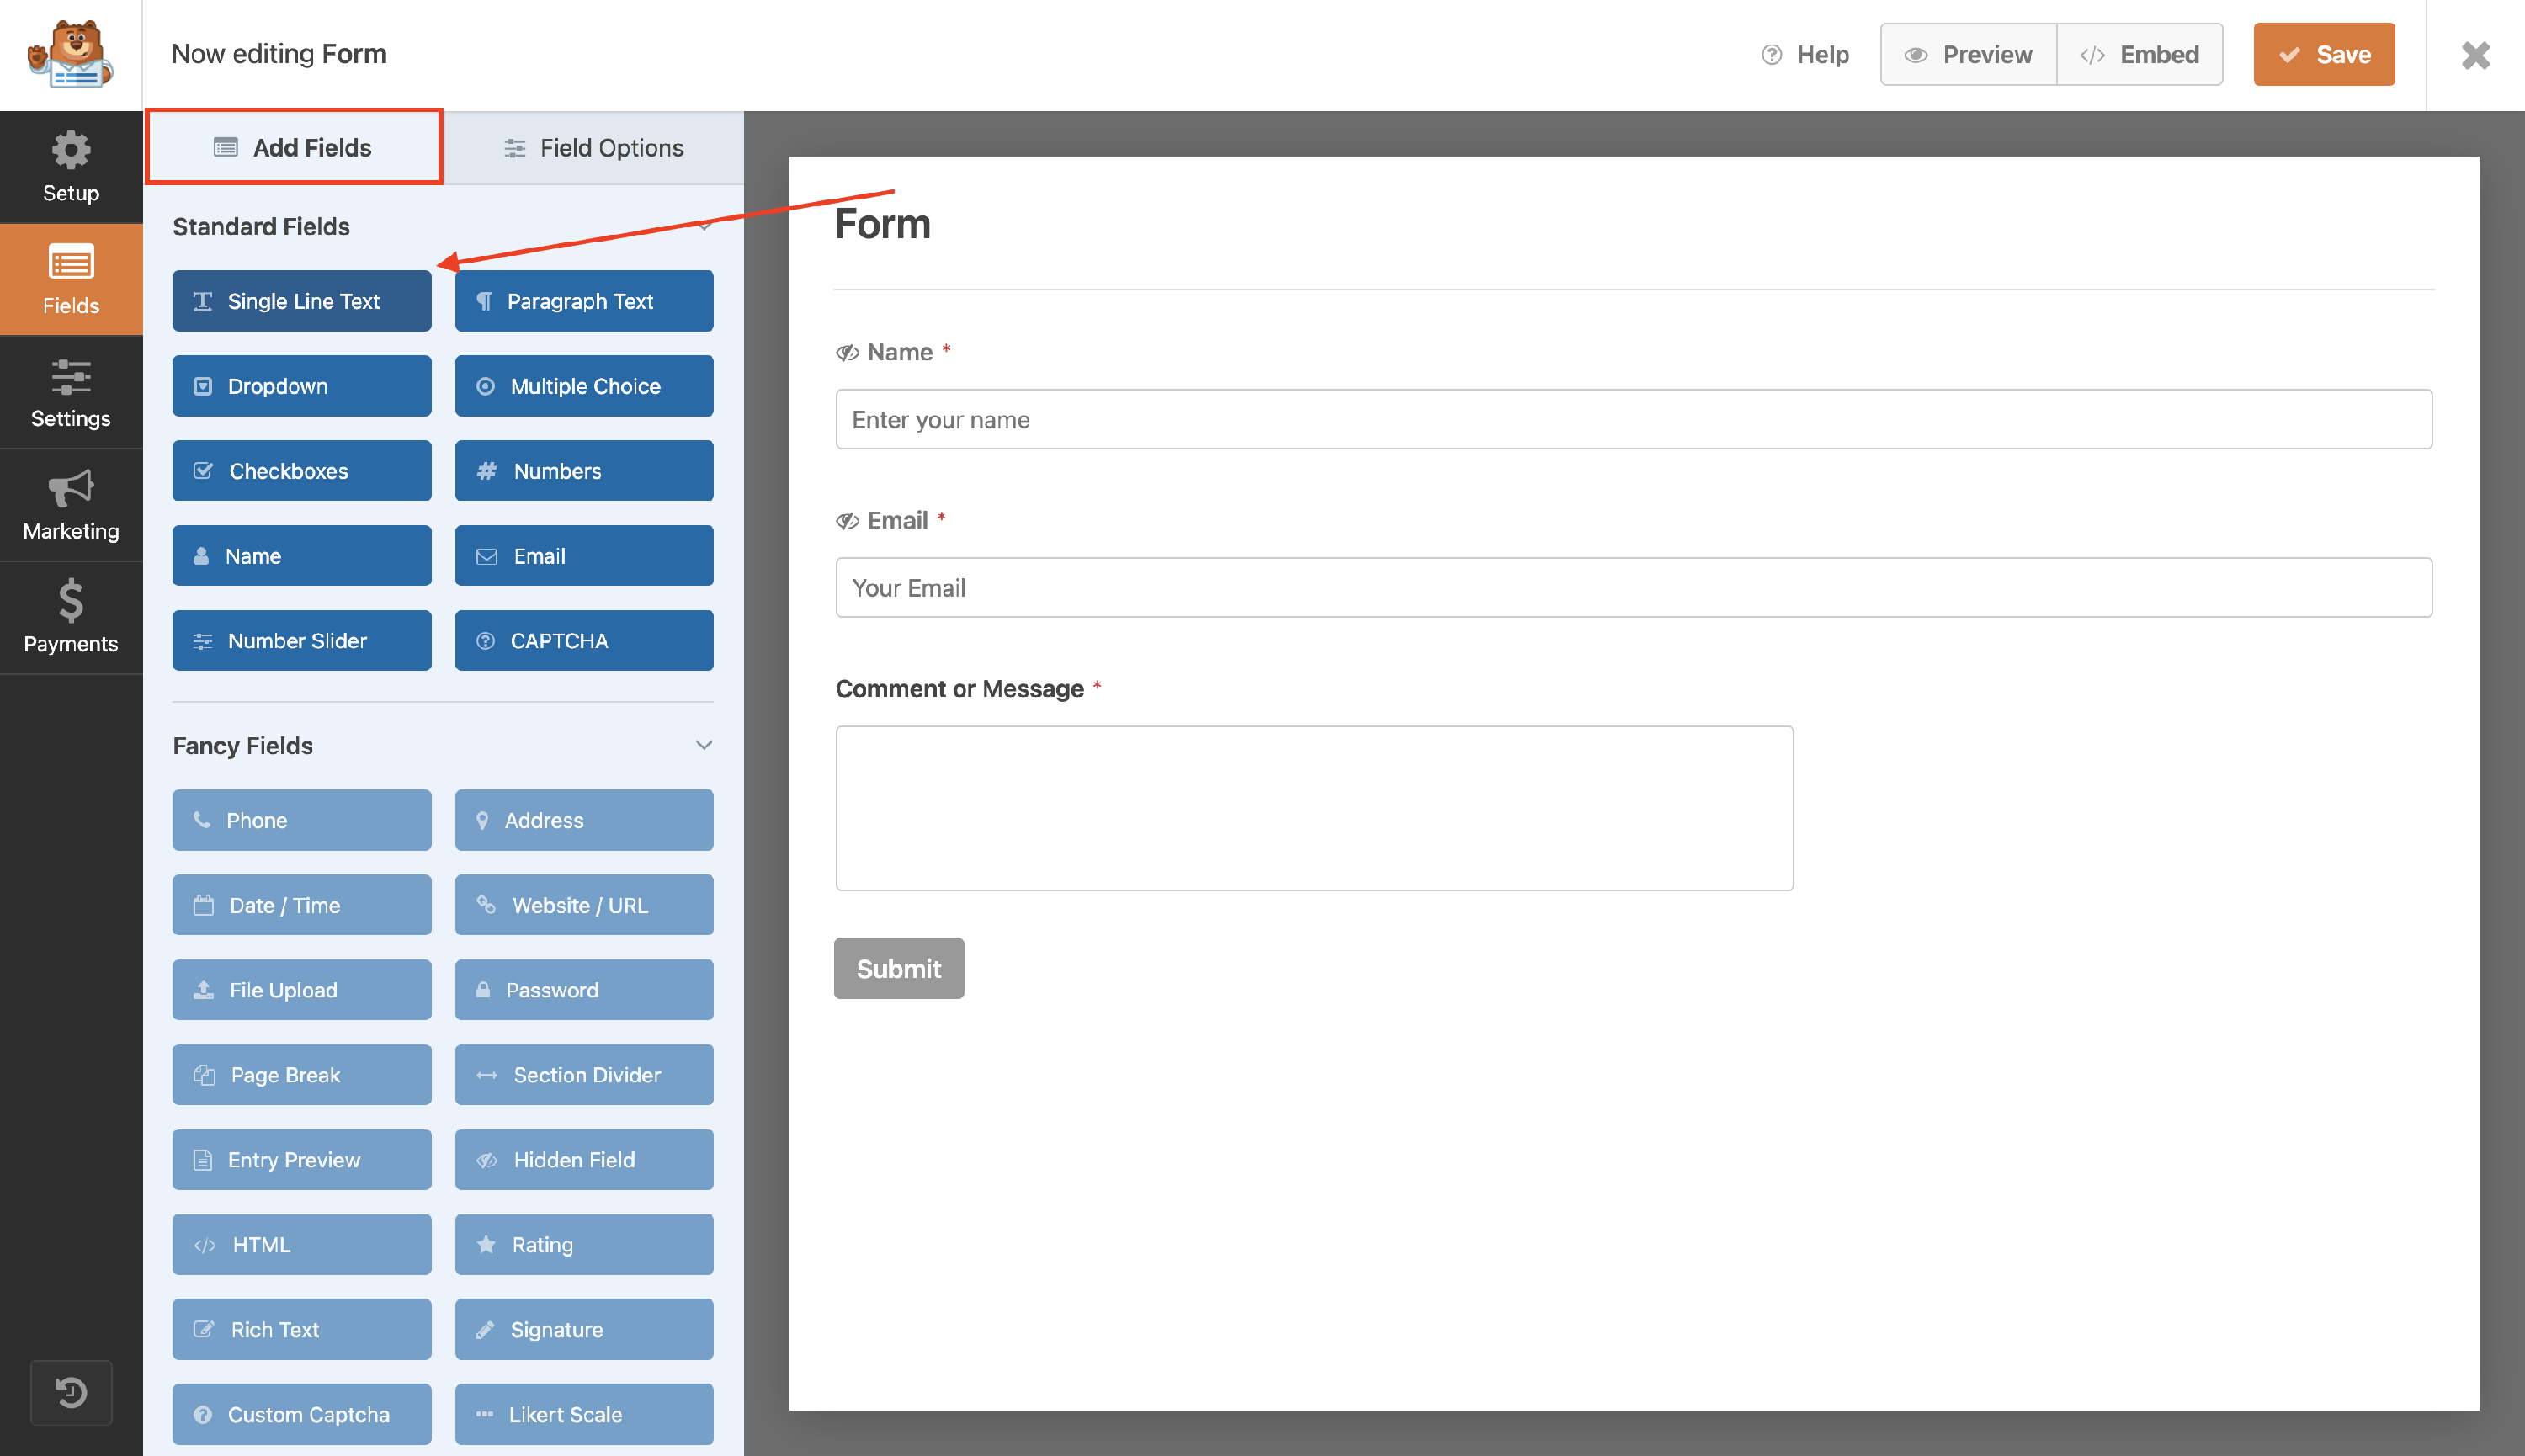
- Add a Single Line Text field.
- Click on the Single Line Text block and navigate to the Advanced tab.
- Under the Field Size dropdown click on the Large size.
- Placeholder Text: Subject ( or the text you want as a placeholder )
- Make sure you check the Hide Label option.
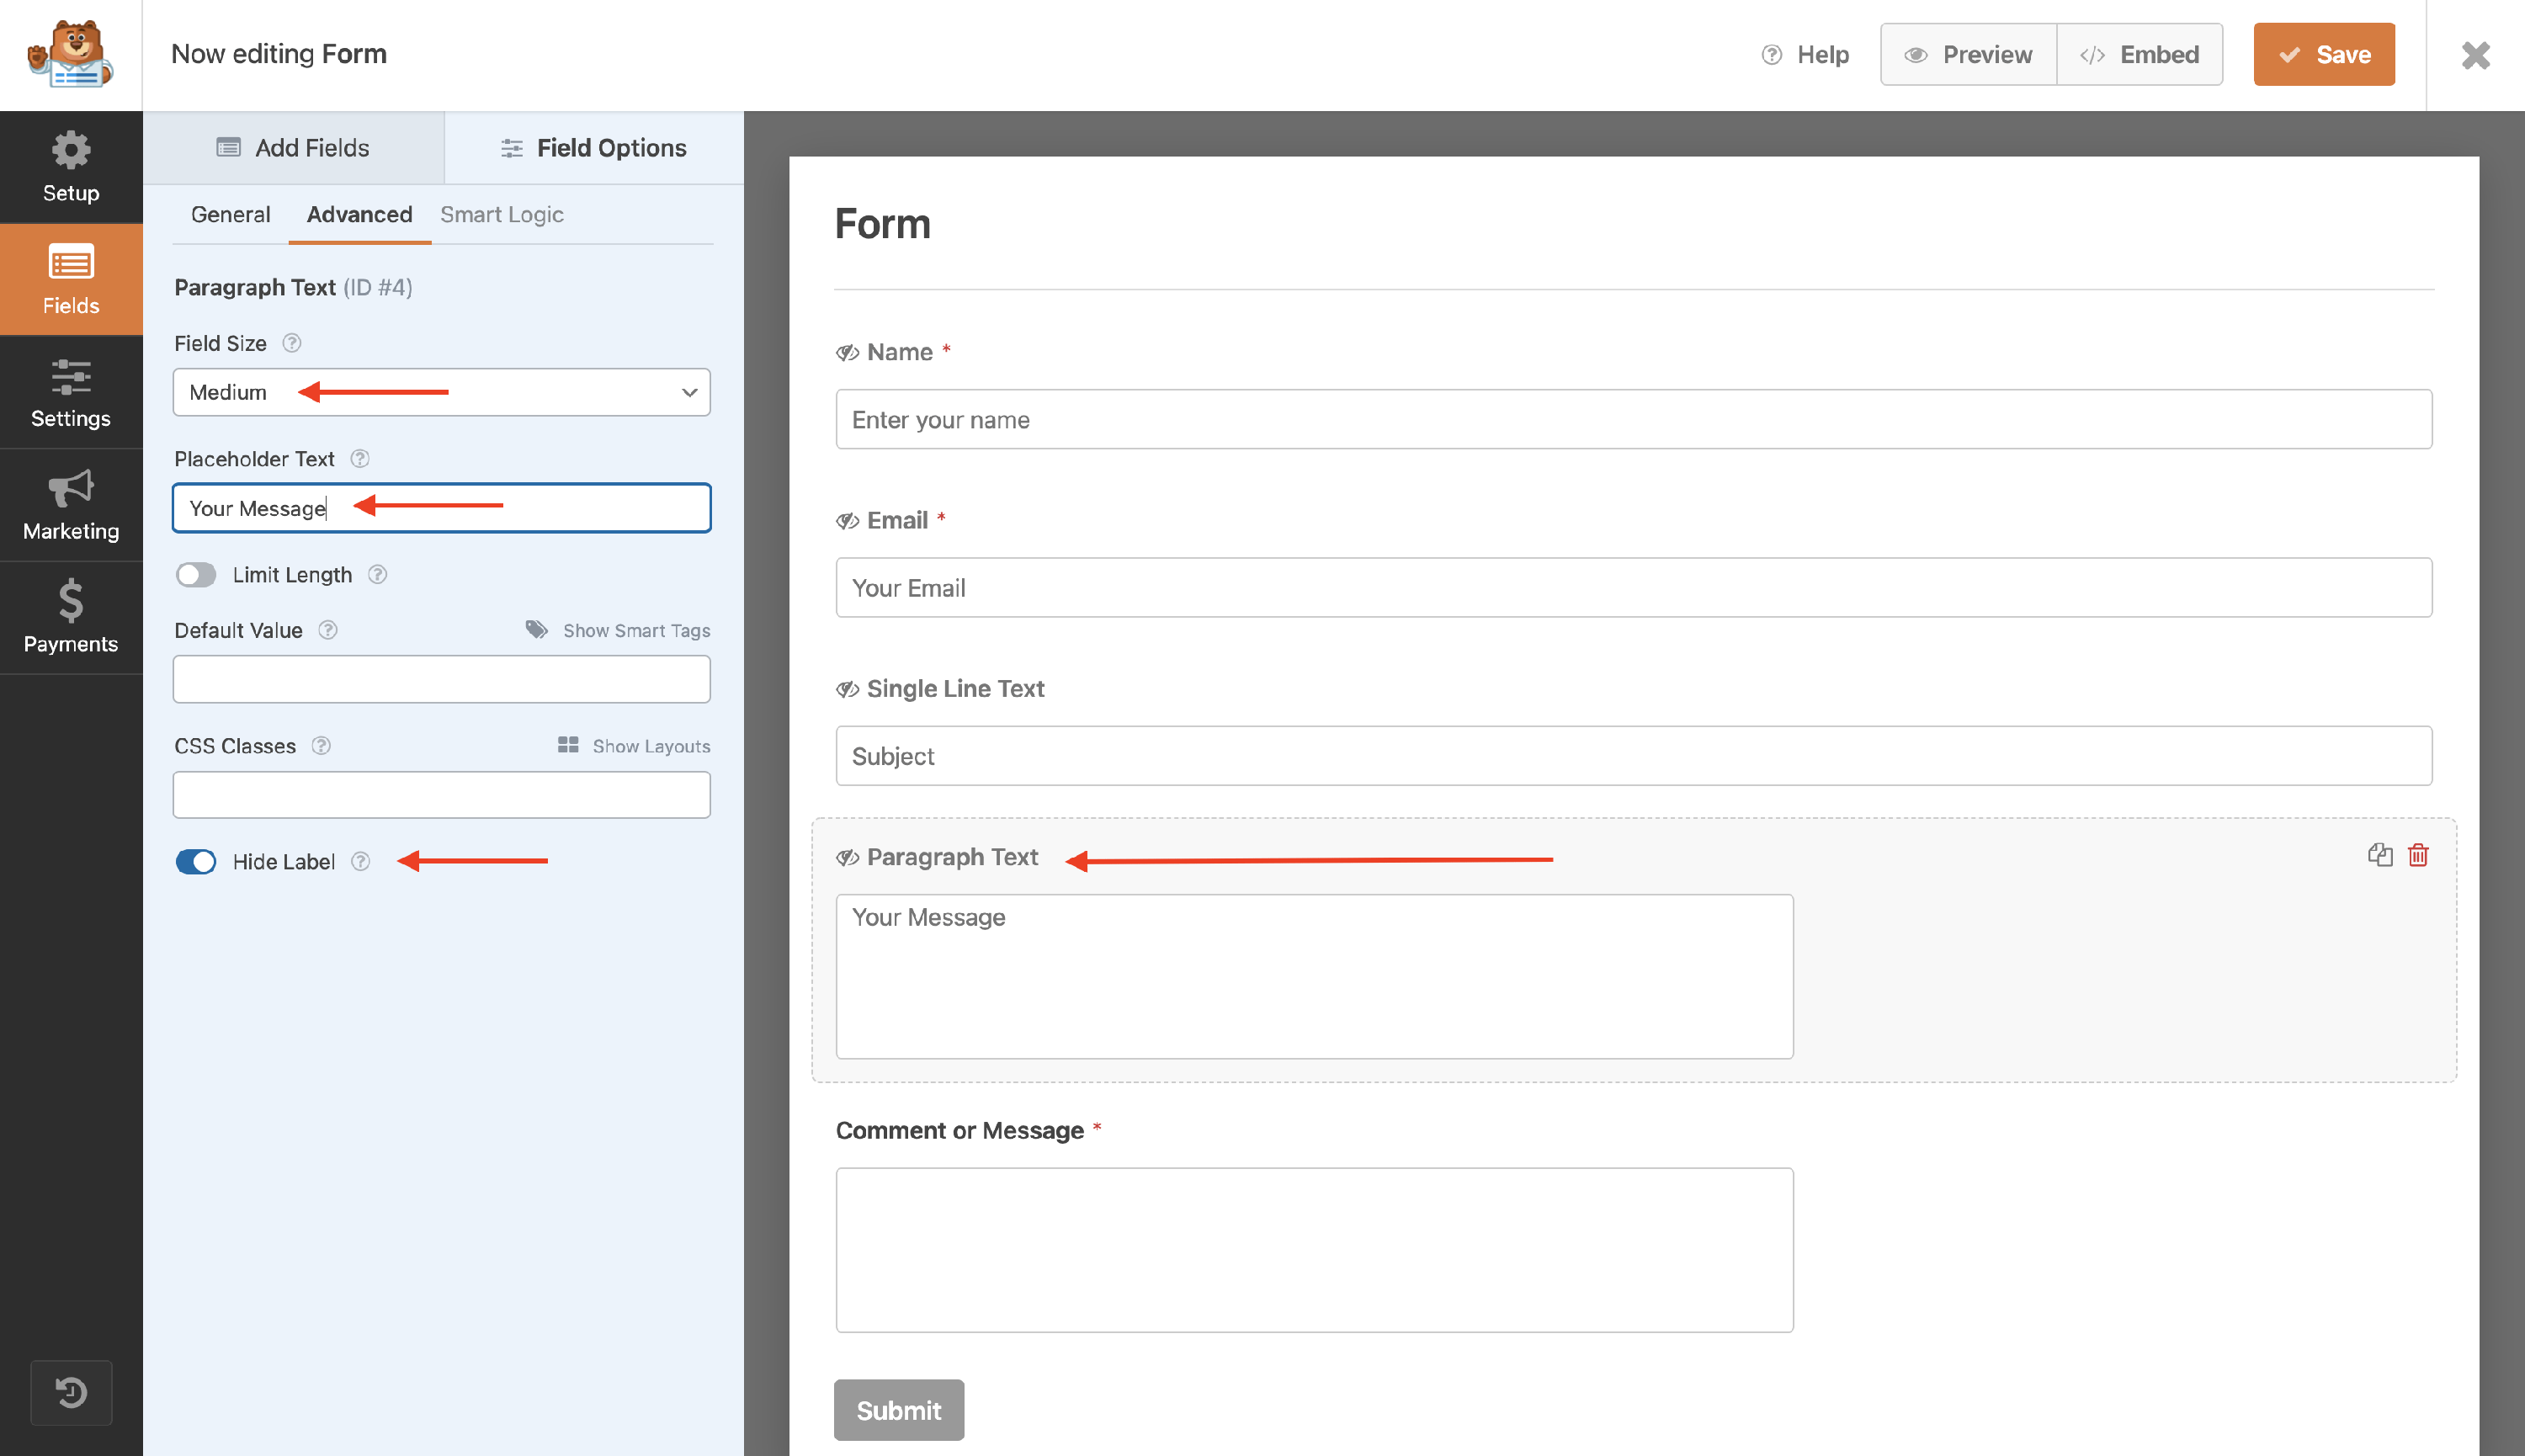
Message Block
- Add a Paragraph Text field.
- Click on the Paragraph Text block and navigate to the Advanced tab.
- Under the Field Size dropdown click on the Medium size.
- Introduce the Placeholder Text: Your Message ( or the text you want as a placeholder ).
- Make sure you check the Hide Label option.
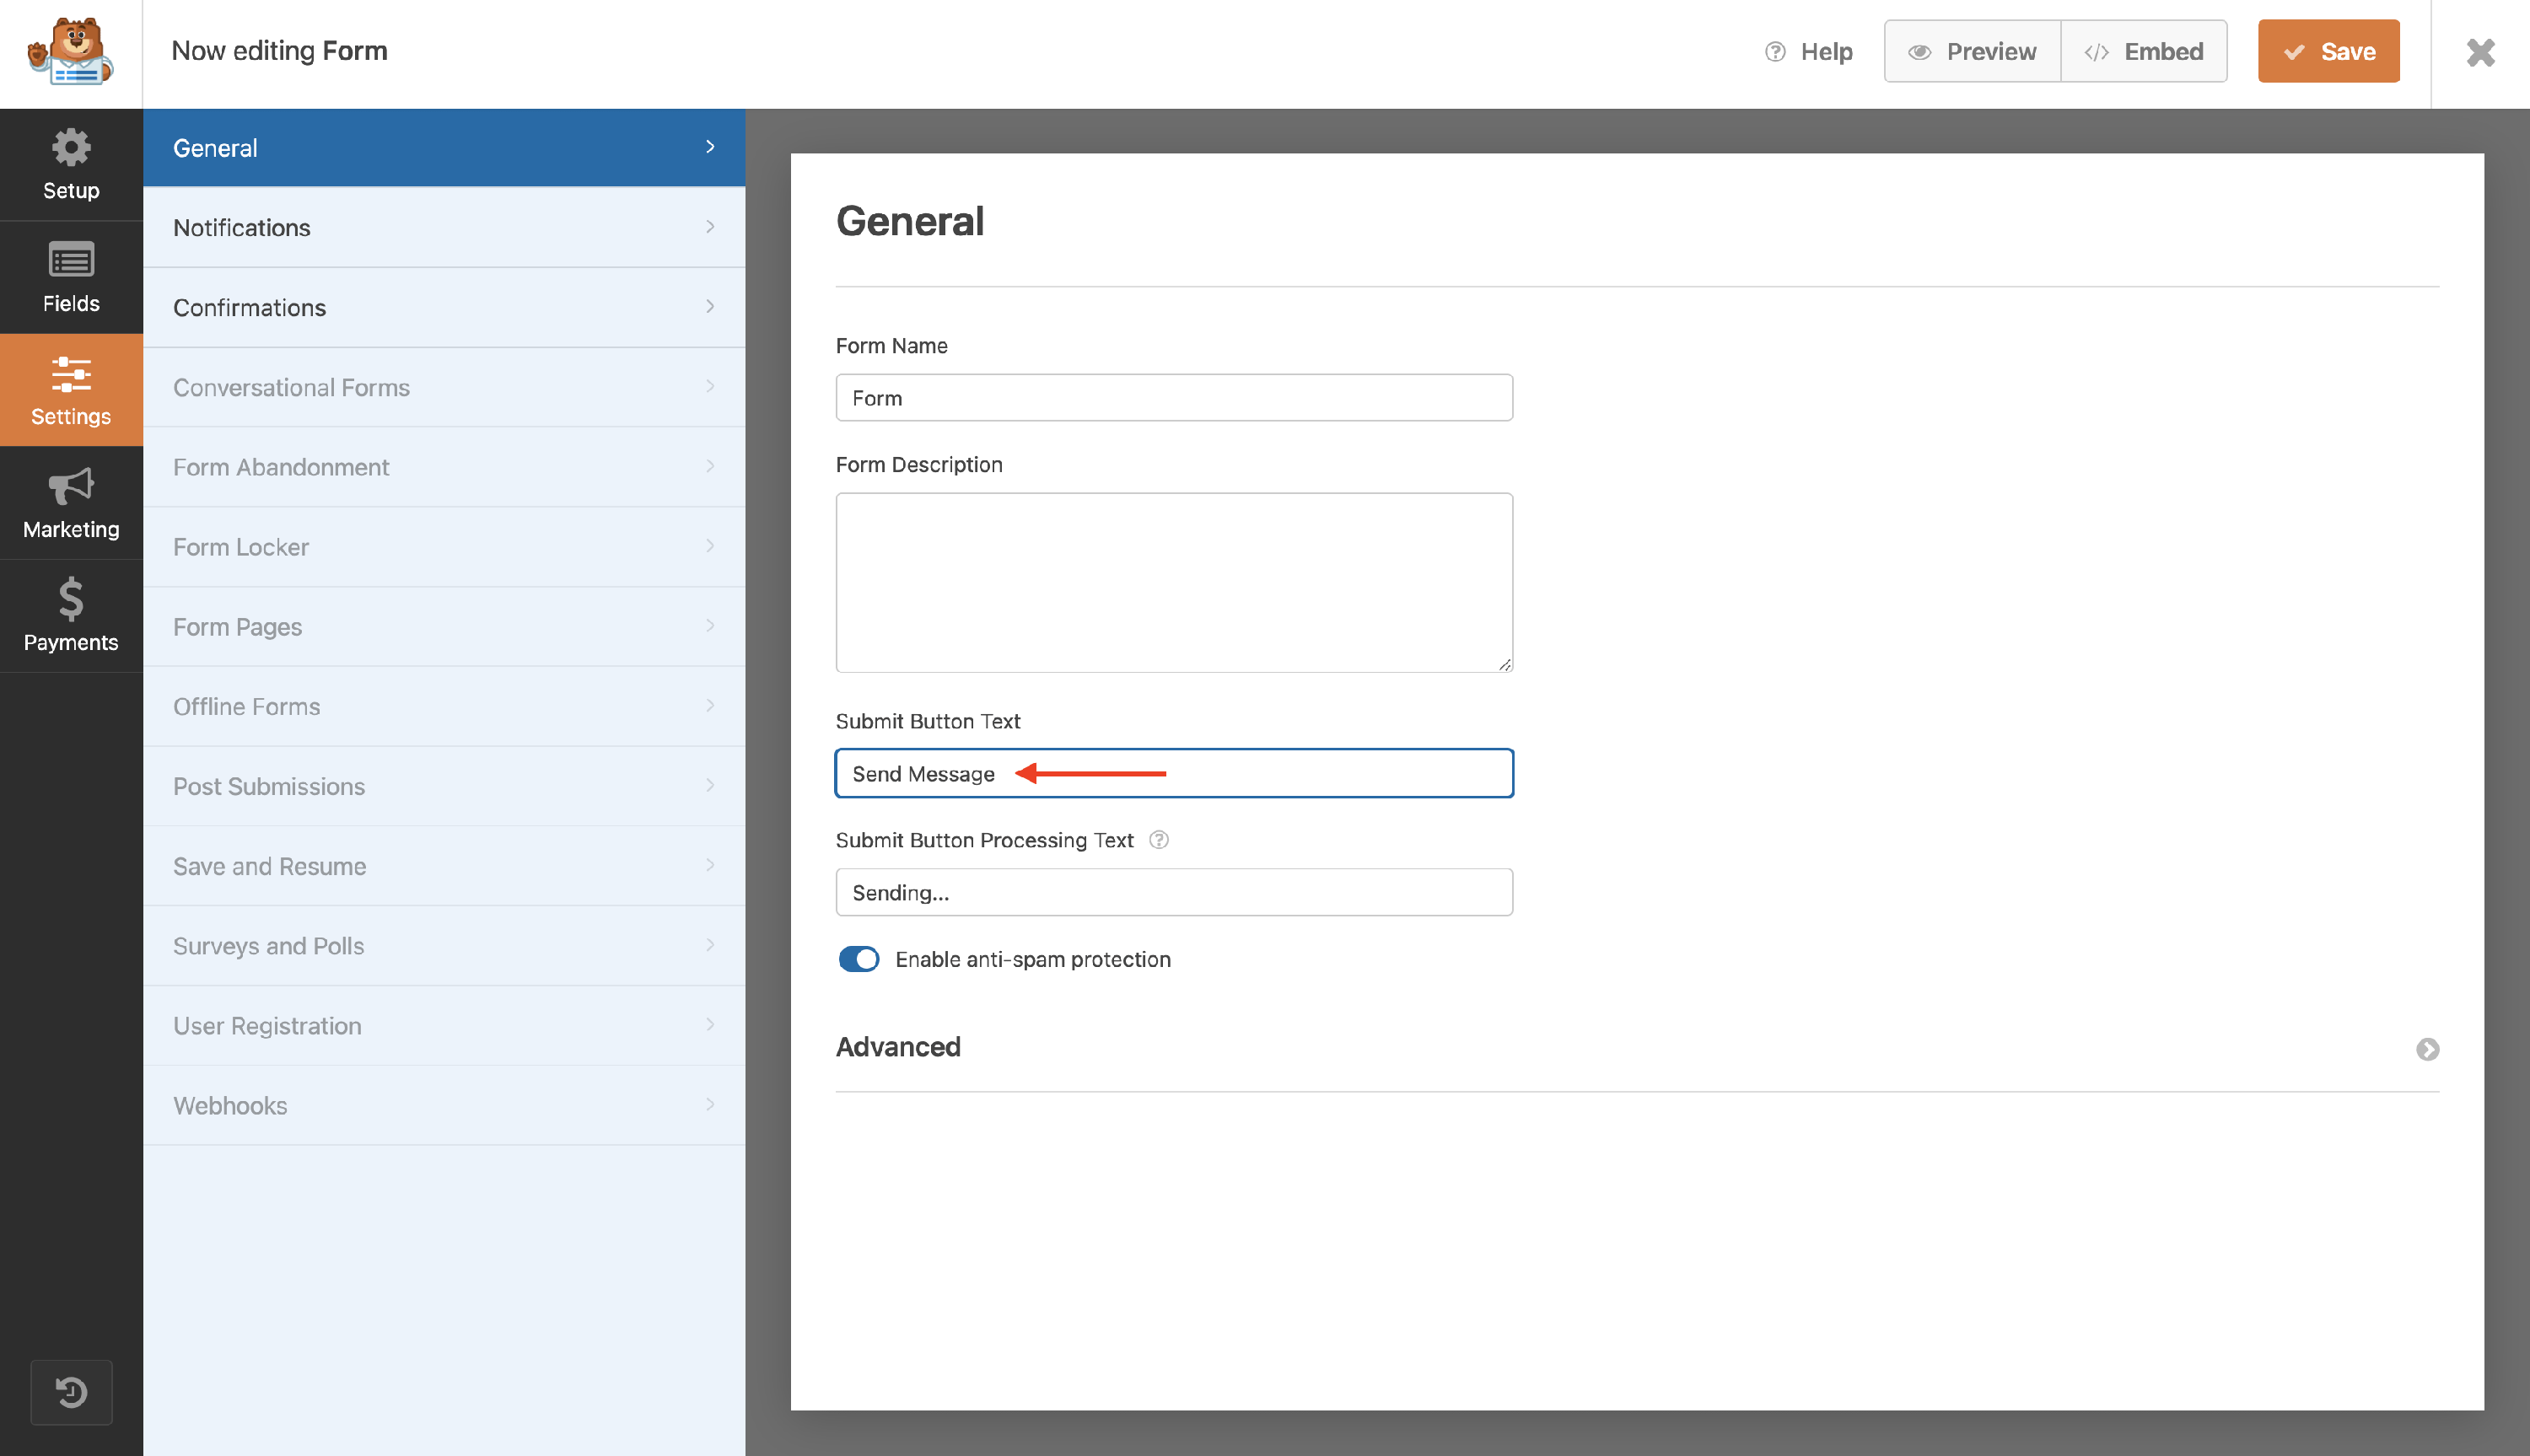
Submit Button
- Click on the Submit button or go to the Settings tab, and change the Submit Button Text to Send Message.
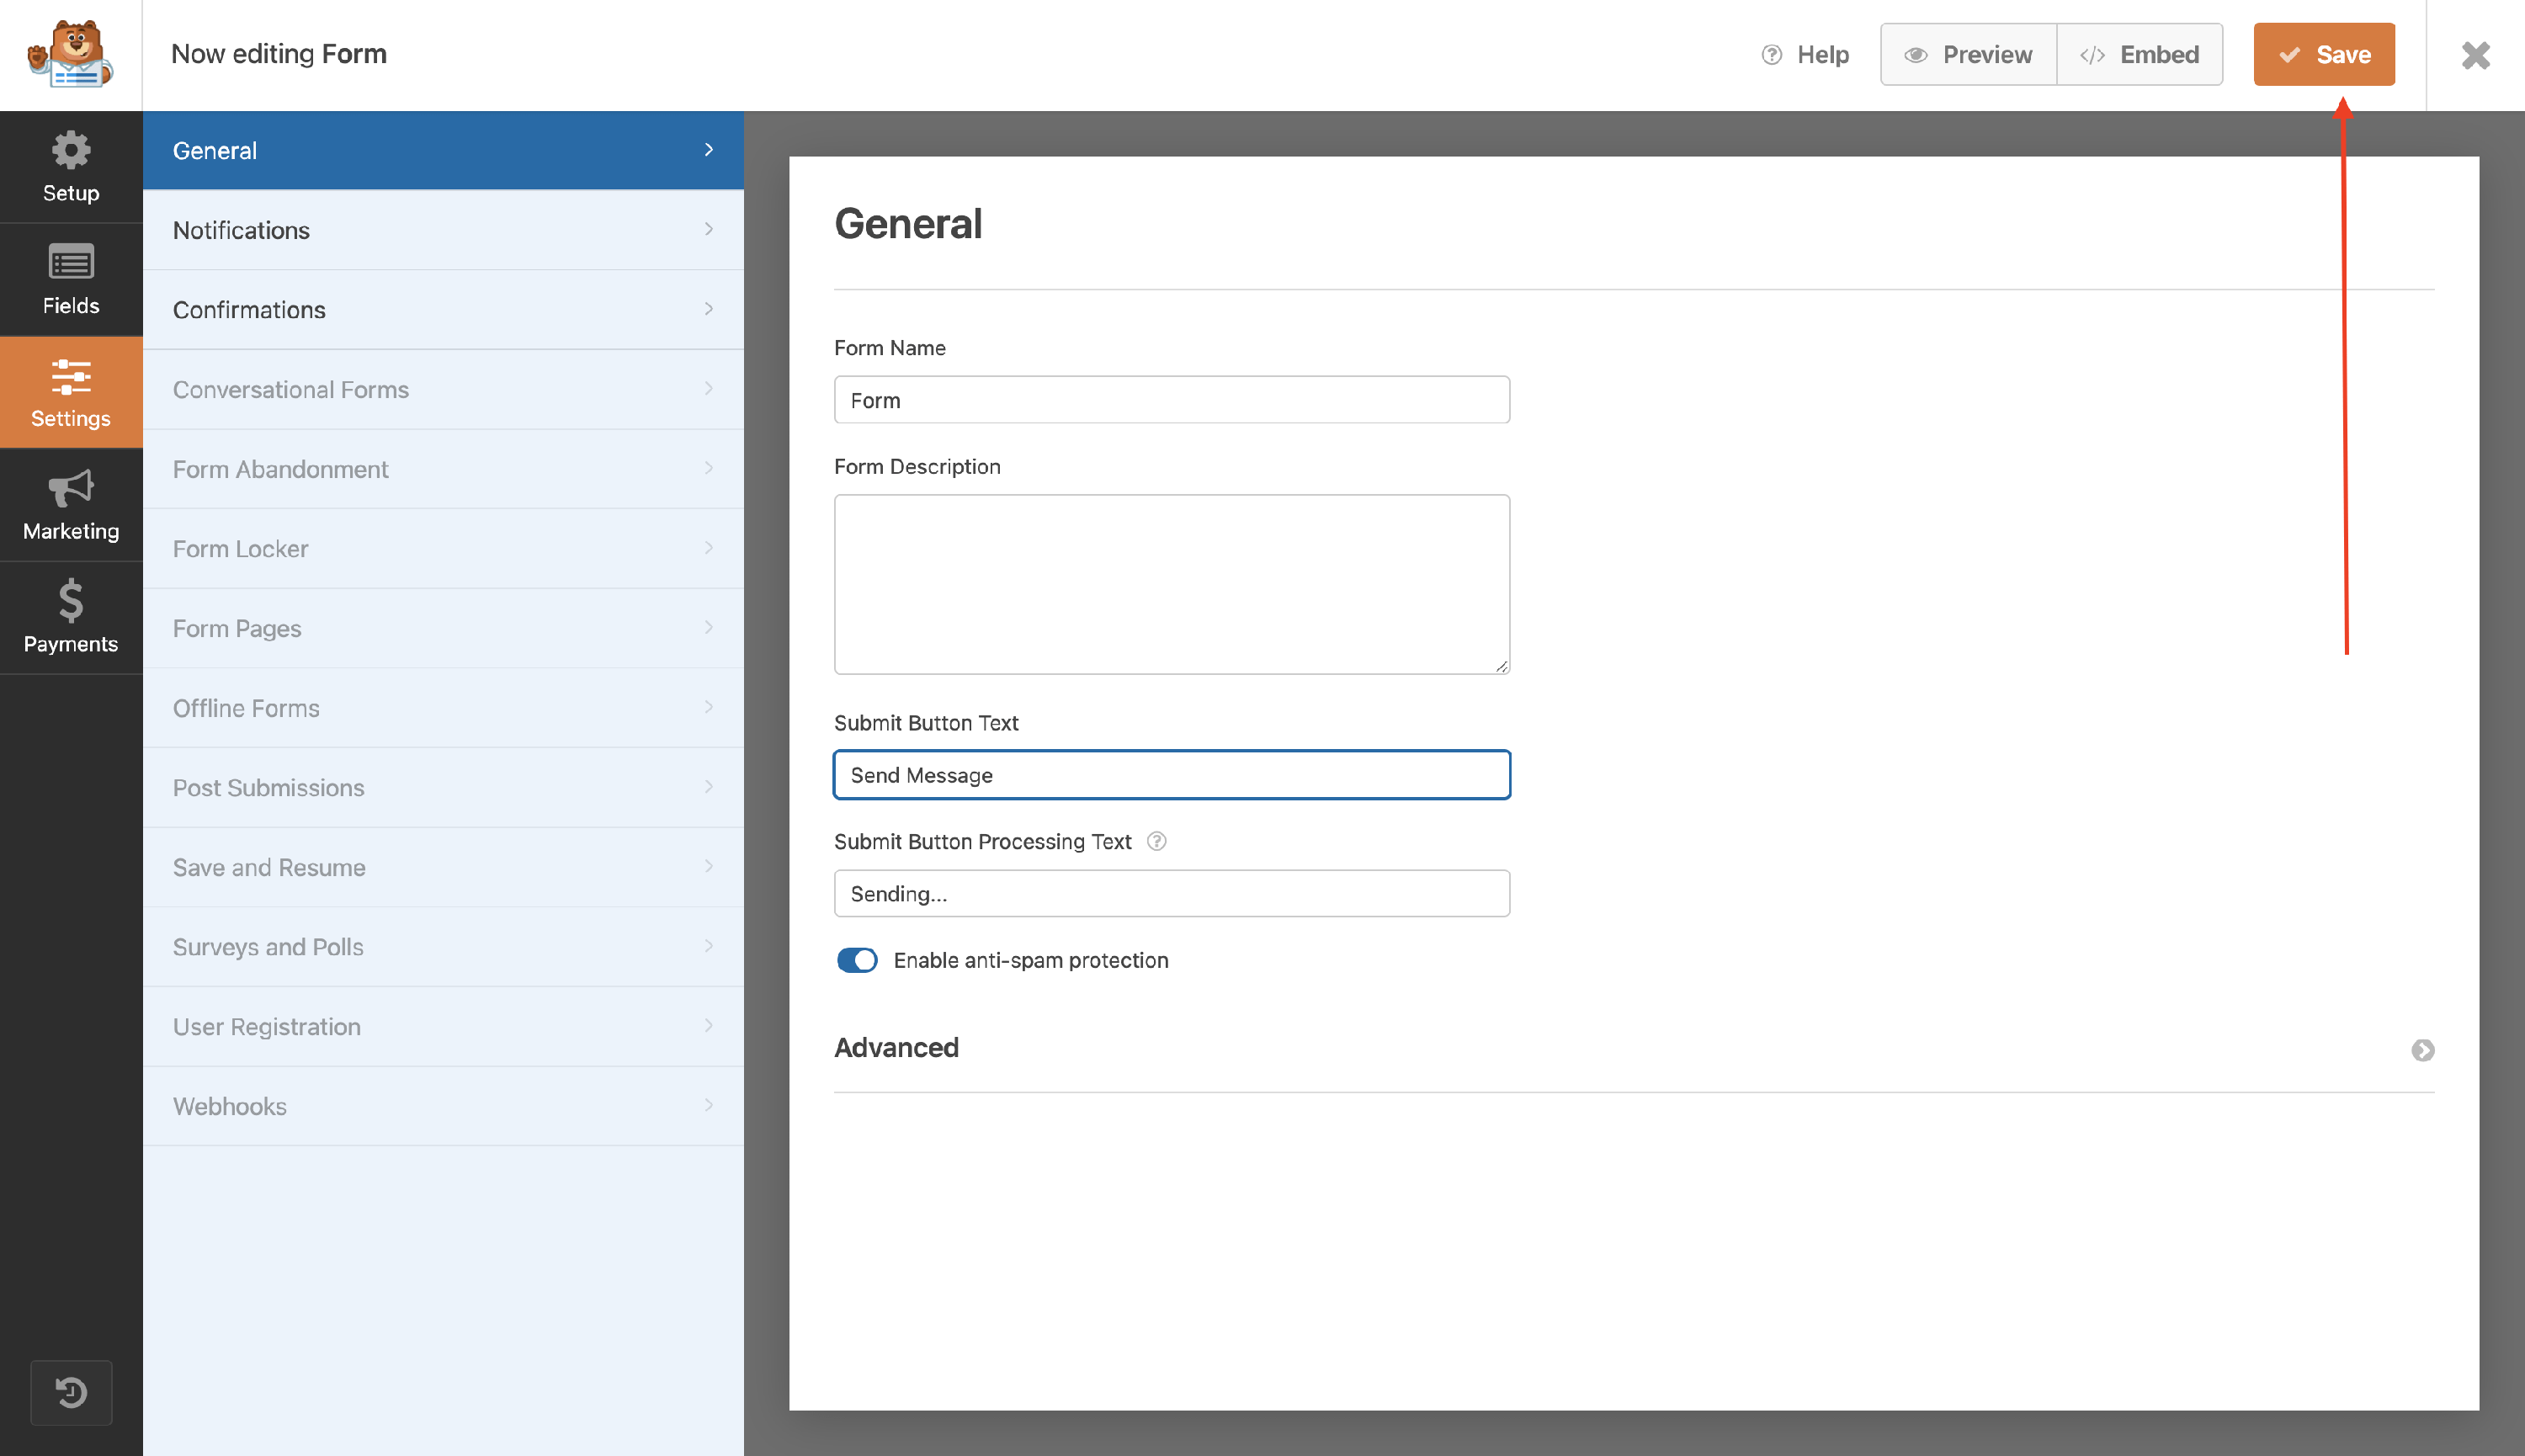
You have configured your contact form! Make sure you save the changes.
📝 Note: Check the Using the contact form section for more details about how to use it.
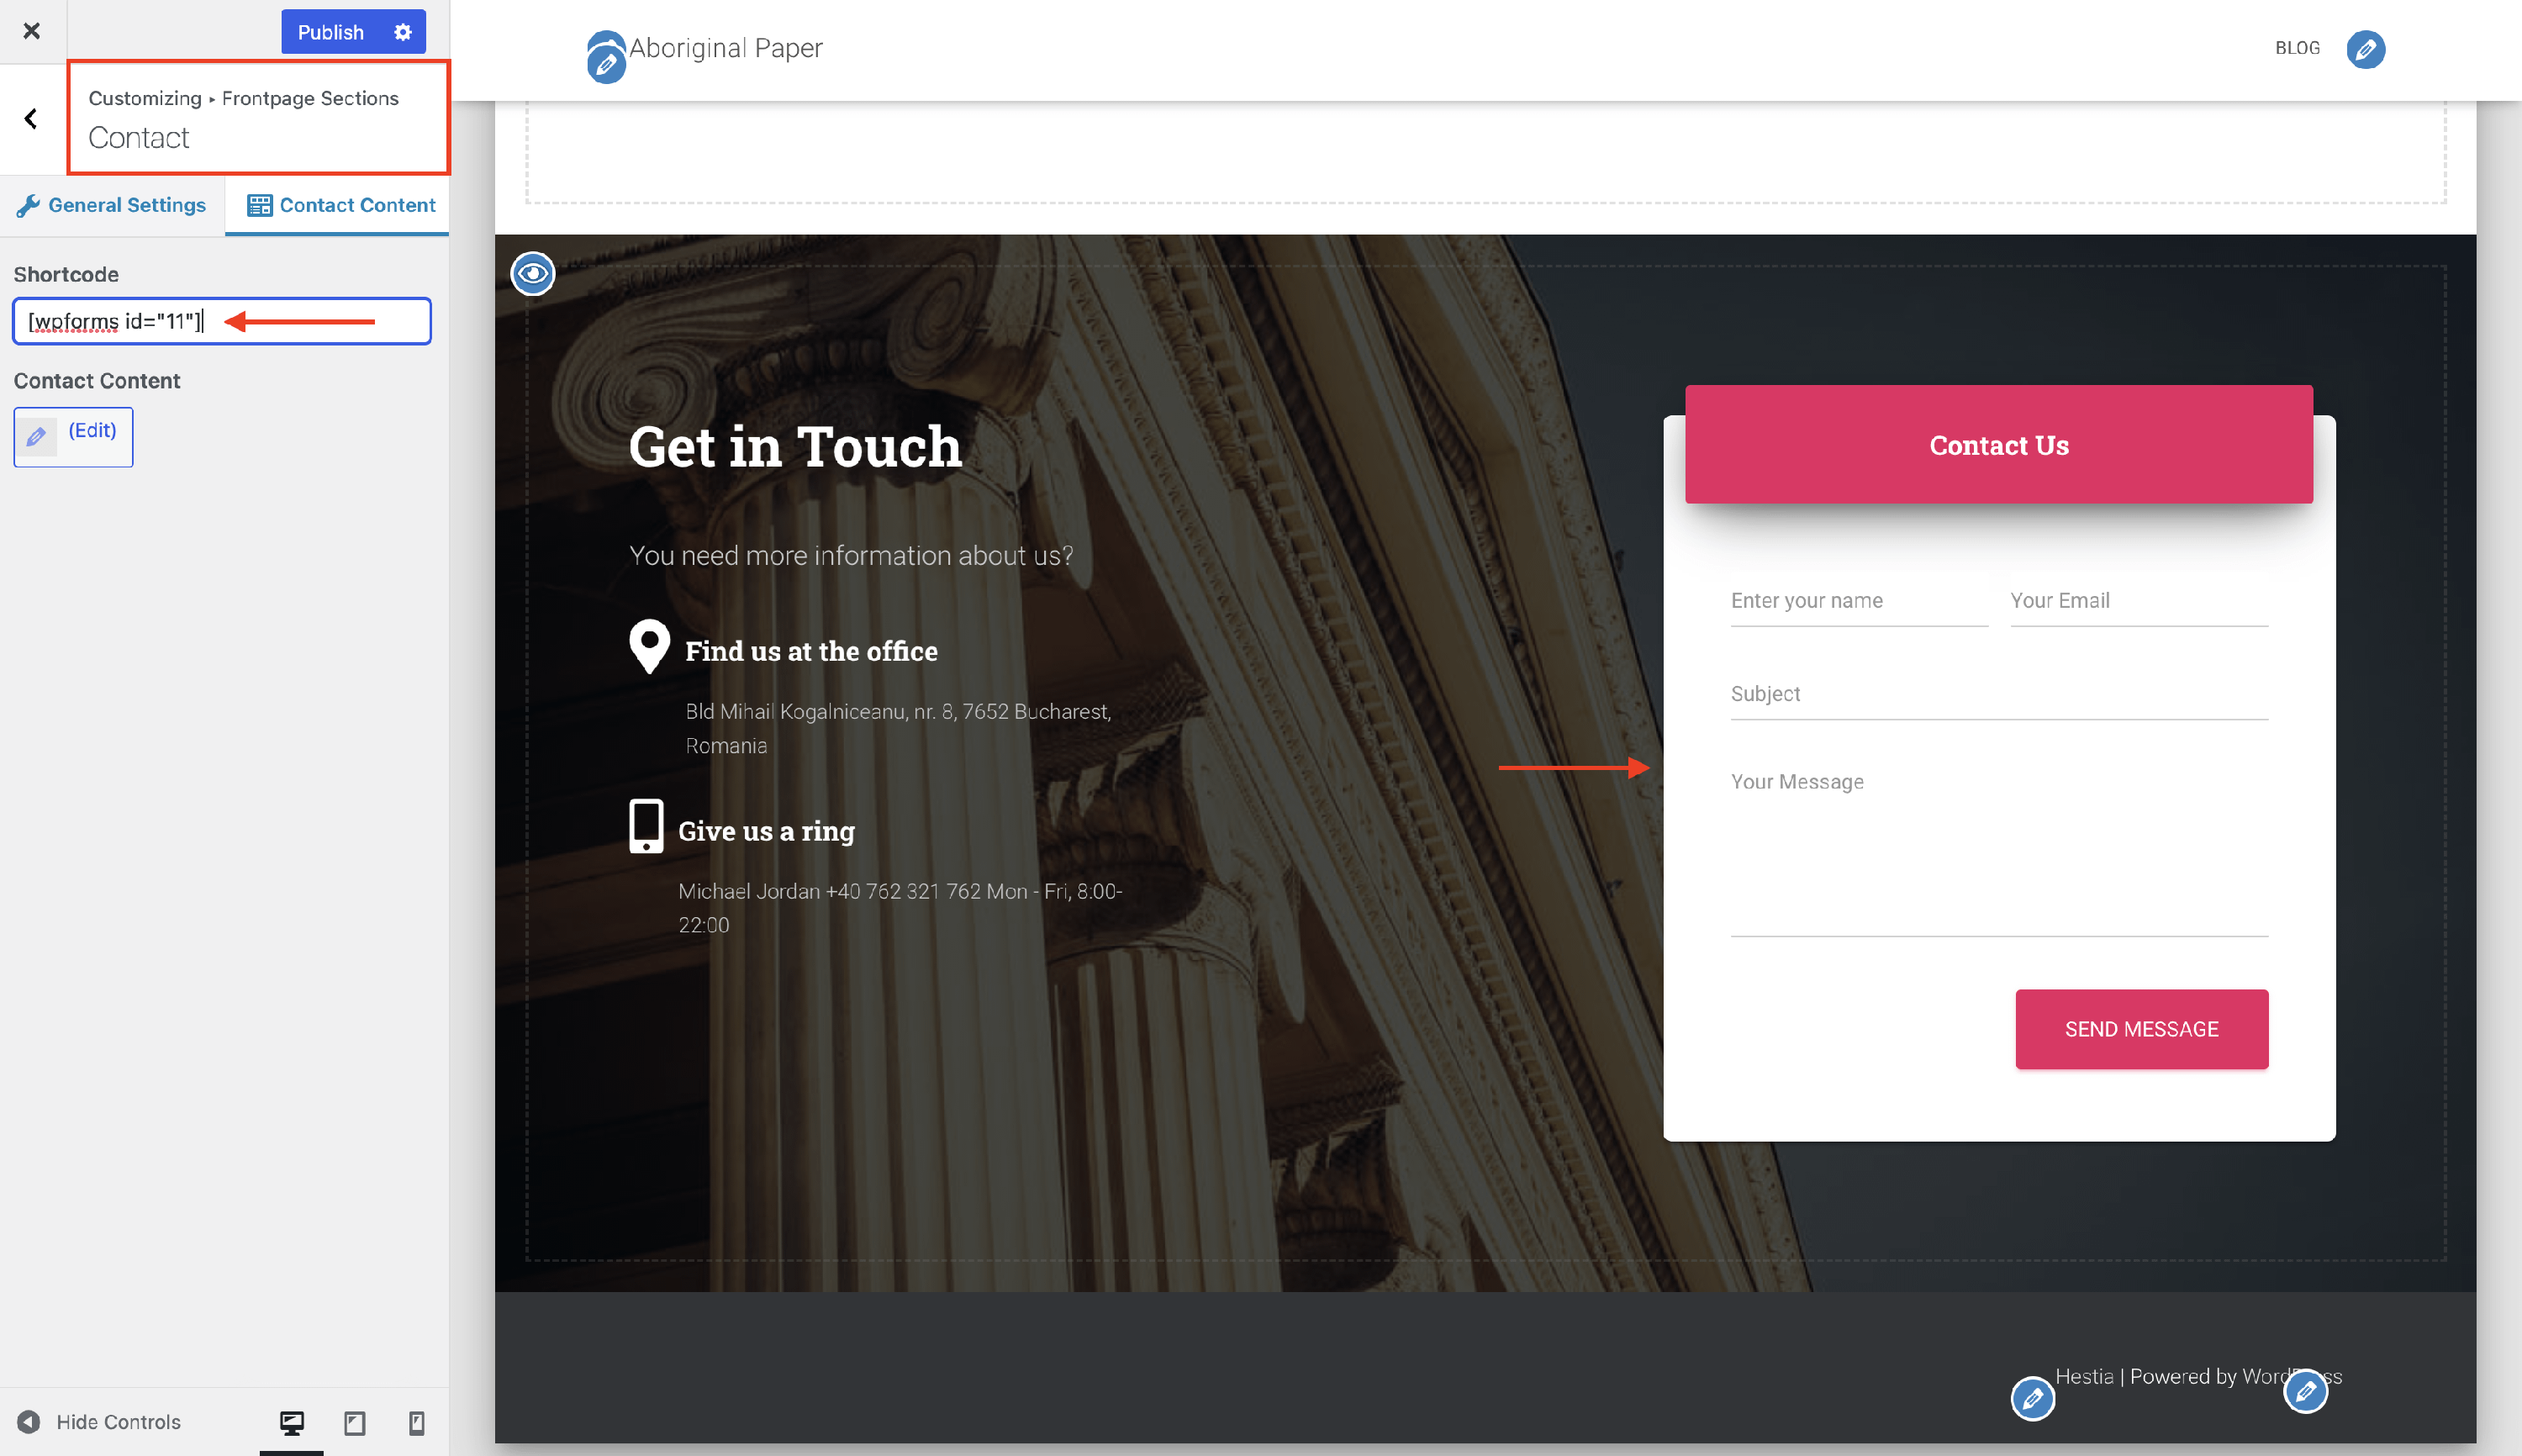
🗂Using the Contact Form
1. Copy the shortcode ([wpforms id="xx"]).

2. Navigate to the Customizer > Frontpage sections > Contact > Contact Content. There, paste your code in the " Shortcode" input, click Publish and you're all set.
Enjoy your new form!