How to create and import Elementor templates in Neve
Neve is a lightweight theme, easily customizable, and works perfectly with page builders, such as Elementor. An interesting feature of the Elementor associated with Neve is creating and importing templates, to facilitate website designing.
🧰Tools needed:
- The Neve Theme - more details about installing and options can be found here.
- The Elementor plugin - more details about installing can be found here.
This article will present step by step the path you need to follow in order to create and import Elementor templates in Neve:
Step 1
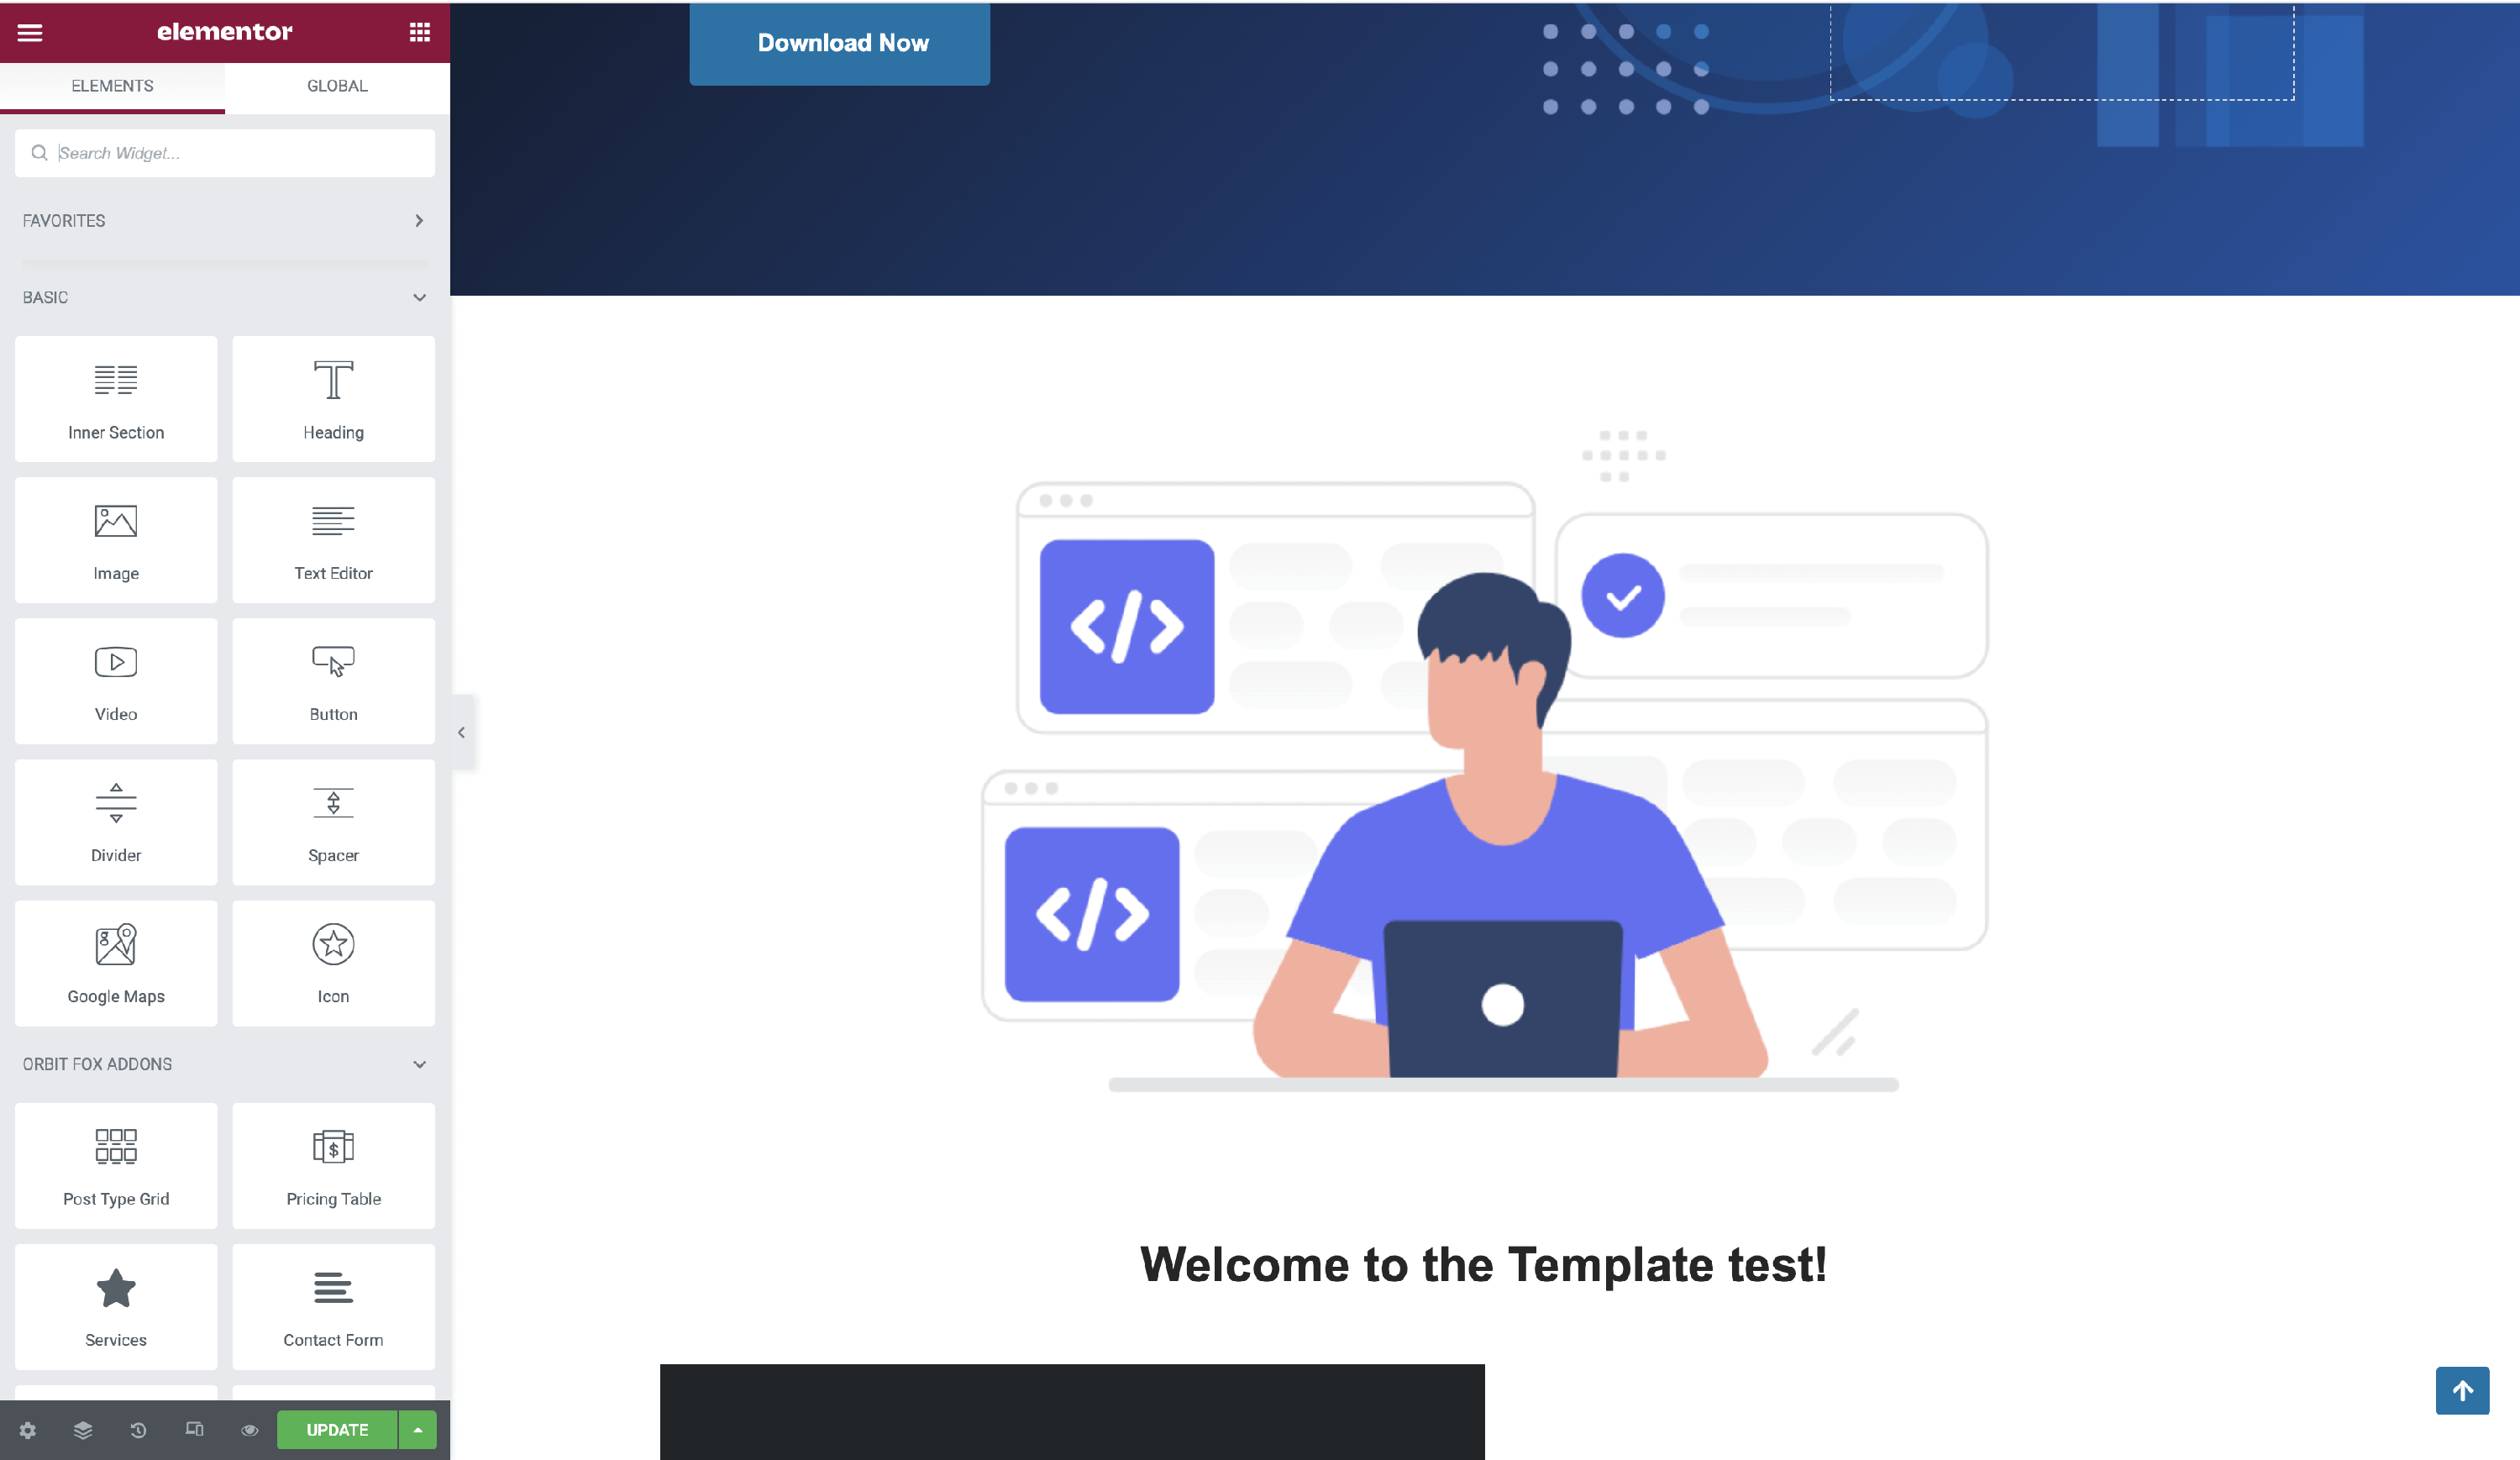
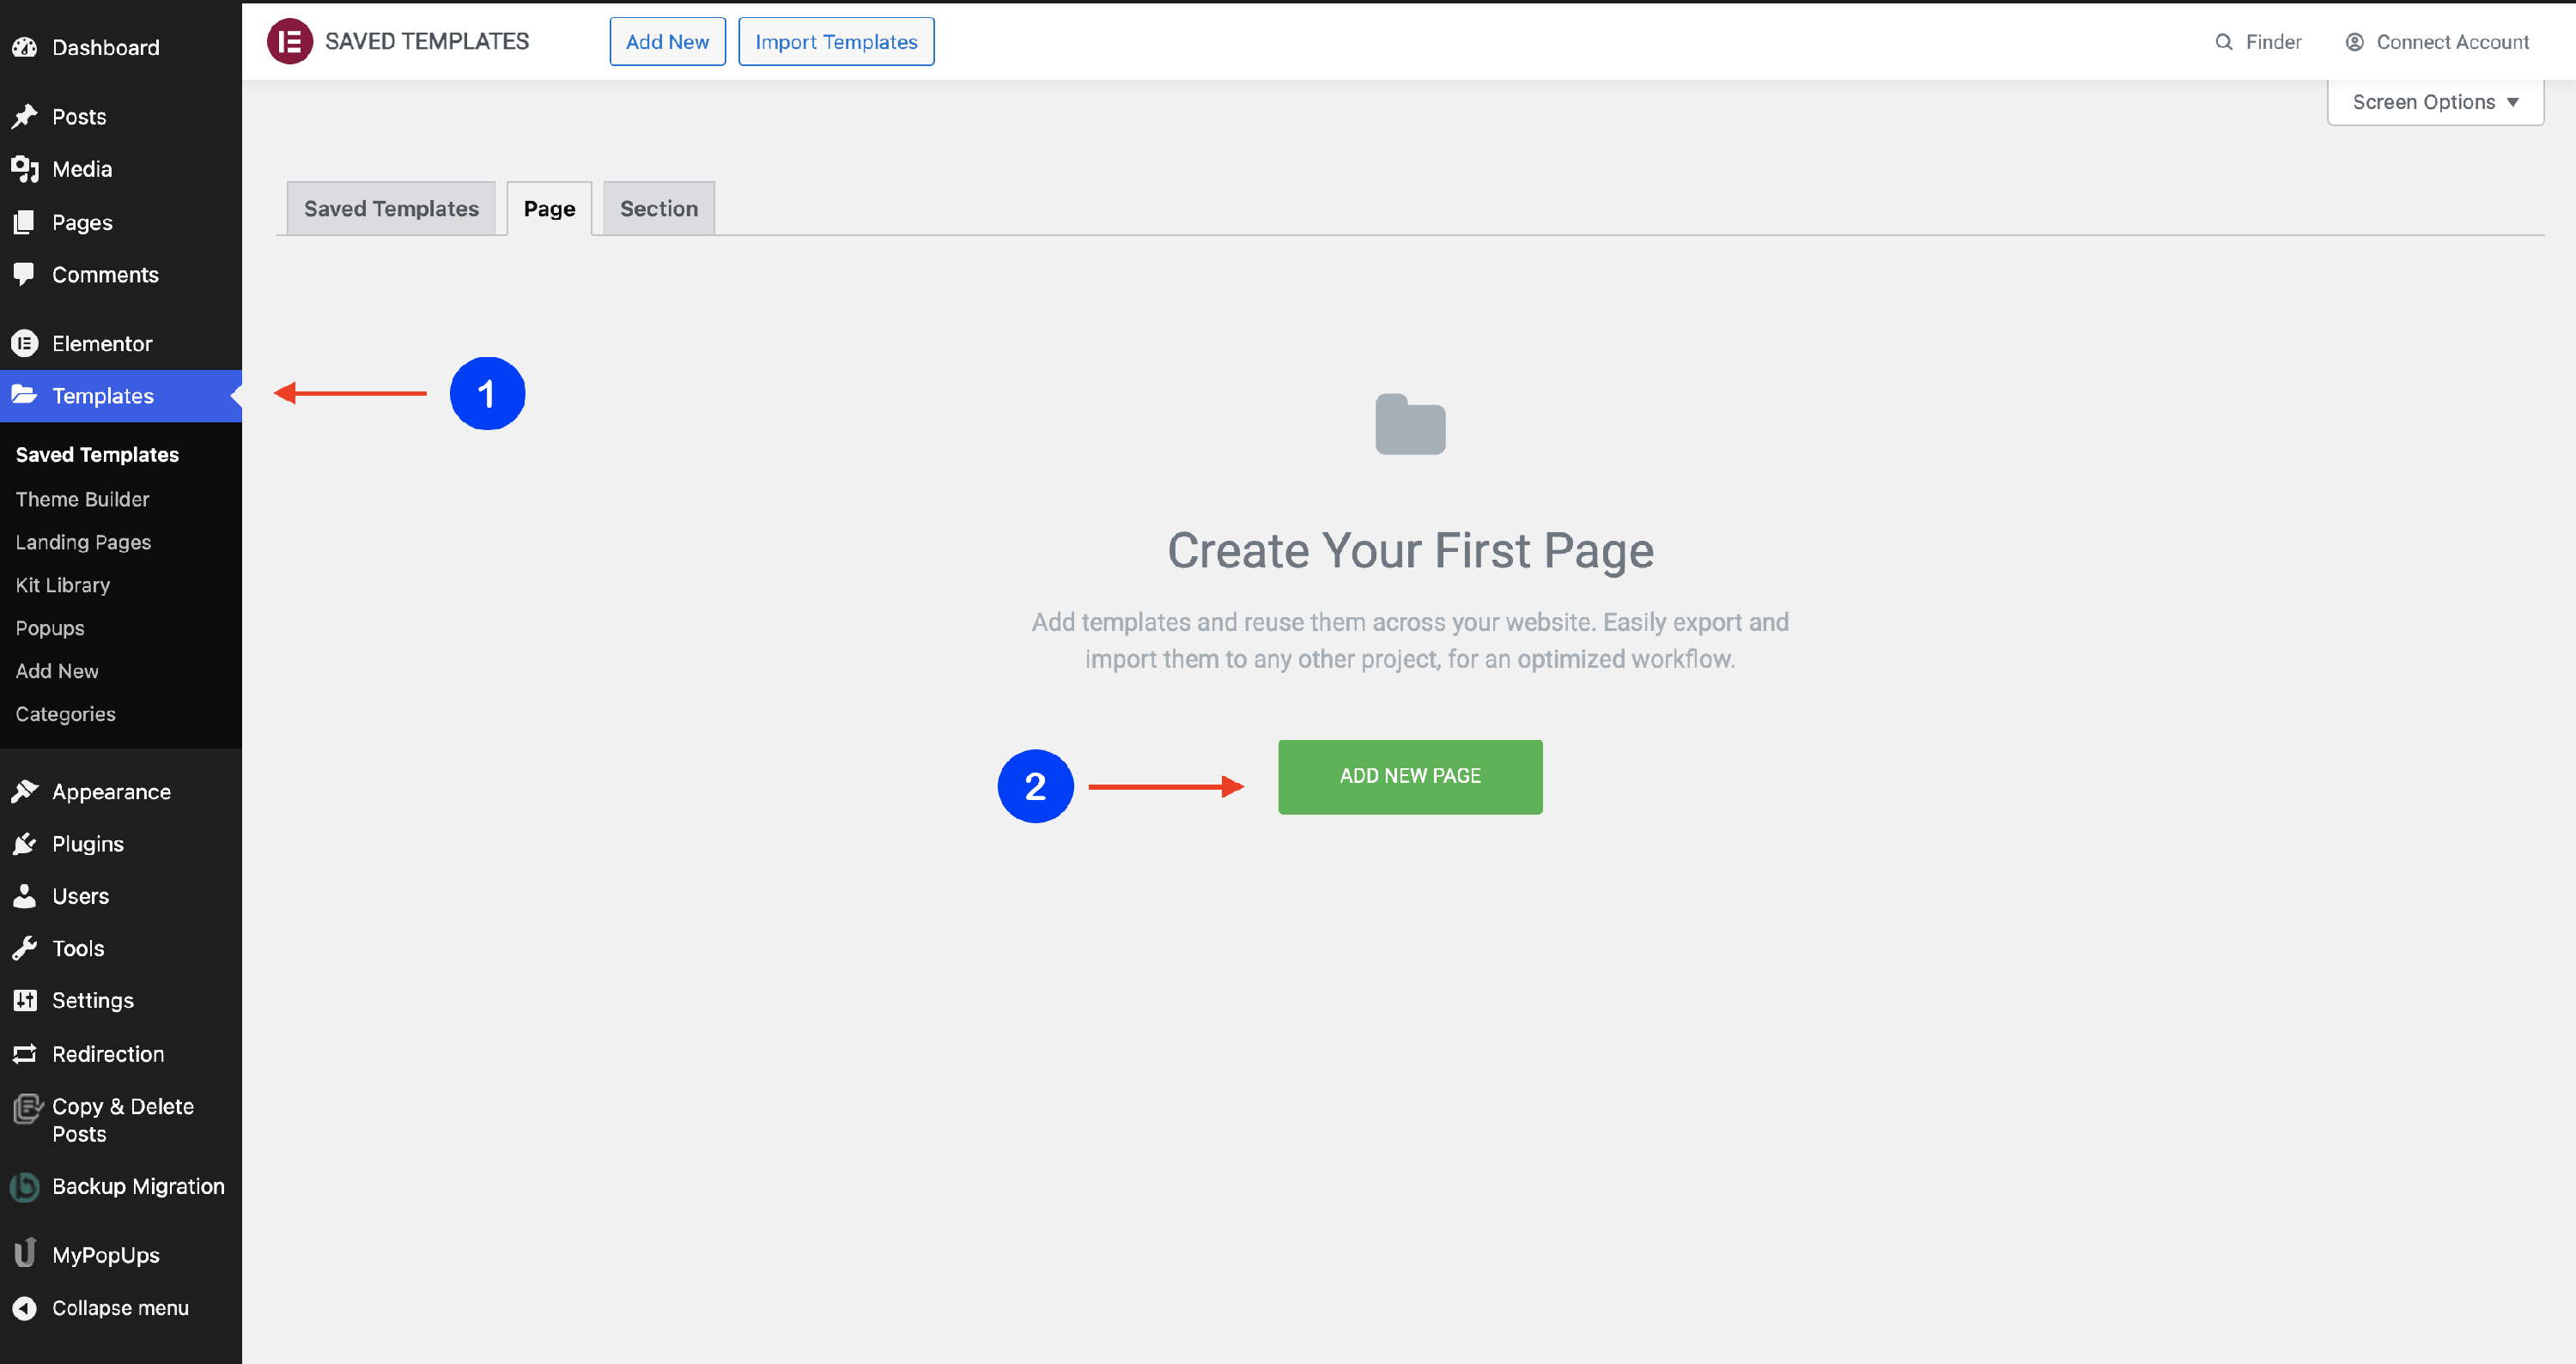
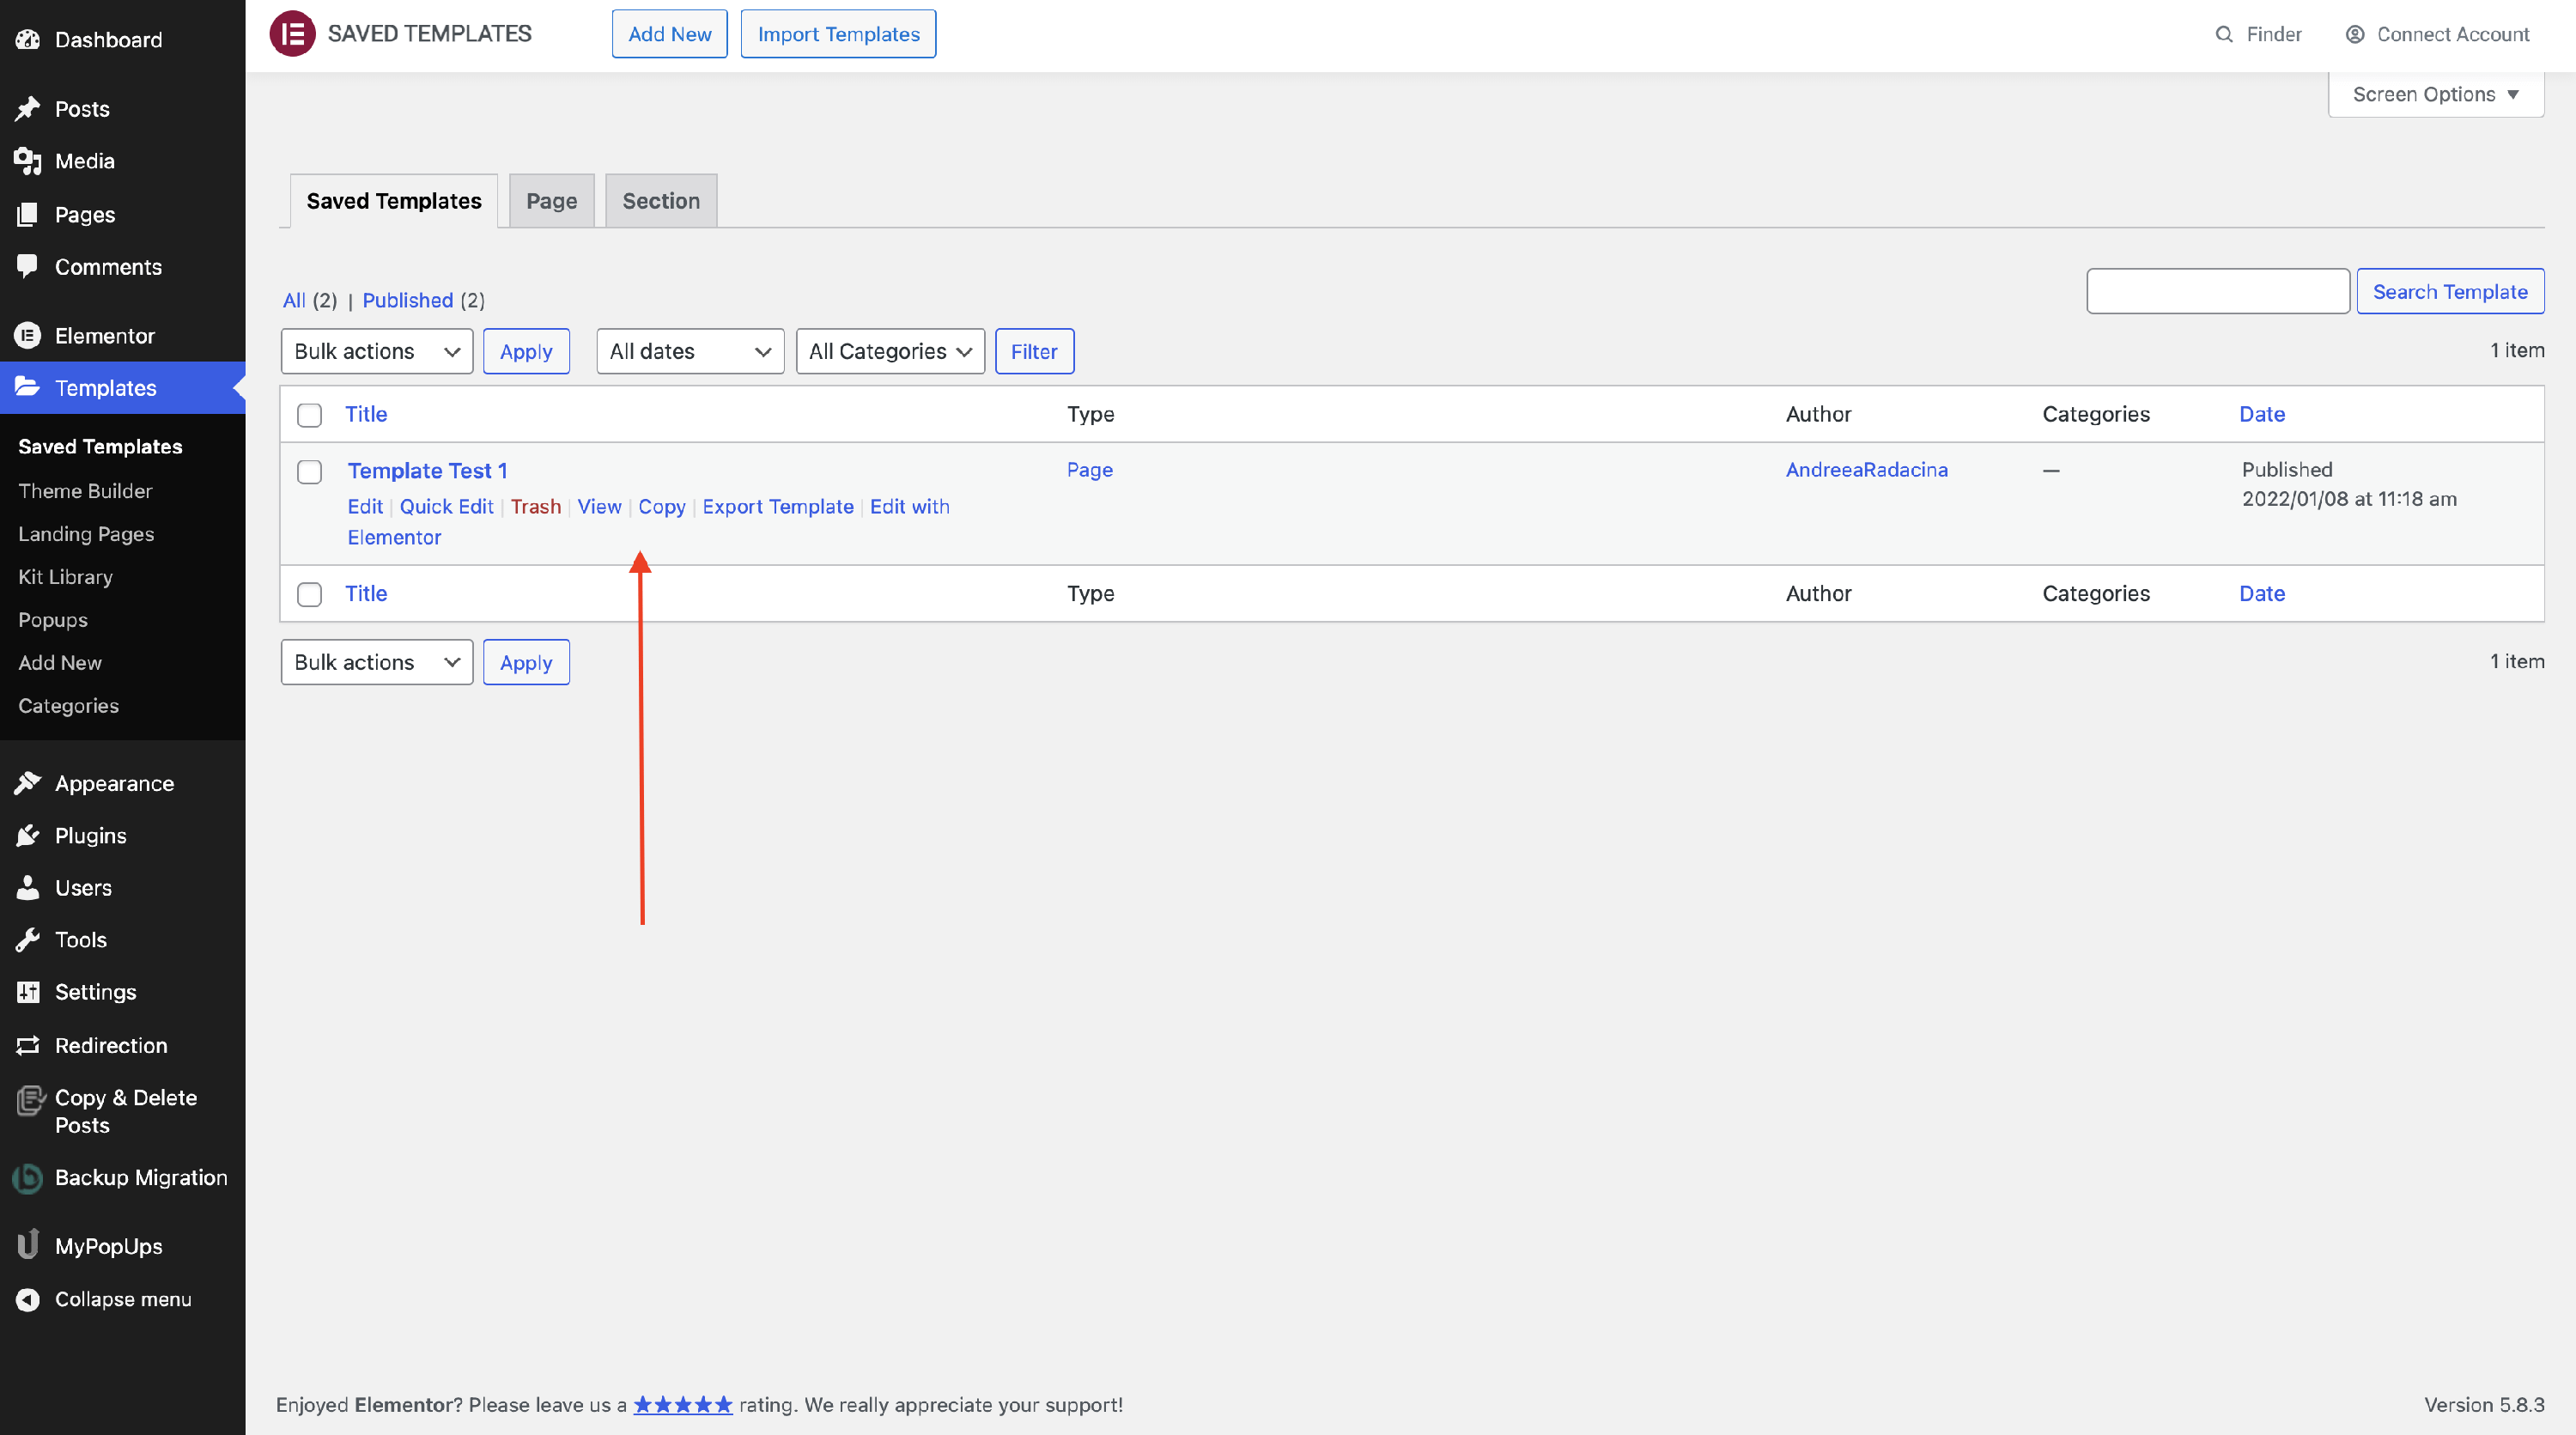
After installing the Elementor plugin, a new panel called Templates will appear on the left side ( 1 ). Click on it and then on the Add new page button ( 2 ).
Step 2
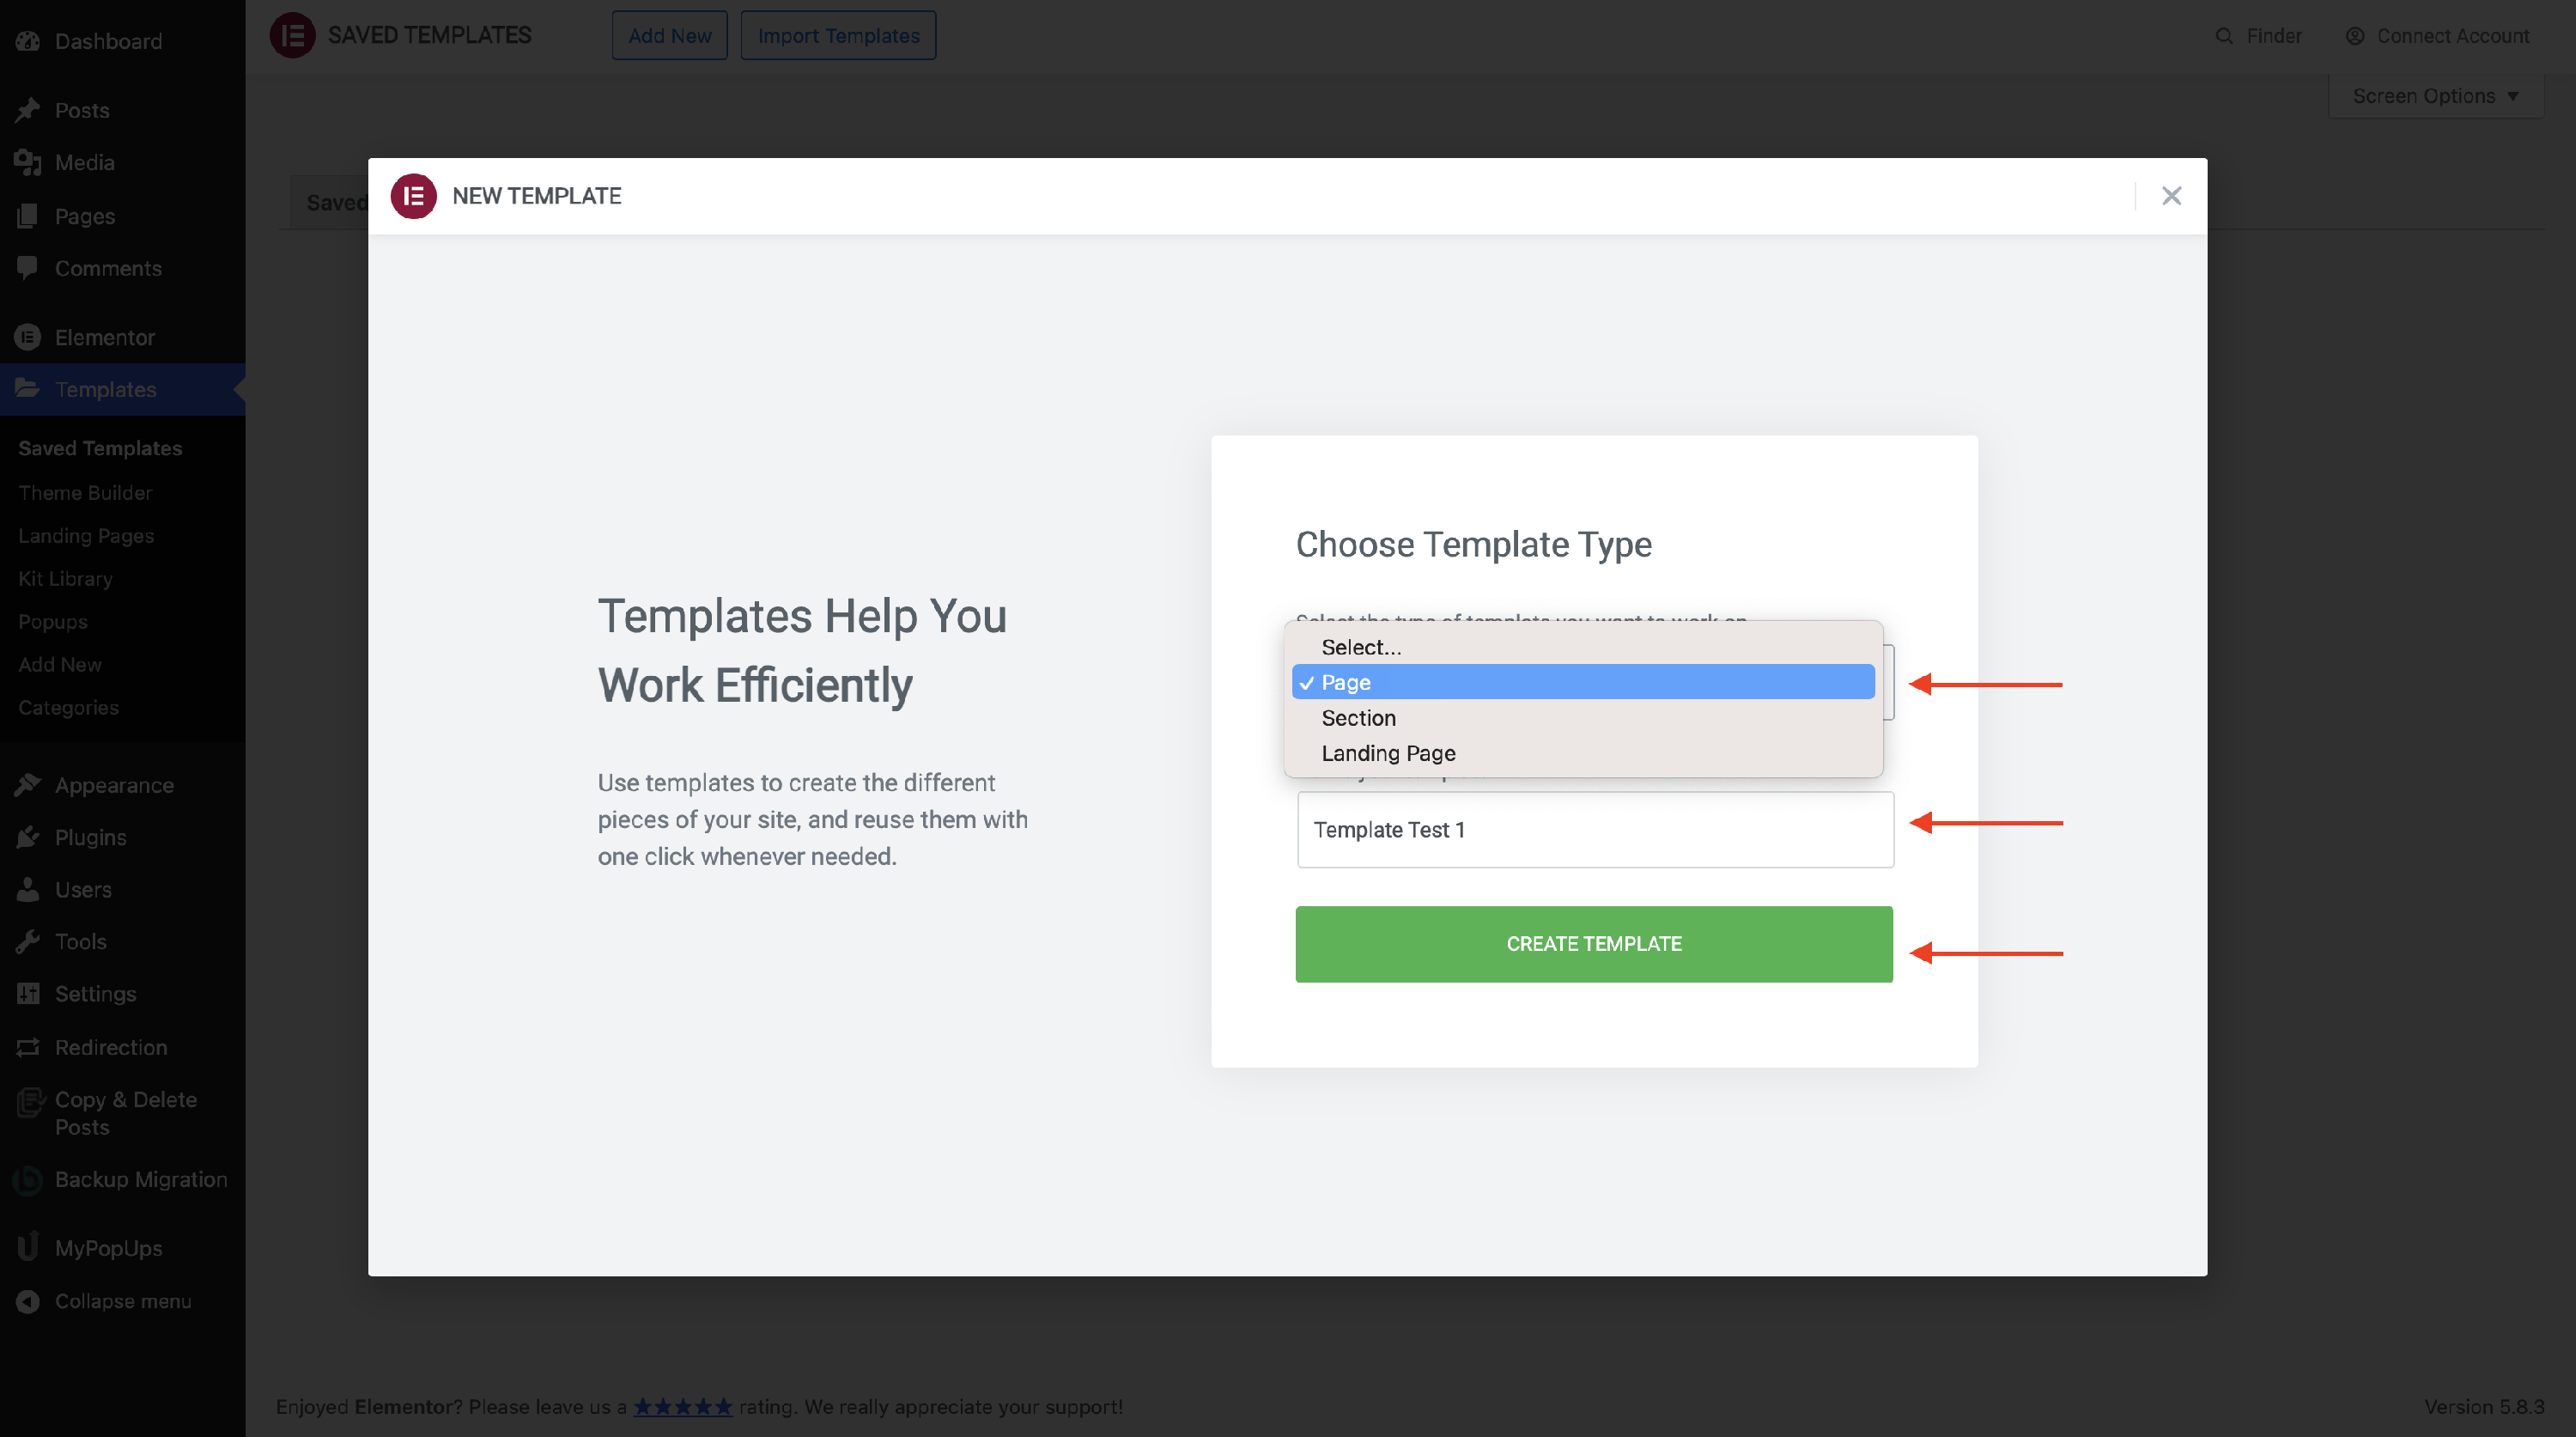
Make sure you select a template type ( Page / Section / Landing Page ) and insert a template name.
Step 3
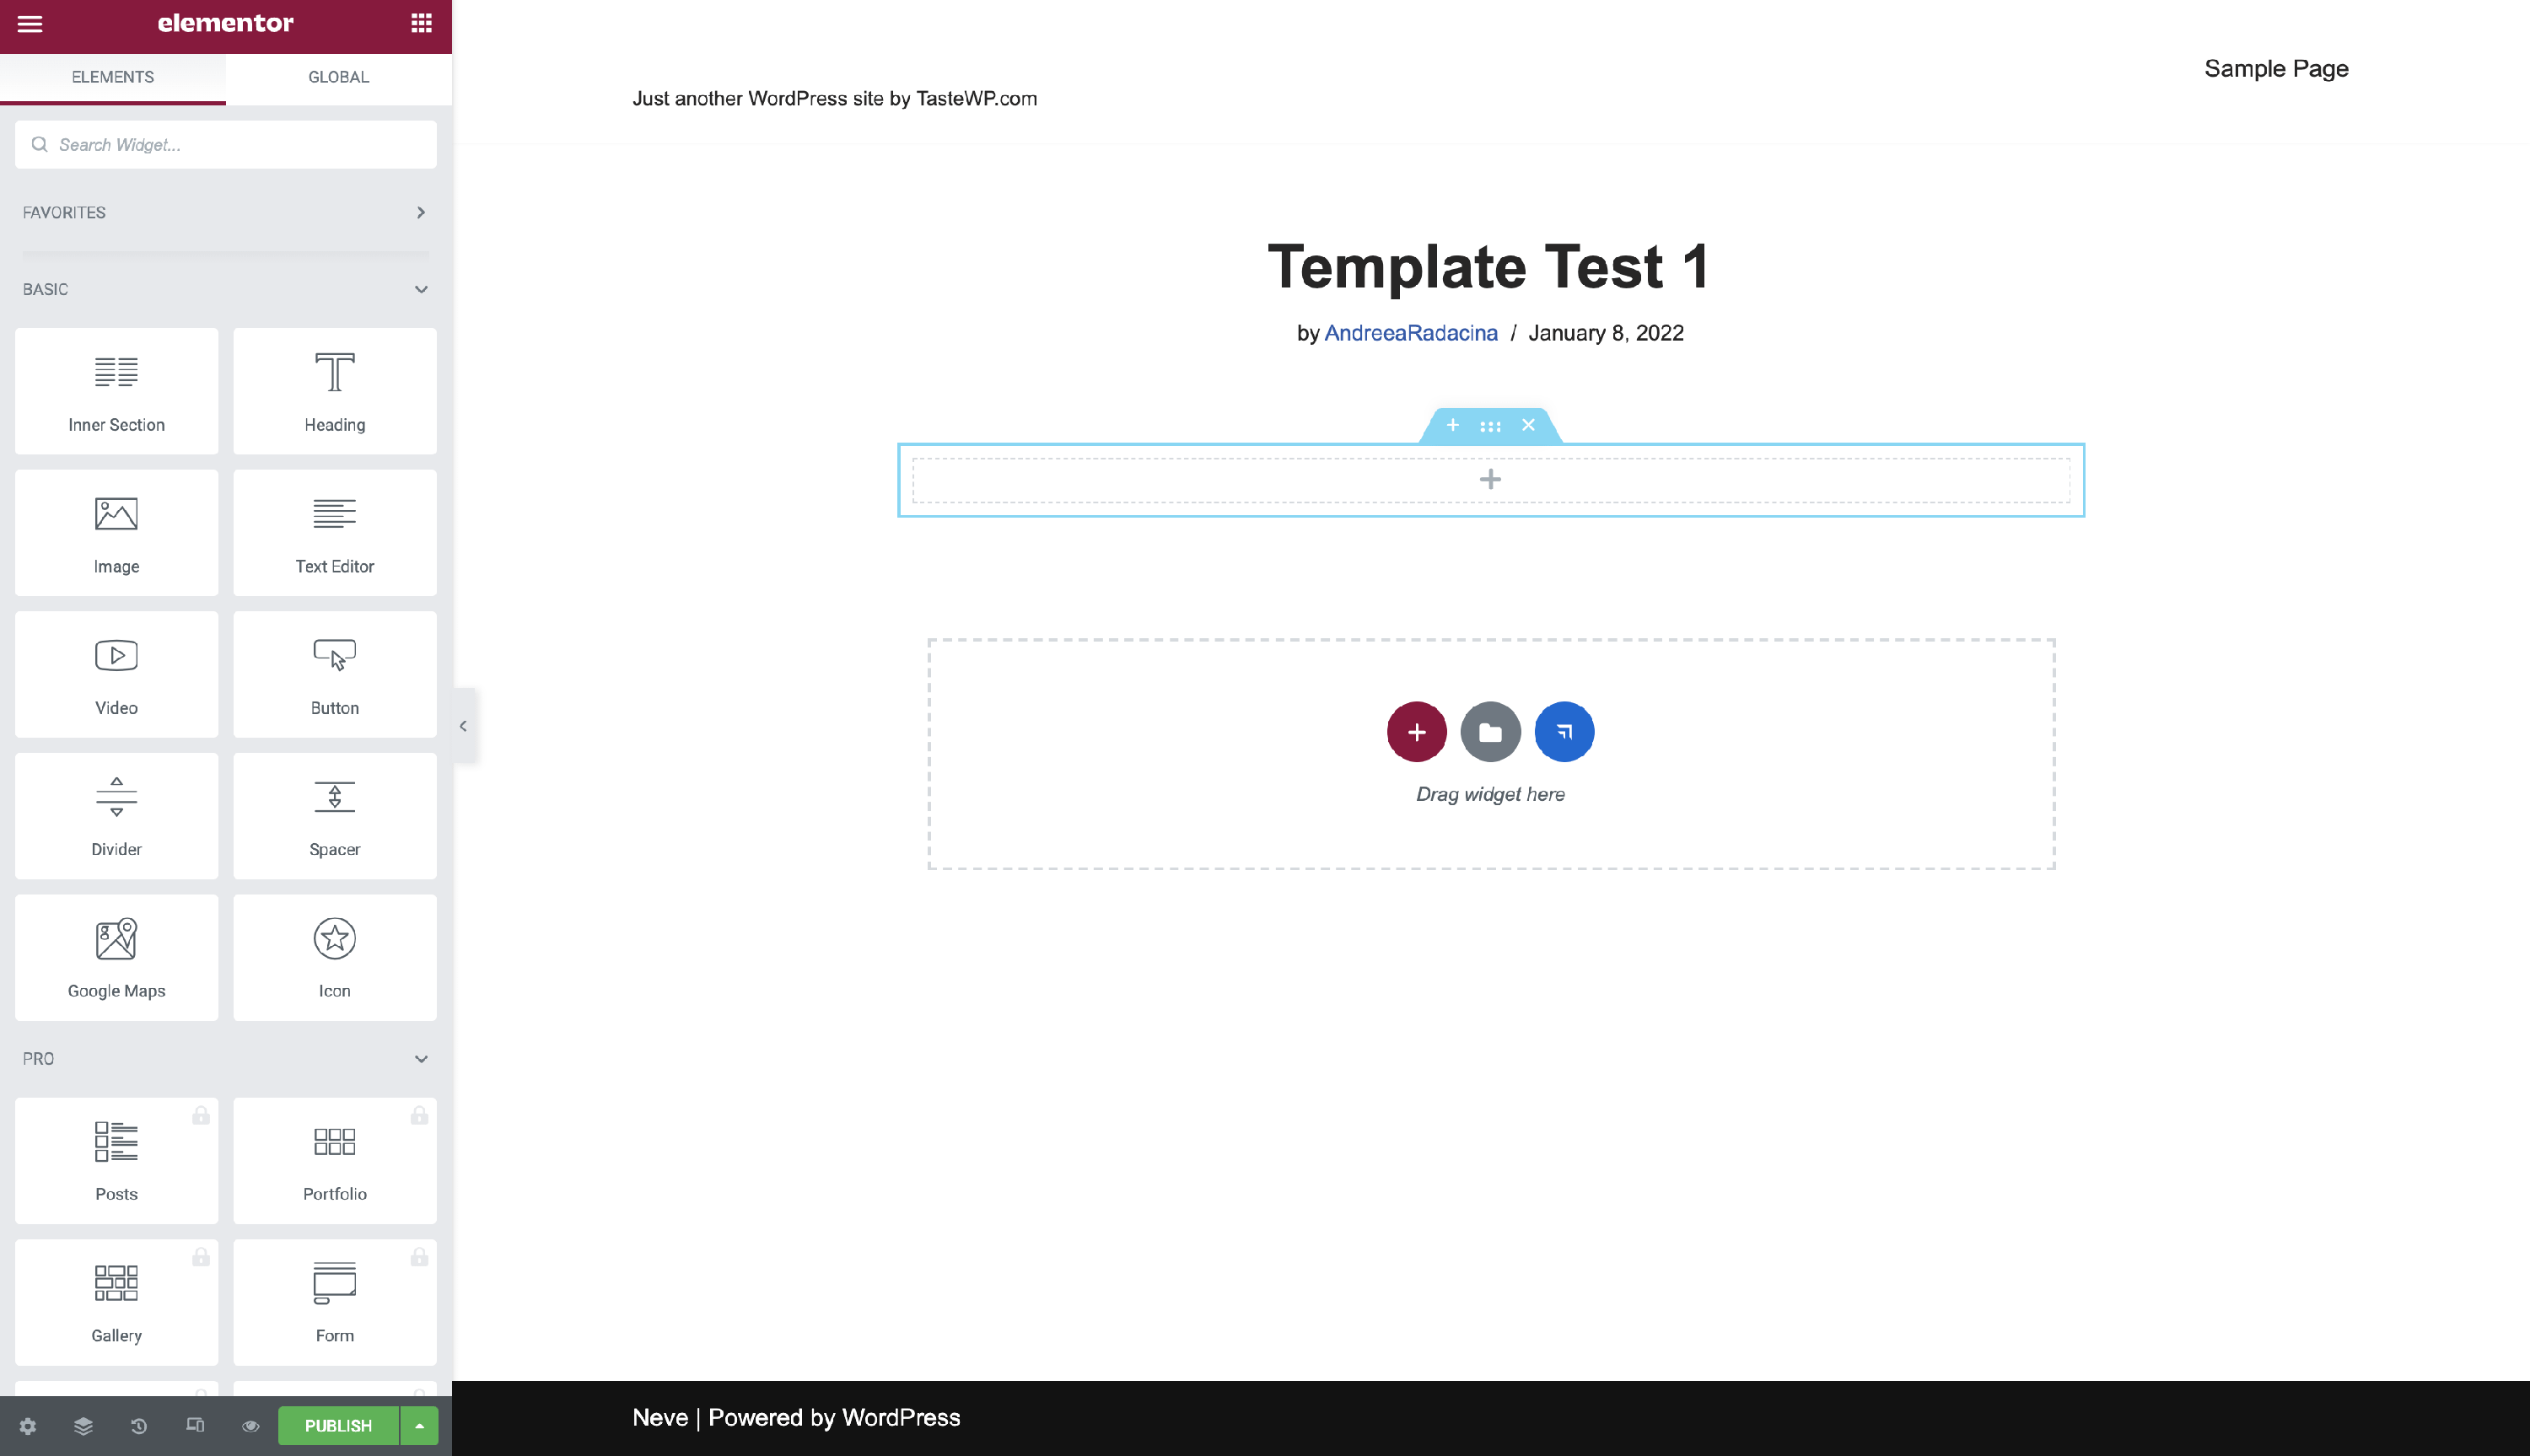
The Elementor editor will appear and you can start using the elements available in the left sidebar, to create the desired template.
Step 4
After you finish designing the page, make sure you click the Publish button.

Step 5
Exit to the Dashboard and you will be able to see the template created there.
Step 6
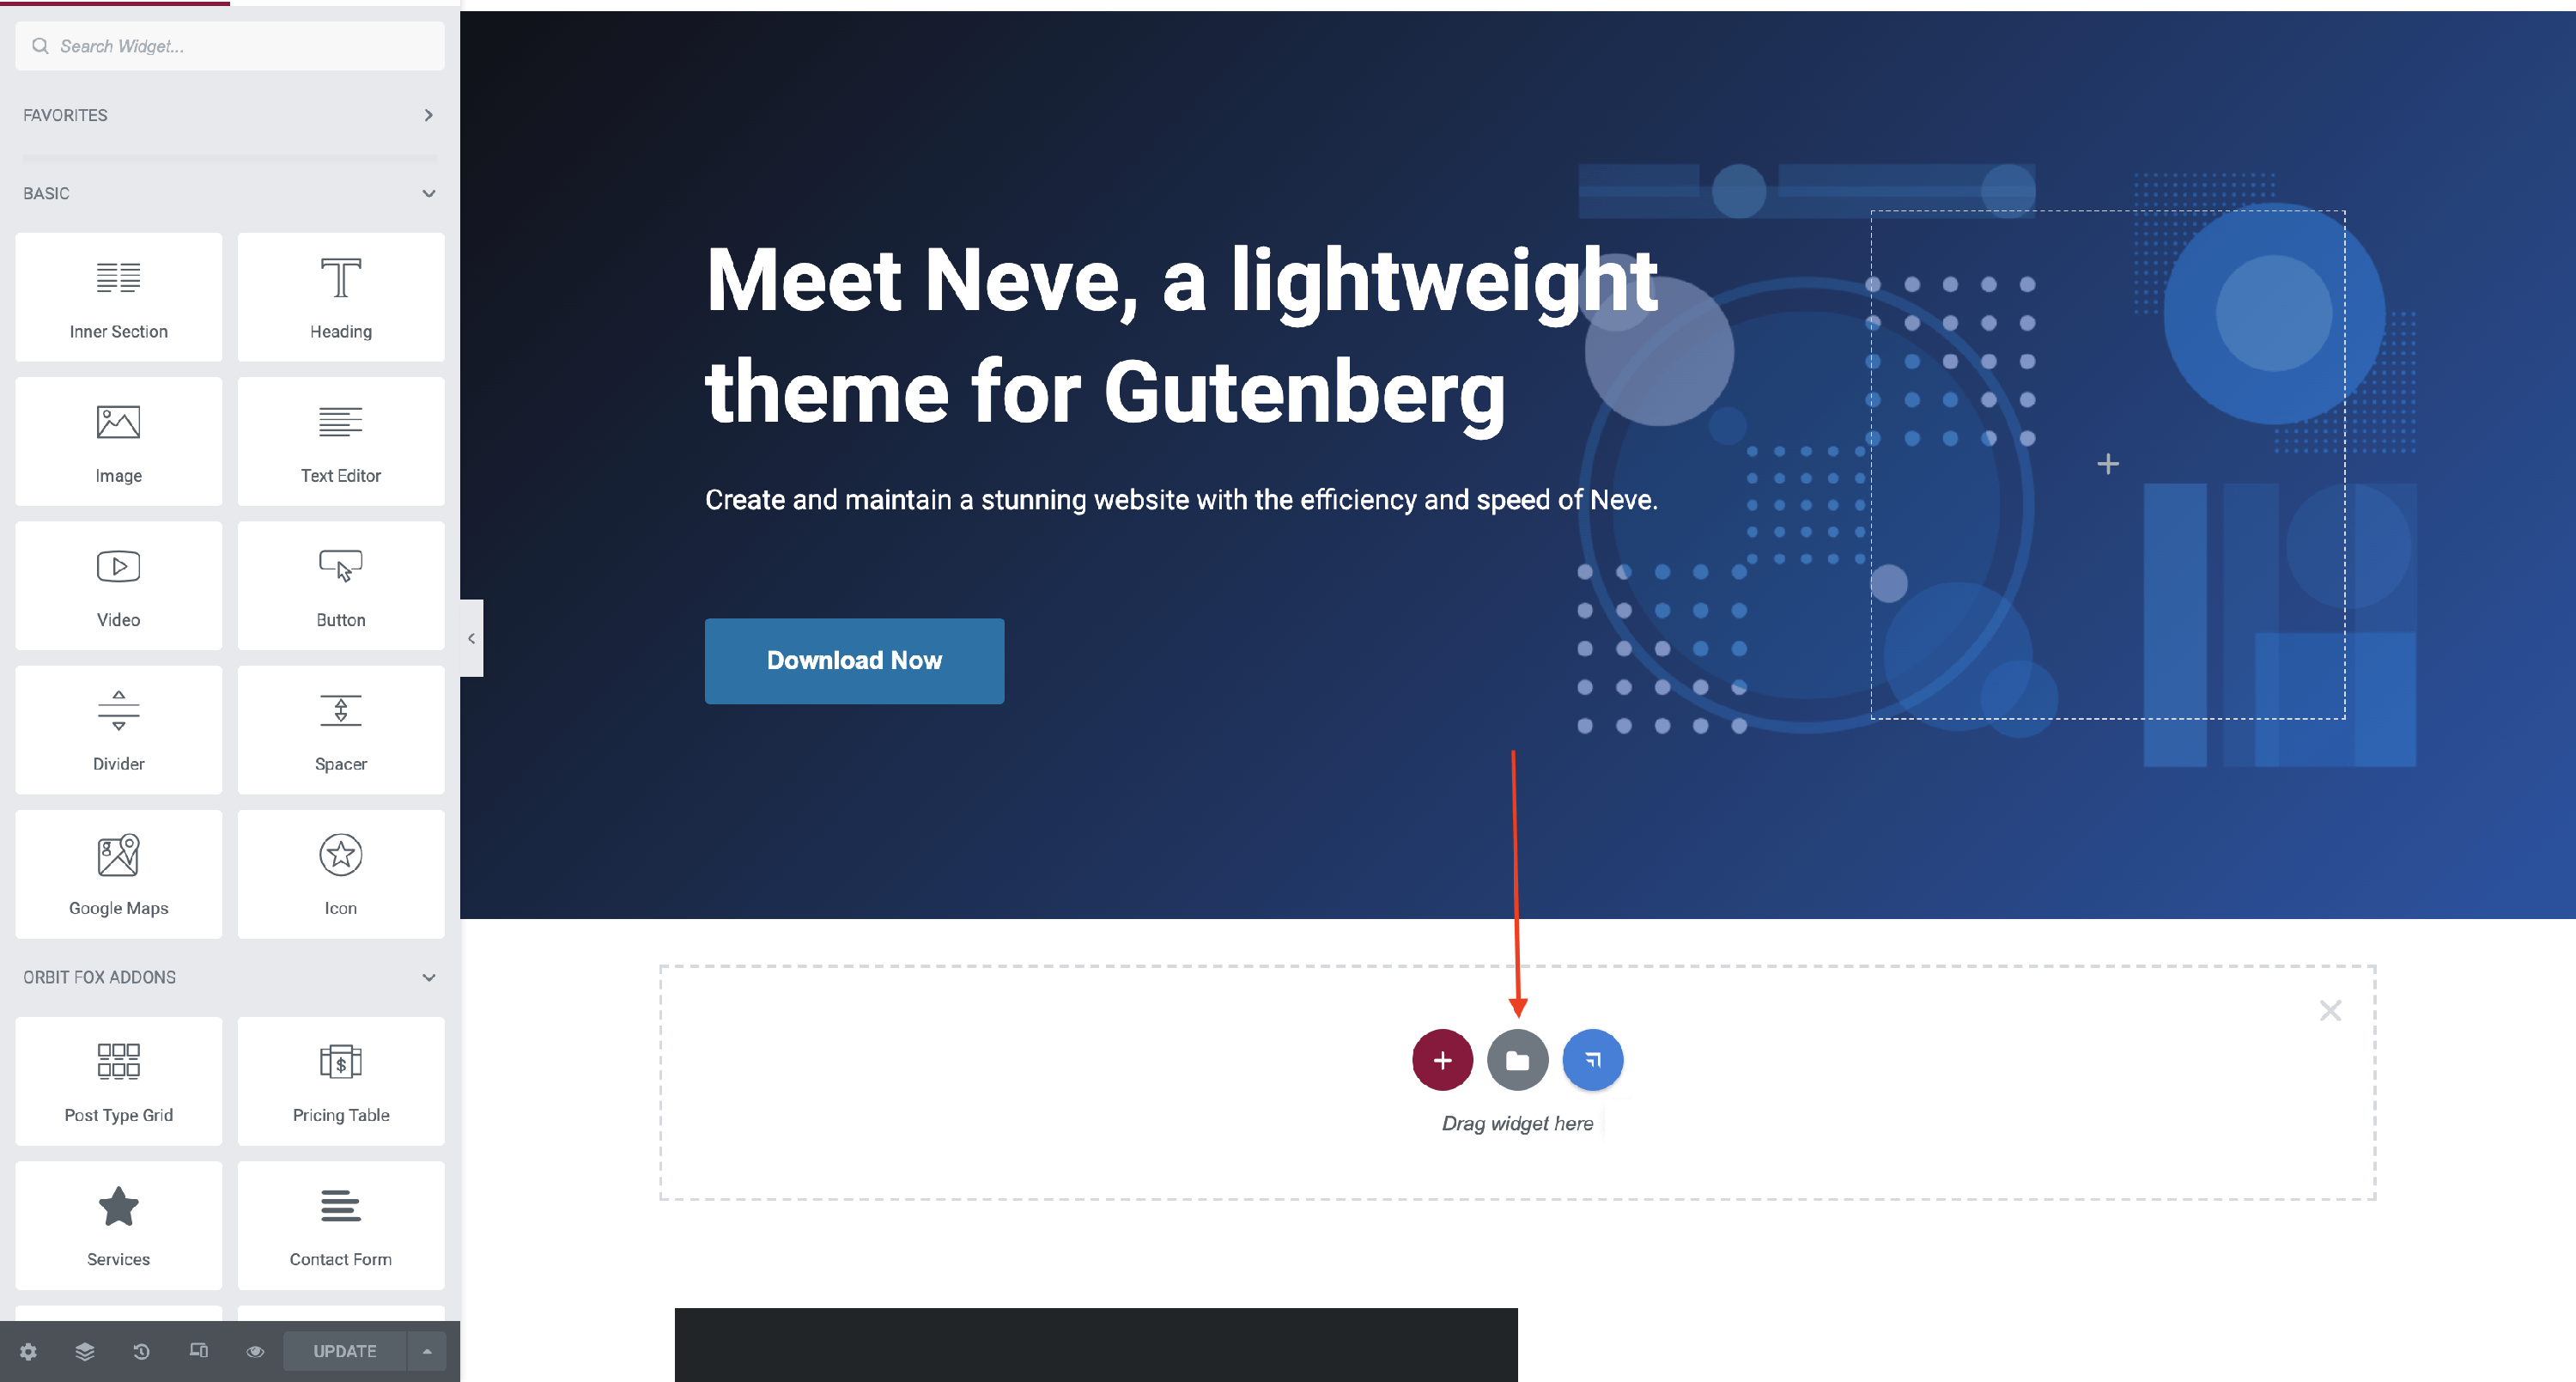
Select the page where you want to insert the template and click on Edit with Elementor. Once the page is opened, add a new section wherever you consider suitable and click on the 🗂 icon ( this means Templates Library ).
Step 7
A popup will appear, with three panels: Blocks, Pages, and My templates. In the last one ( 1 ) you will find the templated created in the steps above ( 2 ) and if you click on the Insert button ( 3 ), it will appear in the earlier section.

💡Result