Review Box Widget
📝 Note: The Review Box widget is part of Neve PRO's Elementor Booster module.
This article will present the following aspects of the Review Box widget, usually used for reviewing a product.
In this article
Adding the widget
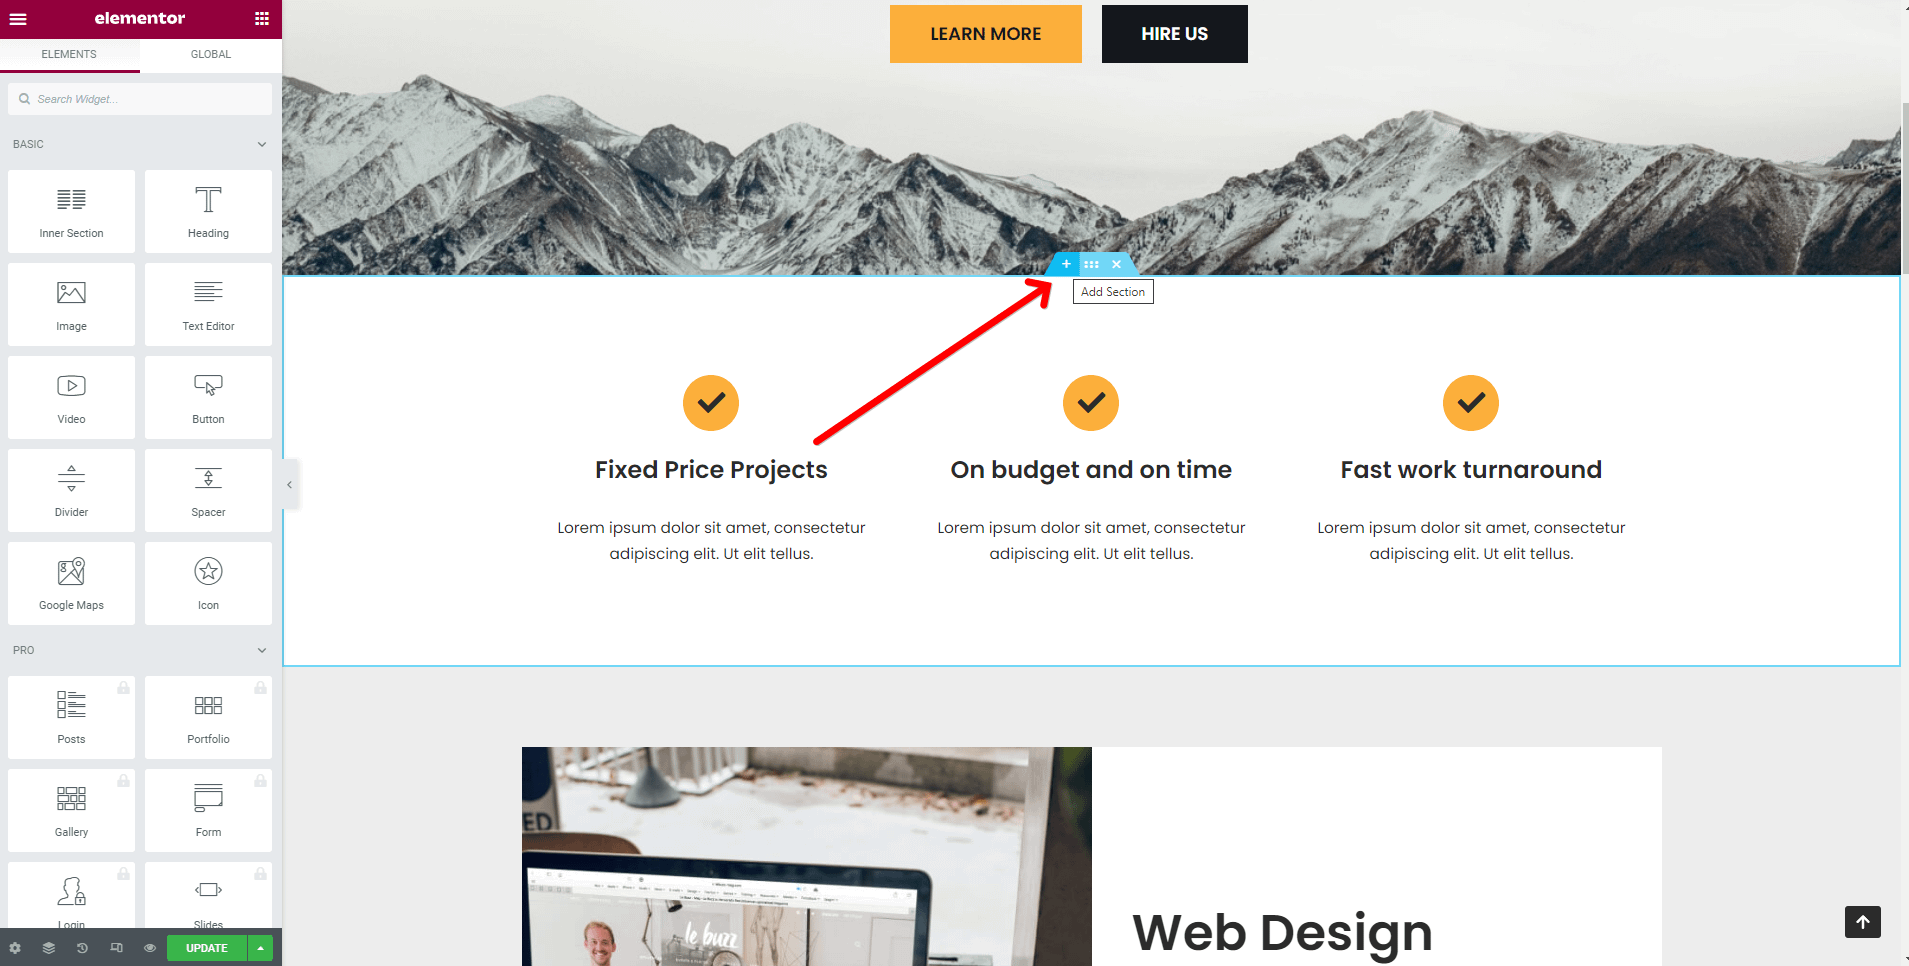
1. Once the Elementor Editor has been opened, click on the ➕ button to add a new section on the page.
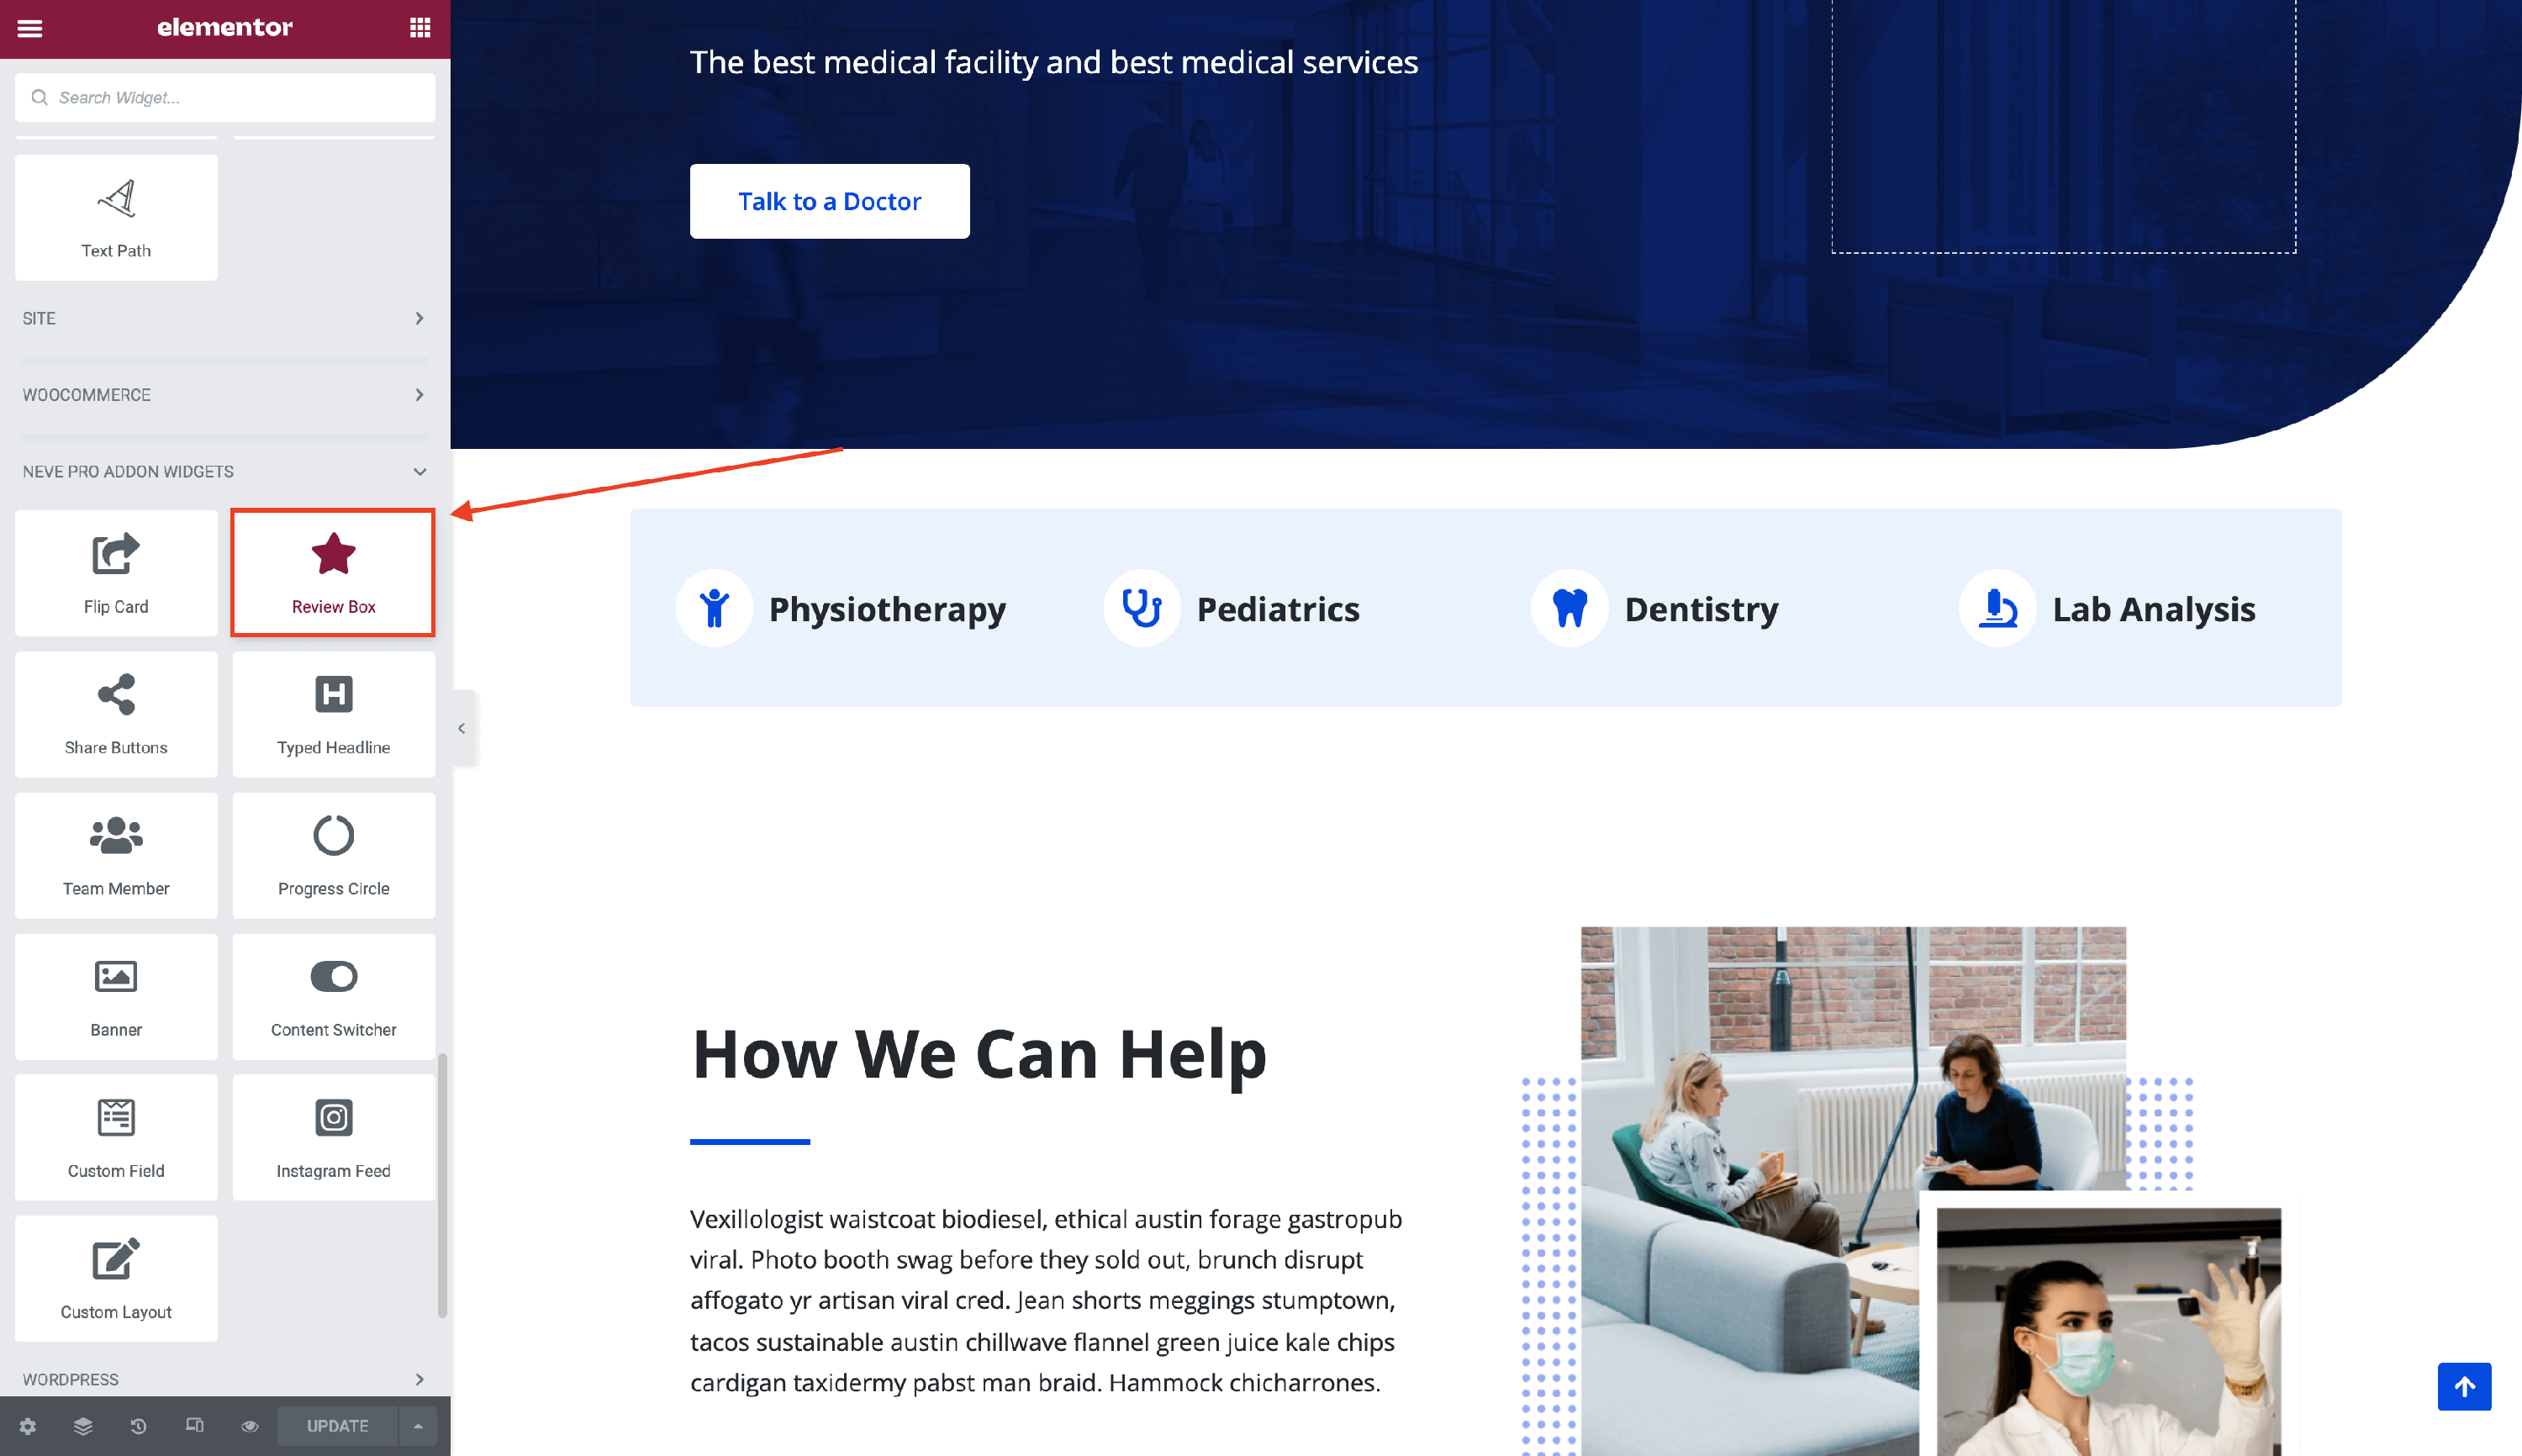
2. Add the Review Box widget from the Elementor Library by clicking on the ➕ button and navigate to the Neve Pro Addon Widgets.
Customizing the widget
The Review Box component is easily customizable and its options cover five areas:
Box Settings
This is the side that initially appears on the page. Here are the customizable options:
- Title - insert the name of the product.
- Price - insert the price of the product.
- Choose Image - insert a suitable image of the product.
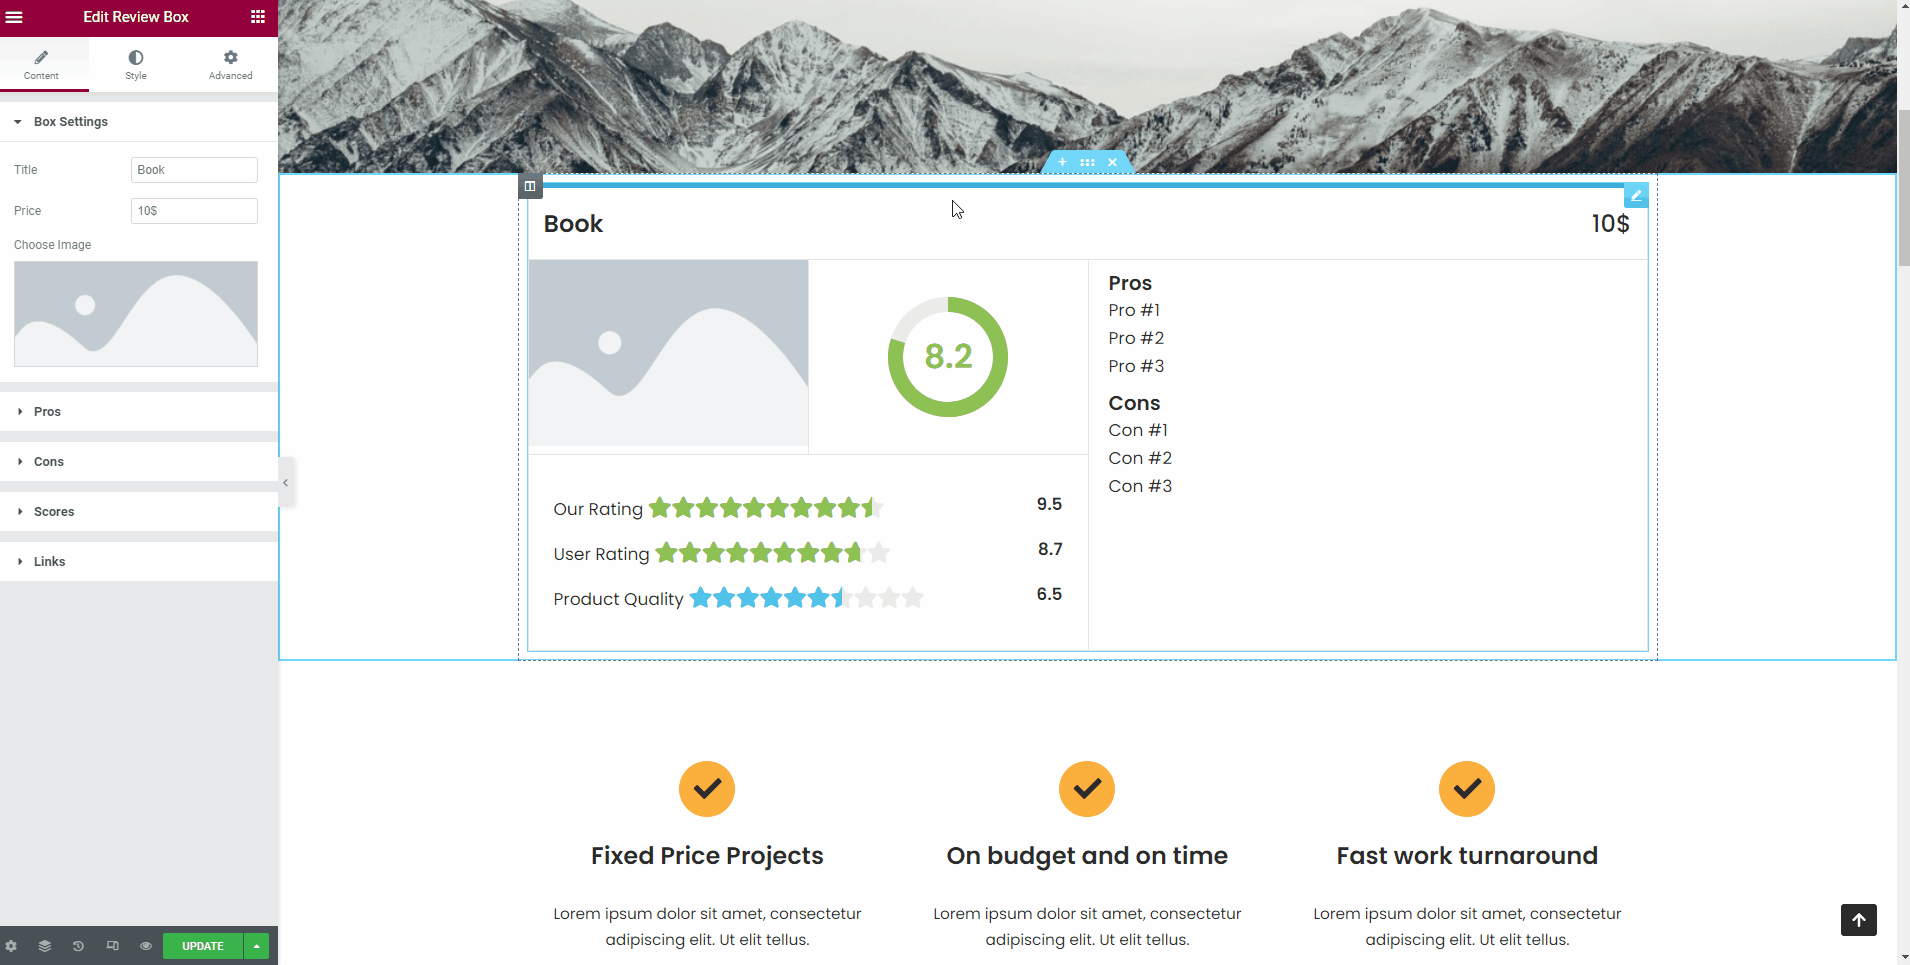
Pros
- Title - add the general title to be displayed for the Pro characteristics of the product.
- Add Item - insert a new Pro characteristic, by adding its name.
- Remove Item - click on the ❌ to remove one of the Pros.

📝Note: If you want to modify the title of a pro, click on the name from the panel. It will open the settings of that characteristic.
Cons
- Title - add the general title to be displayed for the Cons characteristics of the product.
- Add Item - insert a new Cons characteristic.
- Remove Item - click on the ❌ to remove one of the Cons.
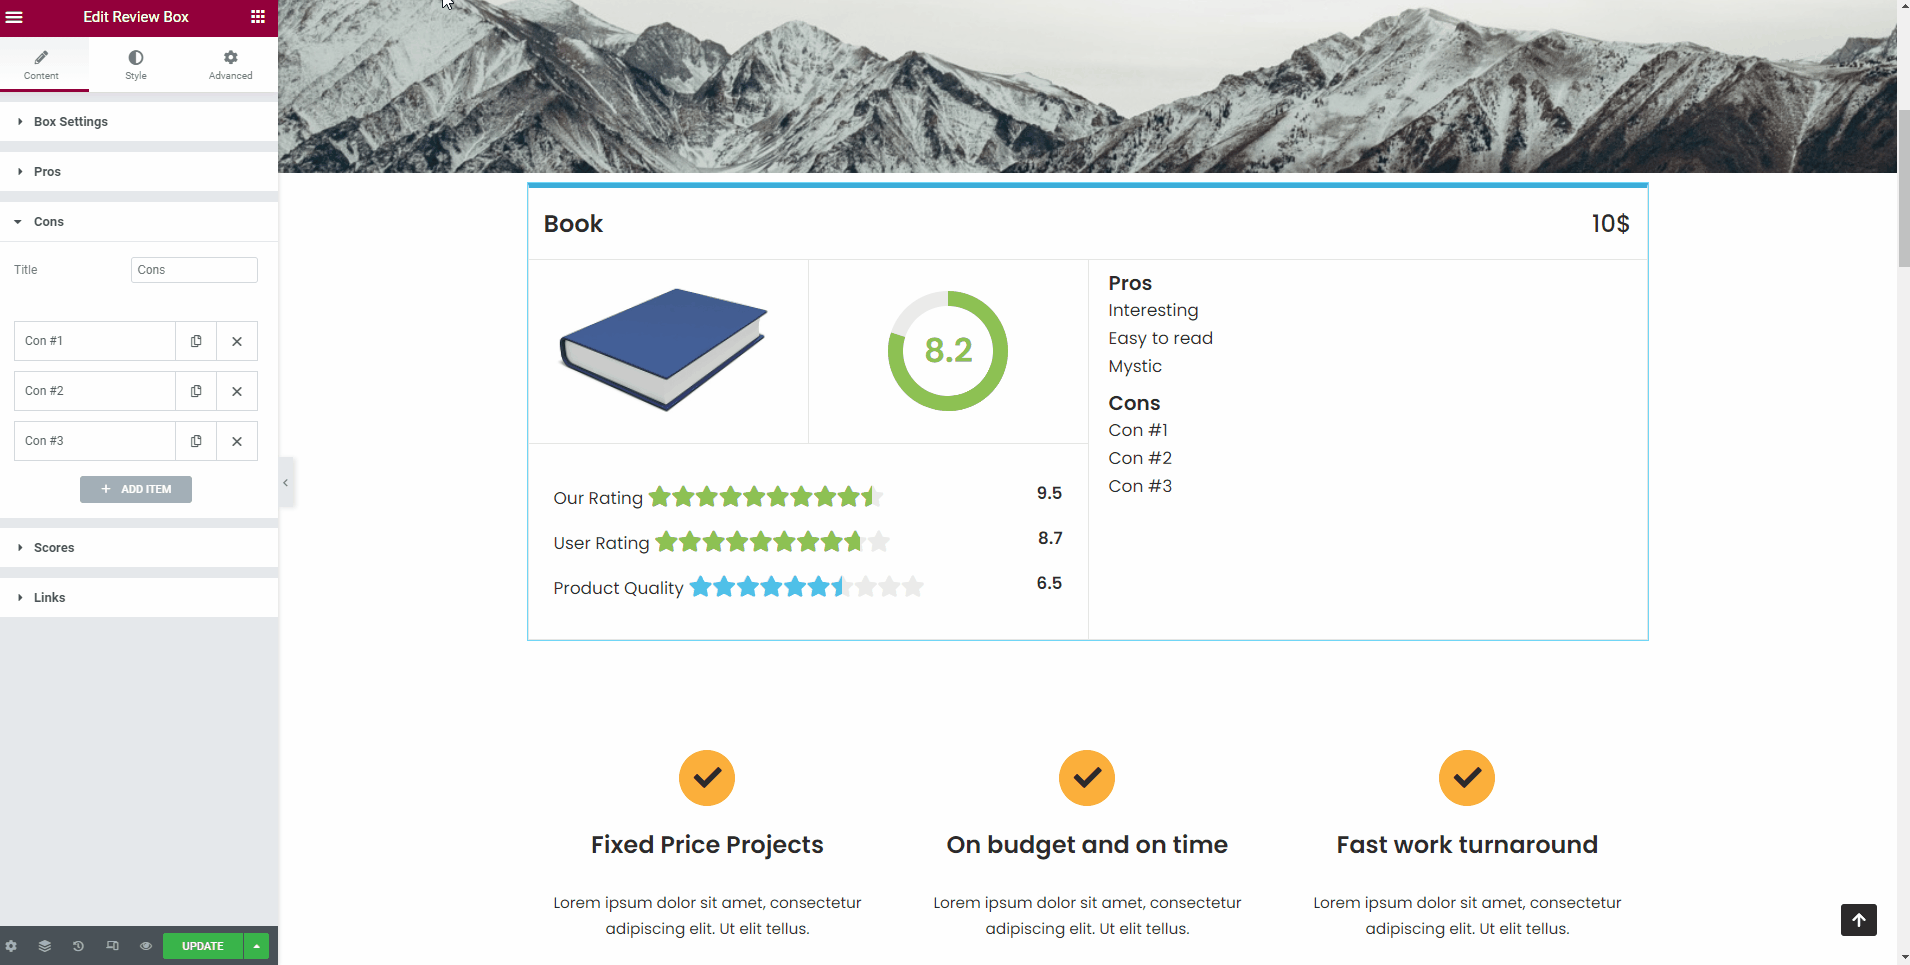
📝Note: If you want to modify the title of a con, click on the name from the panel. It will open the settings of that characteristic.
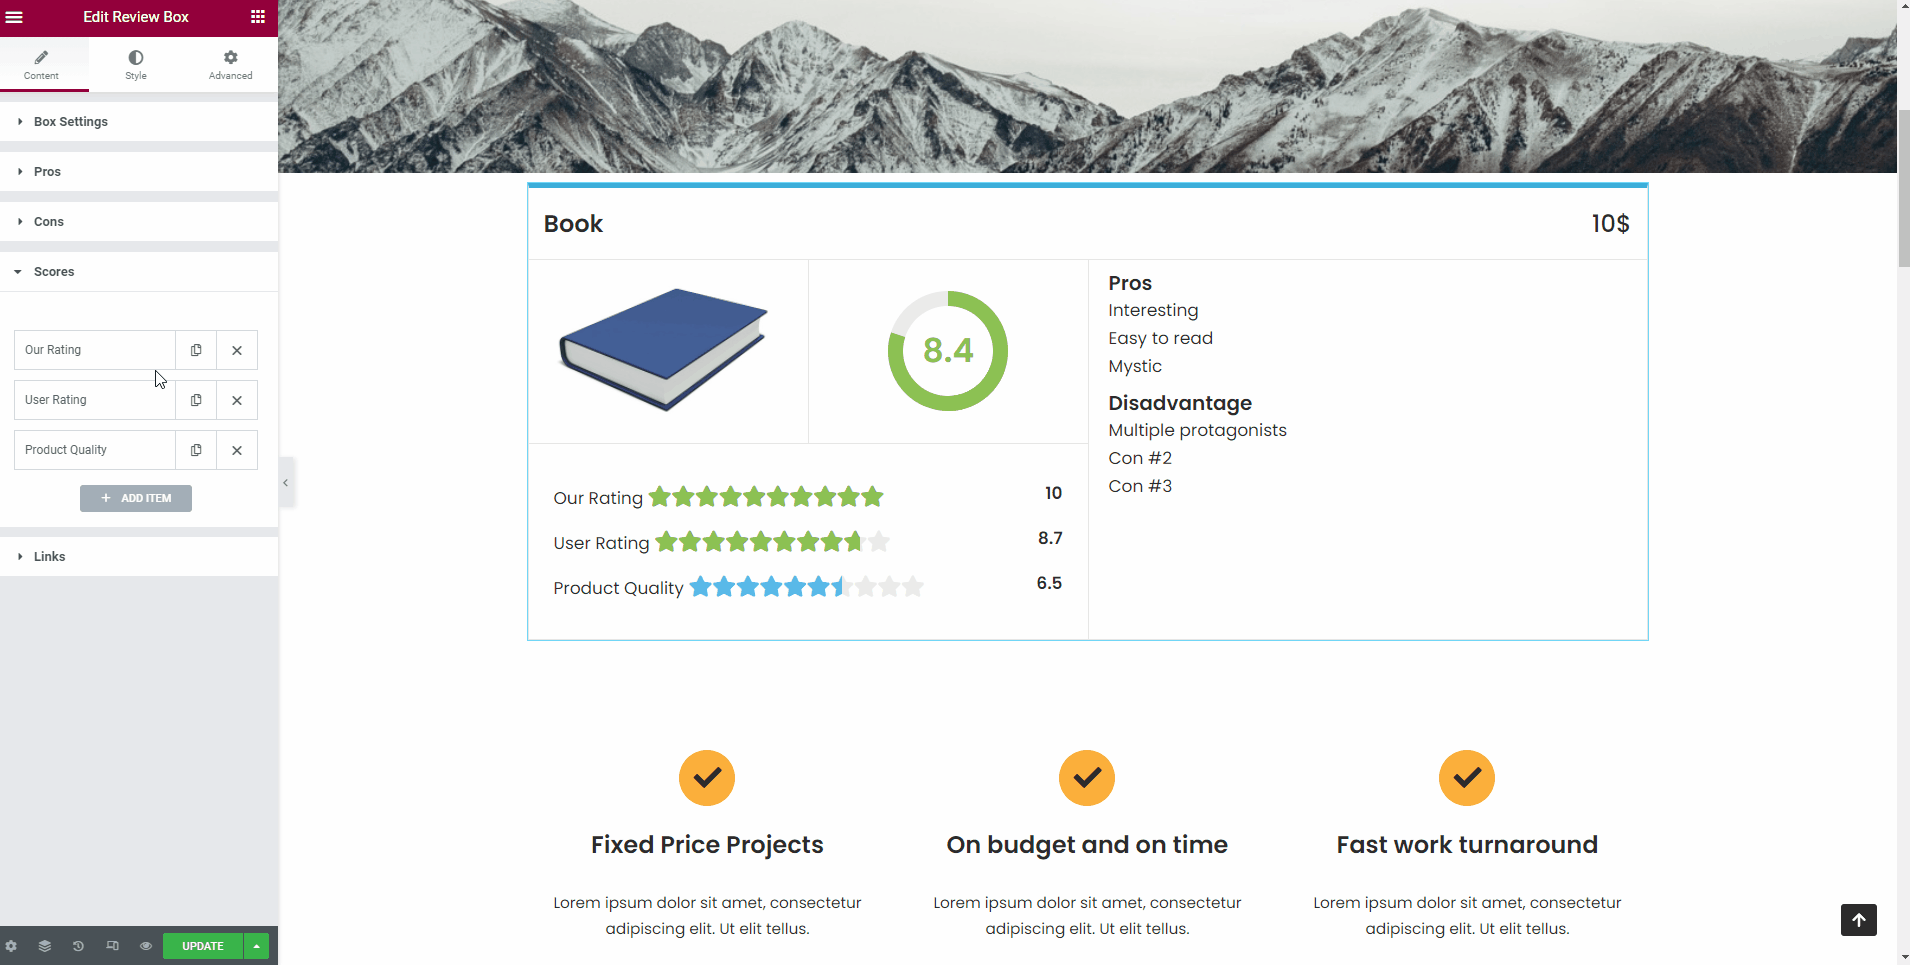
Scores
Score Label - add a title for the rating ( e.g. Our Rating / User Rating ).
Score - use the slider to define a score for the product.
Icon - upload the desired icon to define the scores ( e.g. stars ).
- Upload a SVG or use one of the Icon Library.
Add Item - insert as many scores categories as you need.
Links
- Link type - there are two types of links:
- Link on review title - insert the specific URL.
- Buttons - link the review to some external custom links. Choose an alignment ( left / center / right ) and typography.
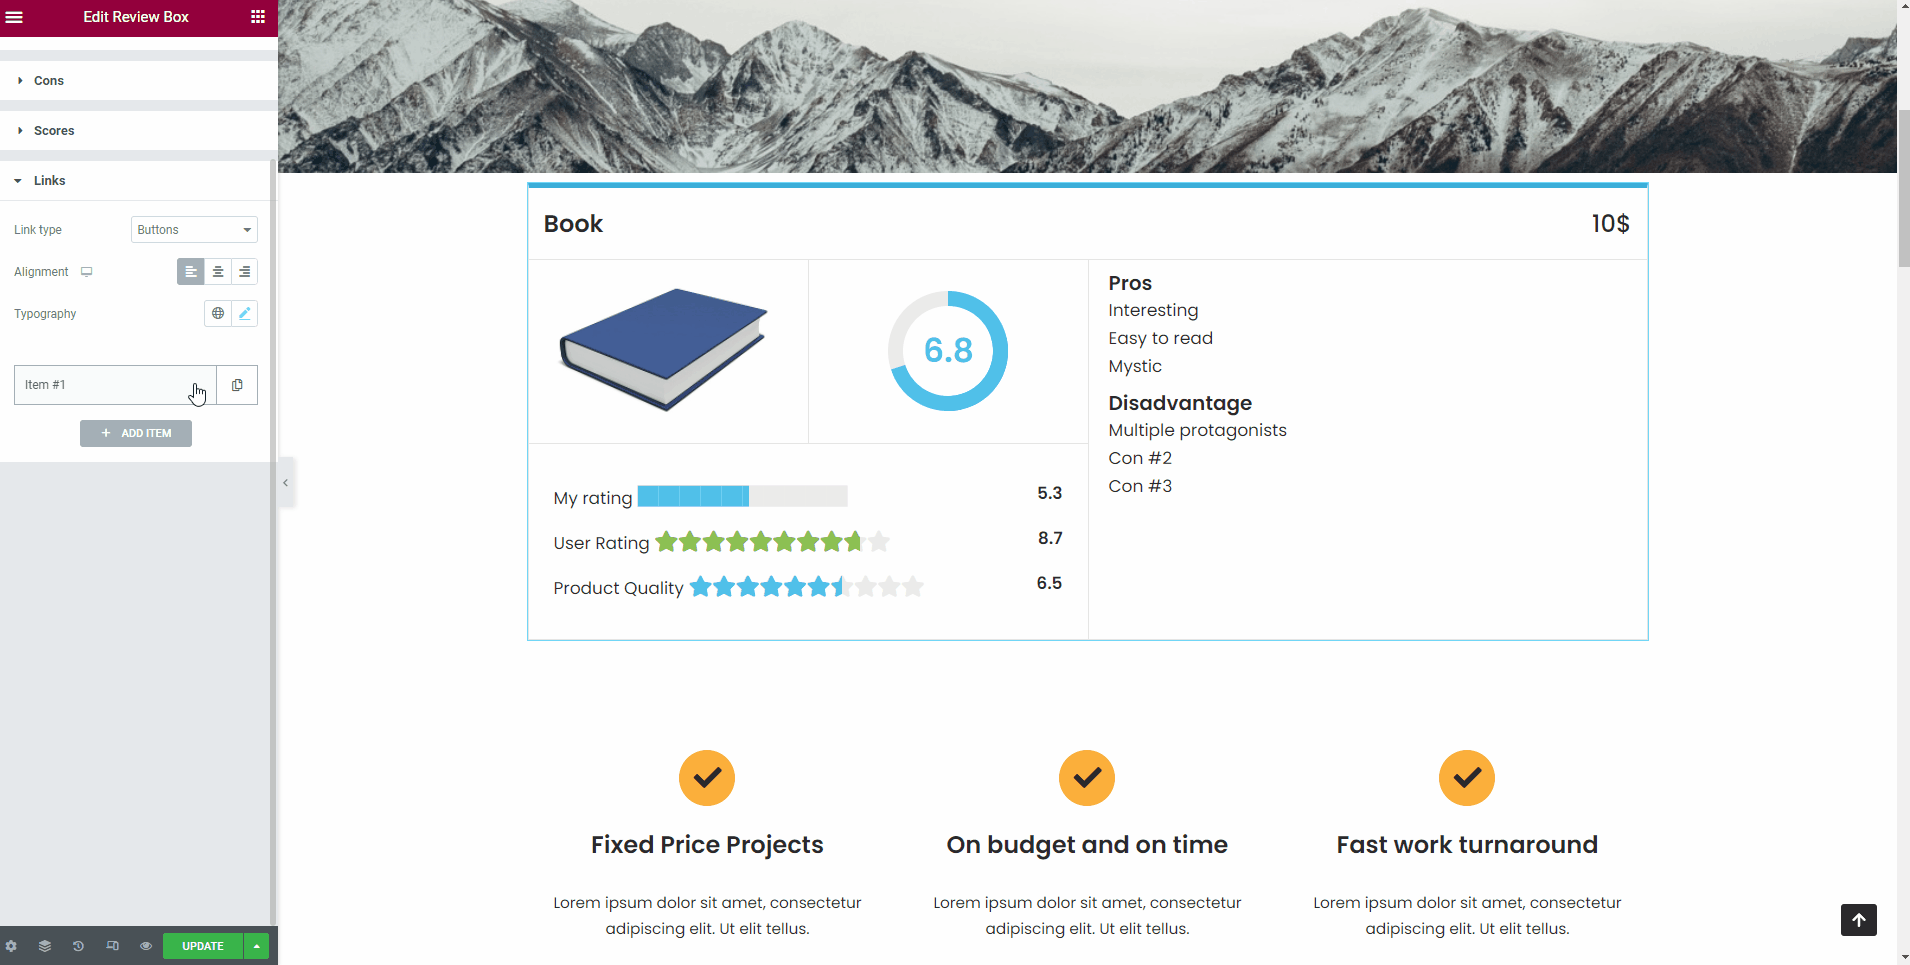
📝Note: After selecting the global settings for the link / button, click on the "Add Item" button, to insert the needed details.
Styling the widget
After building the widget content, you can go ahead and customize it. Click on the Style tab to explore the options:
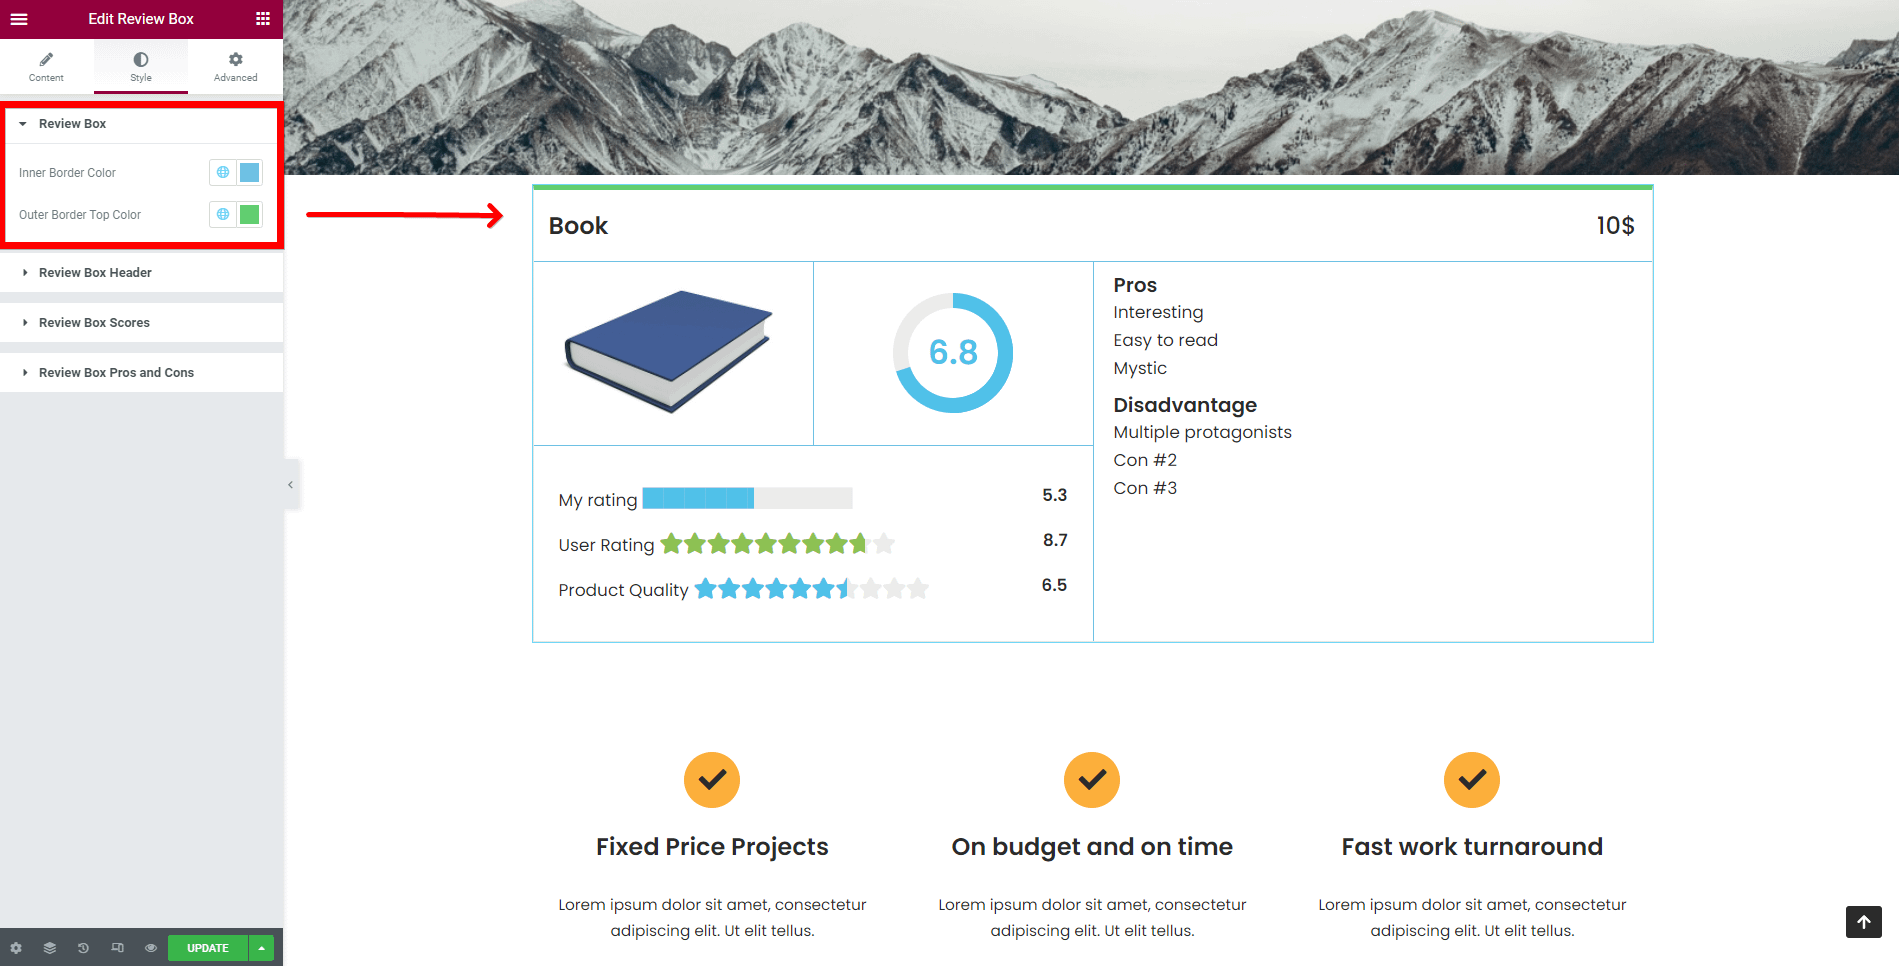
- Review Box - refers to the global appearance of the box.
- Inner Border Color - set a color for the inner border of the review box.
- Outer Border Top Color - set a color for the outer border of the review box ( this one will be more visible than the inner border ).
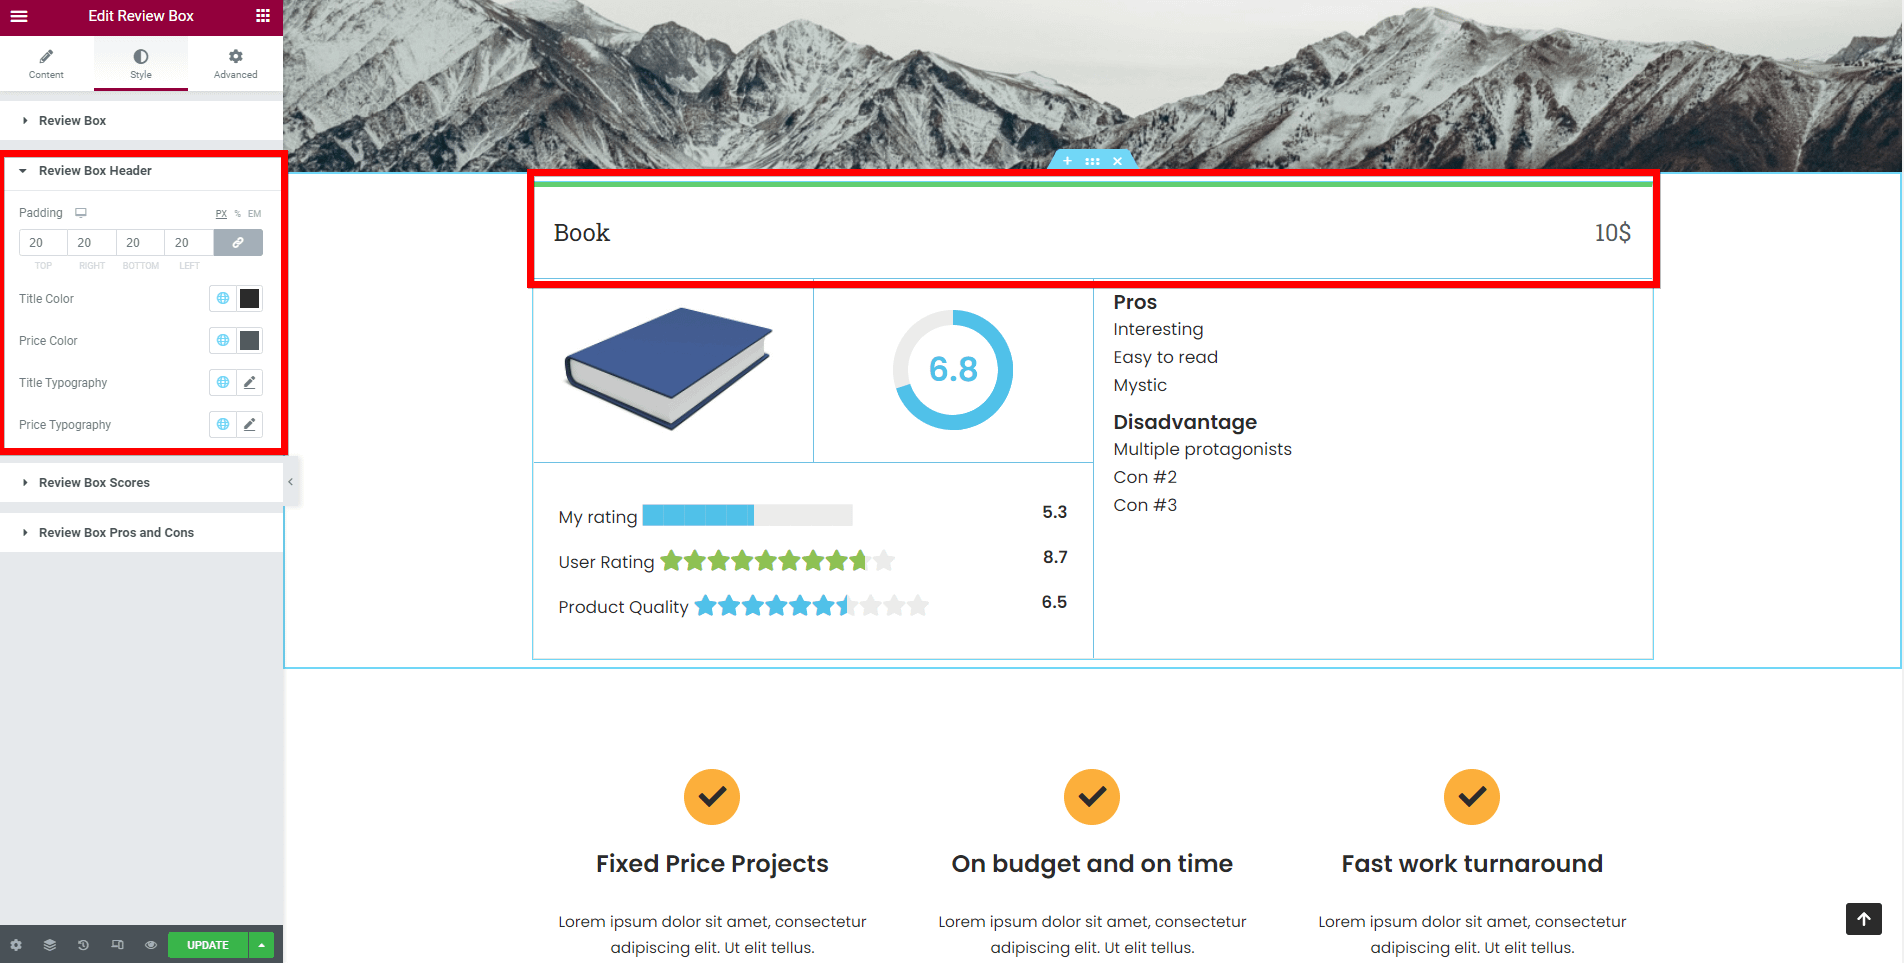
- Review Box Header - refers to the header area ( where stays the title and price ).
- Padding
- Color settings - with the possibility to choose from Neve's Global Colors or add a custom one, for the following areas:
- Title / Price.
- Typography - with the possibility to choose from Neve's Global Fonts or add a custom one, for the following areas:
- Title / Price.
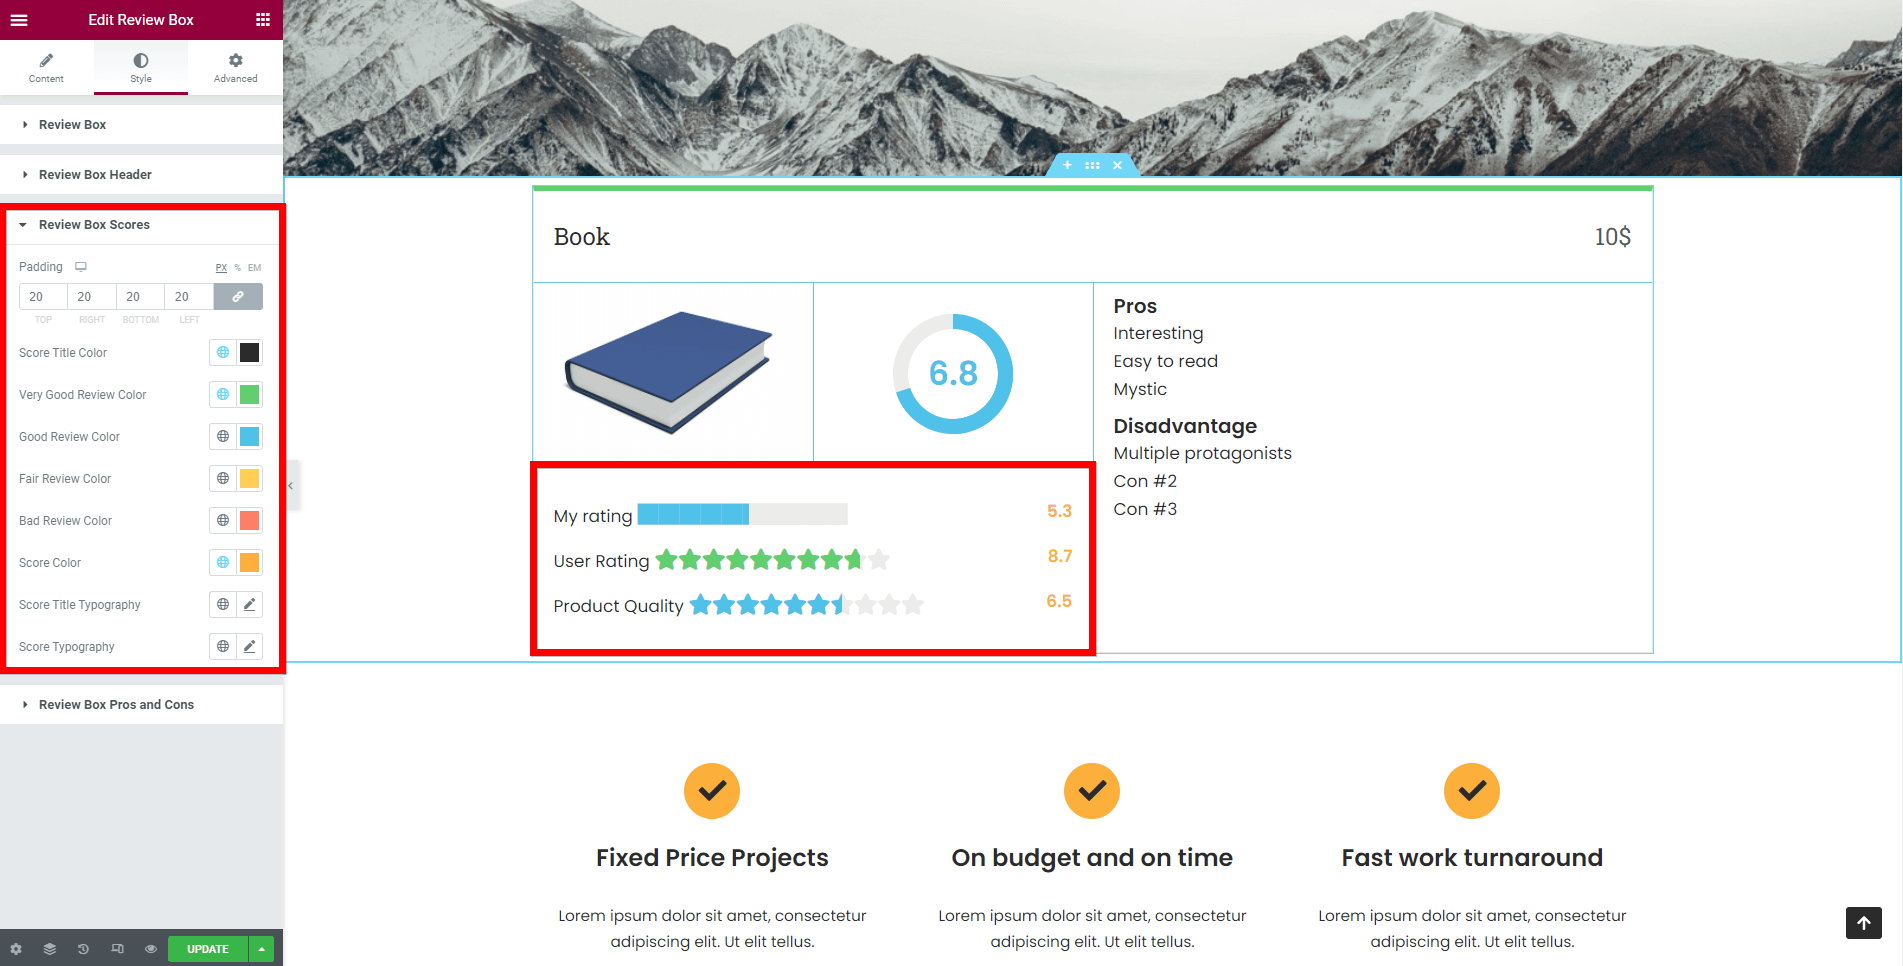
- Review Box Scores - refers to the left side of the review box, that contains the scores.
Padding
Color settings - with the possibility to choose from Neve's Global Colors or add a custom one, for the following areas:
- Score Title / Very Good Review / Good Review / Fair Review / Bad Review / Score.
Typography - with the possibility to choose from Neve's Global Fonts or add a custom one, for the following areas:
- Score Title / Score.
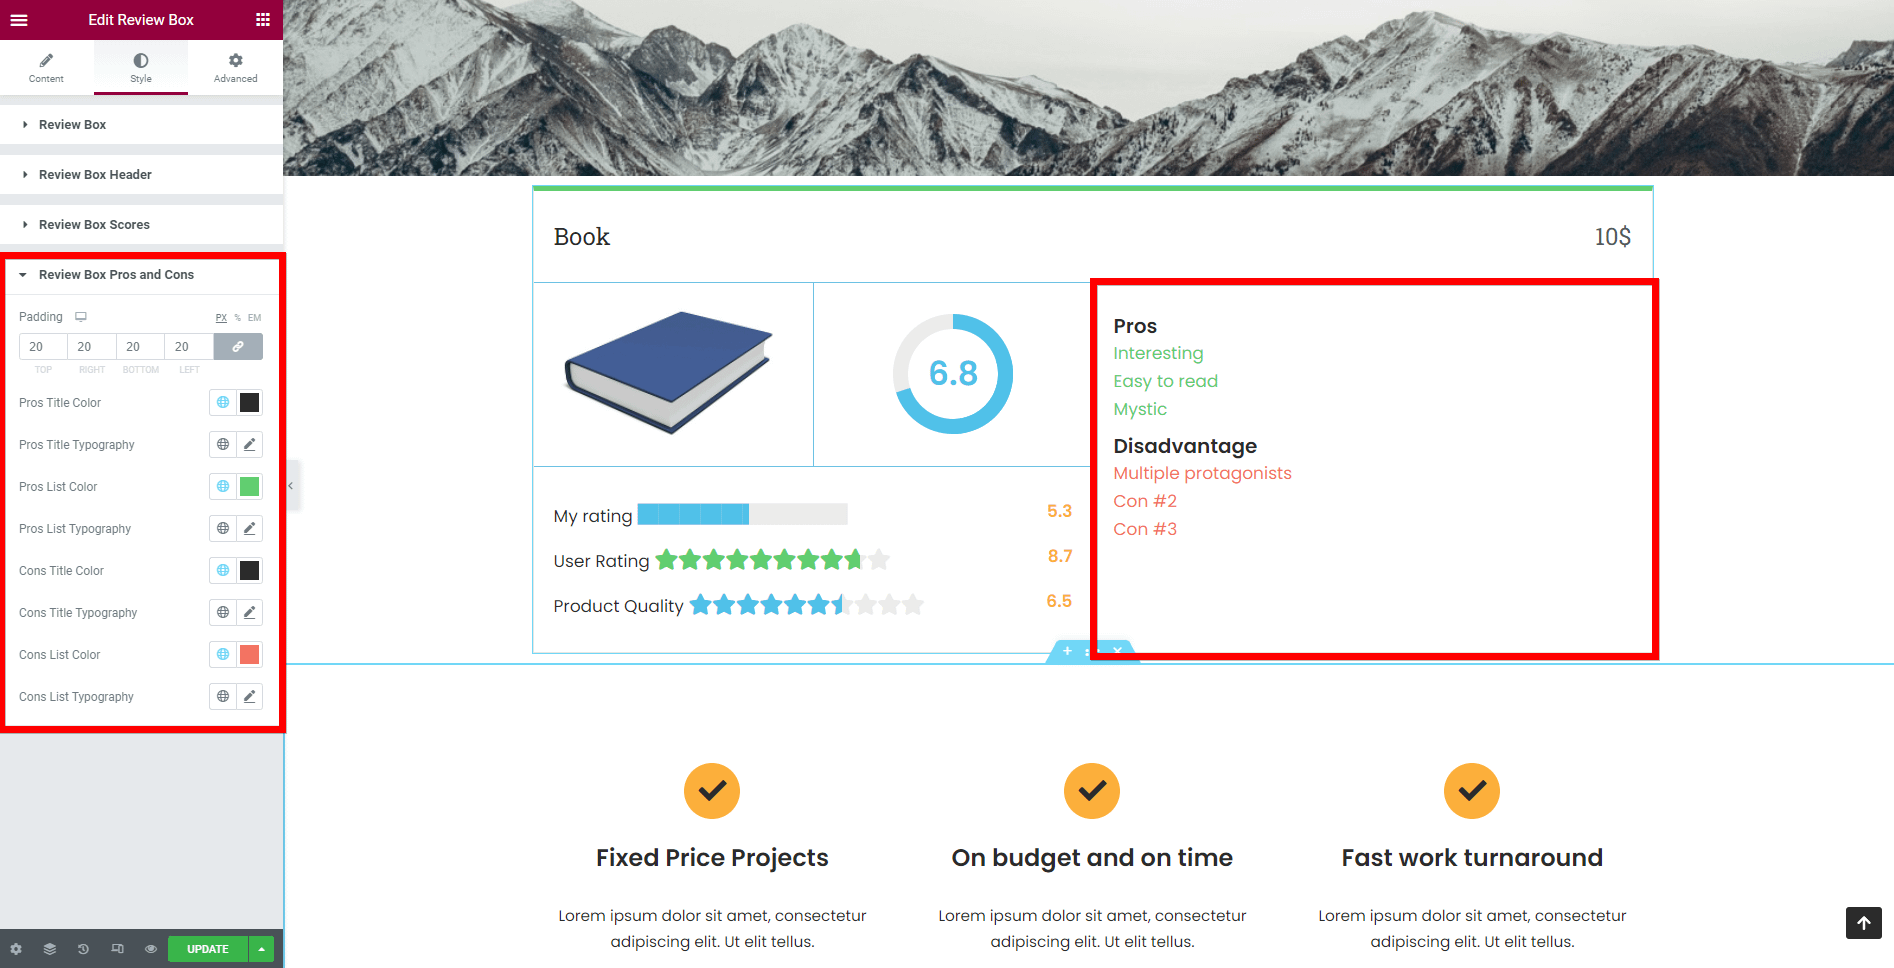
- Review Box Pros and Cons - refers to the right side of the review box, that contains the Pros and Cons.
- Padding
- Pros Title settings
- Color / Typography
- Pros List settings
- Color / Typography
- Cons Title settings
- Color / Typography
- Cons List settings
- Color / Typography
📌 Now, that the widget is almost ready, you can go on to the Advanced tab, if you want to add motion effects, advanced effects, content protection, background or make the page responsive.
After finishing all the editing, click on Publish to see your work live.