Team Member Widget
📝 Note: The Team Member widget is part of Neve Pro's Elementor Booster module.
The Team Member widget presents members' information in an interactive way.
In this article
Adding the widget
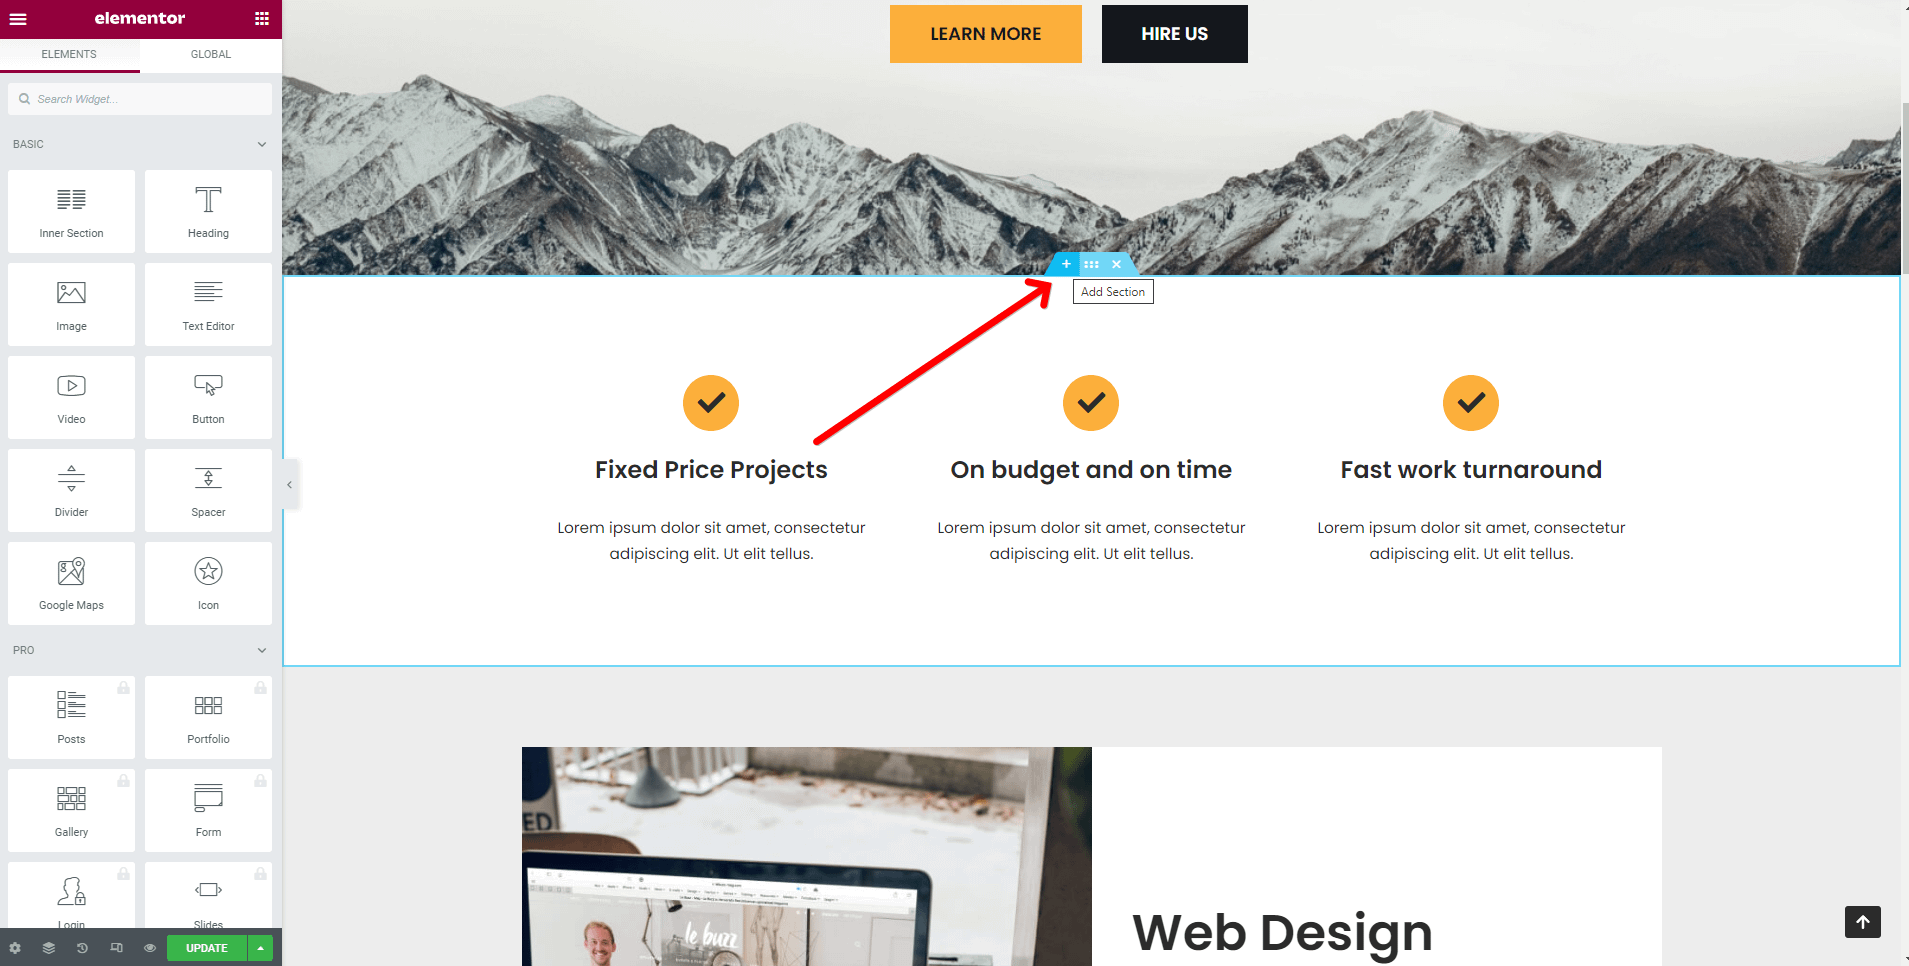
1. Once the Elementor Editor has been opened, click on the ➕ button to add a new section on the page.
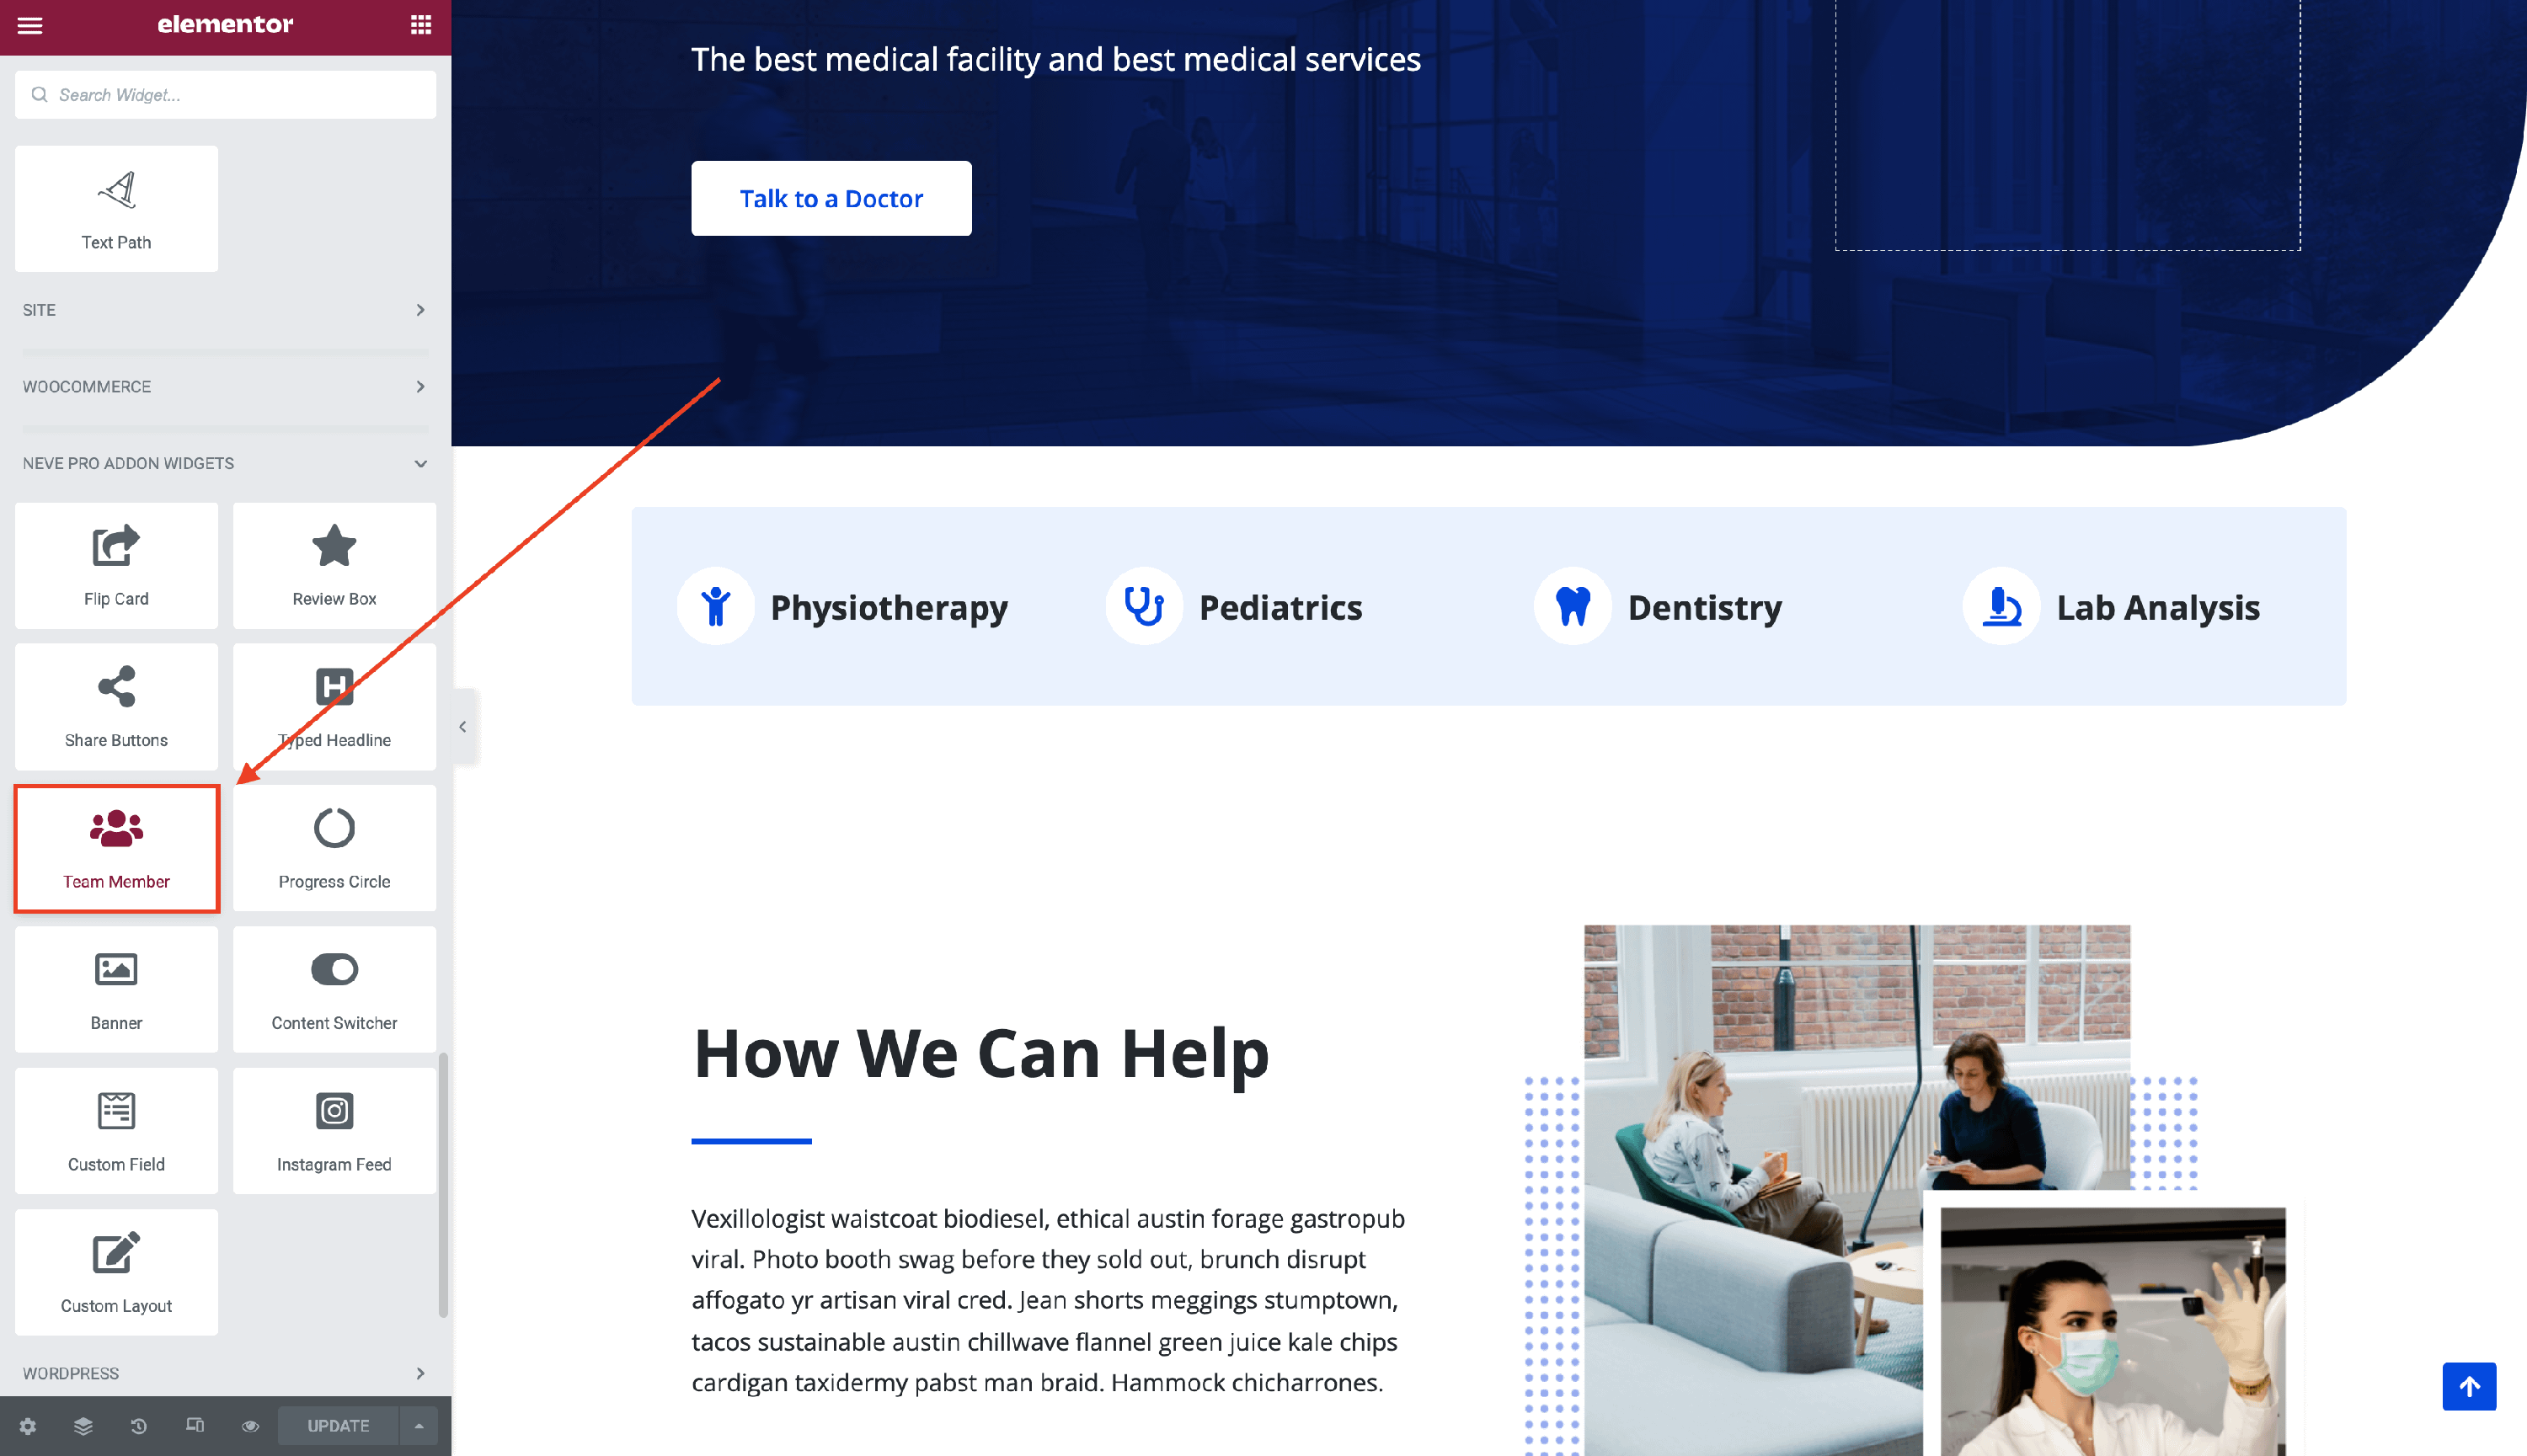
2. Add the Team Member widget from the Elementor Library by clicking on the ➕ button and navigate to the Neve Pro Addon Widgets.
Customizing the widget
The Team Member component is easily customizable and its options cover three areas:
Image
- Photo - upload the desired photo of the team memeber.
- Image Size - select one of the dimensions from the dropdown list.
Content
- Enable link - attach a link to one of the objects:
- Image / Title / Image and Title
- Name - type the name of the team member or use the dynamic tags ( just for the PRO version of the Elementor ).
- Job Title - type the job title of the team member or use the dynamic tags ( just for the PRO version of the Elementor ).
- Short Bio - insert a short biography of the team member or use the dynamic tags.
- Title HTML Tag - choose one of the tags for the title, to resize the name using the headers H1 to H6.
- Alignment - choose an orientation for the team members' details. You can set them differently for each device ( Desktop | Tablet | Mobile ).
Social Profiles
- Show Profiles - enable or disable the social media profiles.
- Add Item - insert a profile name from the list, a profile link, and play with the customizations, by adding text and background colors on normal and hover mode.
- Remove - delete a link by clicking on the ❌ button.
Styling the widget
After building the widget content, you can go ahead and customize it. Click on the Style tab to explore the options:
- Photo - adjust the photo using the settings available there.
- Width
- Height
- Bottom Spacing
- Padding
- Border Type
- Box Shadow
- Background Color
- Force Round Avatar - To make the image rounded, enable the Force Round Avatar toggle, and play with the Image size option to make the image as big or small as needed.
- Border Radius
- Name, Job Title & Bio - modify the content using the settings available there.
- Content Padding
- Bottom Spacing
- Text Color
- Typography
- Text Shadow
- Social Icons - improve the social icons using the settings available there.
- Right Spacing
- Padding
- Icon Size
- Border Type
- Border Radius
- Text / Background color
📌 Now, that the widget is almost ready, you can go on to the Advanced tab, if you want to add motion effects, advanced effects, content protection, background, or make the page responsive.
After finishing all the editing, click on Publish to see your work live.