How to add widgets in the header of Neve
Neve comes with its own builder for the header and footer areas of your site, which can be used to create your perfect header and footer with just a few drag-and-drops. The builder uses a predefined list of components to be used, like buttons, menus, search icons, and so on, but it can easily be expanded to allow any element, using Widgets.
📝Note: The PRO version of Neve, which you can get from here, has an inbuilt solution for this, through the Widget Component, available in three instances.
To add any widget to the Header Builder, follow the steps below:
Step 1
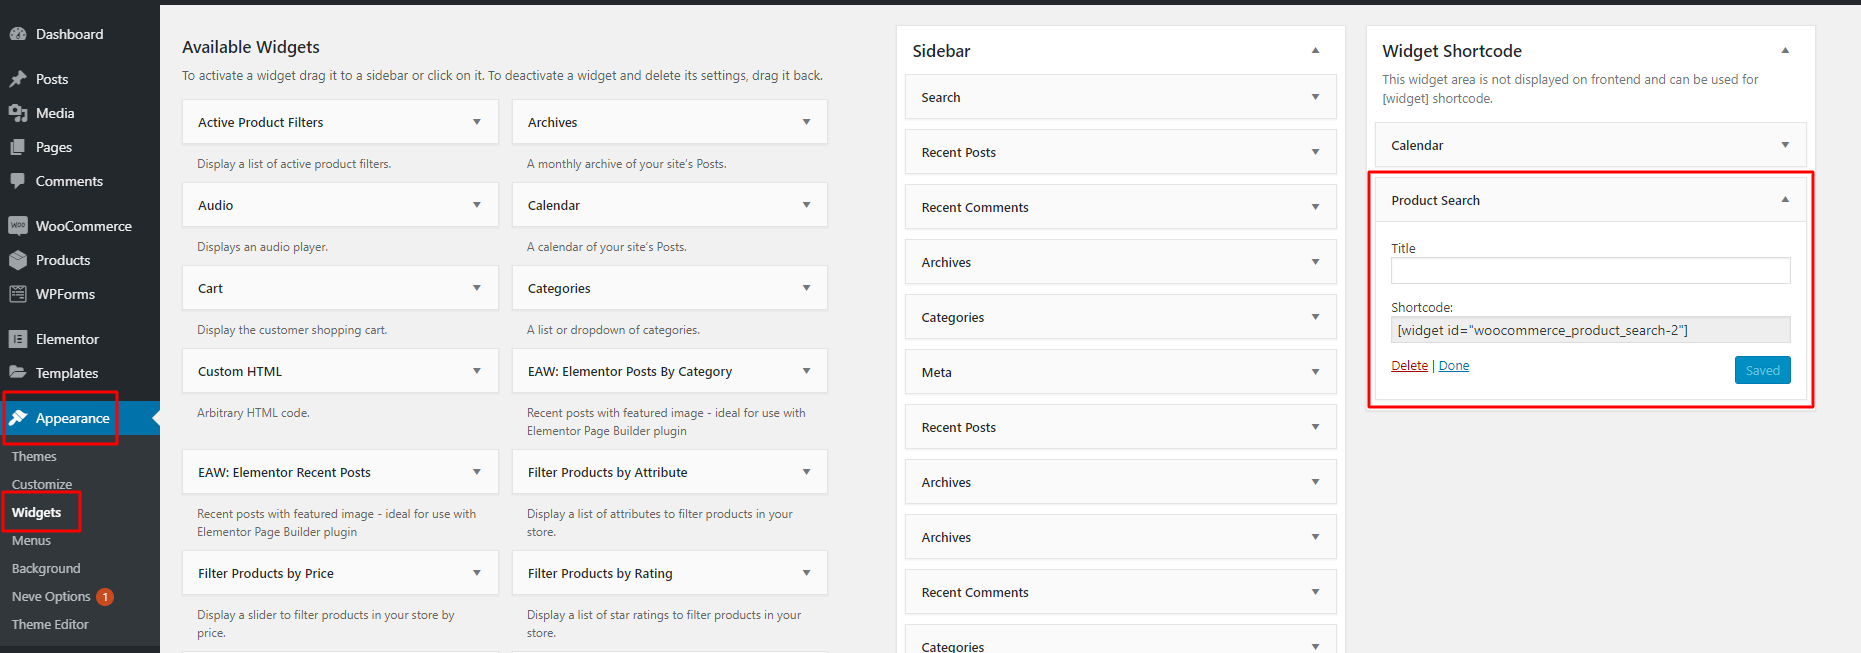
Install and activate the Widget Shortcode plugin.
Step 2
Add the widgets you want to have in the Header to the newly created Widget Shortcode sidebar in Appearance > Widgets and make sure you save them.
Step 3
Add an HTML element in the Header builder and populate it with the newly created widget shortcodes.
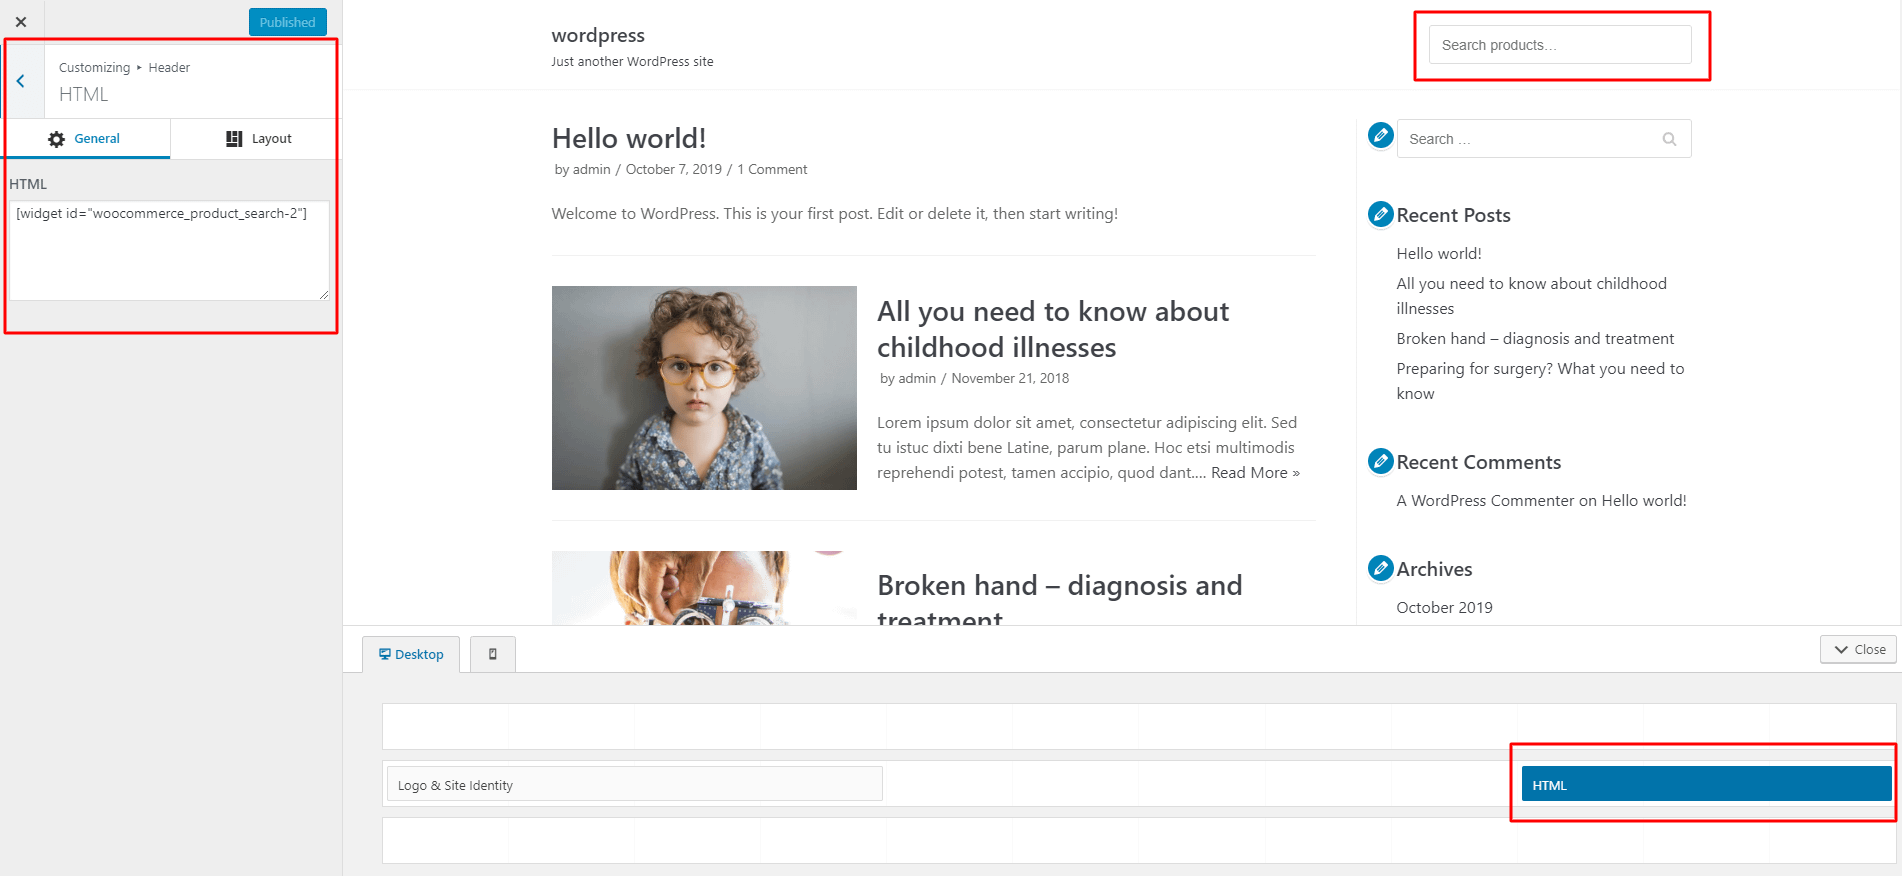
Enjoy your new header 😌
📝Note: Some WooCommerce widgets, like the Filter Products by Attribute widget, for example, don't render on other pages than the Shop page.