How to migrate a WordPress site from one server to another
There are 2 scenarios that you can follow in order to migrate a website, using plugins:
- first - using the Duplicator plugin
- second - using UpdraftPlus plugin
First Scenario - using the Duplicator plugin
The Duplicator plugin is the best free alternative and an extremely popular backup and migration plugin.
Step 1:
Download and Install the plugin.
Check this documentation about how to install a WordPress plugin.
Step 2:
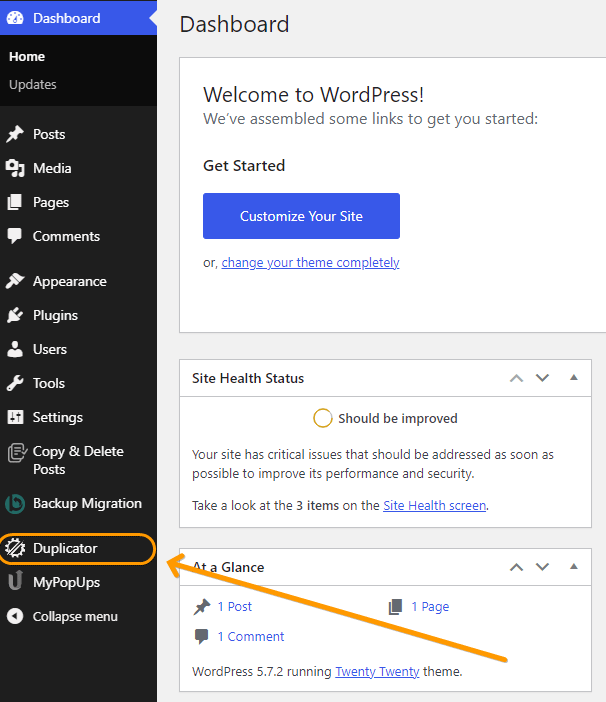
Go to Dashboard > Duplicator.
Step 3:
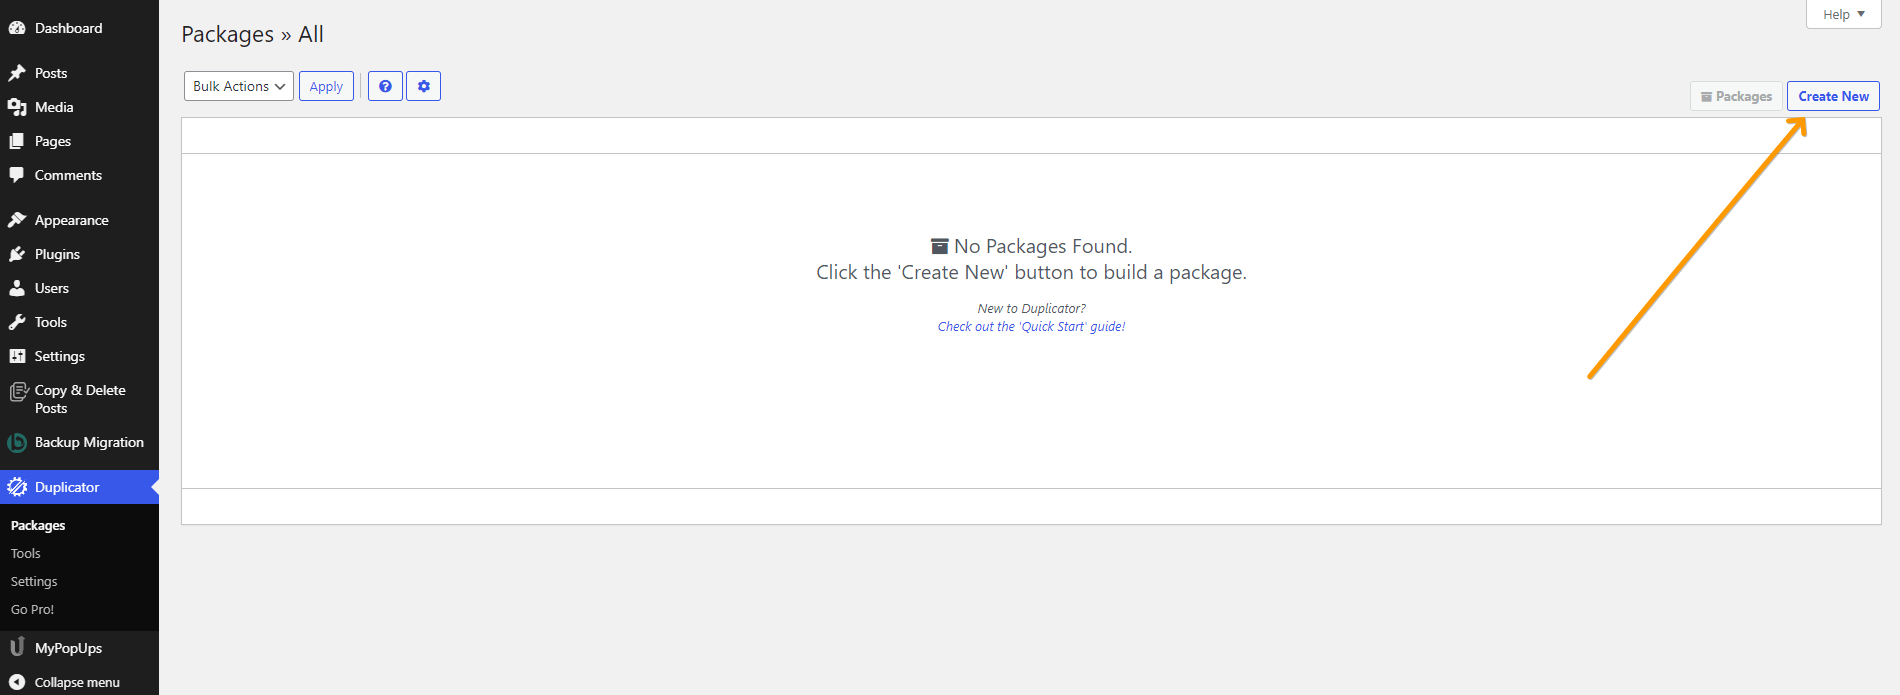
You’ll enter the main setup screen. Create a package by clicking the Create New button.
Step 4:
The plugin will perform a scan of the server, files, and database to detect any possible issues, then click on the Build button.
It’s not mandatory for all the checks to pass to build the package, but it’s good to be aware of them as they can cause problems in some cases.
Step 5:
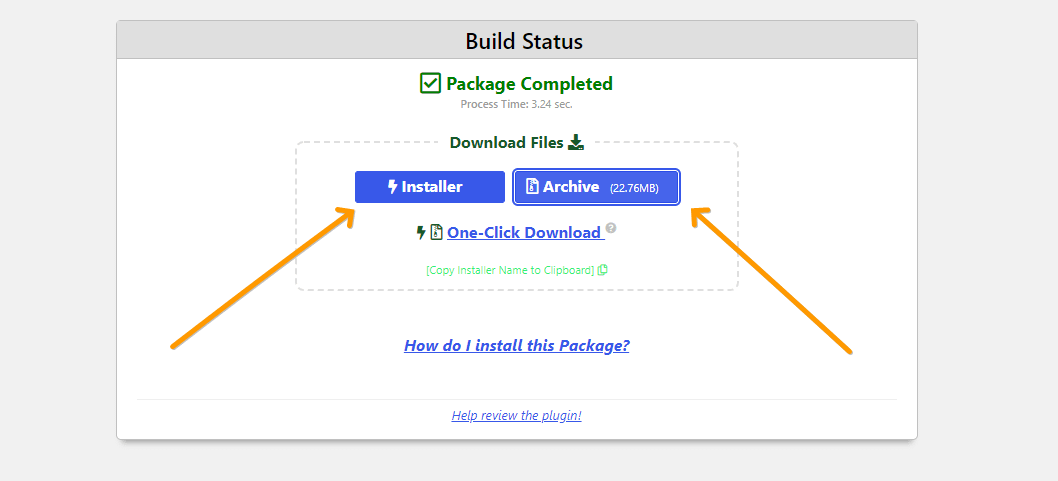
Now, the software will backup your whole site to a single file.
After completing the process, you will get a download button for an installer (.php file) and for the archive you just created (a zip file). Download both of them.
Step 6:
Login to your FTP and upload the "installer.php" and "archive" zip files.
Make sure both files are in the same directory.
Step 7:
Launch the installer.php file.
Notice that the new address will be: “http://[localhost]/[directory_name]/ installer.php”.
Step 8:
After launching, this is the resulted page, containing the Deployment phase:
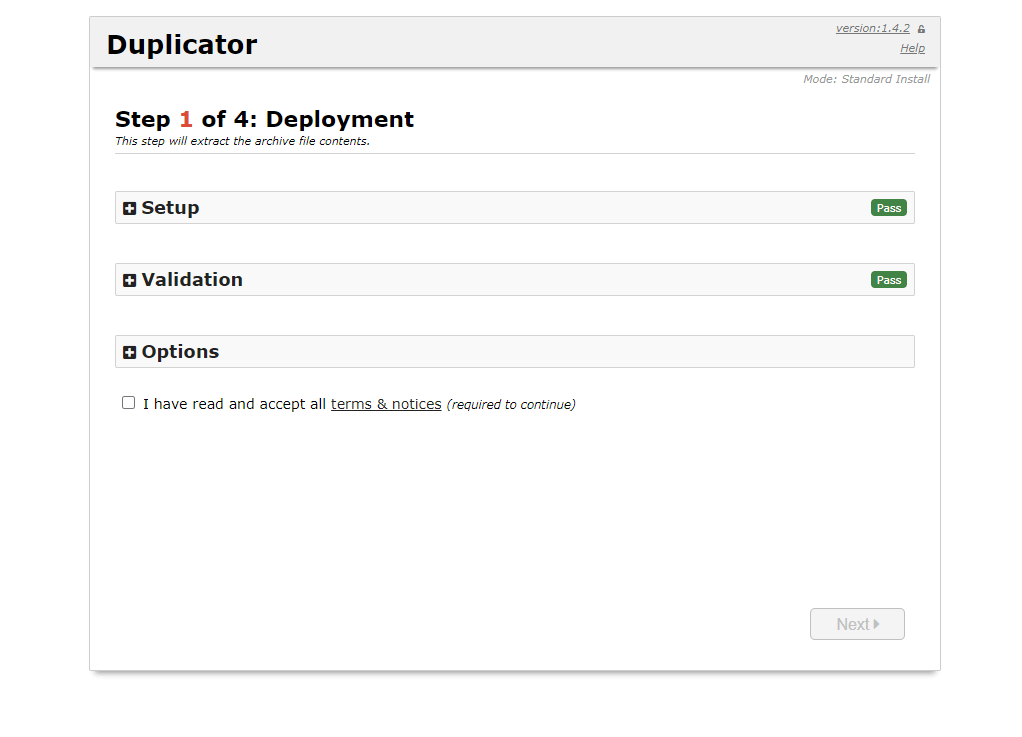
Accept the terms & notices and click on Next.
Step 9:
This is the part when you'll have to install the Database.
There are 2 available actions:
- connect and remove all data - it will remove the previous data
- create a new database - it will create a database for the new information (and this is the purpose of the migration)
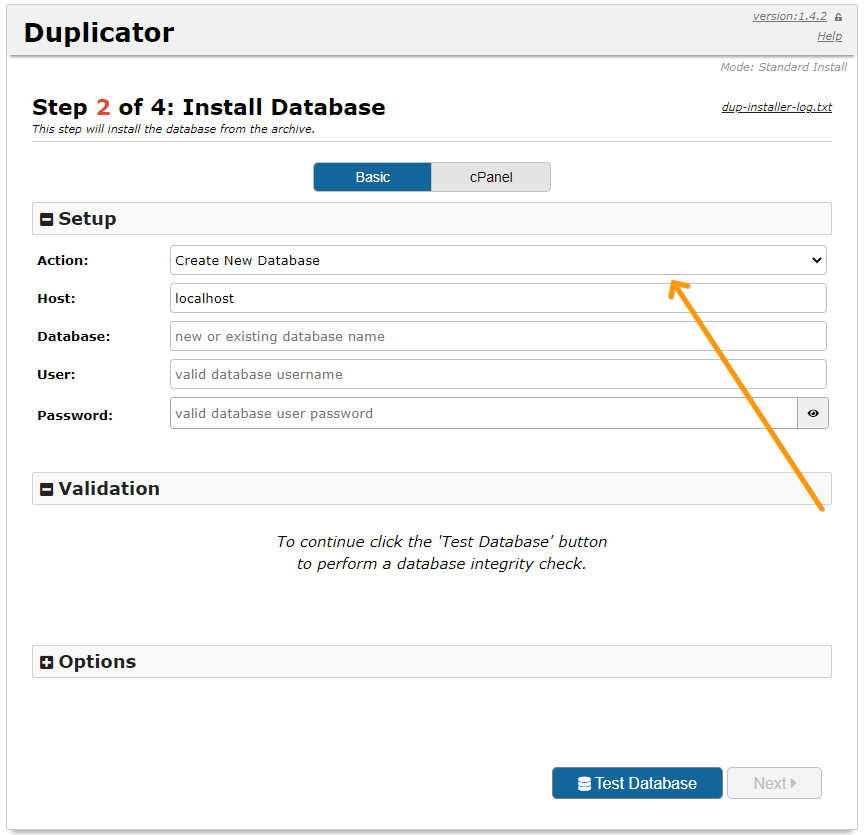
Add database details and check the “I have read all warnings & notices” check-box.
Click the " Run Deployment" button.
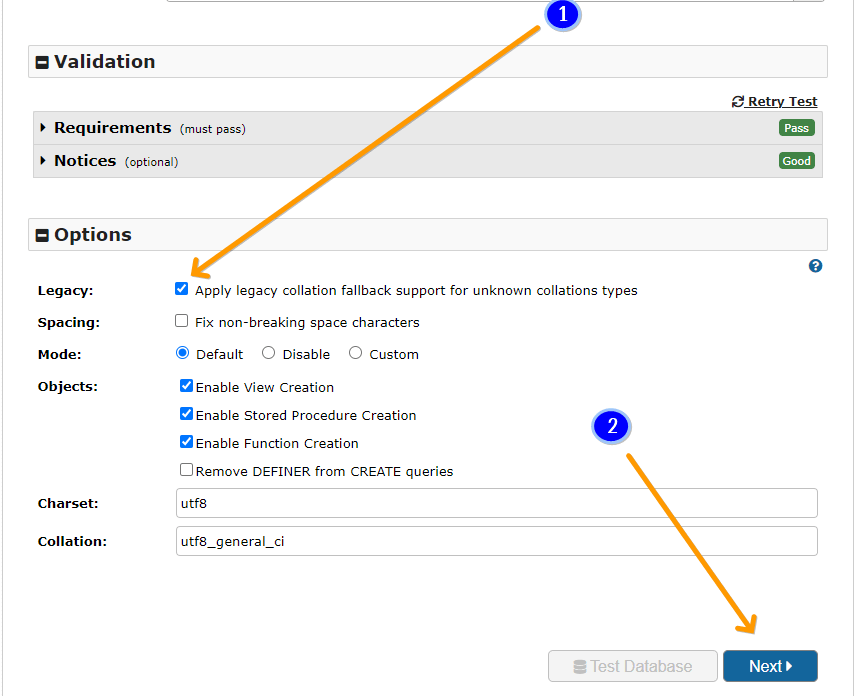
Check the Legacy option and then click the Next button.
Step 10:
You will be asked if you want to run the installer using those details. Click on the Yes button.
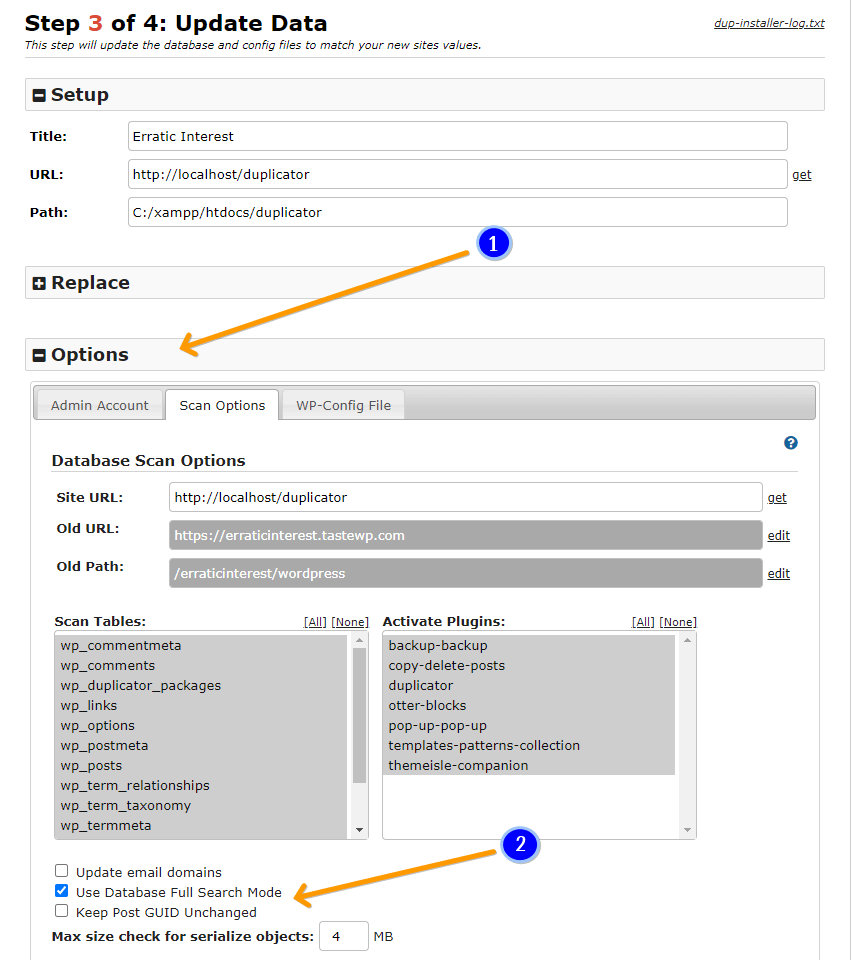
Step 11:
Expand the Options menu (1) and enable the "Use Database Full Search Mode" check-box (2).
Then, click on the Next button.
Finally, this is the last step of the process, the "Test Site" step.
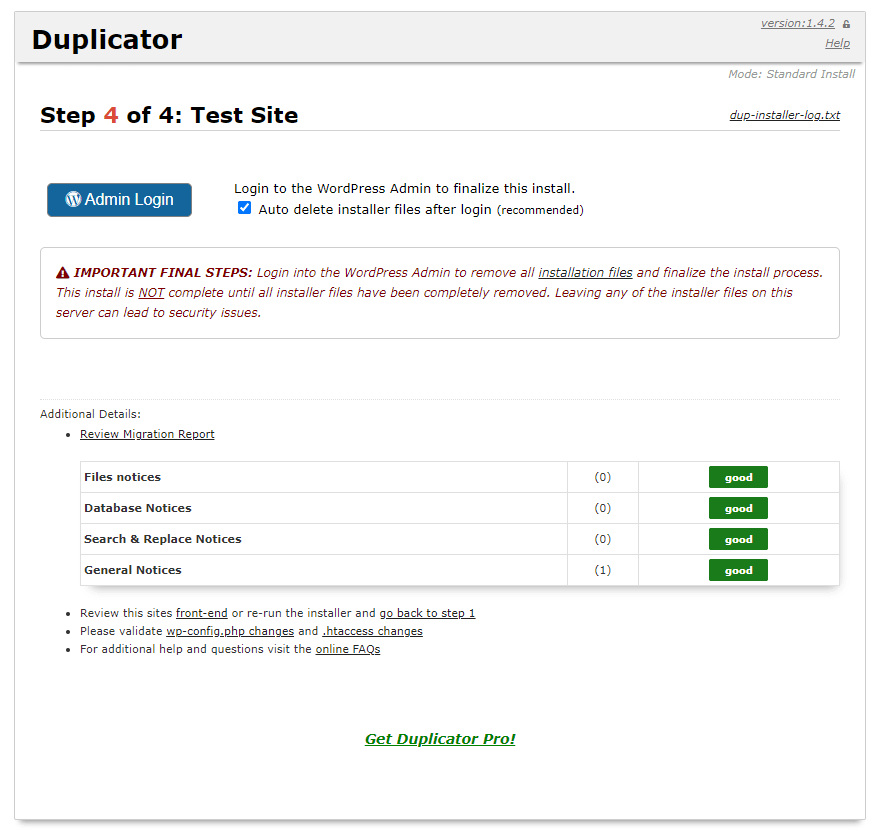
Next time you will enter the address (http://[localhost]/[directory_name]), the site will be identical to the imported one:
Second Scenario - using UpdraftPlus plugin
Step 1:
Download and Install the plugin.
Check this documentation about how to install WordPress plugins.
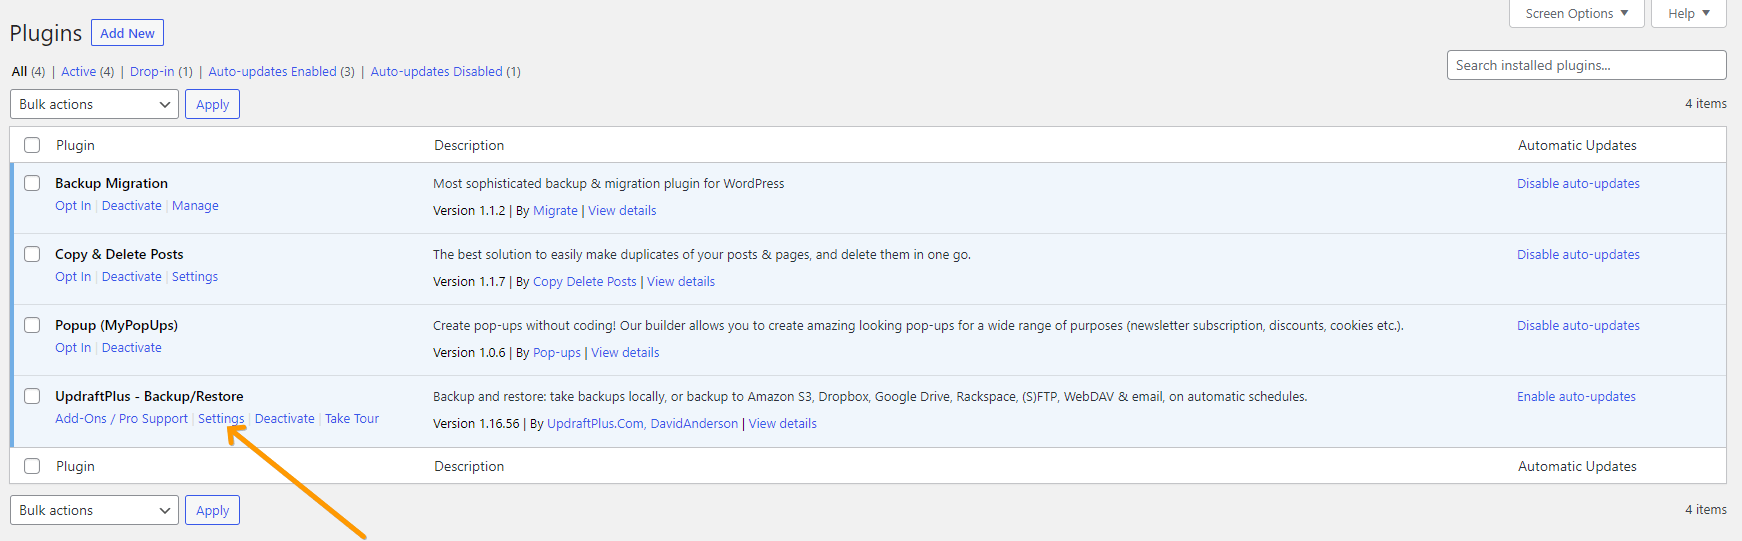
Step 2:
Go to the Plugin Section > UpdraftPlus > Settings.
Step 3:
Go to Settings - the tab where you will have to establish a backup schedule.
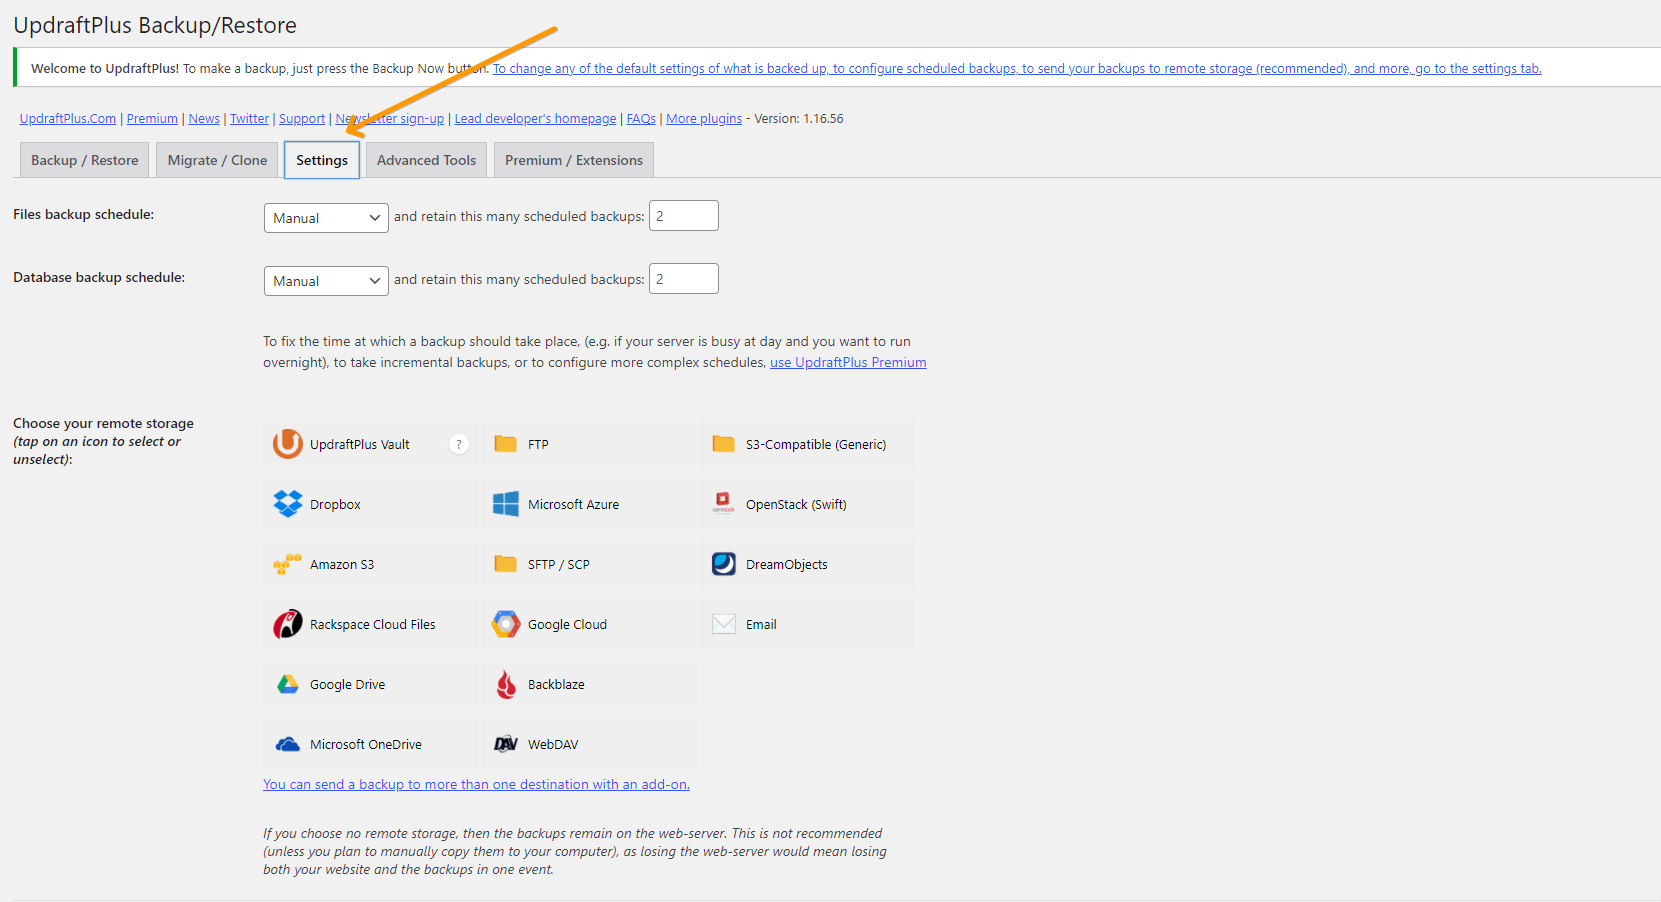
Step 4:
For a manual backup, go to the Backup/ Restore section (1) and click on the Backup Now button (2).
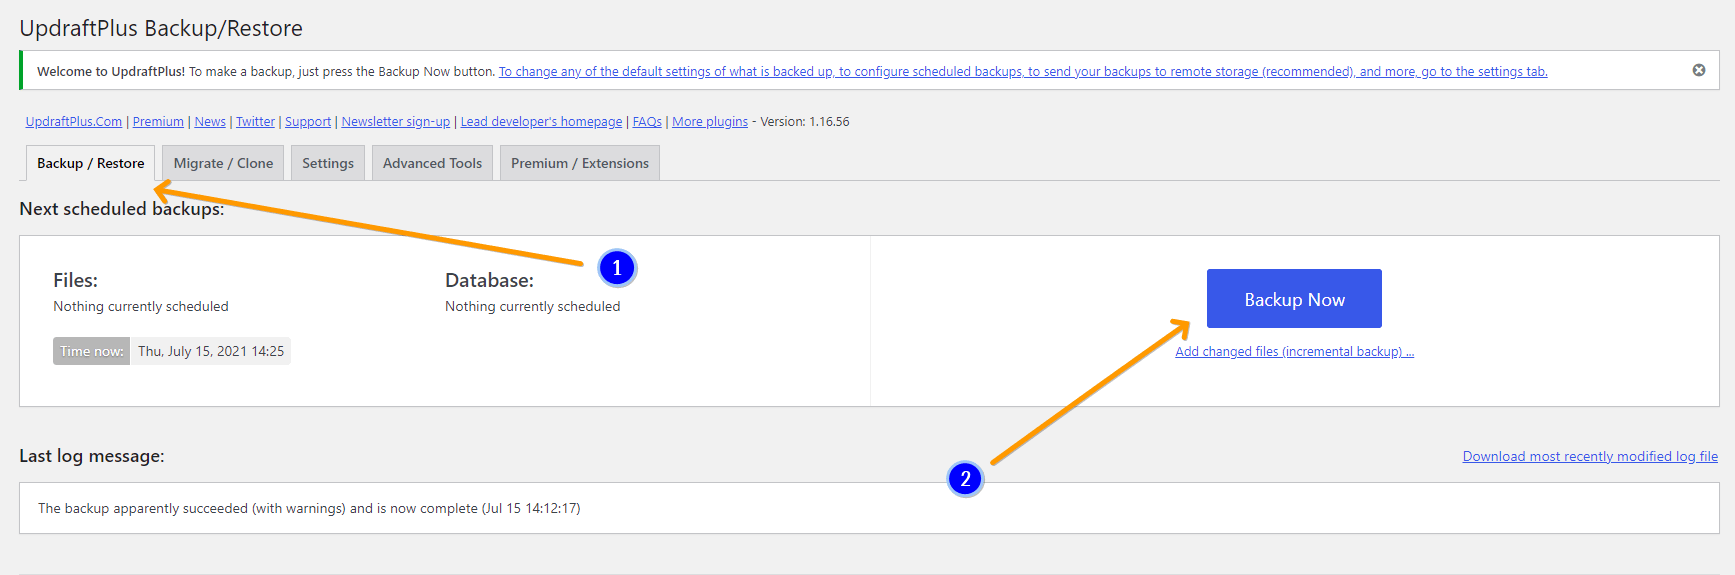
Step 5:
Wait until the backup is finished, then go to the Existing Backups section and choose which data you want to download.

Restoring the backup
Go to the Dashboard > Settings (1) > UpdraftPlus Backups (2) > Upload backup files (3).
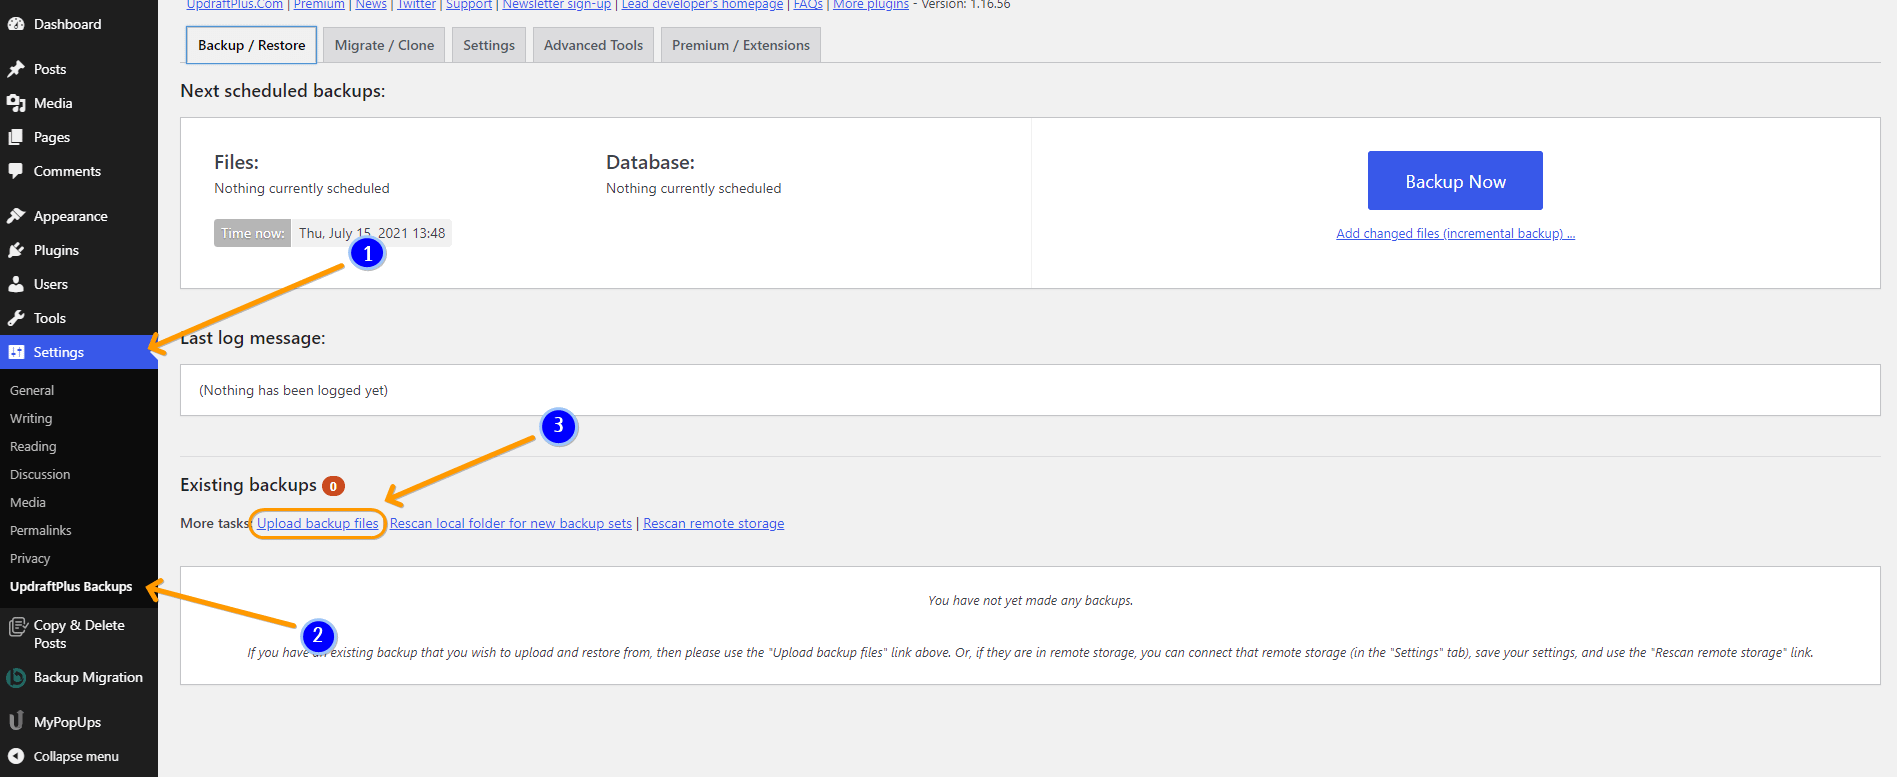
If you have saved the backup files on your computer, you can manually add and restore them.
Note: It's important that the other website has the UpdraftPlus plugin installed too.