Creating a donation form
In this guide, you'll learn how to create a donation form on your WordPress admin with WP Full Pay.
What is a donation payment form?
With the donation payment form, you can accept contributions or financial gifts from individuals or organizations who wish to support a cause, charity, non-profit organization, or any other fundraising effort.
This form enables donors to voluntarily contribute money without receiving a specific product or service in return.
Donation payment forms are commonly used by charitable organizations, crowdfunding campaigns, and nonprofits to gather financial support for their initiatives.
Note that, when setting up your Stripe account, select "Individual / Sole Proprietorship" as the "Business Type" if you are raising funds as an individual.
You can read our blog about accepting online donations to learn more about the types.
Creating a donation form in 7 easy steps
We recommend going through the following steps:
- Switch to test API mode
- Create form
- Configure donation settings
- Insert form shortcode into a page
- Test-drive form
- Customize form
- Switch to live API mode
You can download WP Full Pay plugin for free, create the forms and test Stripe transactions on your WordPress site.
1. Switch to test API mode
This tutorial assumes that you’ve already configured your Stripe API keys. If you haven't, you can refer to our article to learn more about how to configure Stripe API keys.
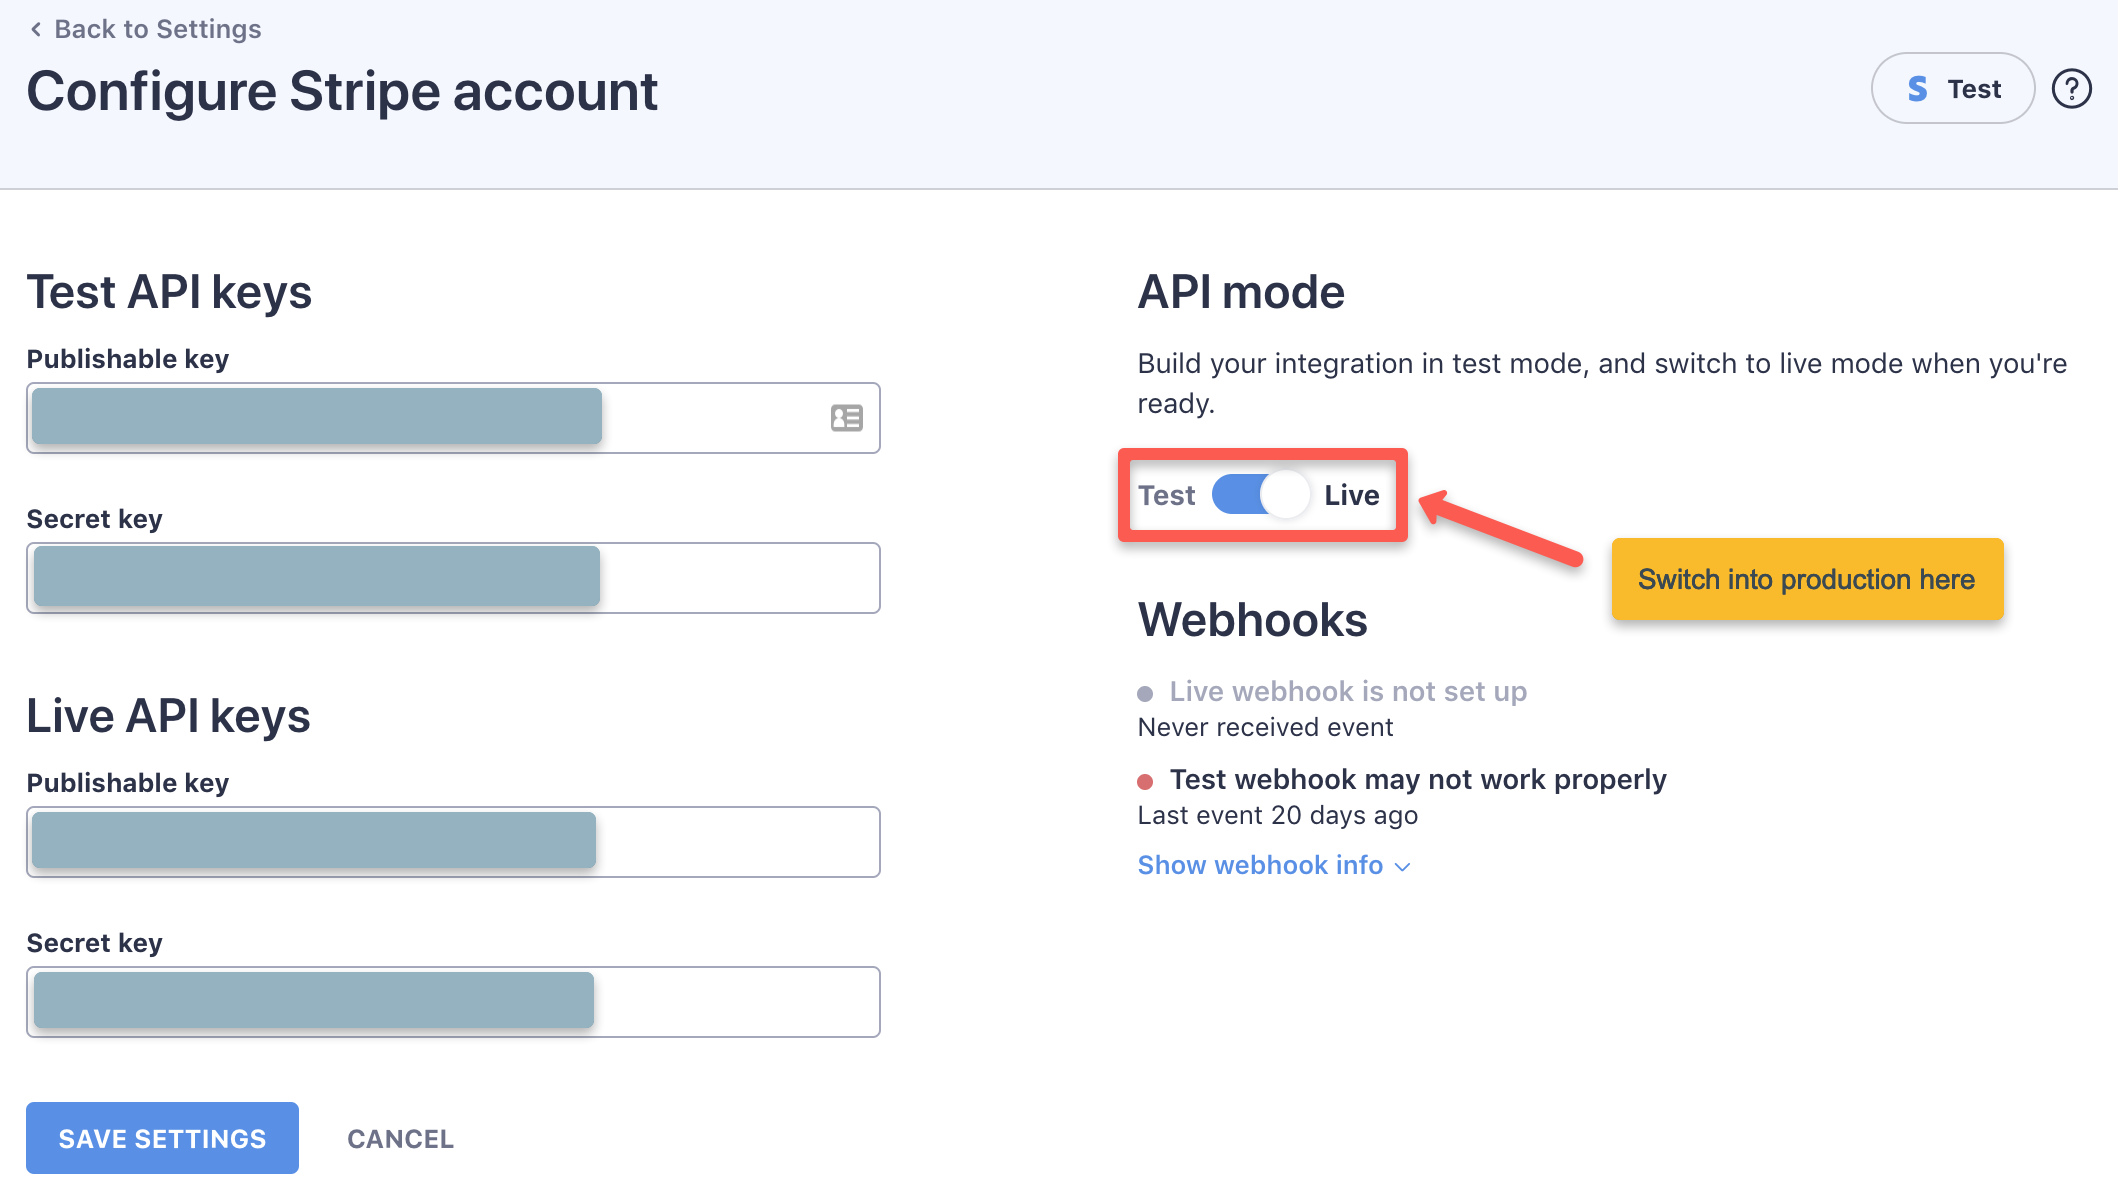
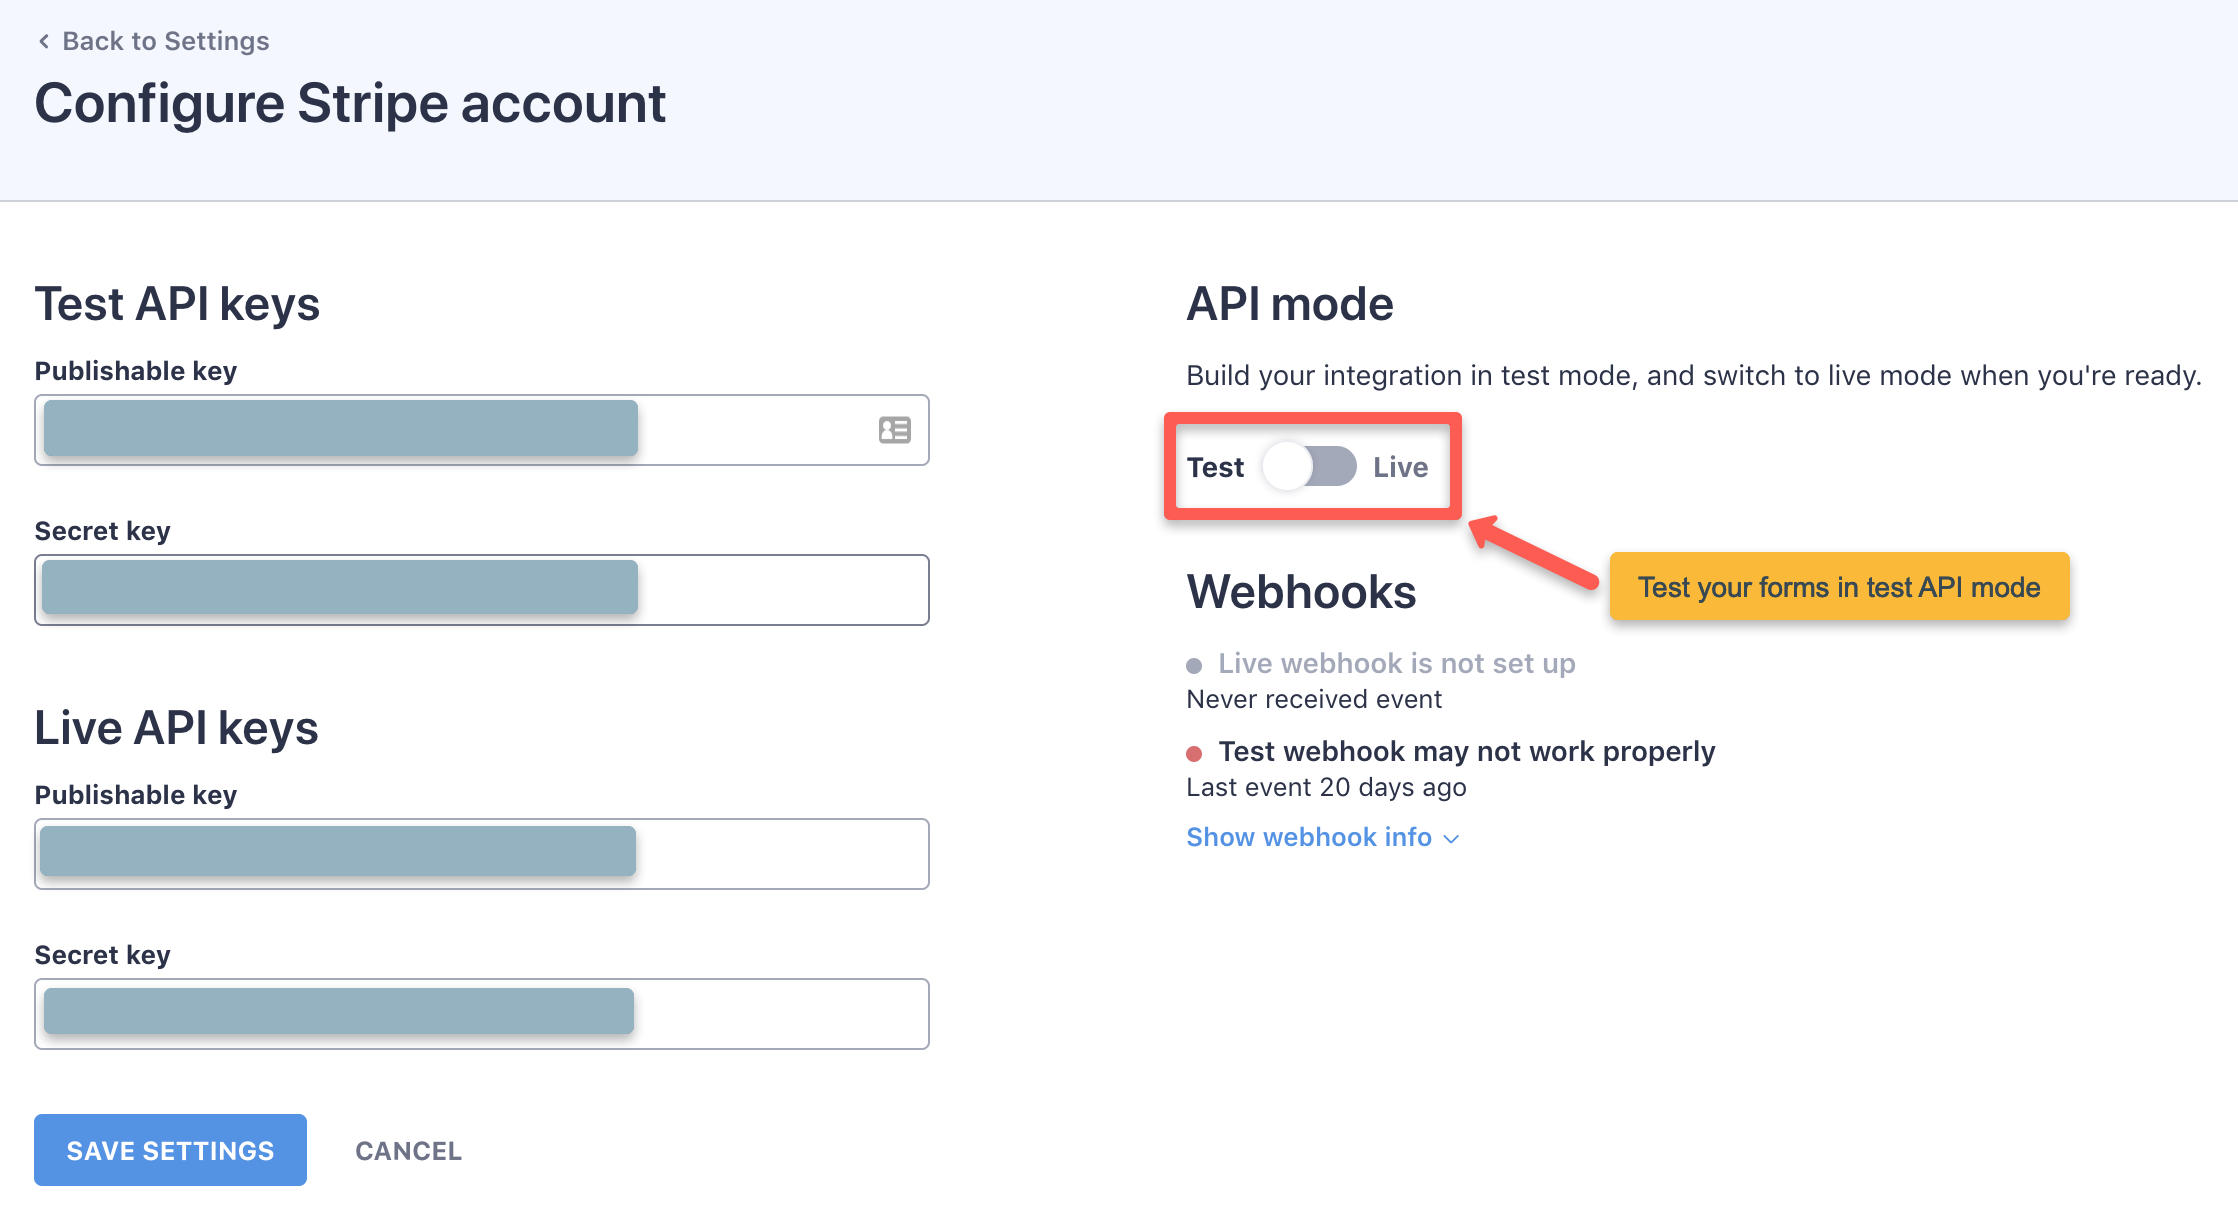
You can switch to test mode on the WP Full Pay → Settings → Stripe account page in WP admin:
2. Create form
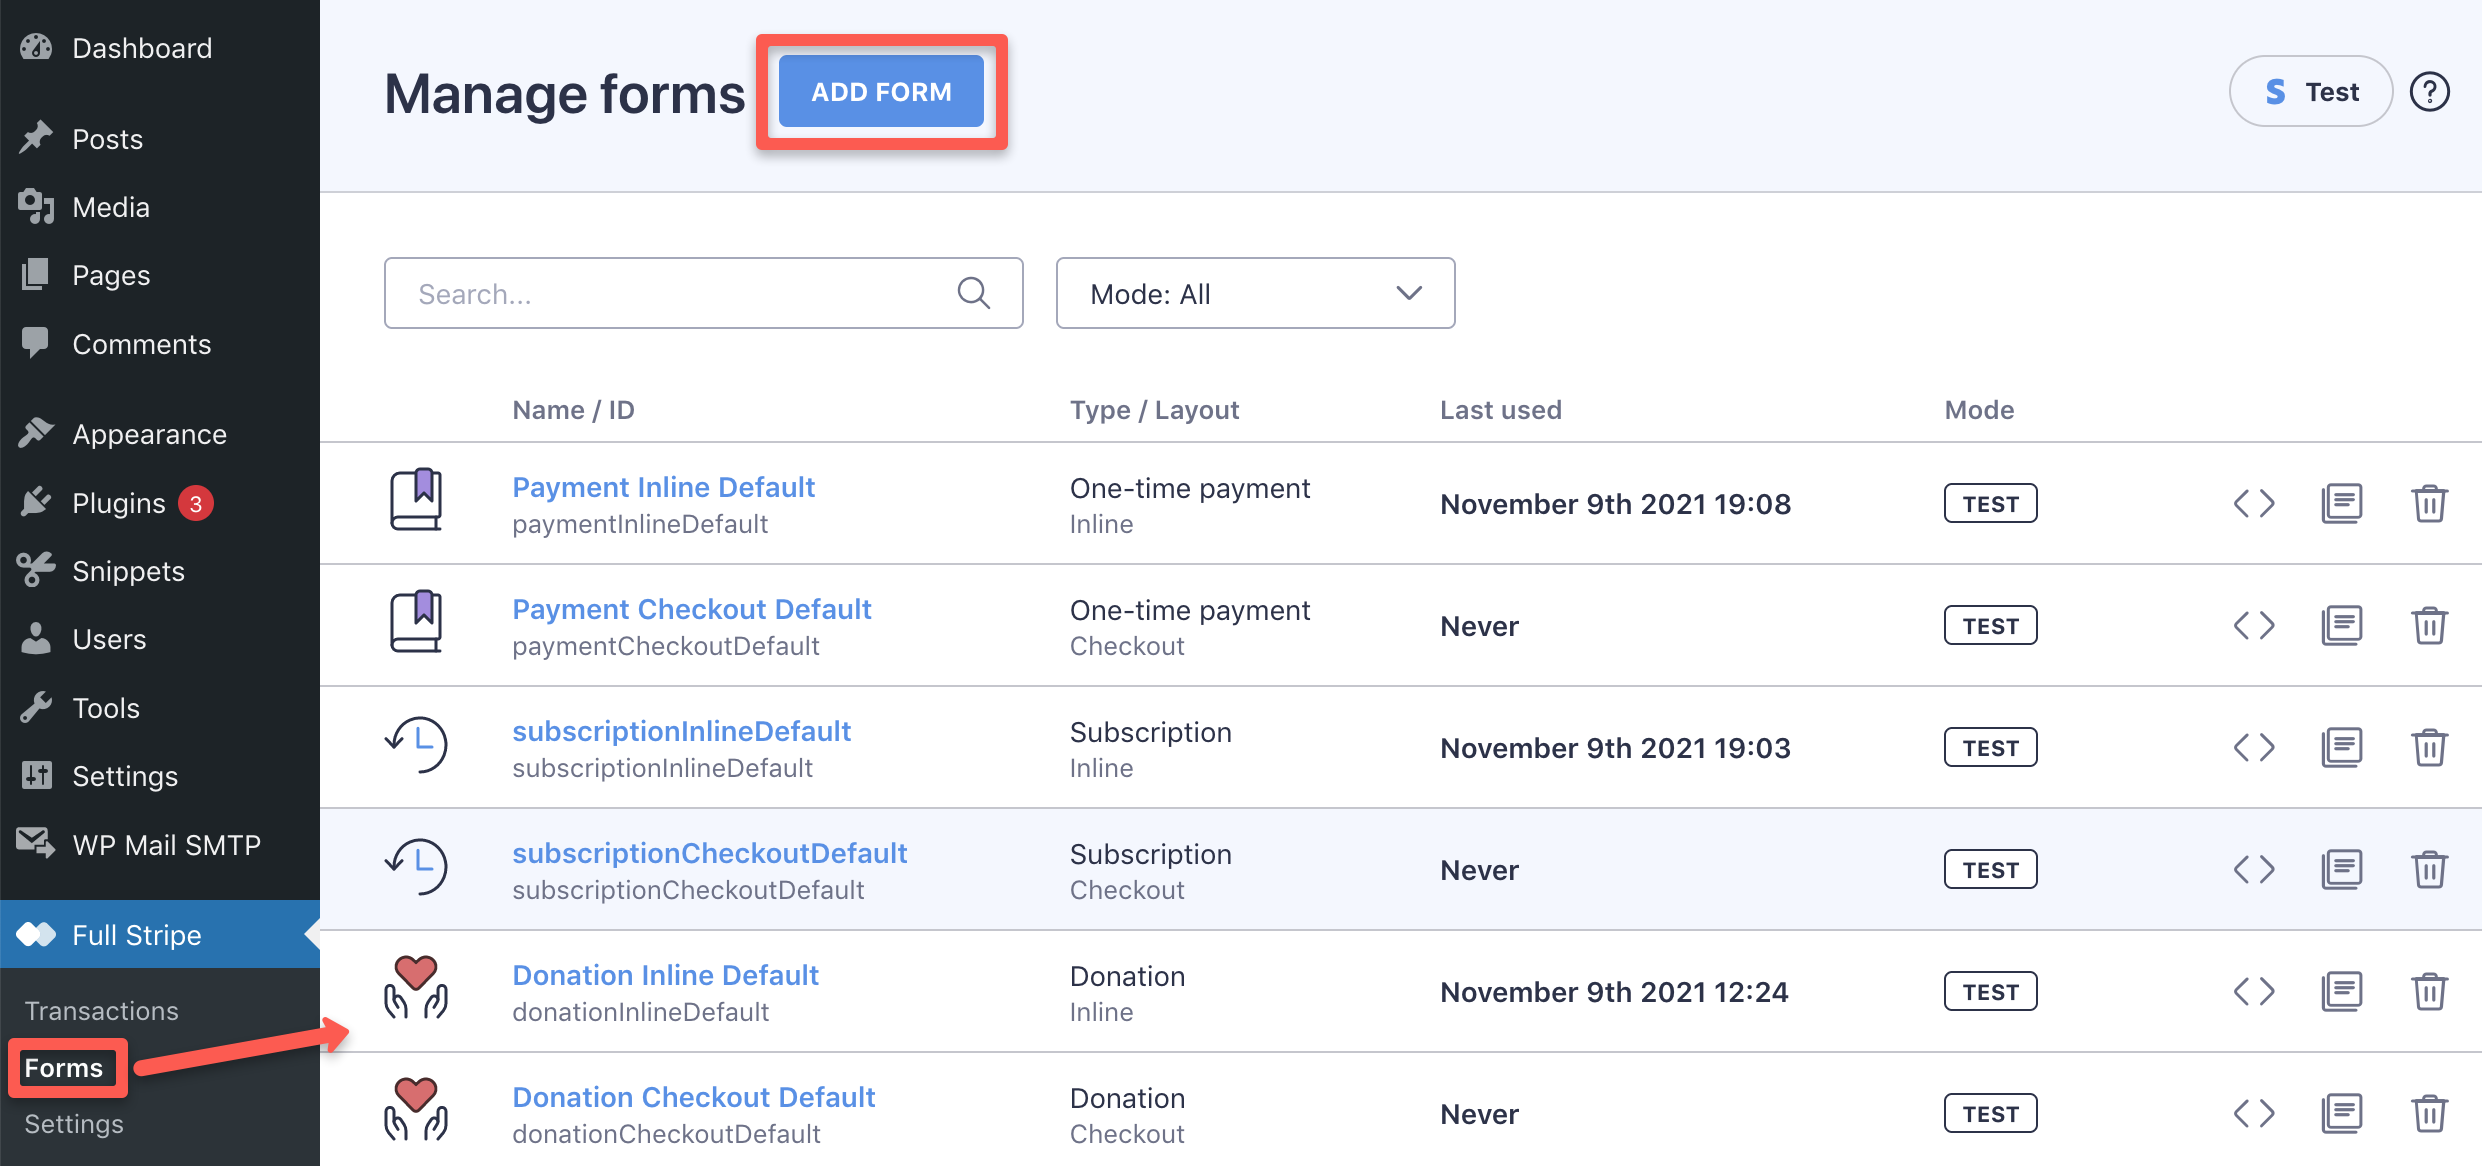
You can create a donation form on the WP Full Pay → Forms page in WP admin, by pressing the “Add form” button:
On the next page, enter form name and display name, and select a form layout, and press the “Create & edit form” button:
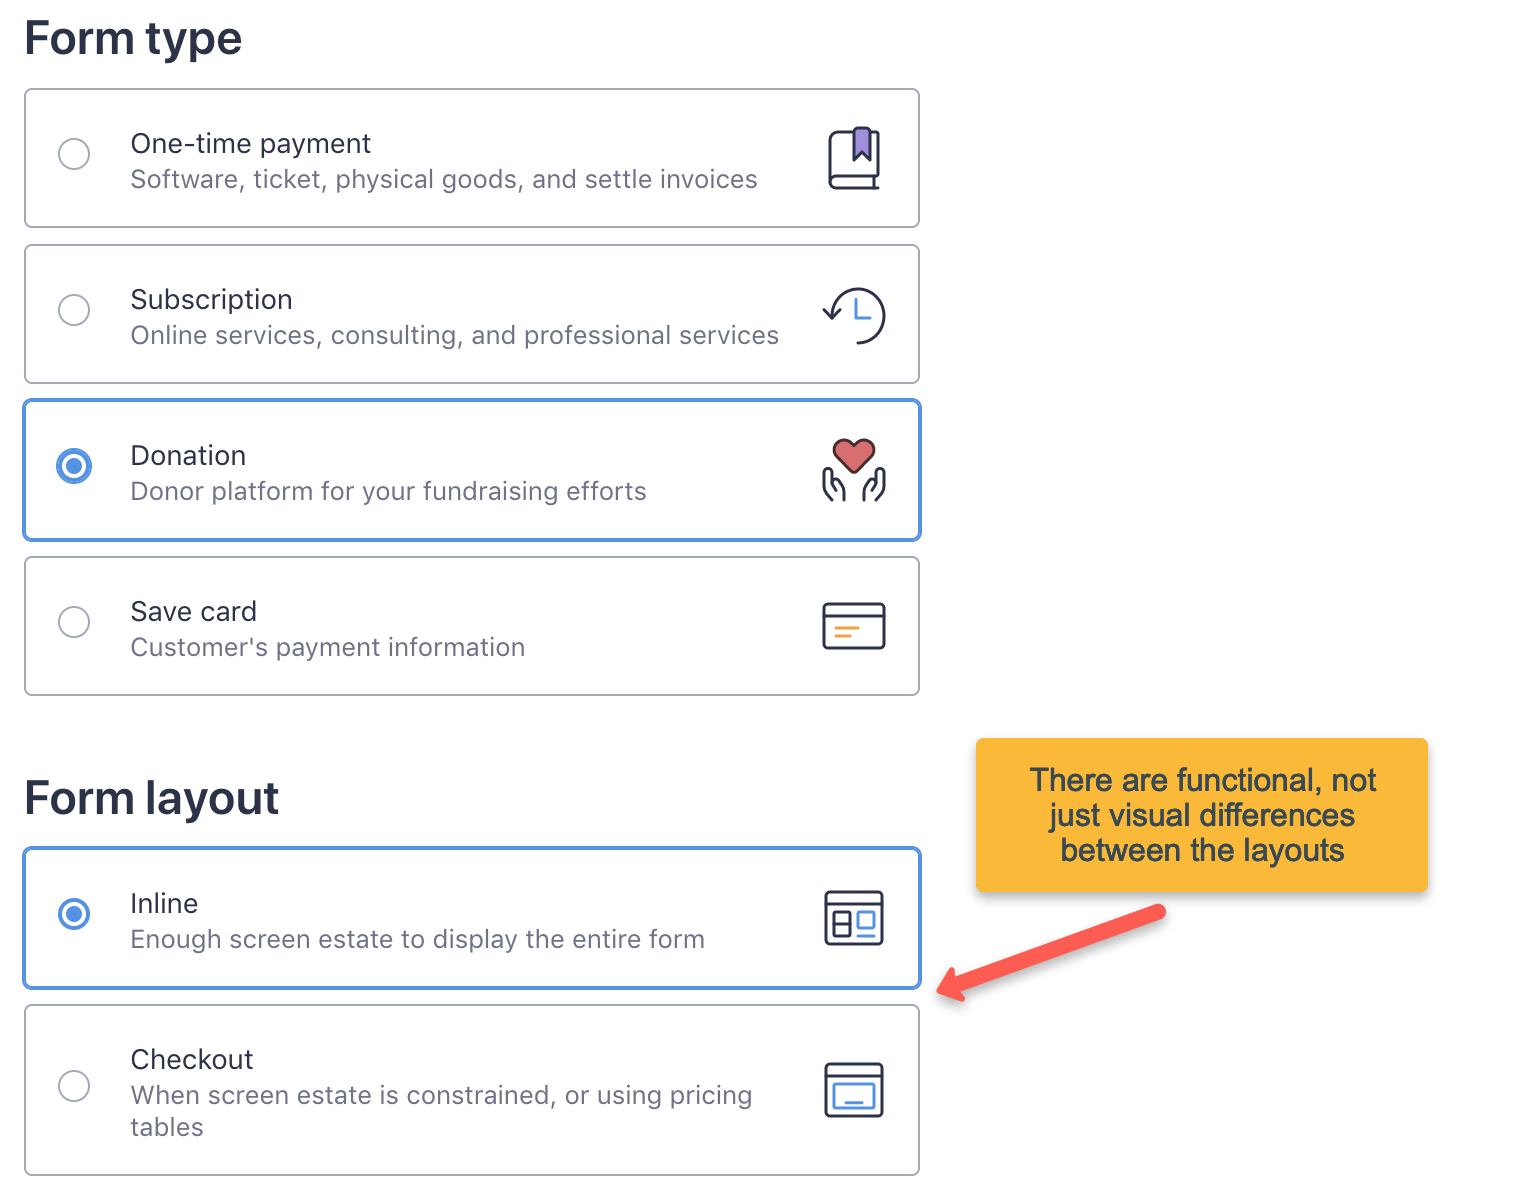
Inline forms VS Checkout forms
Refer to our article to learn more about the difference between inline and checkout form layouts.
3. Configure donation settings
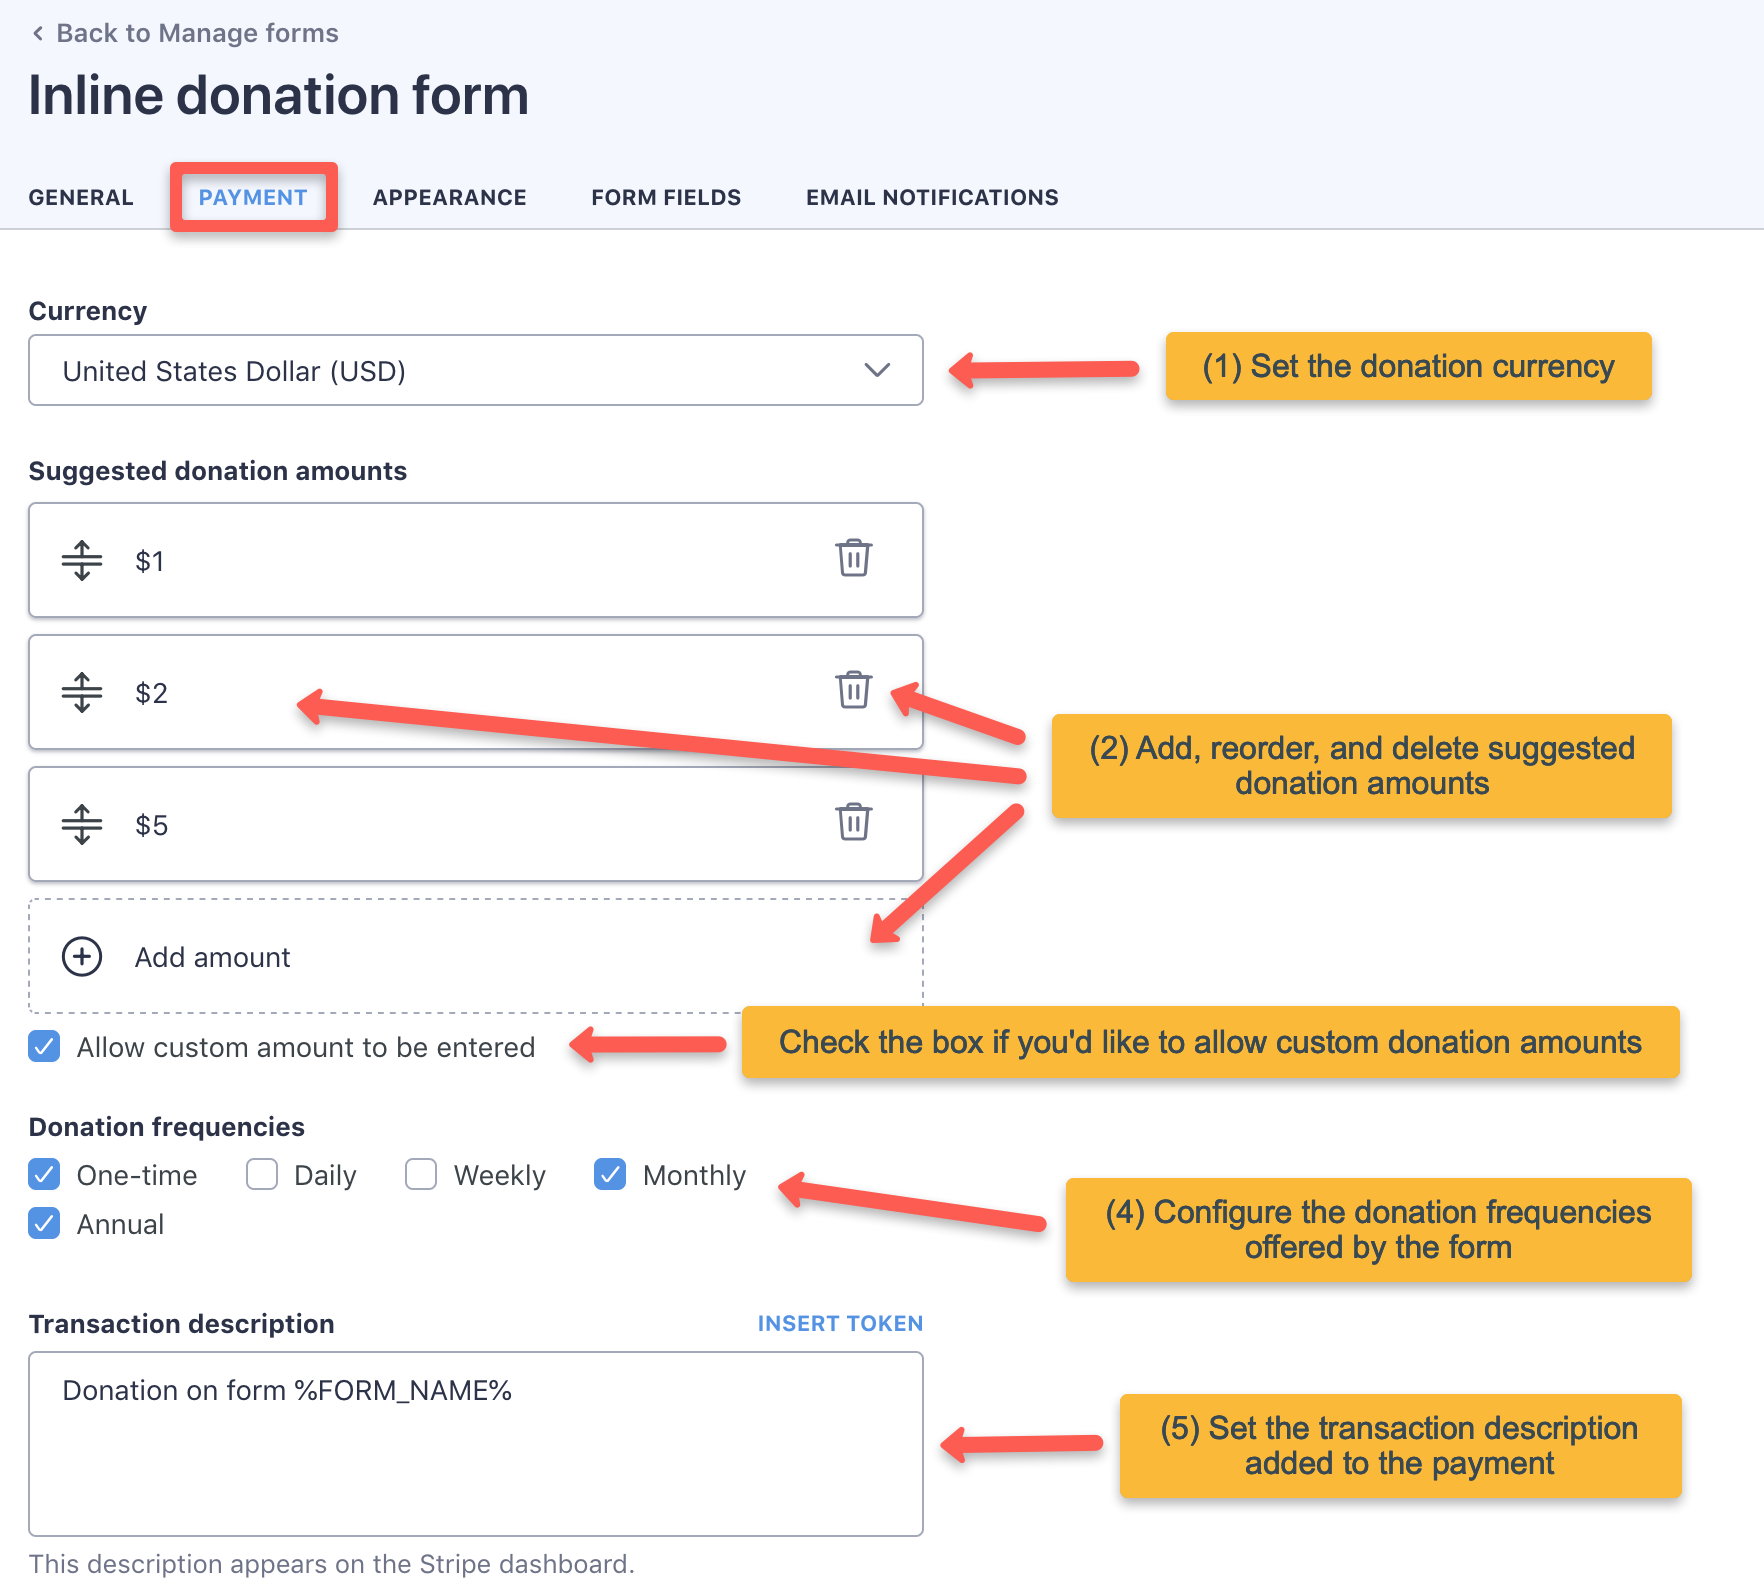
You can configure the donation settings on the “Payment” tab of the form.
You have control over many settings, you can:
- Change the donation currency
- Add, reorder, and delete suggested donation amounts
- Allow custom donation amount to be entered
- Select the donation frequencies offered (one-time plus recurring intervals)
- Enter the transaction description added to every donation (placeholder tokens can be used)
4. Insert form shortcode into a page
You can obtain the form shortcode on the WP Full Pay → Forms page.
Please visit our dedicated knowledge base article on how to use shortcodes.
5. Test-drive form
Once the form shortcode is inserted into a page, you can open the page, and test your form.
The form is fully-functional in test mode, and you can make payments using test cards to simulate every possible payment outcome.
No need to refund your payment after testing either.
6. Customize form
Now that the form is up and running, you can customize the form if needed:
- Create a Thank you page
- Configure email notifications
- Change labels or translate the plugin labels
- Customize the form with CSS
- Add Stripe badge to the payment page
- Create a Customer portal page
7. Switch to live API mode
When you’re ready to go into production, you can flip the switch on the WP Full Pay → Settings → Stripe account page in WP admin:
