How to Configure the Chained Input?
📝 Note: This is part of PPOM pro, which you can get from here.
The chained input is a more complex input field that allows you to create connections between the available options. This guide will present how to configure this input with a practical example.
1 Start by going to WooCommerce > PPOM Fields, and add a new field group.
2 Insert the chained input and configure its name.
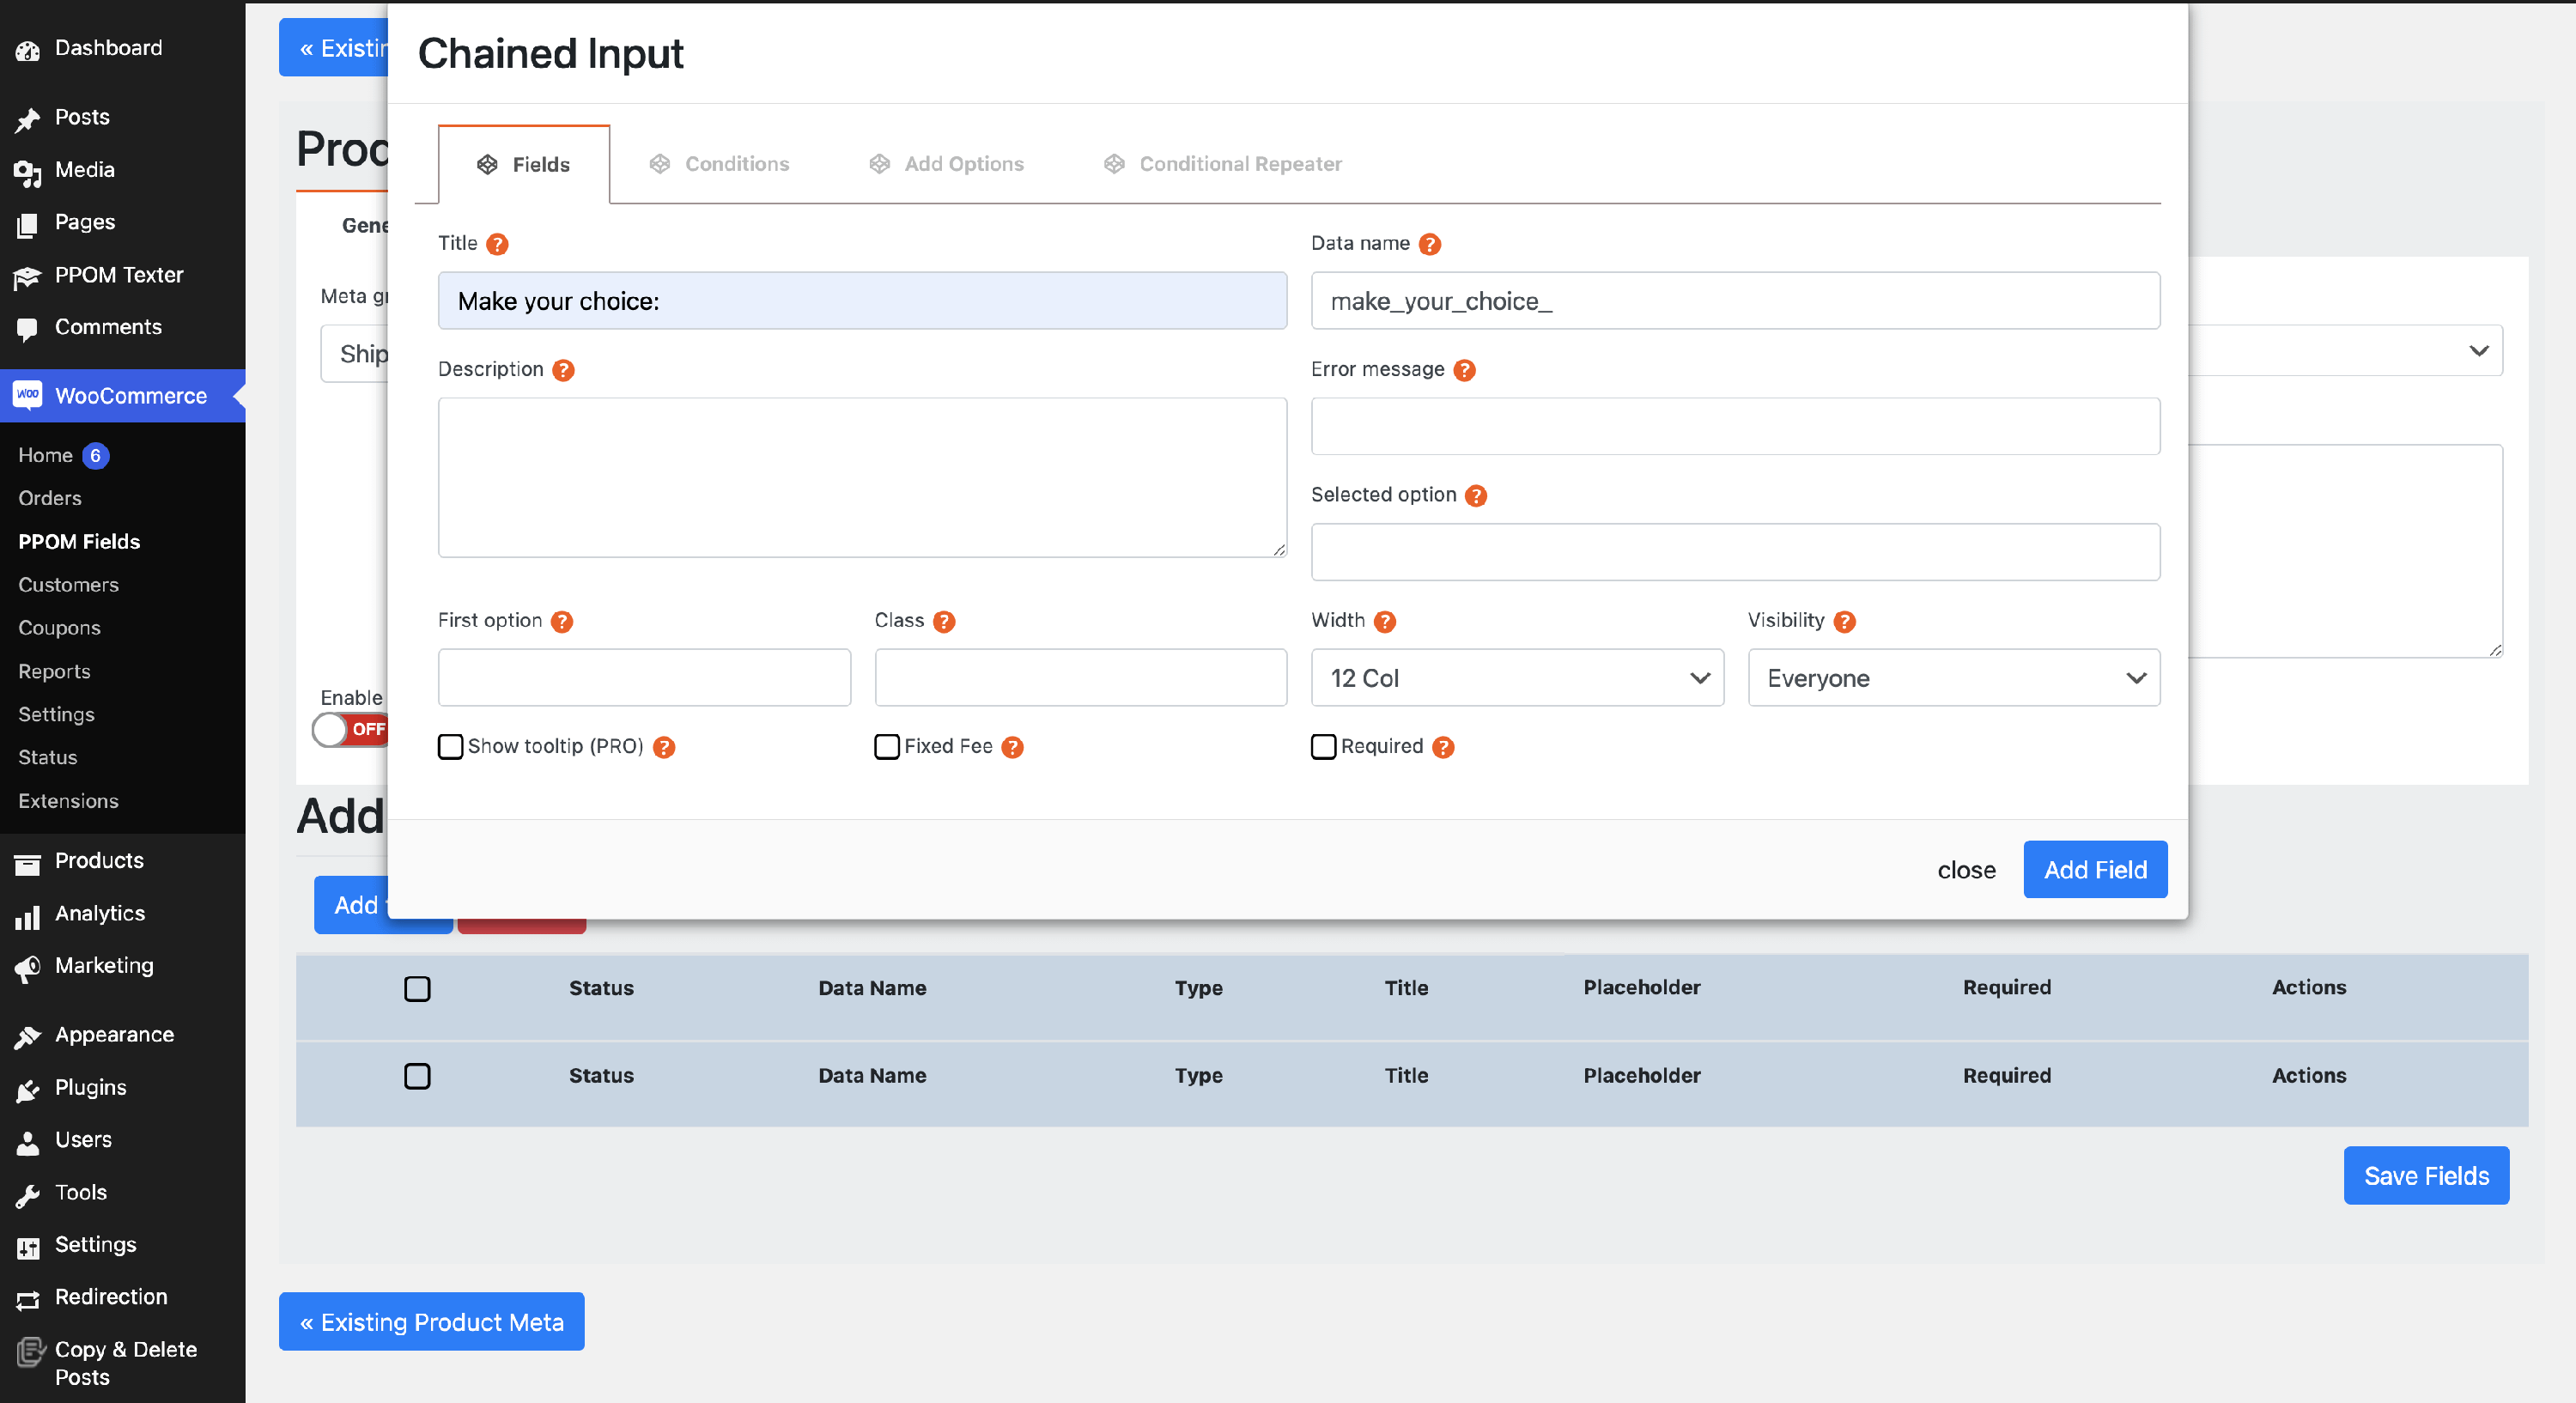
📝 Note: The name is irrelevant, as it will appear above the options. Pick something general.
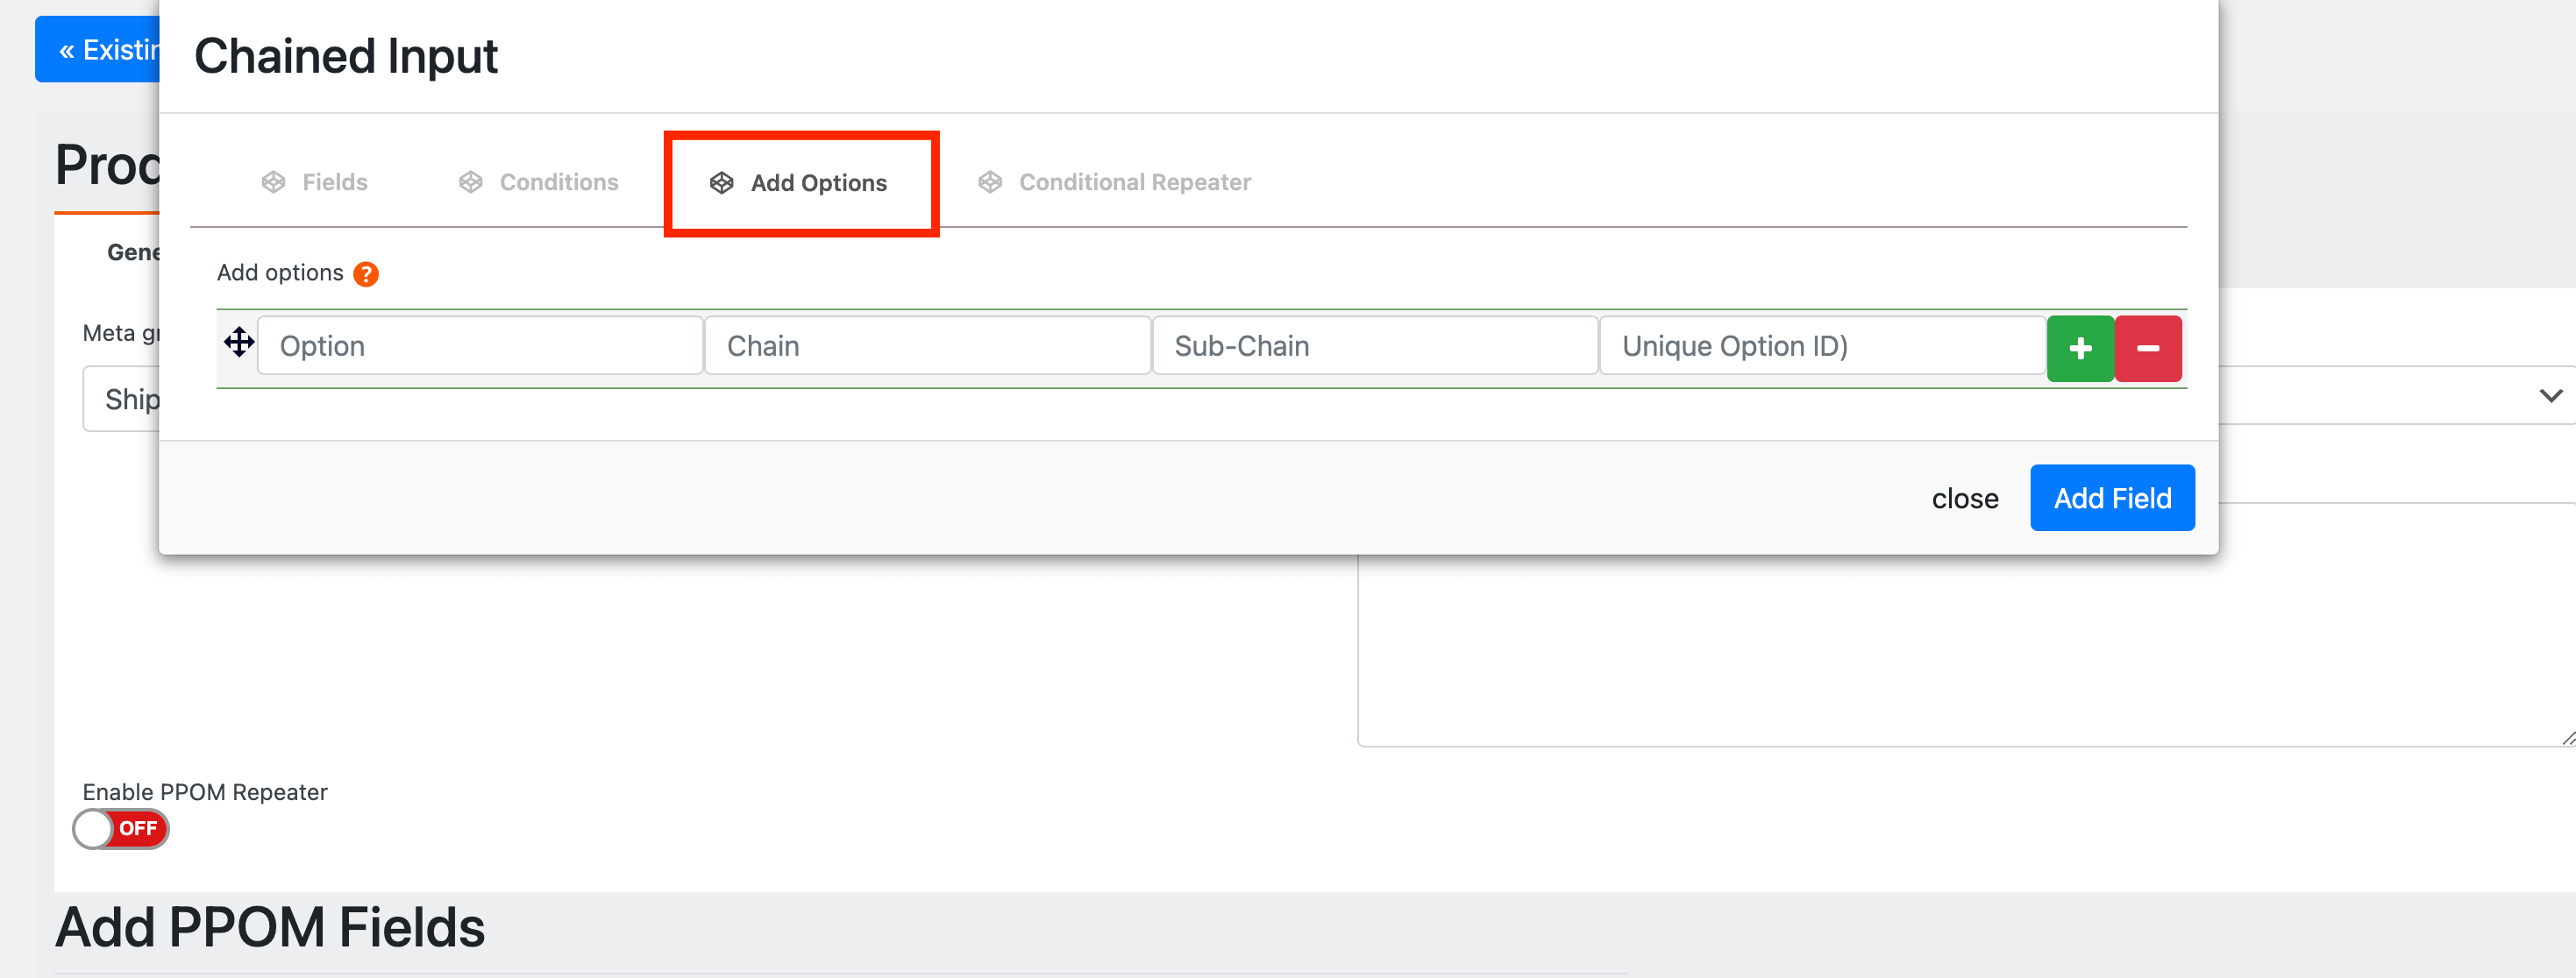
3 Switch to the Add Options tab to start configuring it.
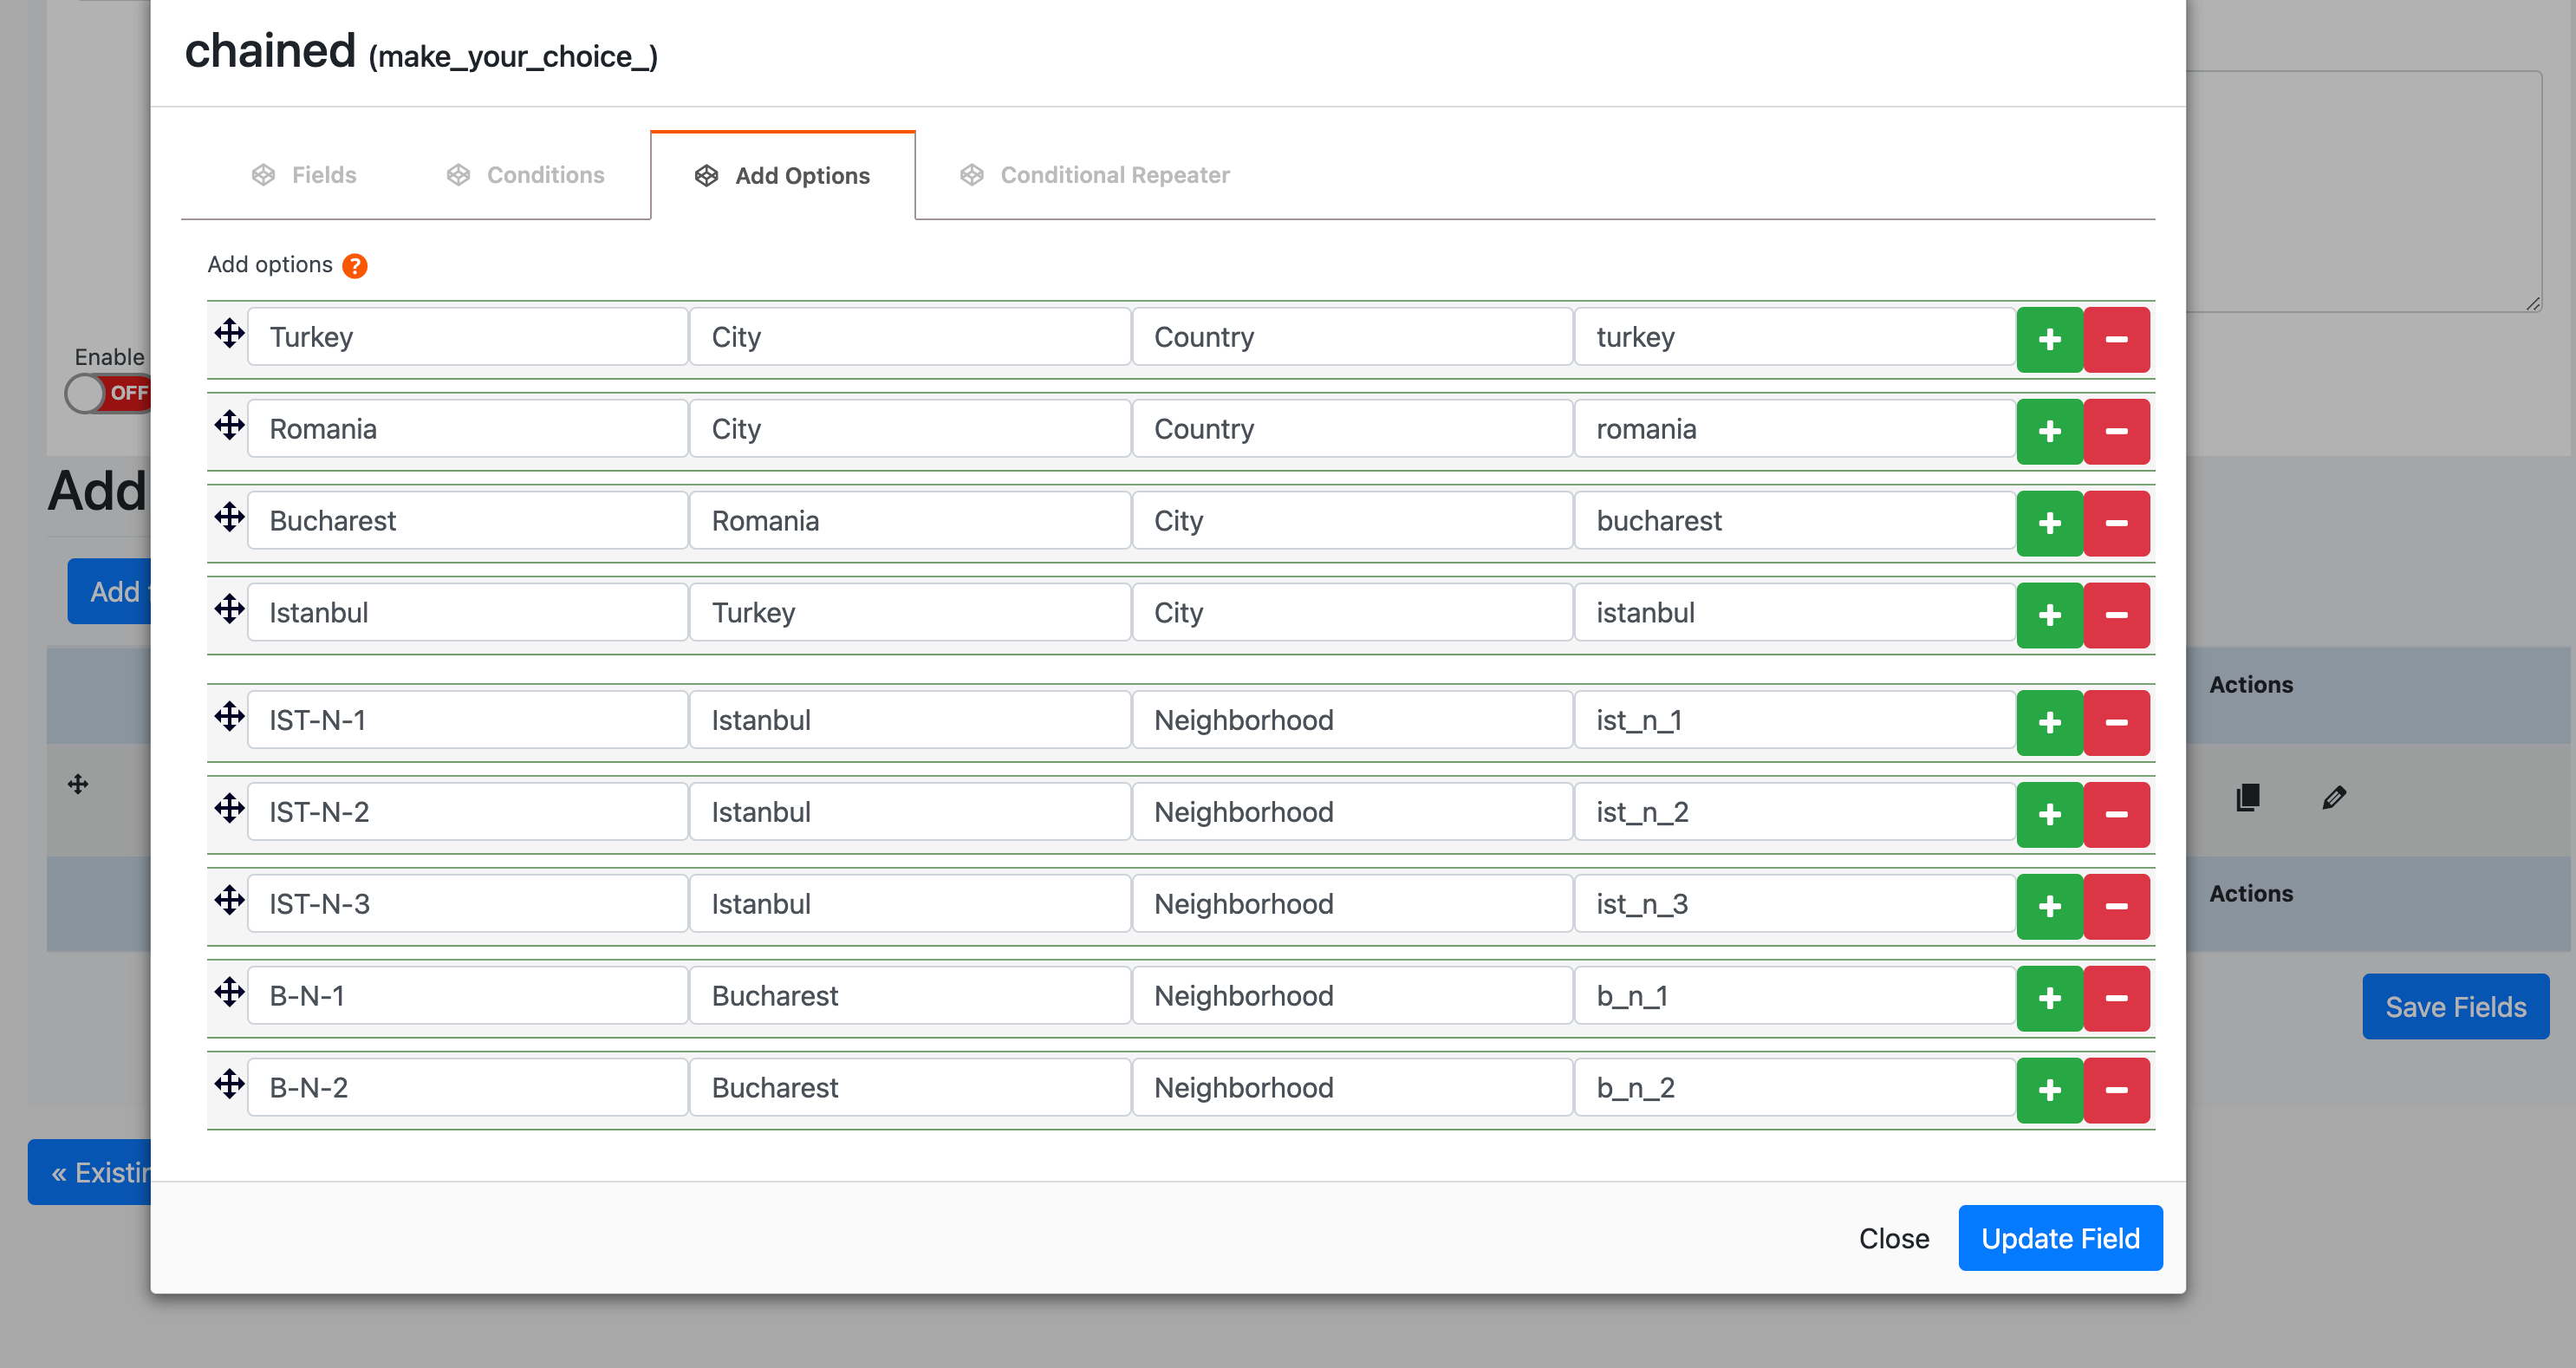
4 In the first field ( Option ), insert the values you want to display in the dropdown.
5 In the third column ( Sub-Chain ), insert the generic name of the category that represents the options.
6 In the second column ( Chain ), insert the generic category name used for correlations.
💡Example
We wanted to create a field where we will display countries, having a corresponding field with their specific cities.
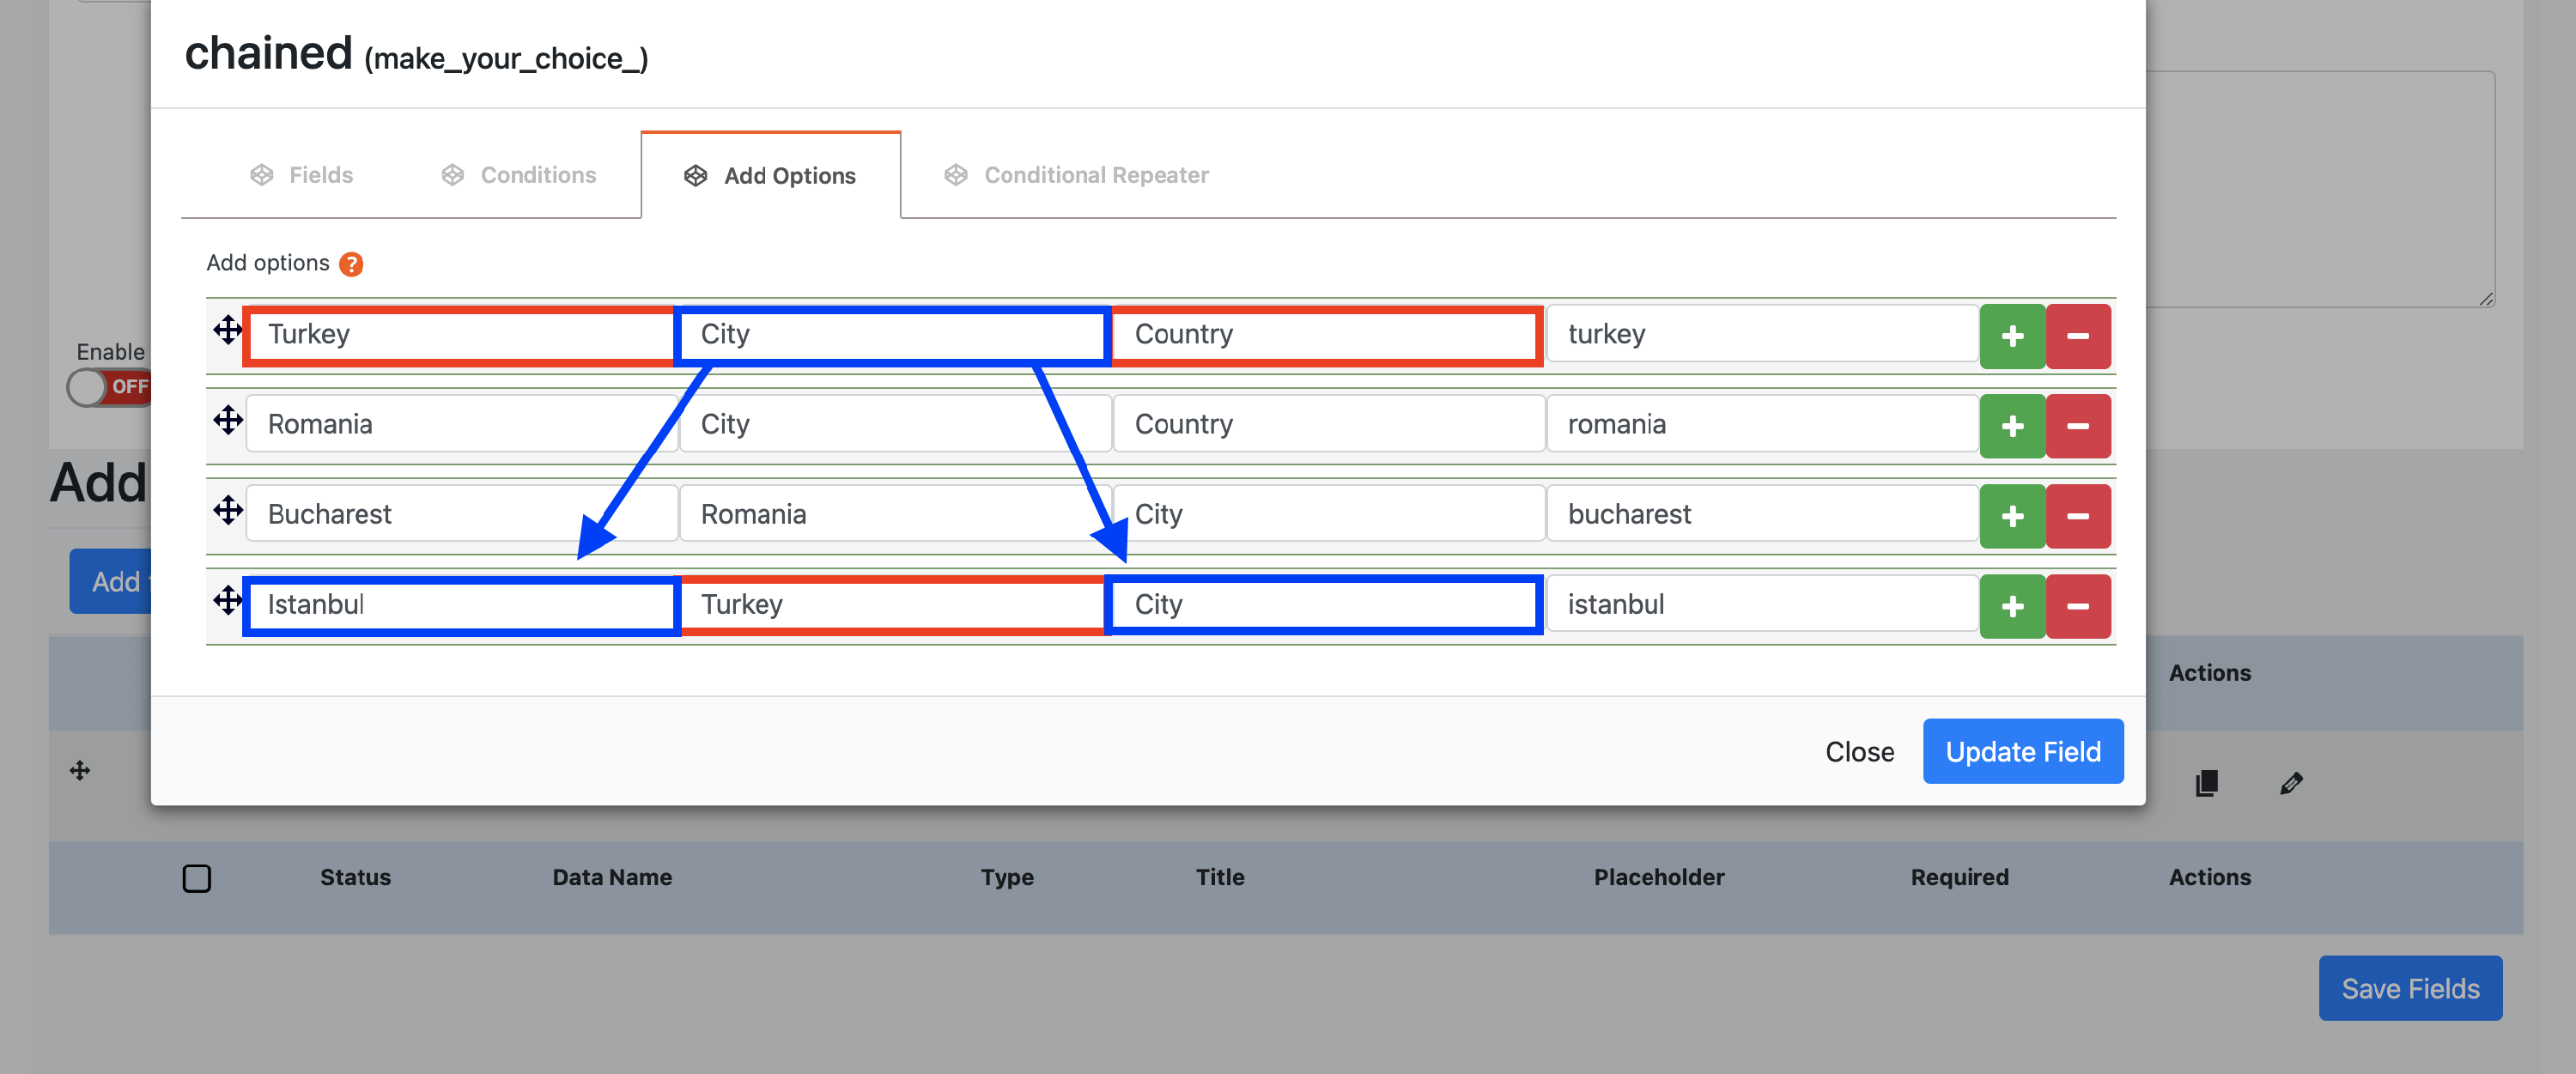
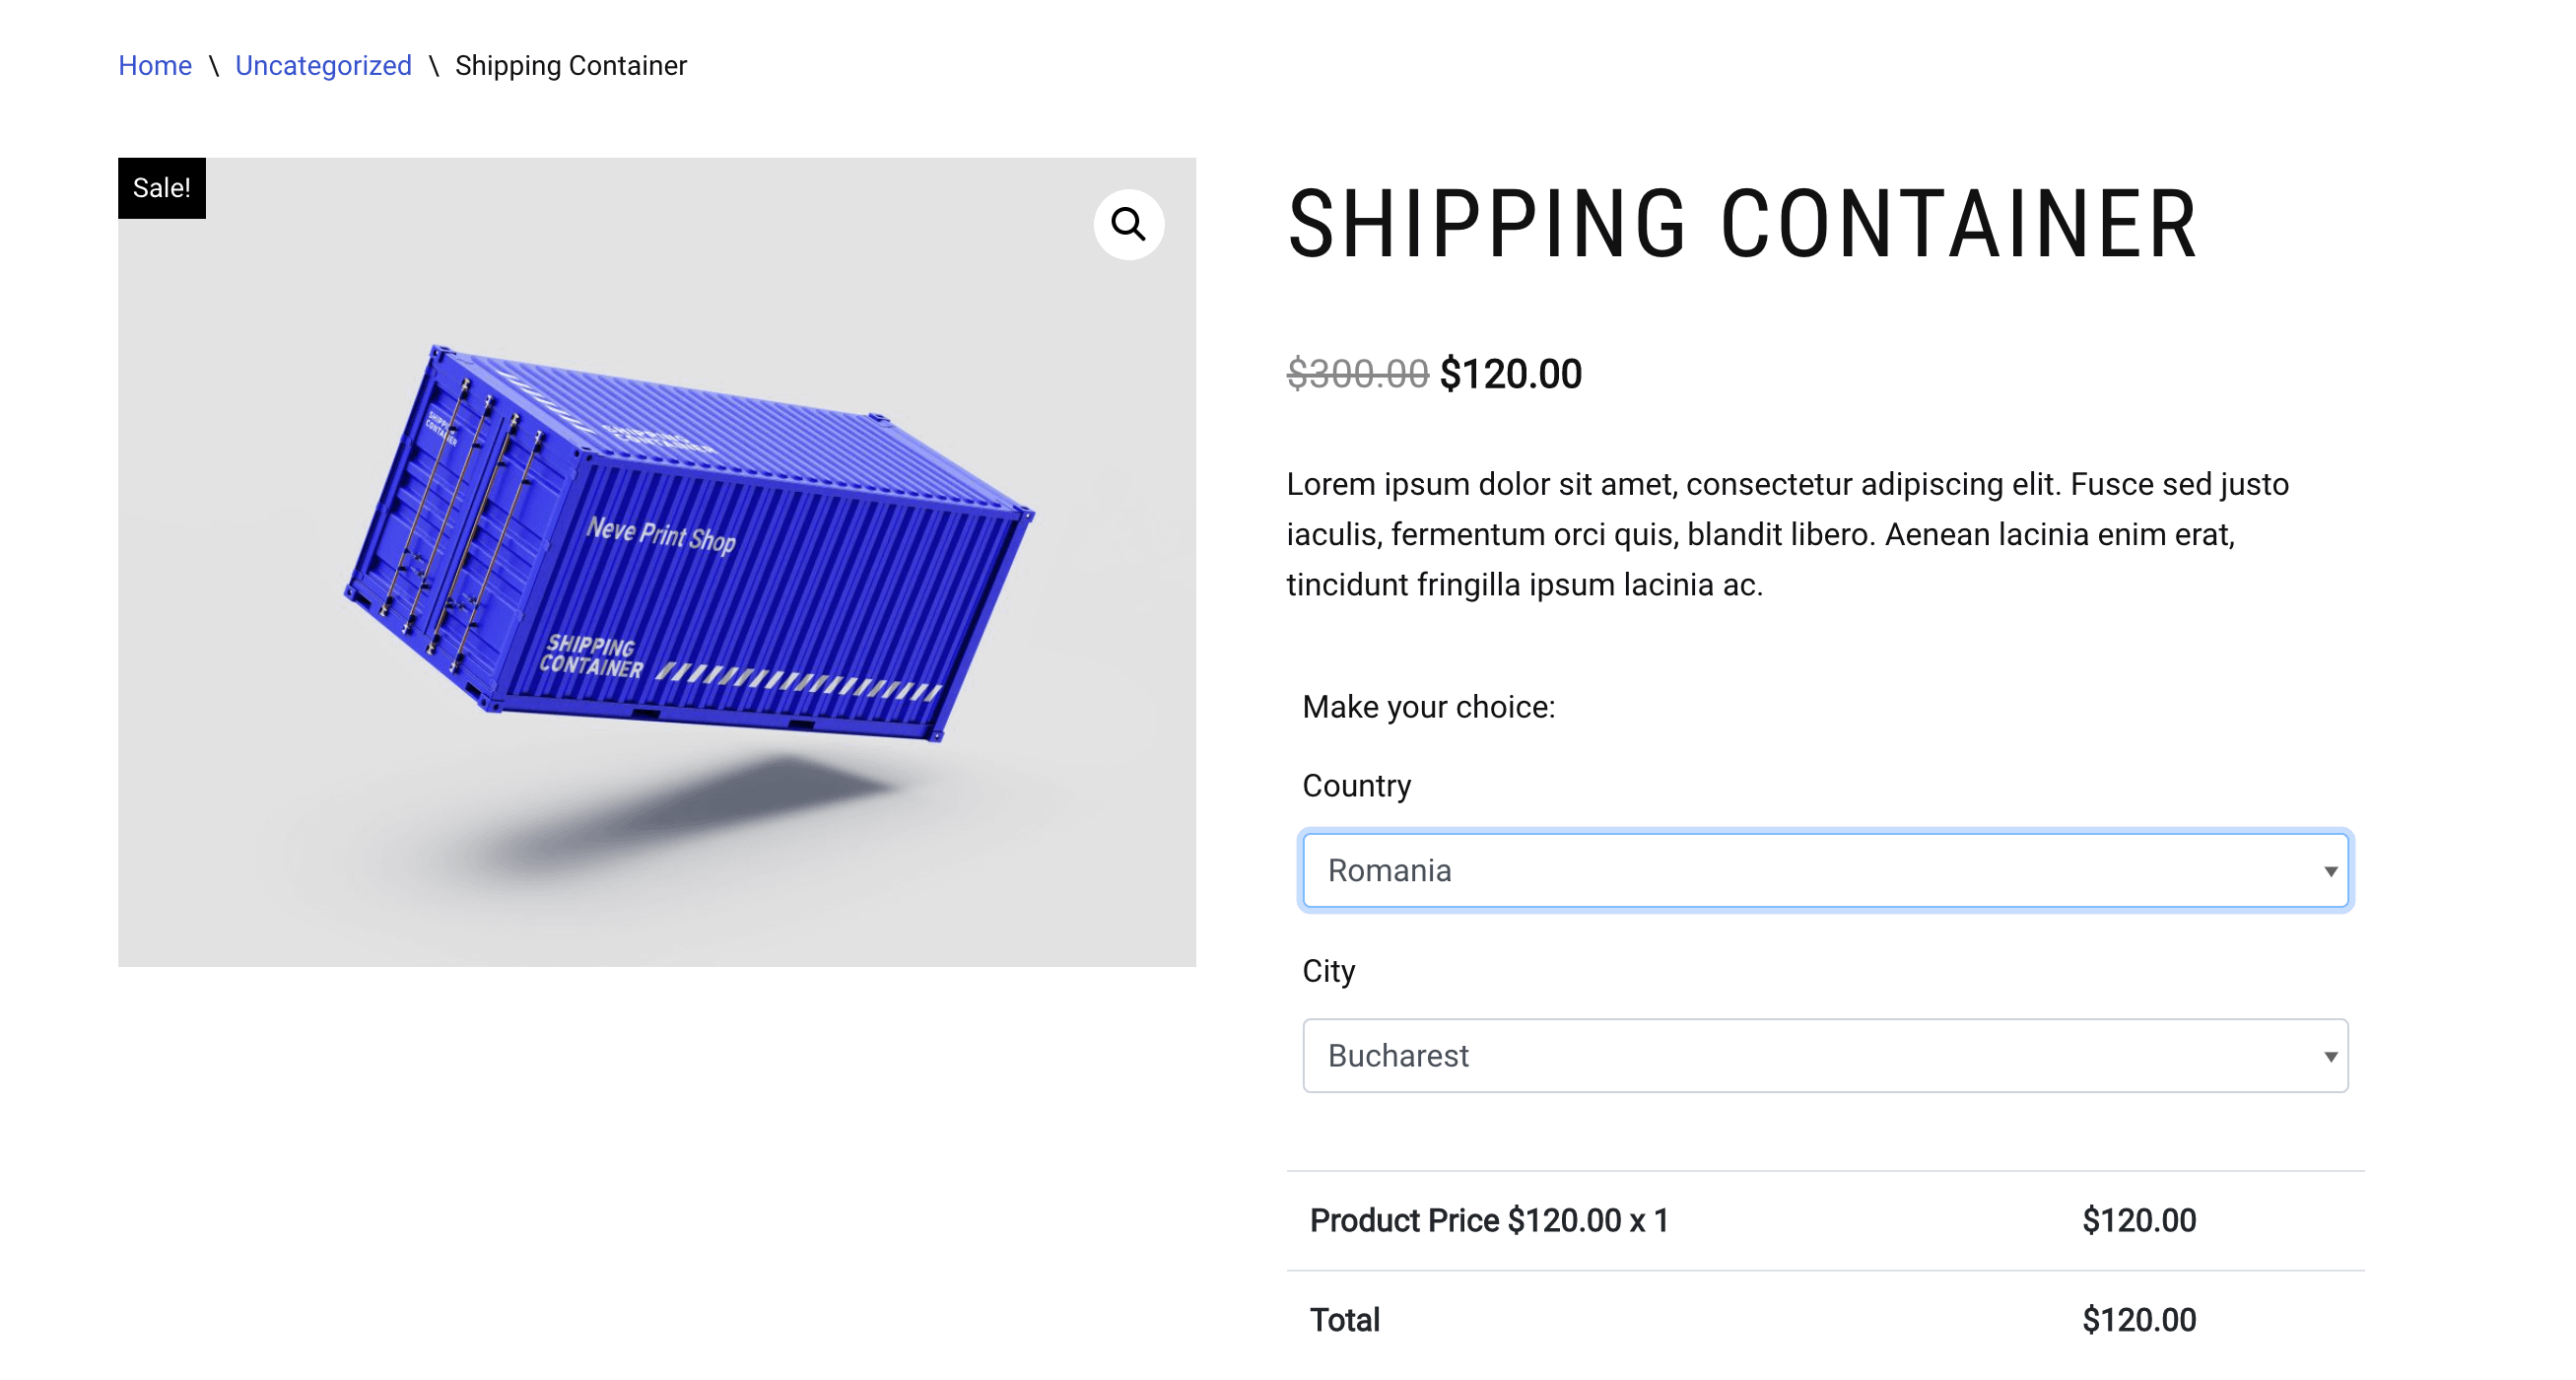
As a result, when a user selects Romania, the corresponding city will be Bucharest, and for Turkey, it will be Istanbul.
Similarly, you can create a chain for the city. We have added a new option to highlight the neighborhoods, with three values for Istanbul and two for Bucharest:
Now, if someone selects Turkey, the inherited value of the city will be Istanbul, and the list of neighborhoods will contain three values:

📝 Note: Check the live behavior of the input using this demo.