Page Builder Widgets - Orbit Fox module
📝 Note: This module is part of the Orbit Fox plugin. For more information about the plugin, please check the main documentation.
Adds six new widgets to Elementor and Beaver Builder: Services, Post Type Grid, Pricing Table, Newsletter Form, Registration Form, and Contact Form.
📝 Note: This module requires either Elementor or Beaver Builder to be installed and activated. If neither of these plugins is activated on your website, the module will not show up in the Orbit Fox dashboard.
🖲 Activating the Module
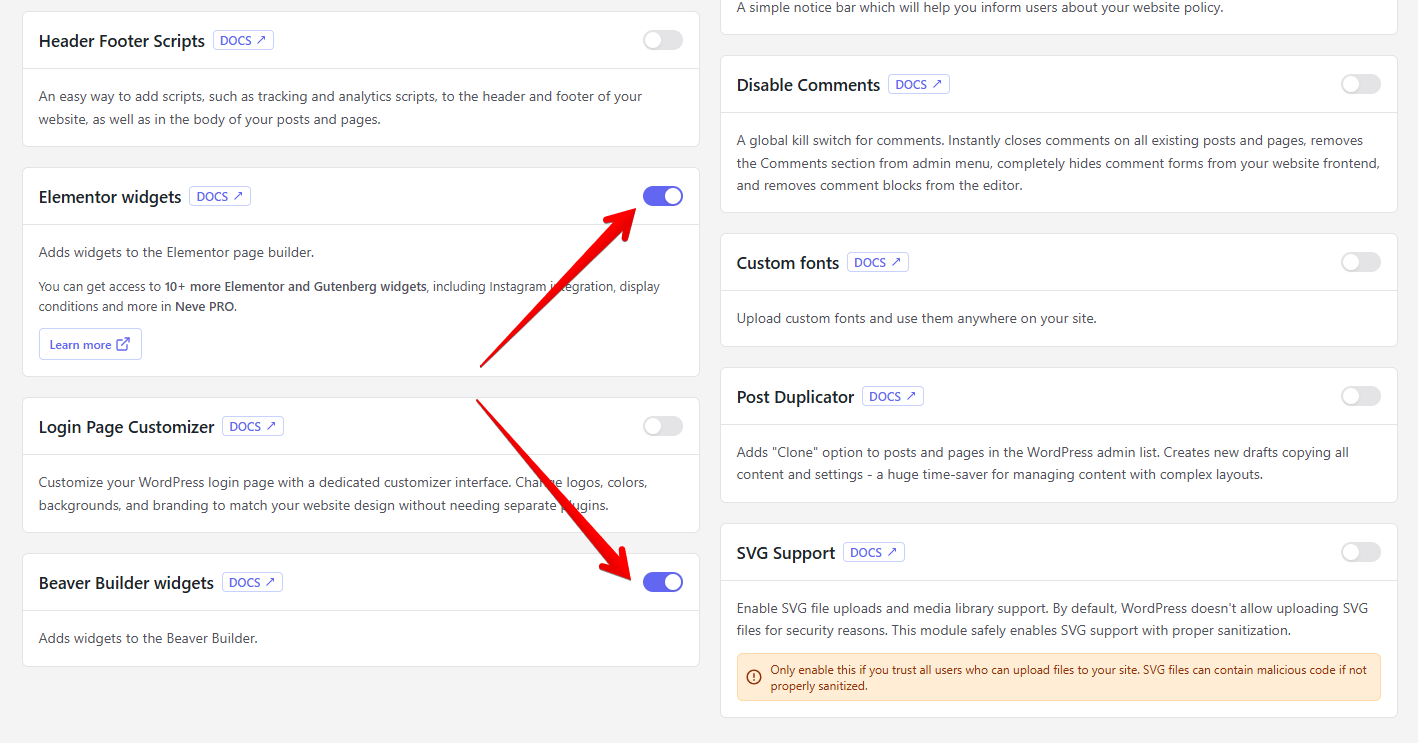
1. Navigate to Orbit Fox > General Settings.
2. Find the Page builder widgets module and enable it.
🧰 Using the Module
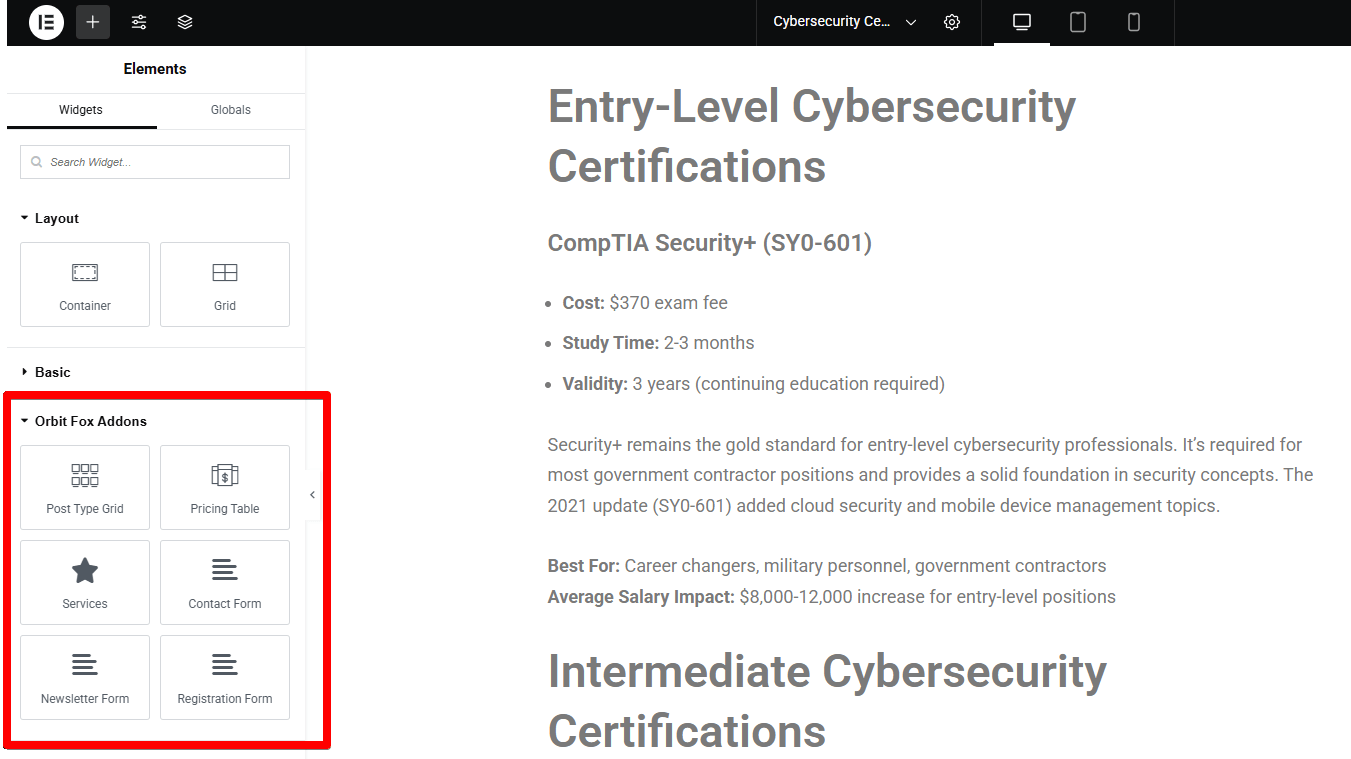
Navigate to a page created with Elementor and open the editor. From the left-side library insert the widgets that belong to the Orbit Fox Addons category.
Post Type Grid
The Post Type Grid can be used to display a list or grid view of posts or any other custom post types registered on the site.

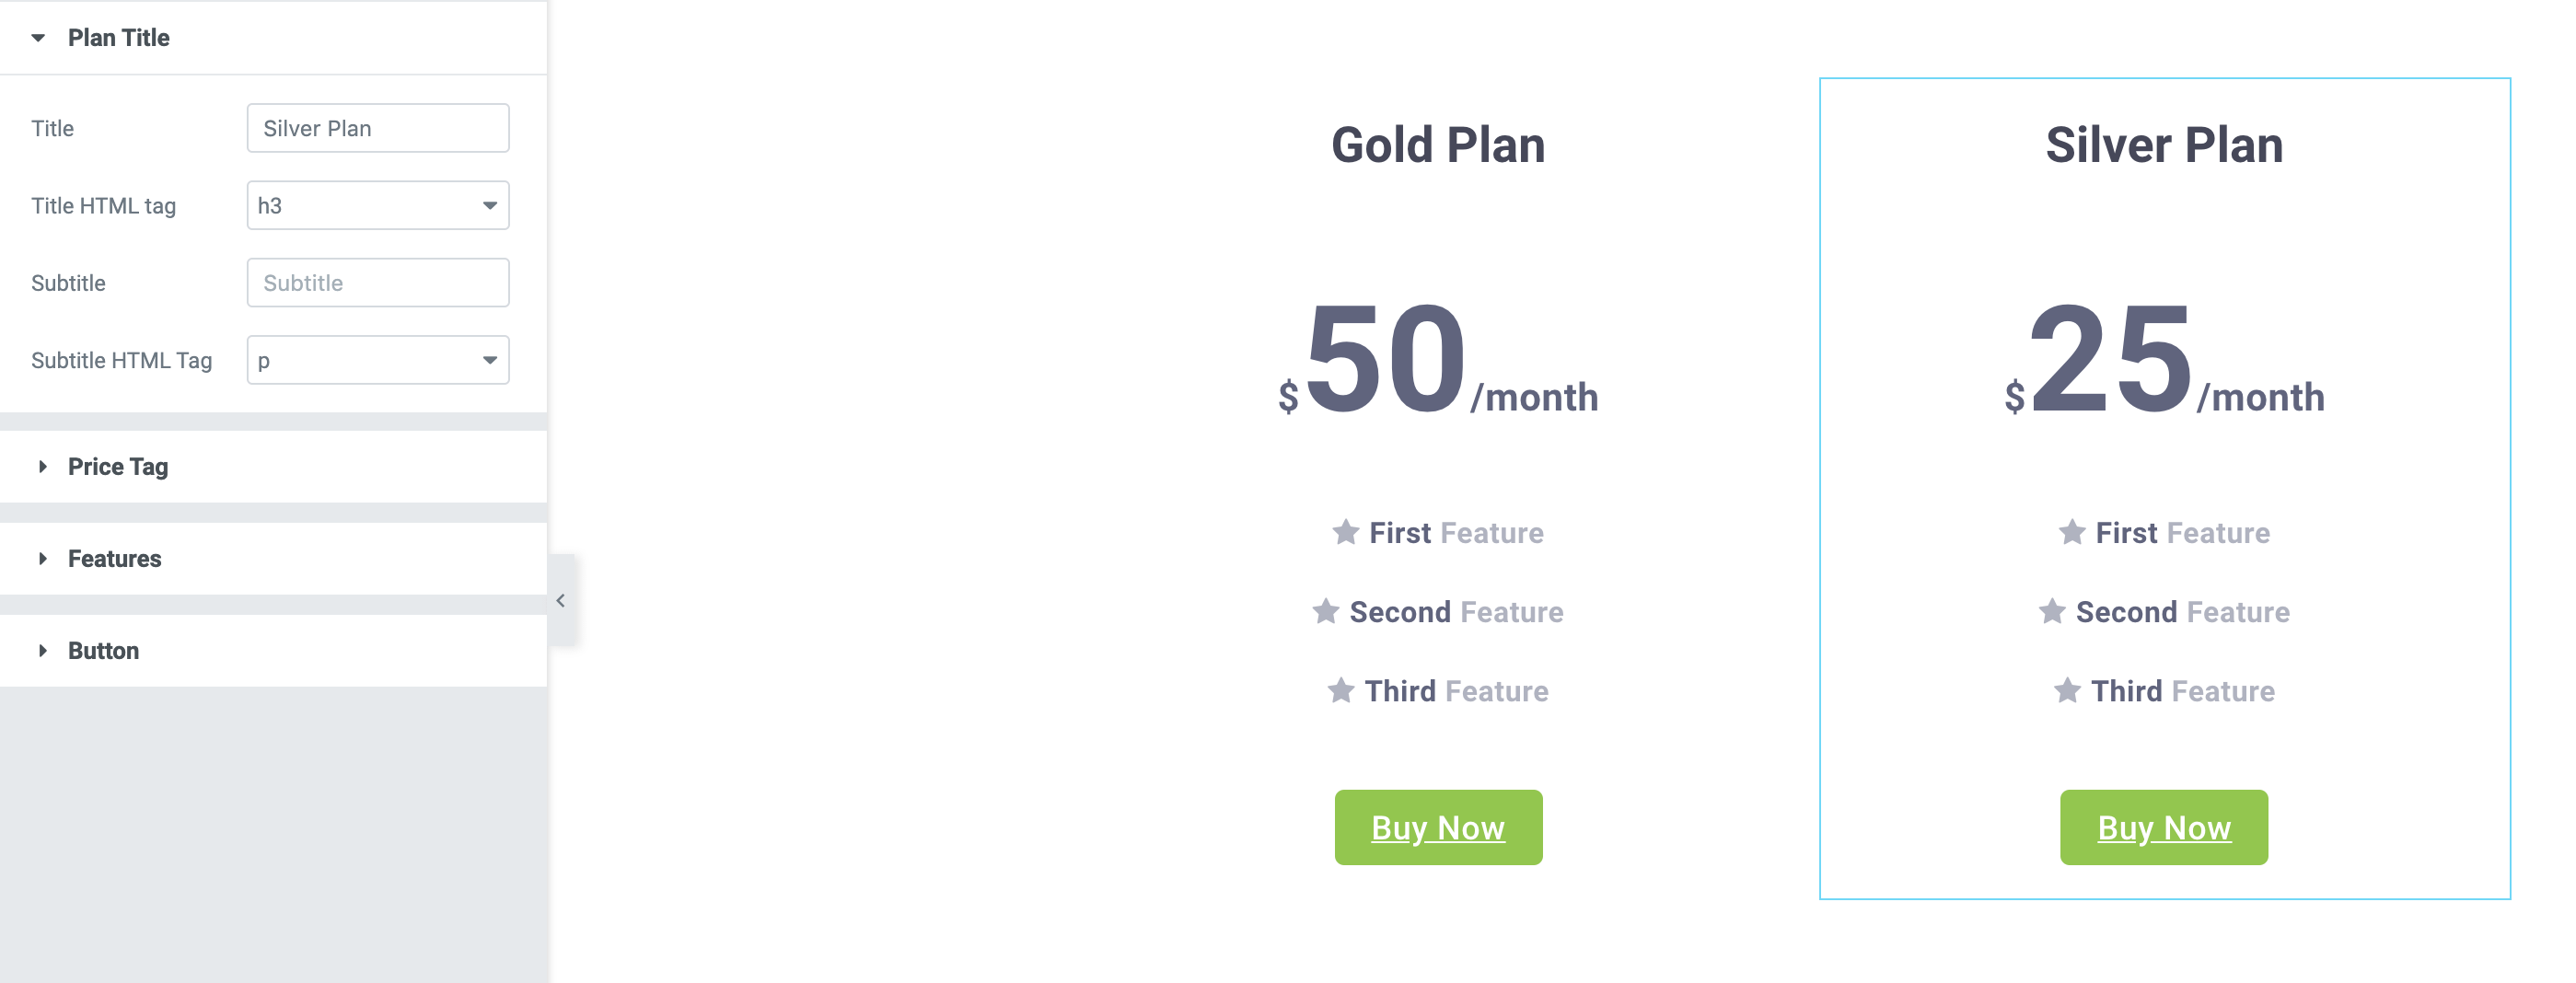
Pricing Table
As its name suggests, this widget can be used for Pricing sections. The widget consists of just one pricing table, but you can use the widget multiple times to create an entire pricing section.
Each pricing table consists of a header area, an area for the price, and unlimited features included in the package.
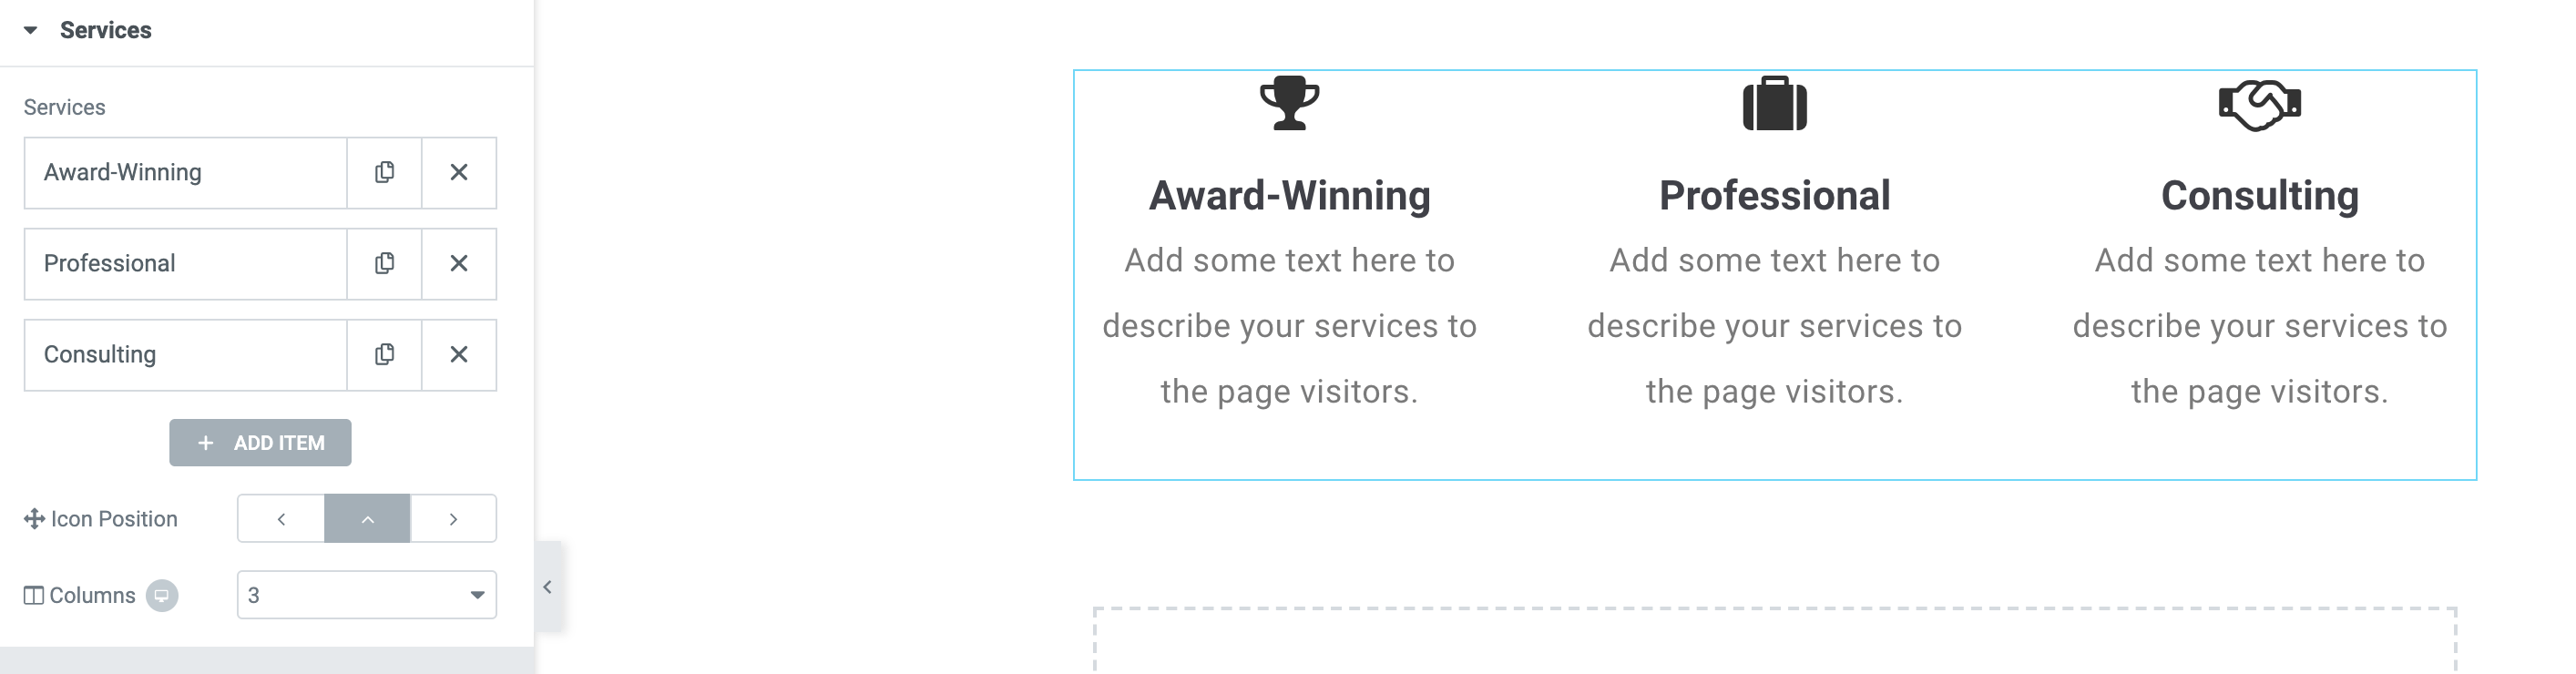
Services
Displays the services that your website provides the best. You can configure them using the three tabs available in the left side panel.
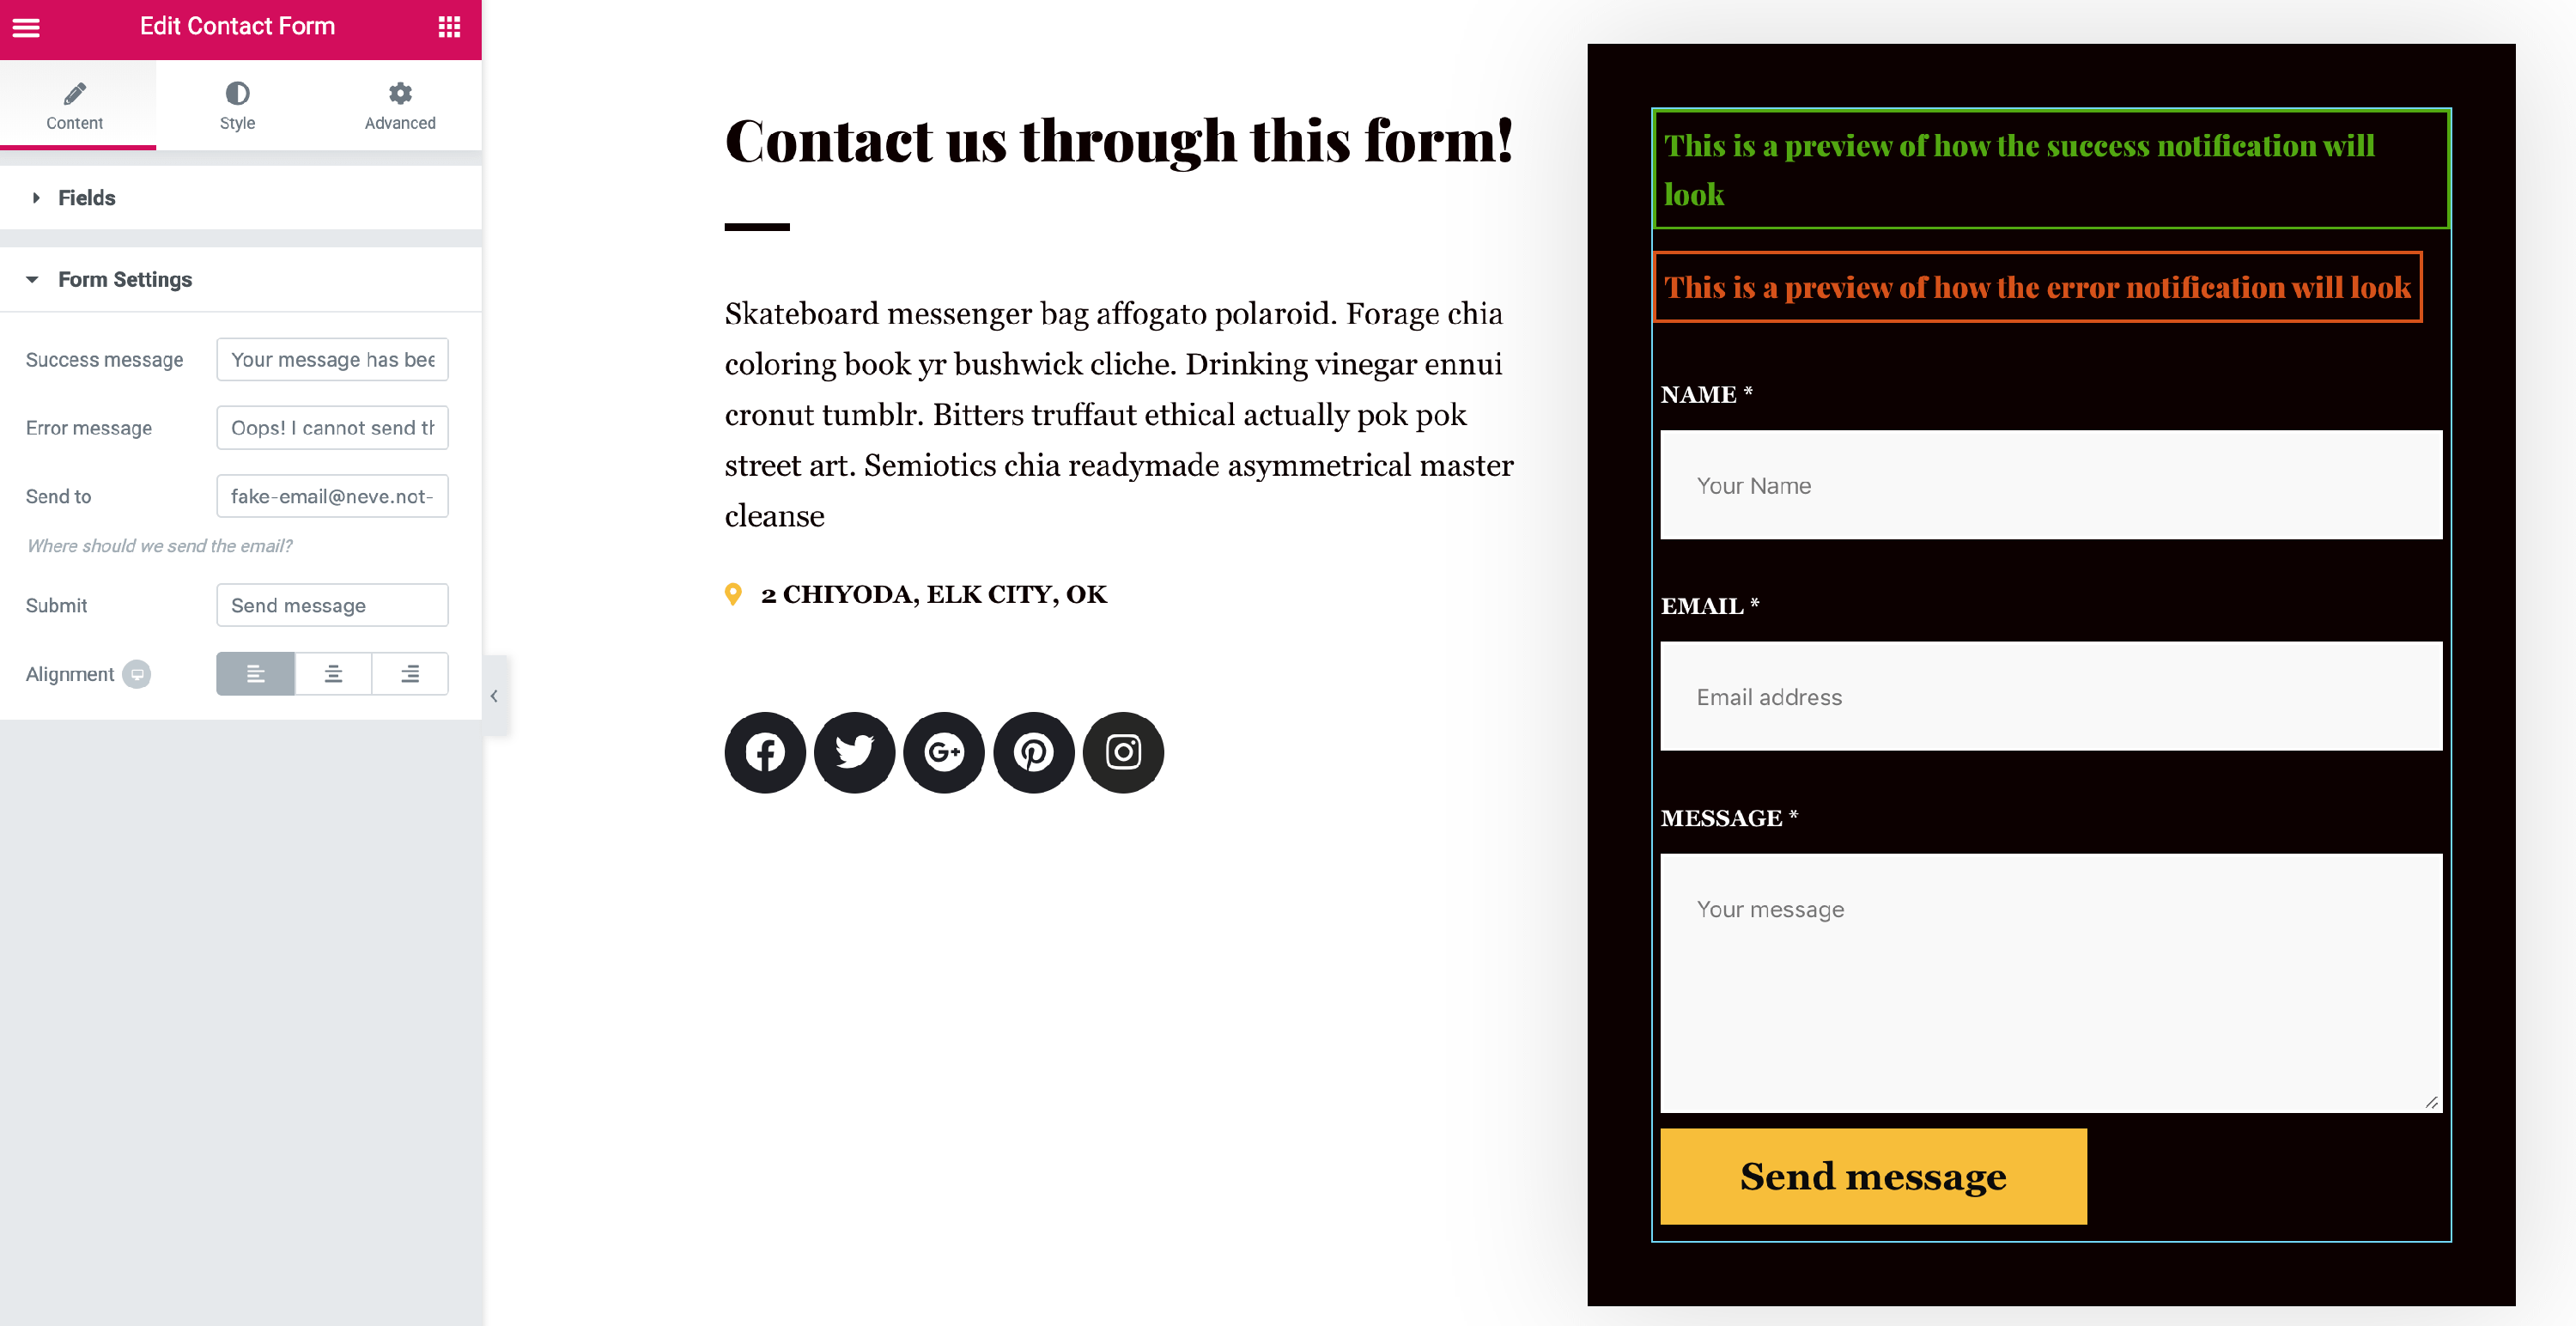
Contact Form
The Contact Form widget offers a really simple contact form, with lots of customization options. In the Fields panel, unlimited form fields can be added, while in the Form Settings panel, you need to set up the recipient email address in the Send to field.
The widget has options for styling, hiding the labels, customizing the success and error messages, and much more.
Newsletter Form
This form is responsible for the emails sent to the users that have subscribed.
If you keep getting the " The email field cannot be empty." error, make sure you have the Map field to email setup like in the screenshot.
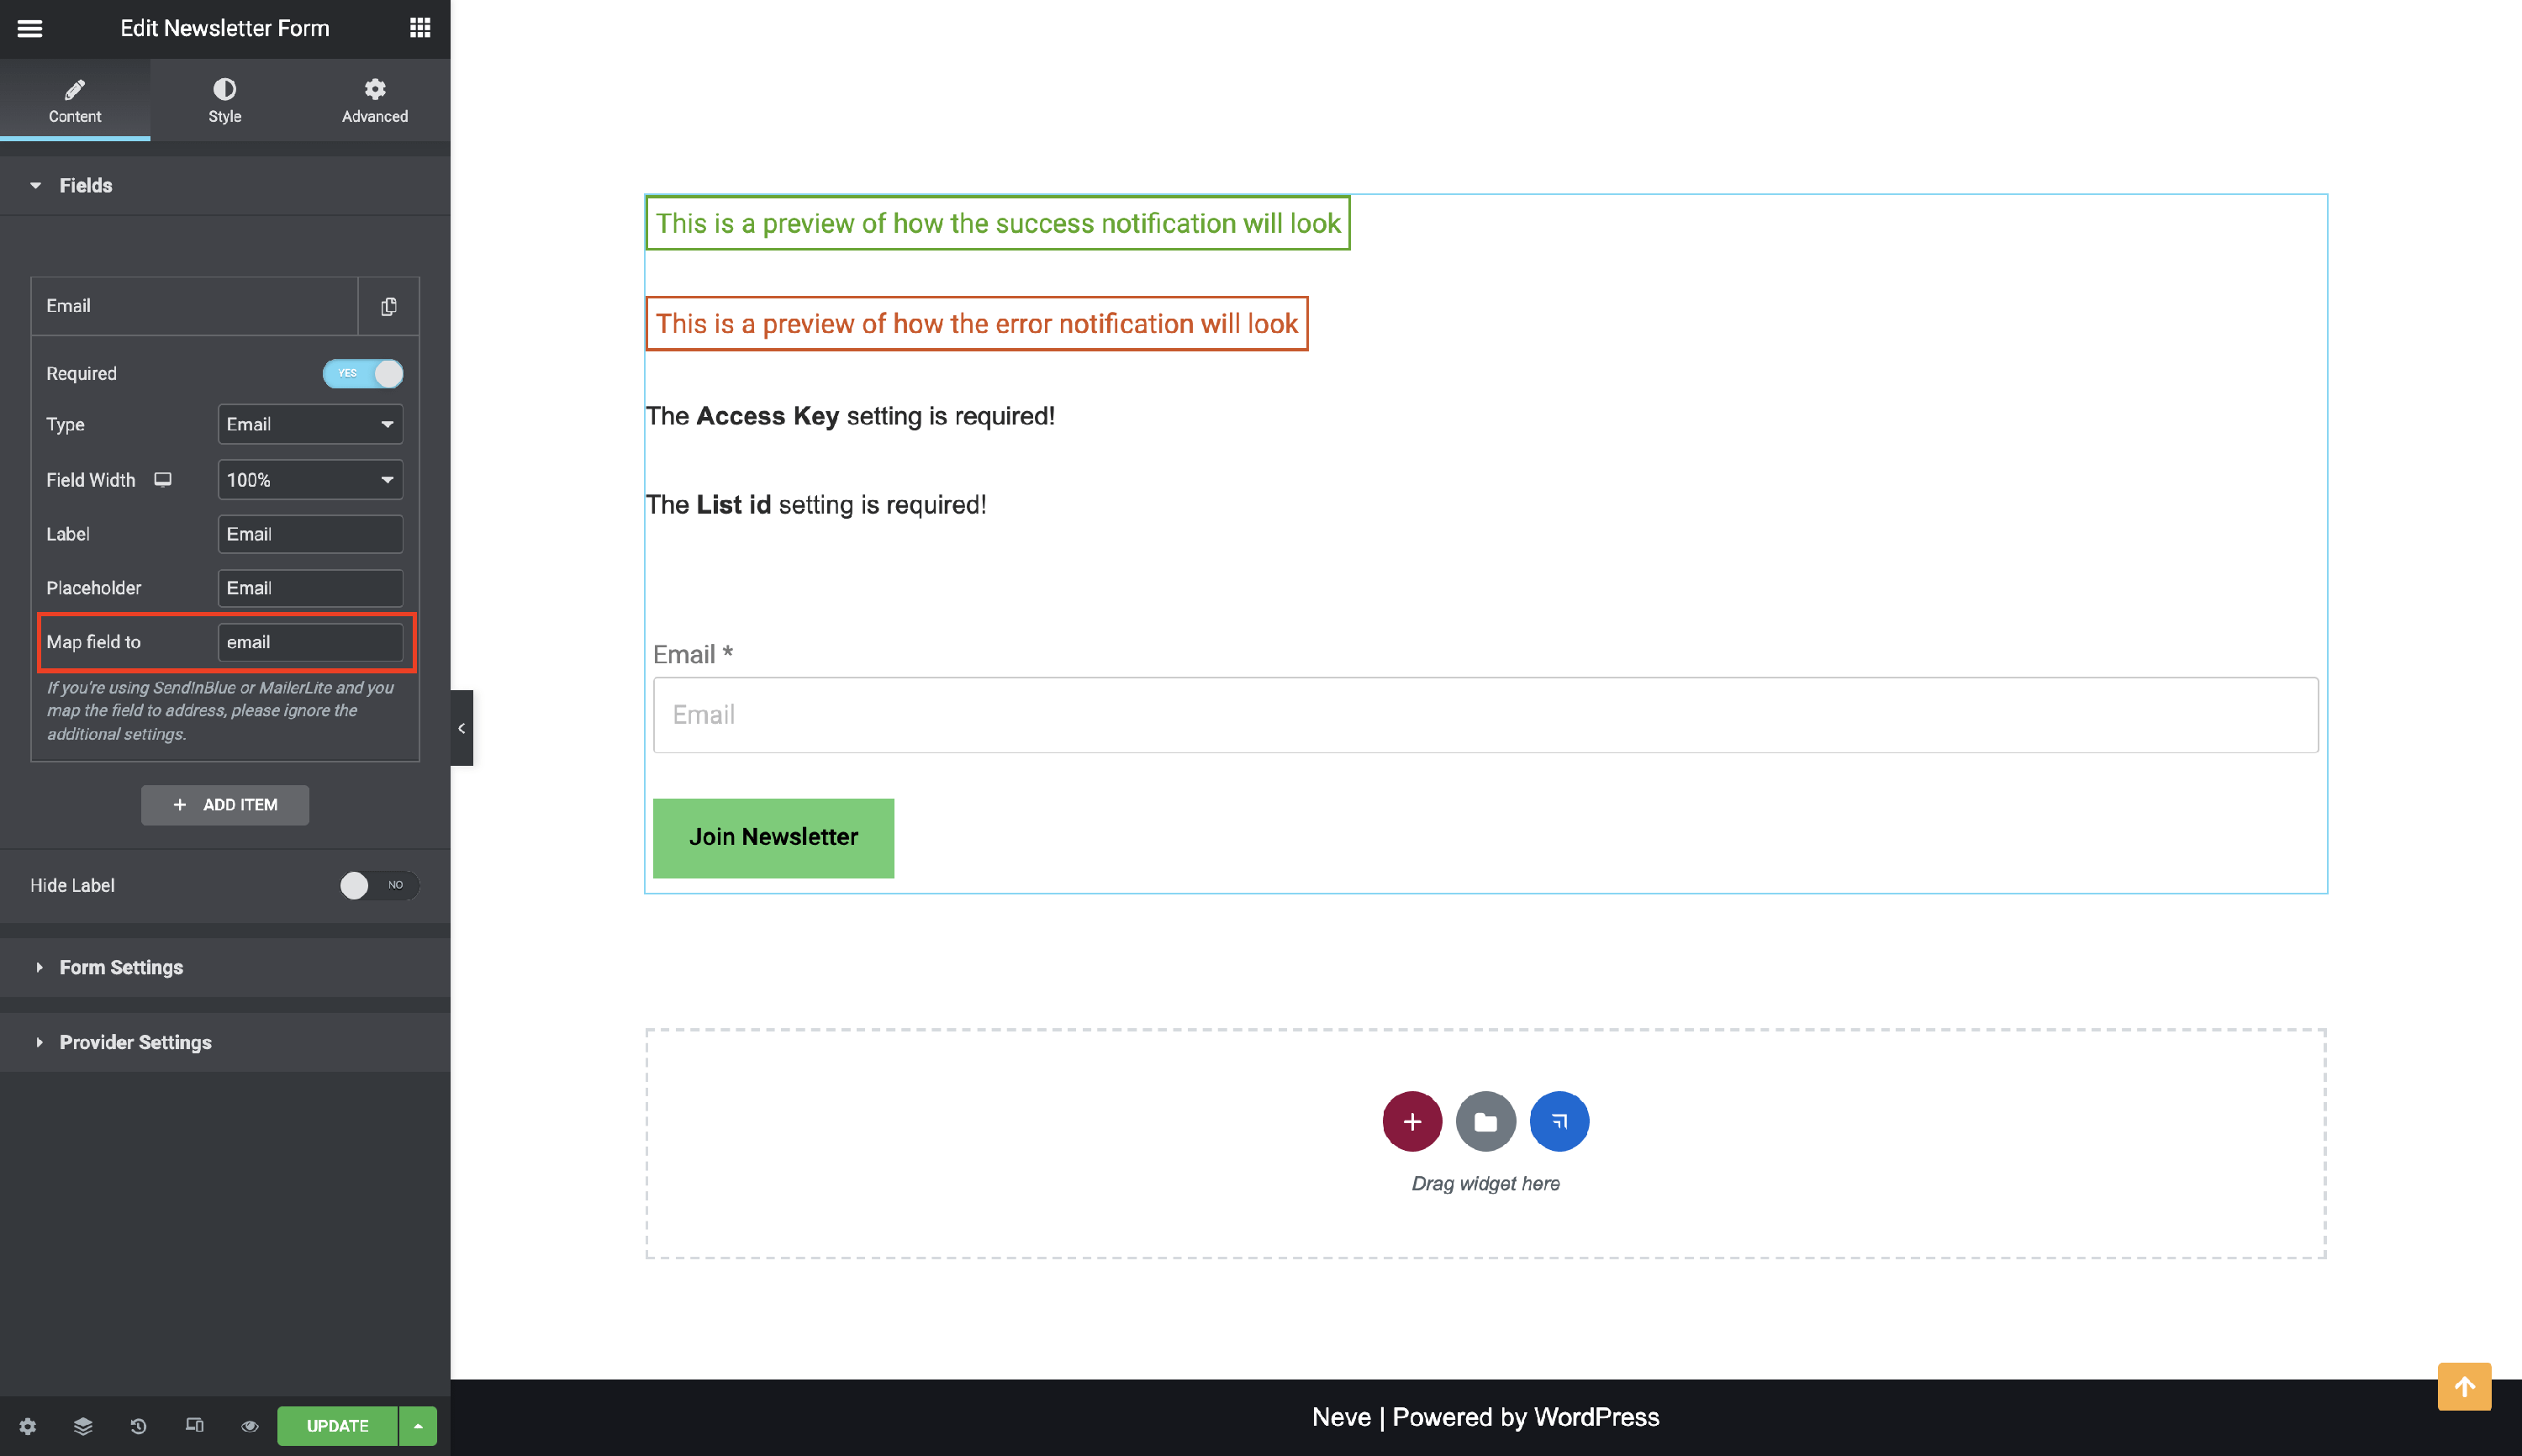
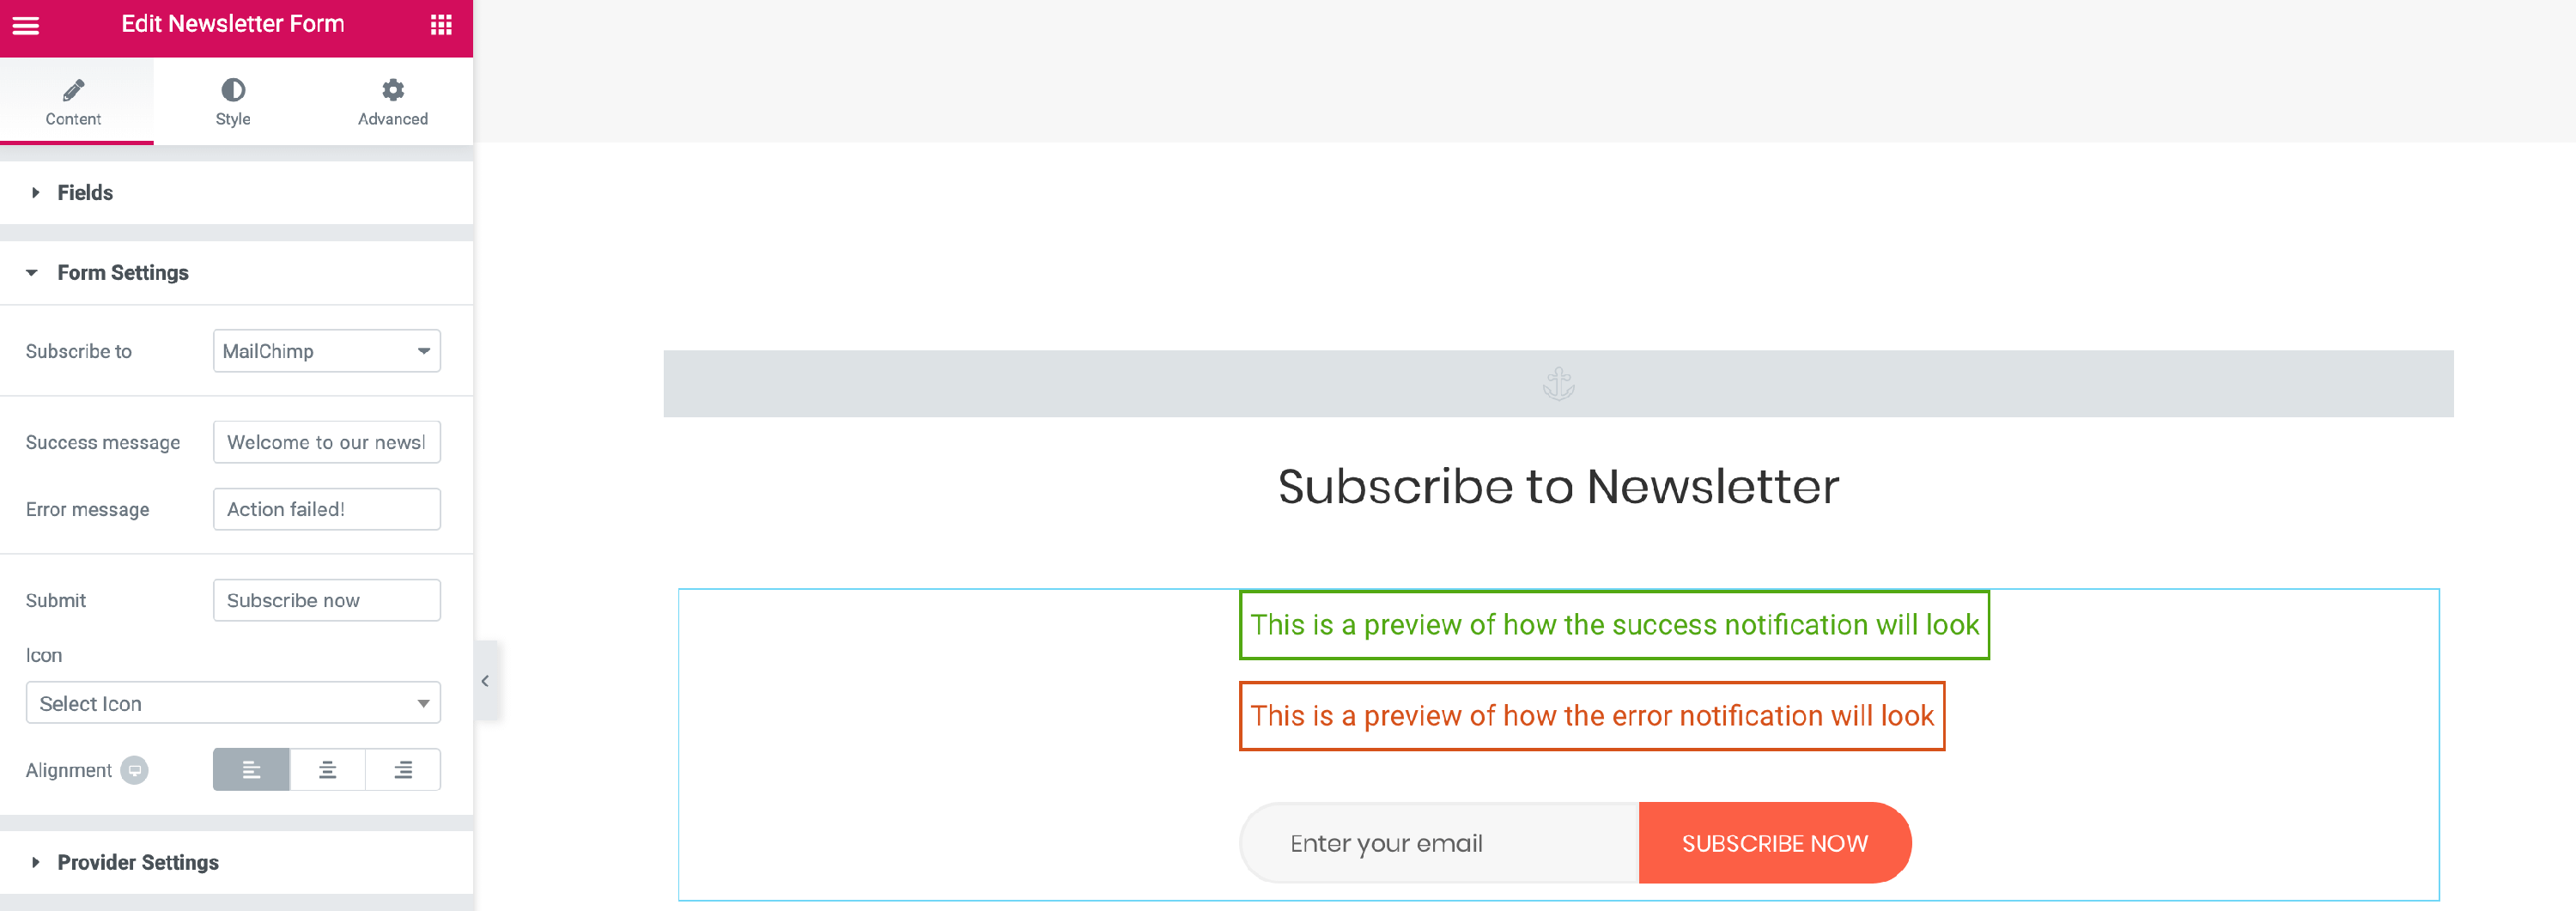
The newsletter form widget is integrated with Sendinblue, MailChimp, and MailerLite. Depending on the service selected in Form Settings > Subscribe to, specific options will be available in the newsletter form.
Make sure to enter the Access Key and List ID in Provider Settings according to the selected service.
How to find your Access Key and List ID?
- SendinBlue - The Access Key can be found here https://account.sendinblue.com/advanced/api (v3) The List ID can be found in your SendinBlue account > Contacts > Lists.
- MailChimp - The Access Key is the API Key from here. The List ID is the Audience ID.
- MailerLite - The Access Key and List ID can be found here. The Access Key is the API key and the List ID is the GroupID.
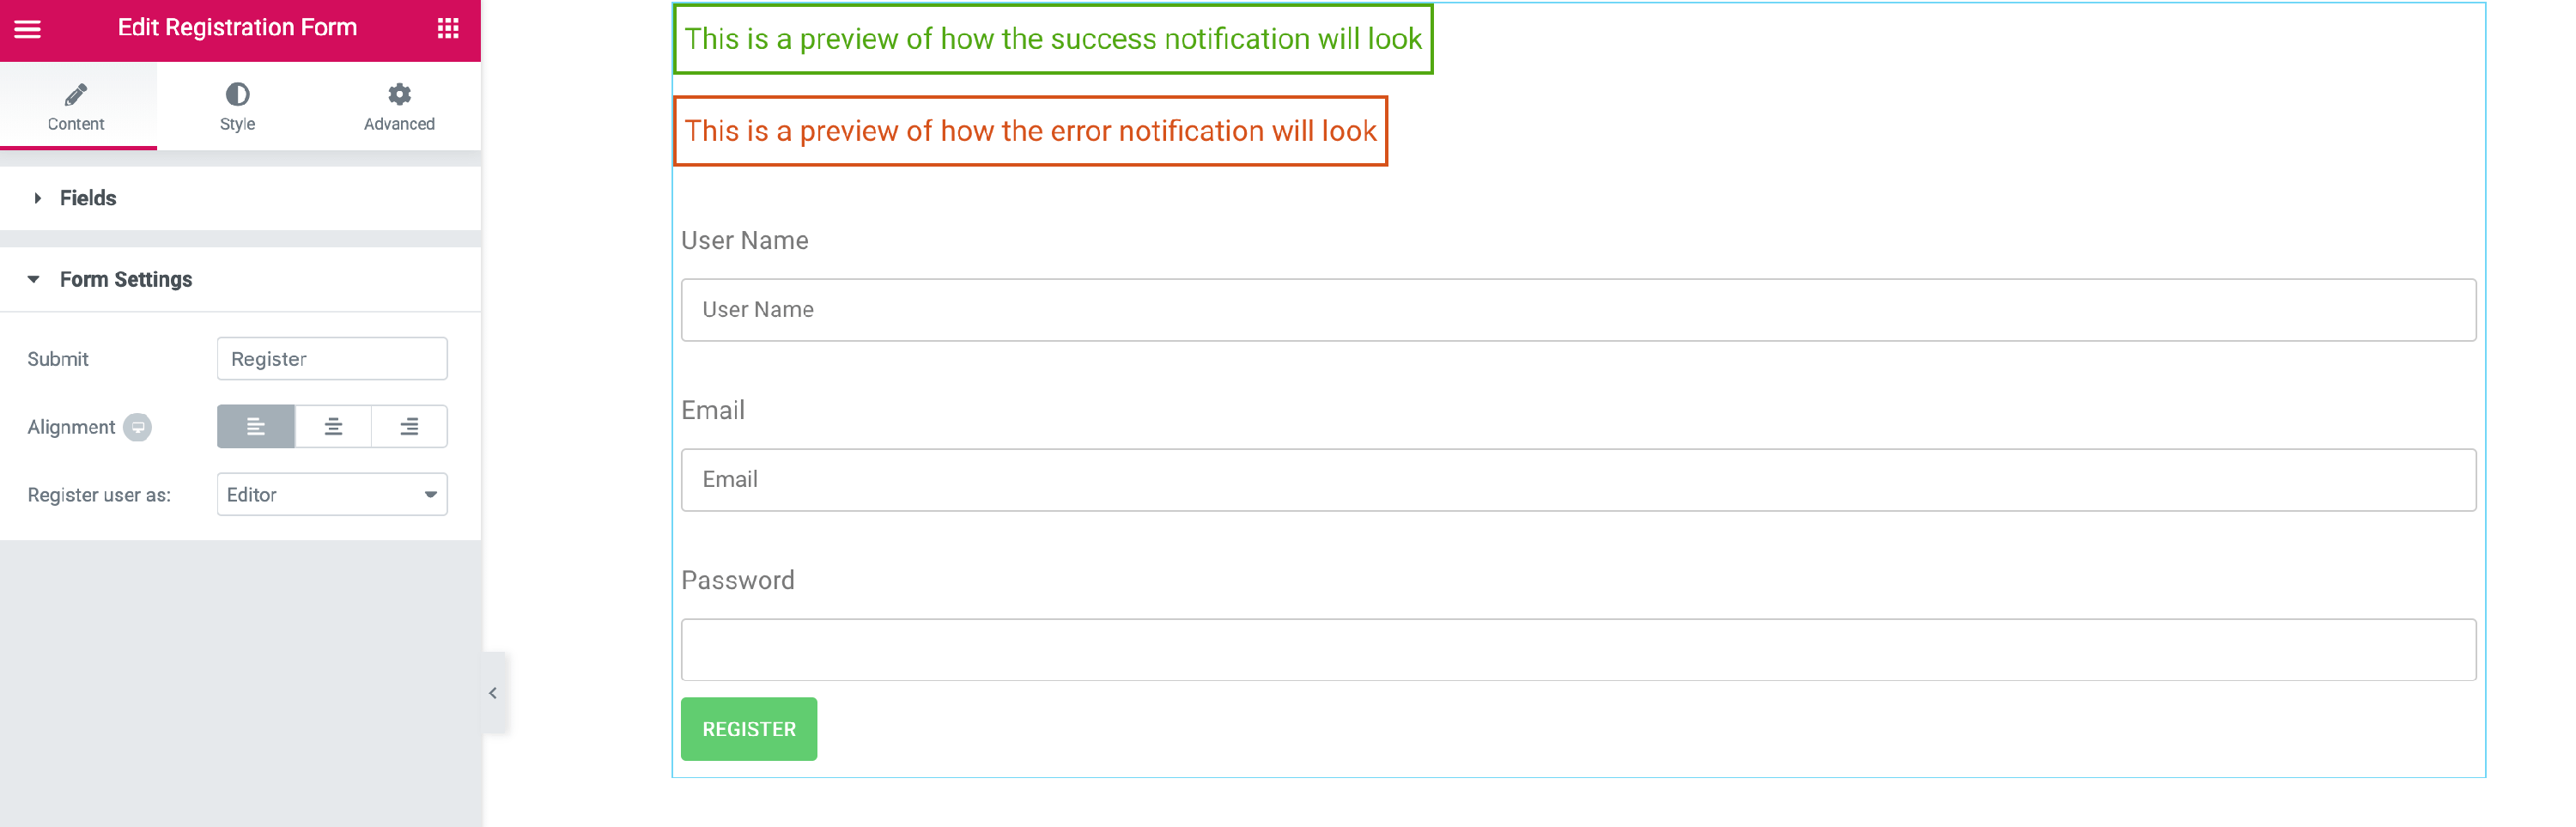
Registration Form
The Registration Form widget allows users to register on your site. In Form Settings > Register user as you have the option to chose the role of the newly created user, once registered on the site.
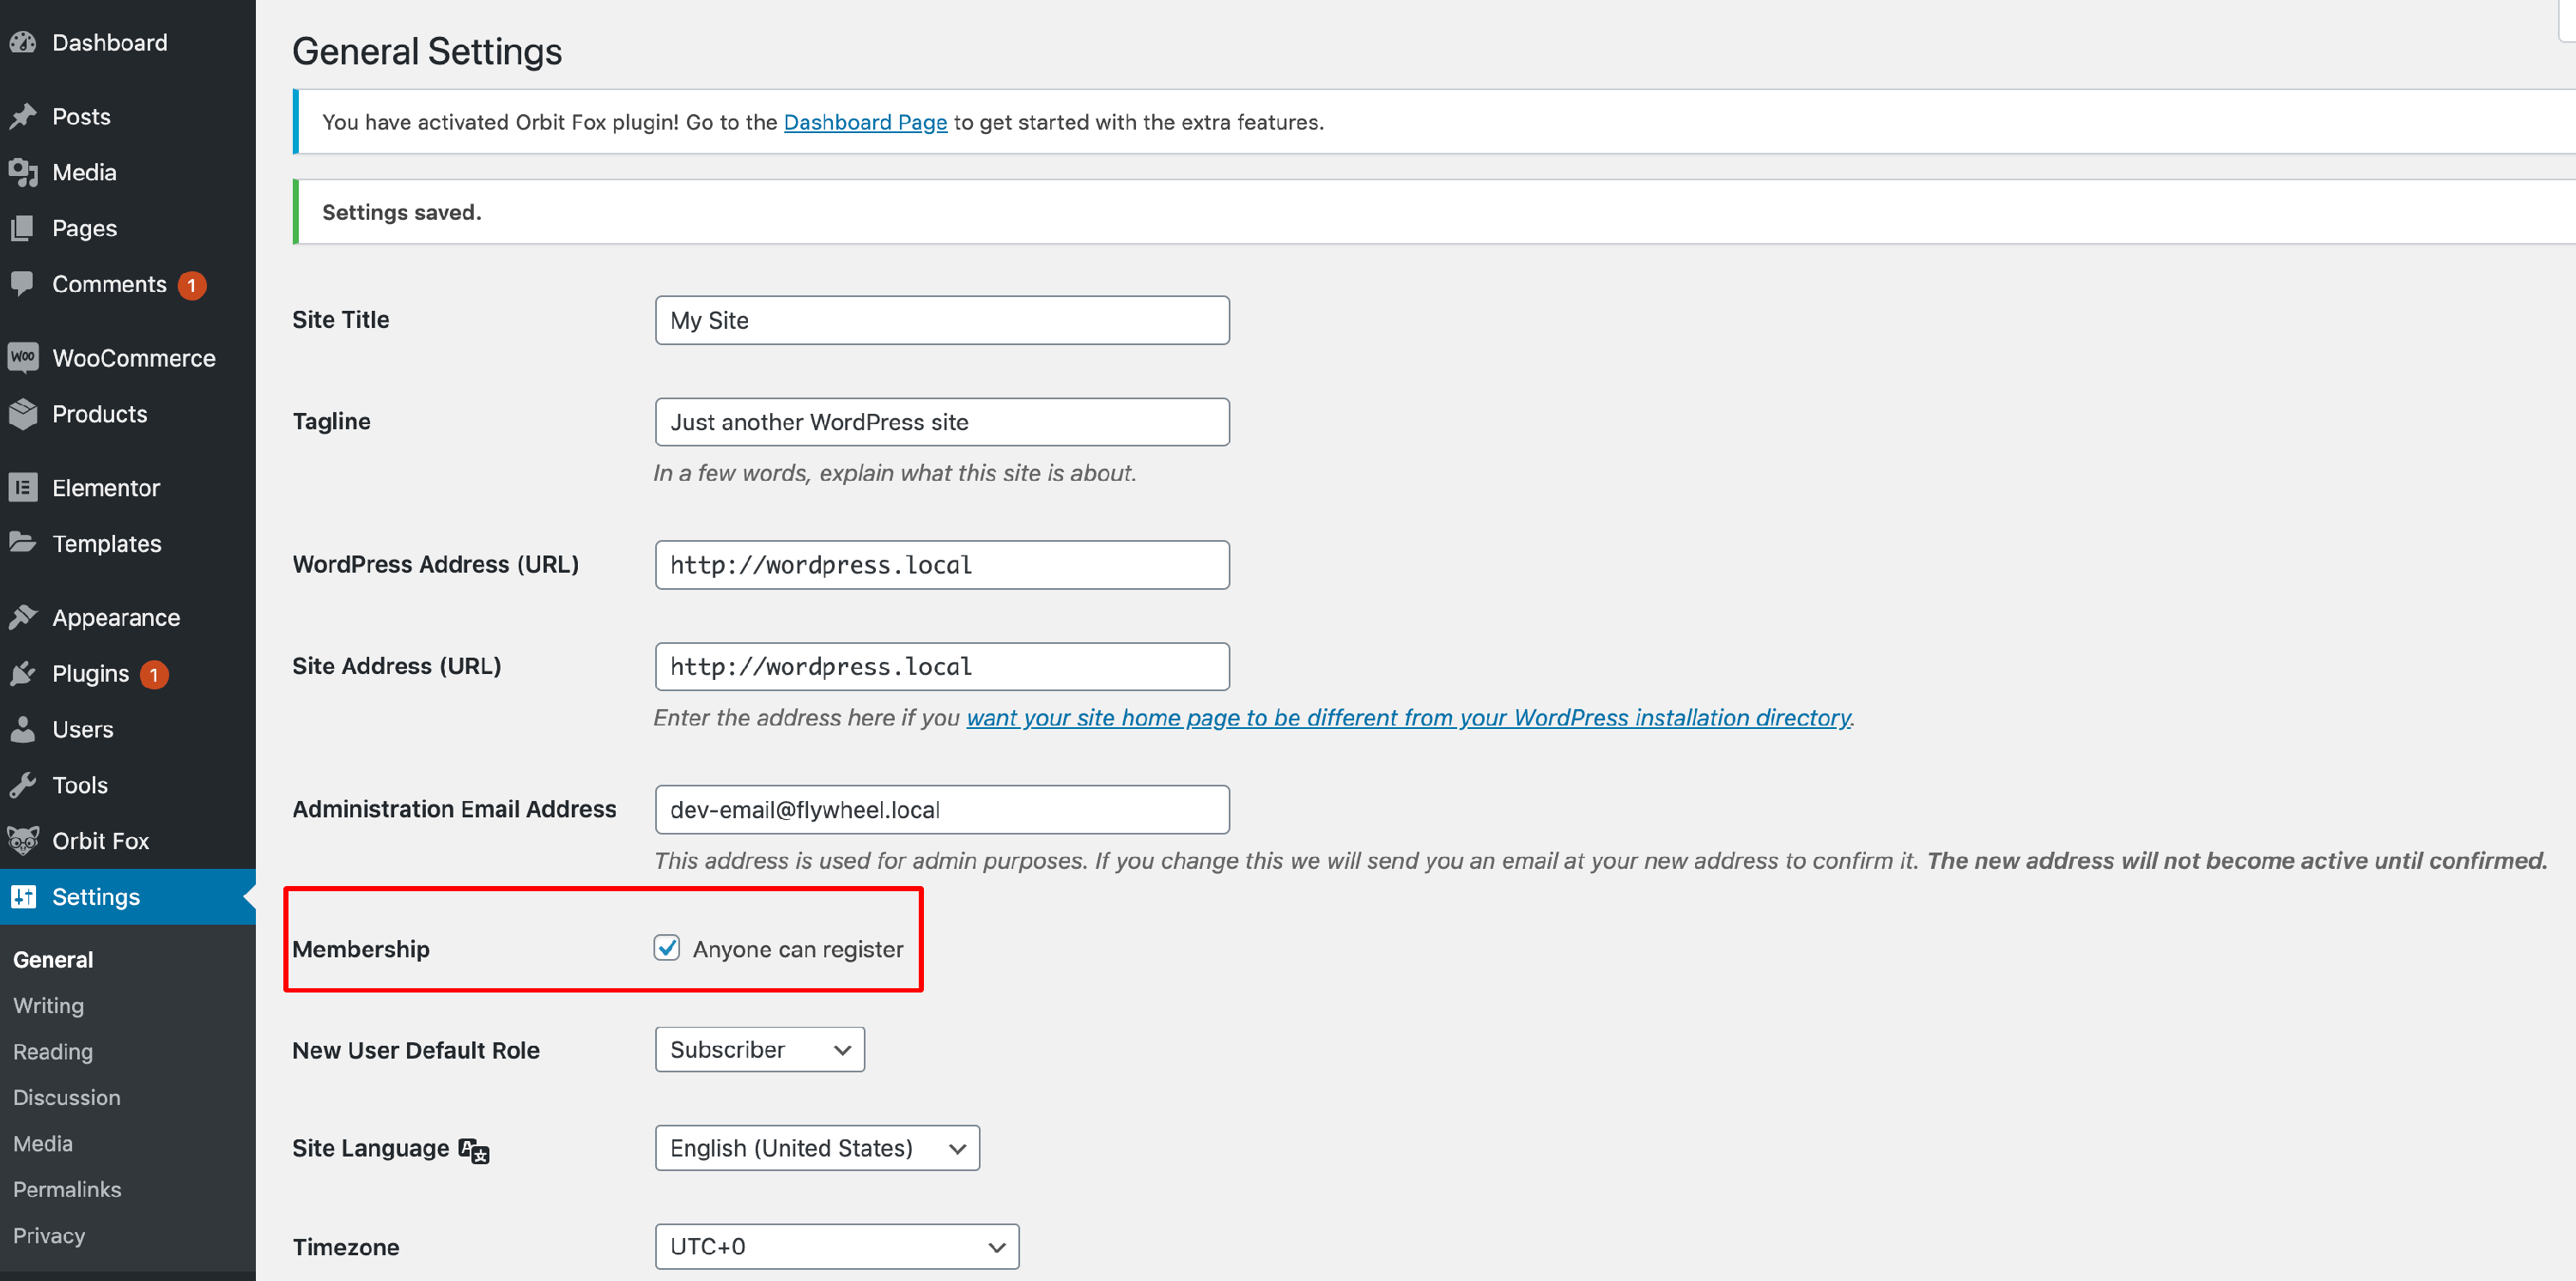
If you get the message "This website does not allow registrations at this moment!" while testing the form, make sure you head over to Settings » General page in your WordPress admin area. Scroll down to the ‘Membership’ section and check the box next to the 'Anyone can register ' option.