How to install Otter Pro?
📝Note: You need to keep the Otter ( free ) in your plugin's directory ACTIVATED for the pro version to work.
In this article, we will present to you how to download the pro version of the plugin after purchasing it, the steps to install and use the pro version of Otter, and how to use the license key in case it is not automatically activated.
📩 Download and Install
1. First, install the free version of the plugin in Dashboard > Plugins > Add New and search for Otter.

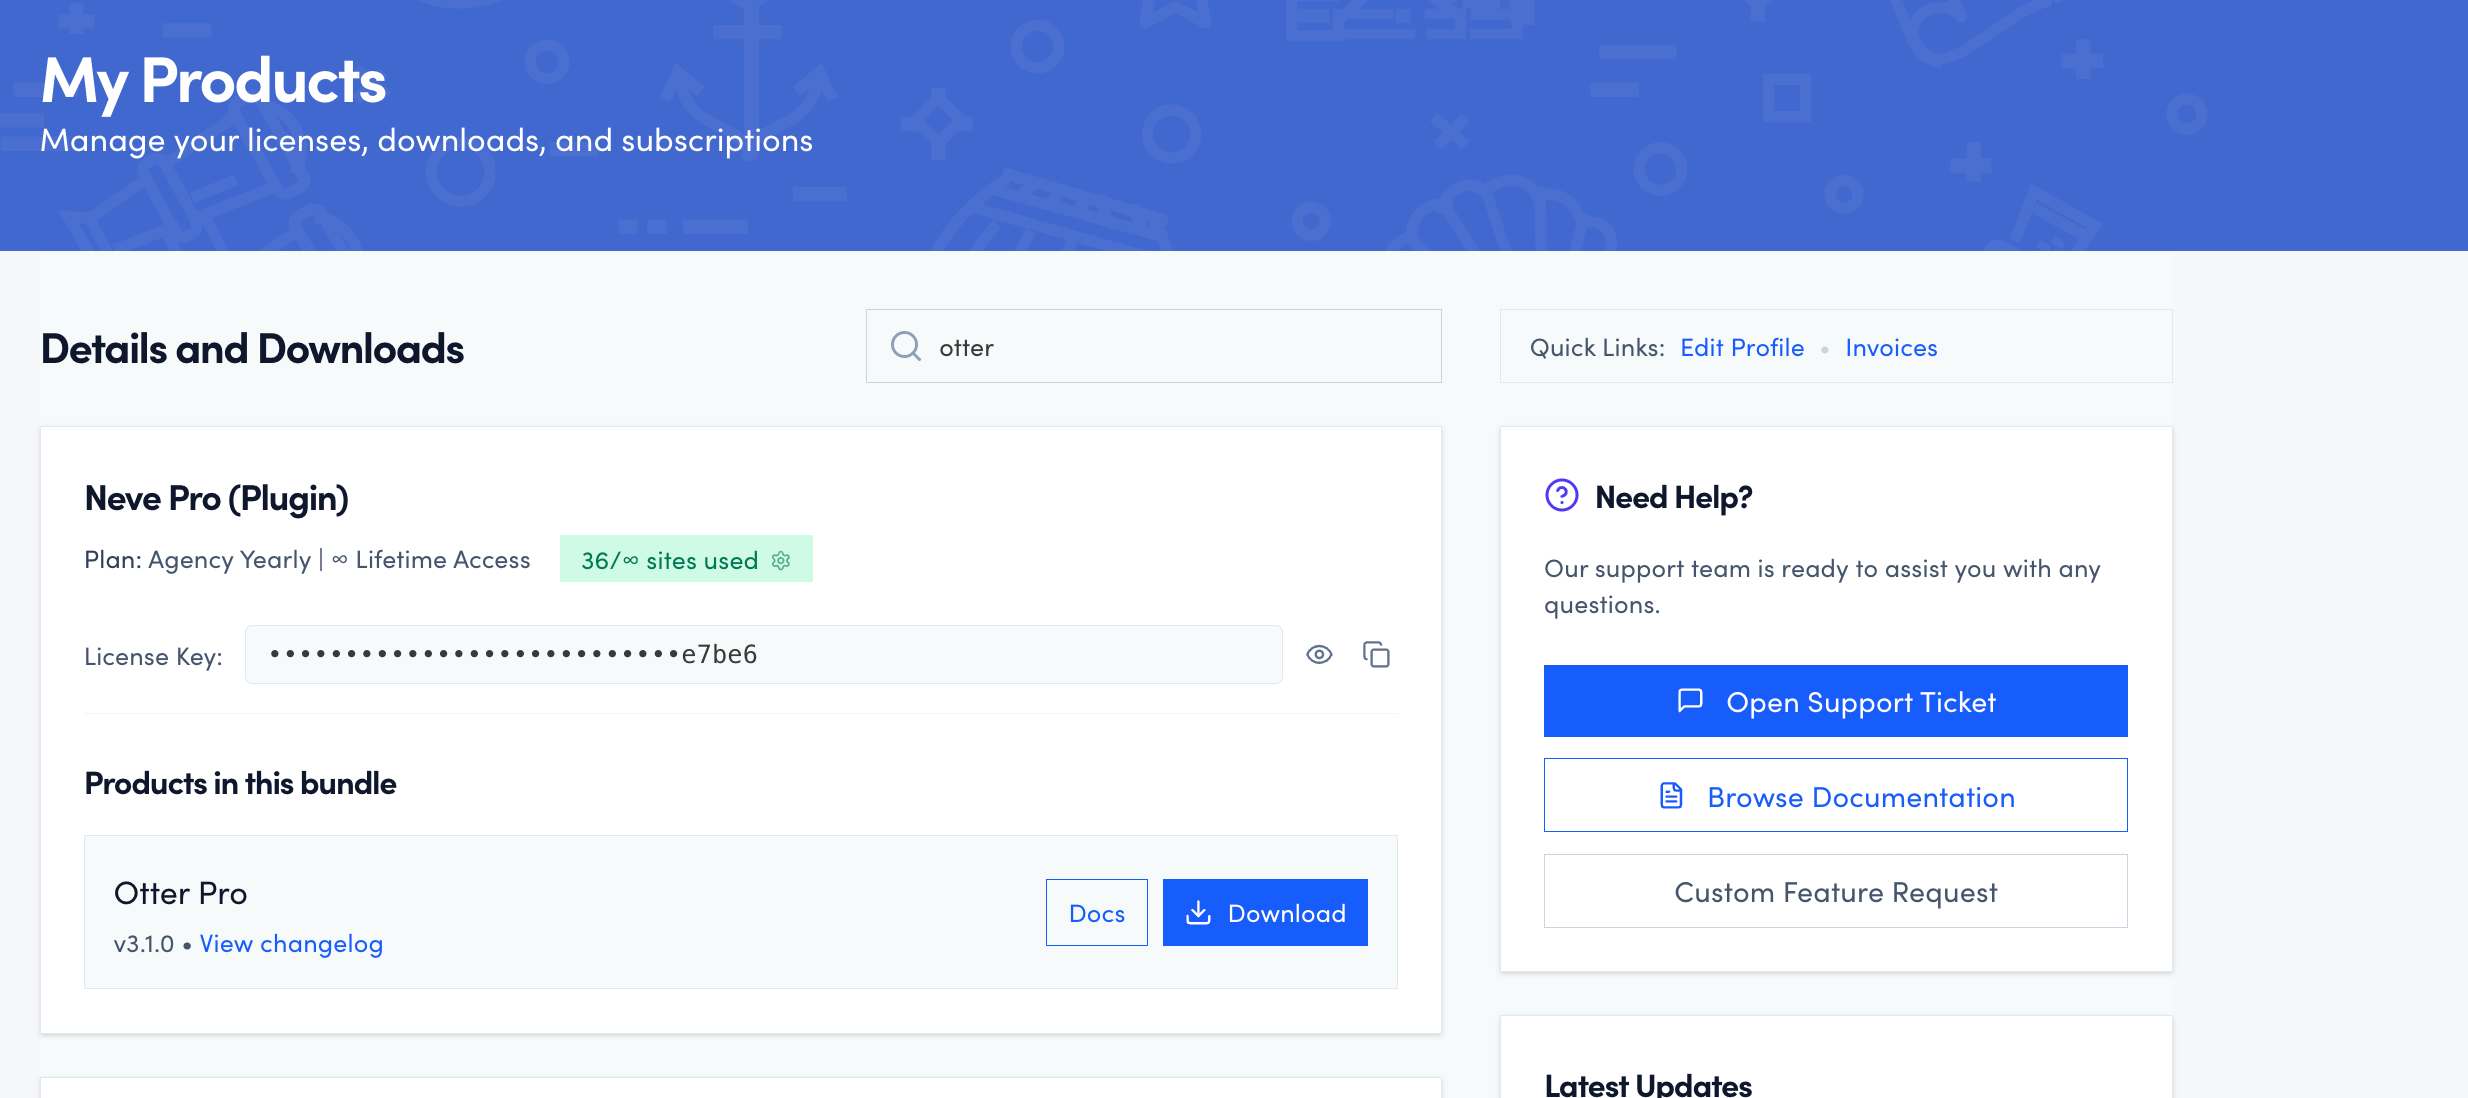
2. Navigate to ThemeIsle Purchase History and search for the Otter Pro plugin, then click on the Download button.
3. Open your WordPress Dashboard and visit Plugins > Add New.
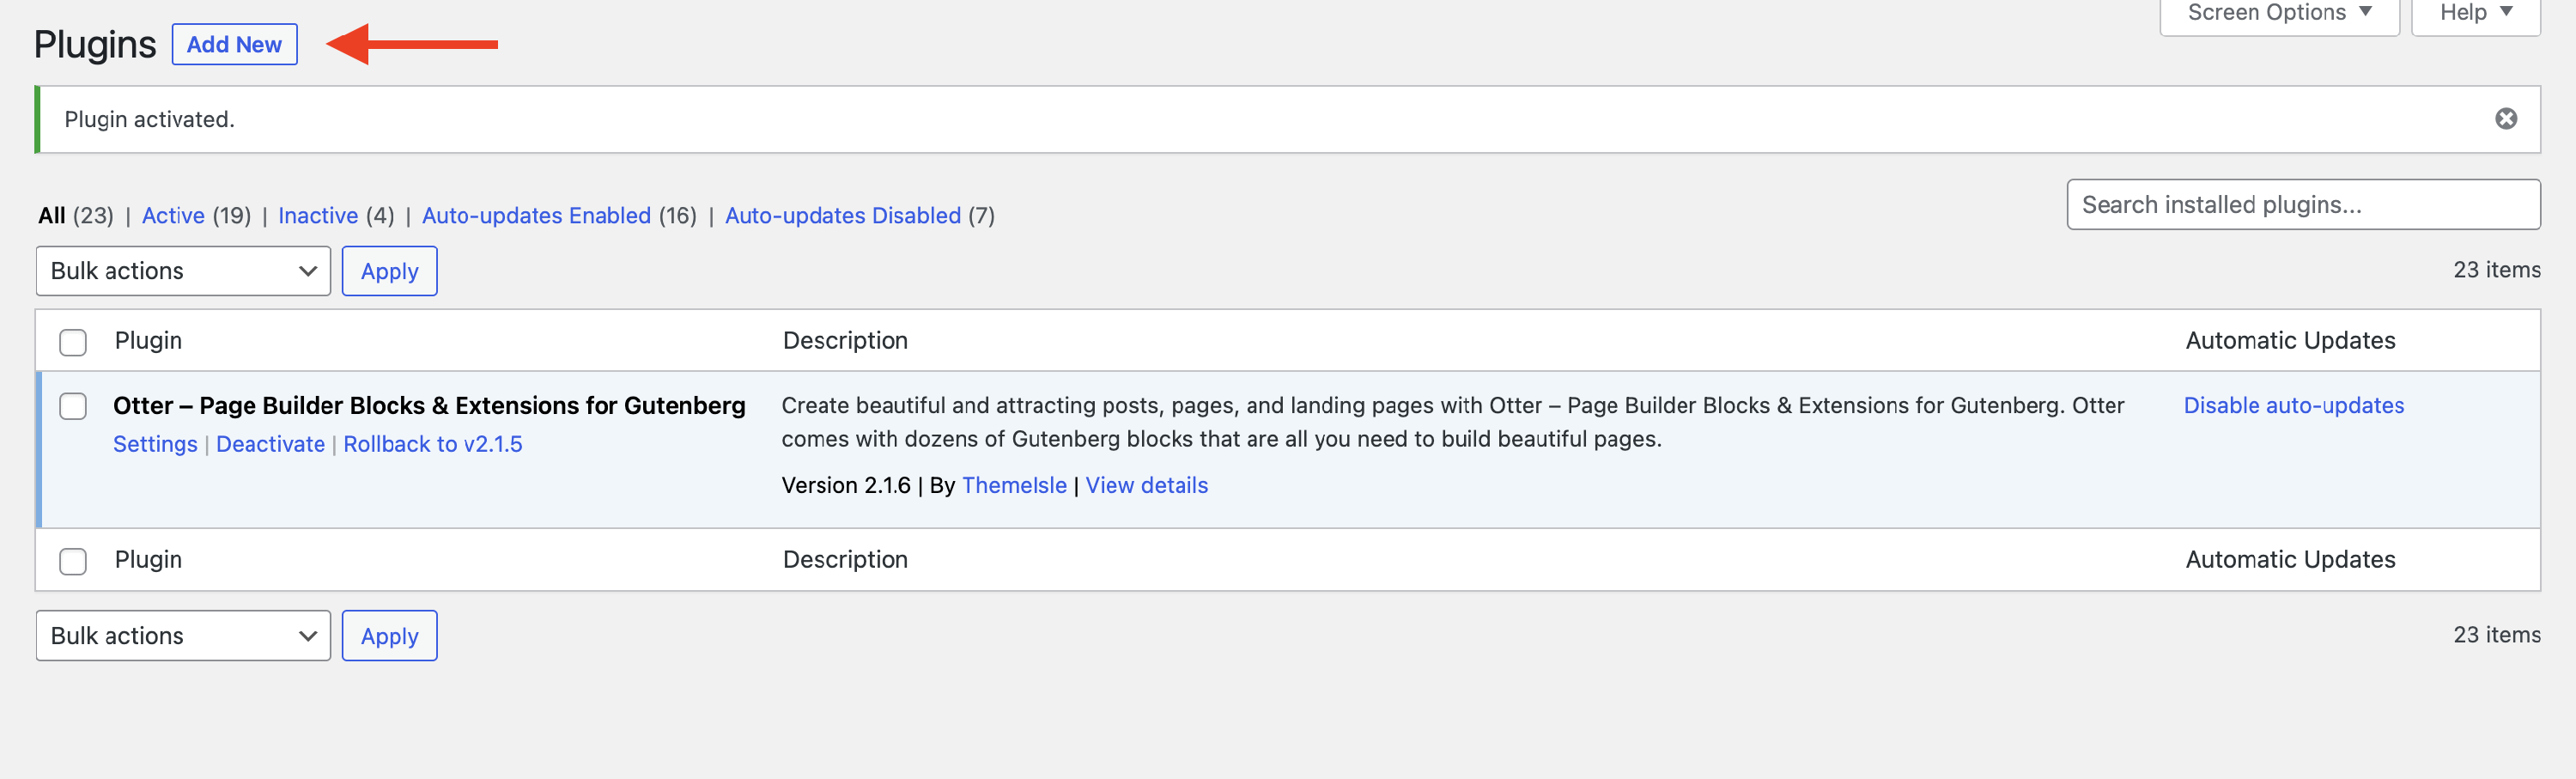
4. Click on the Upload Plugin button.

5. Select the plugin from your File Explorer and click on Install Now.
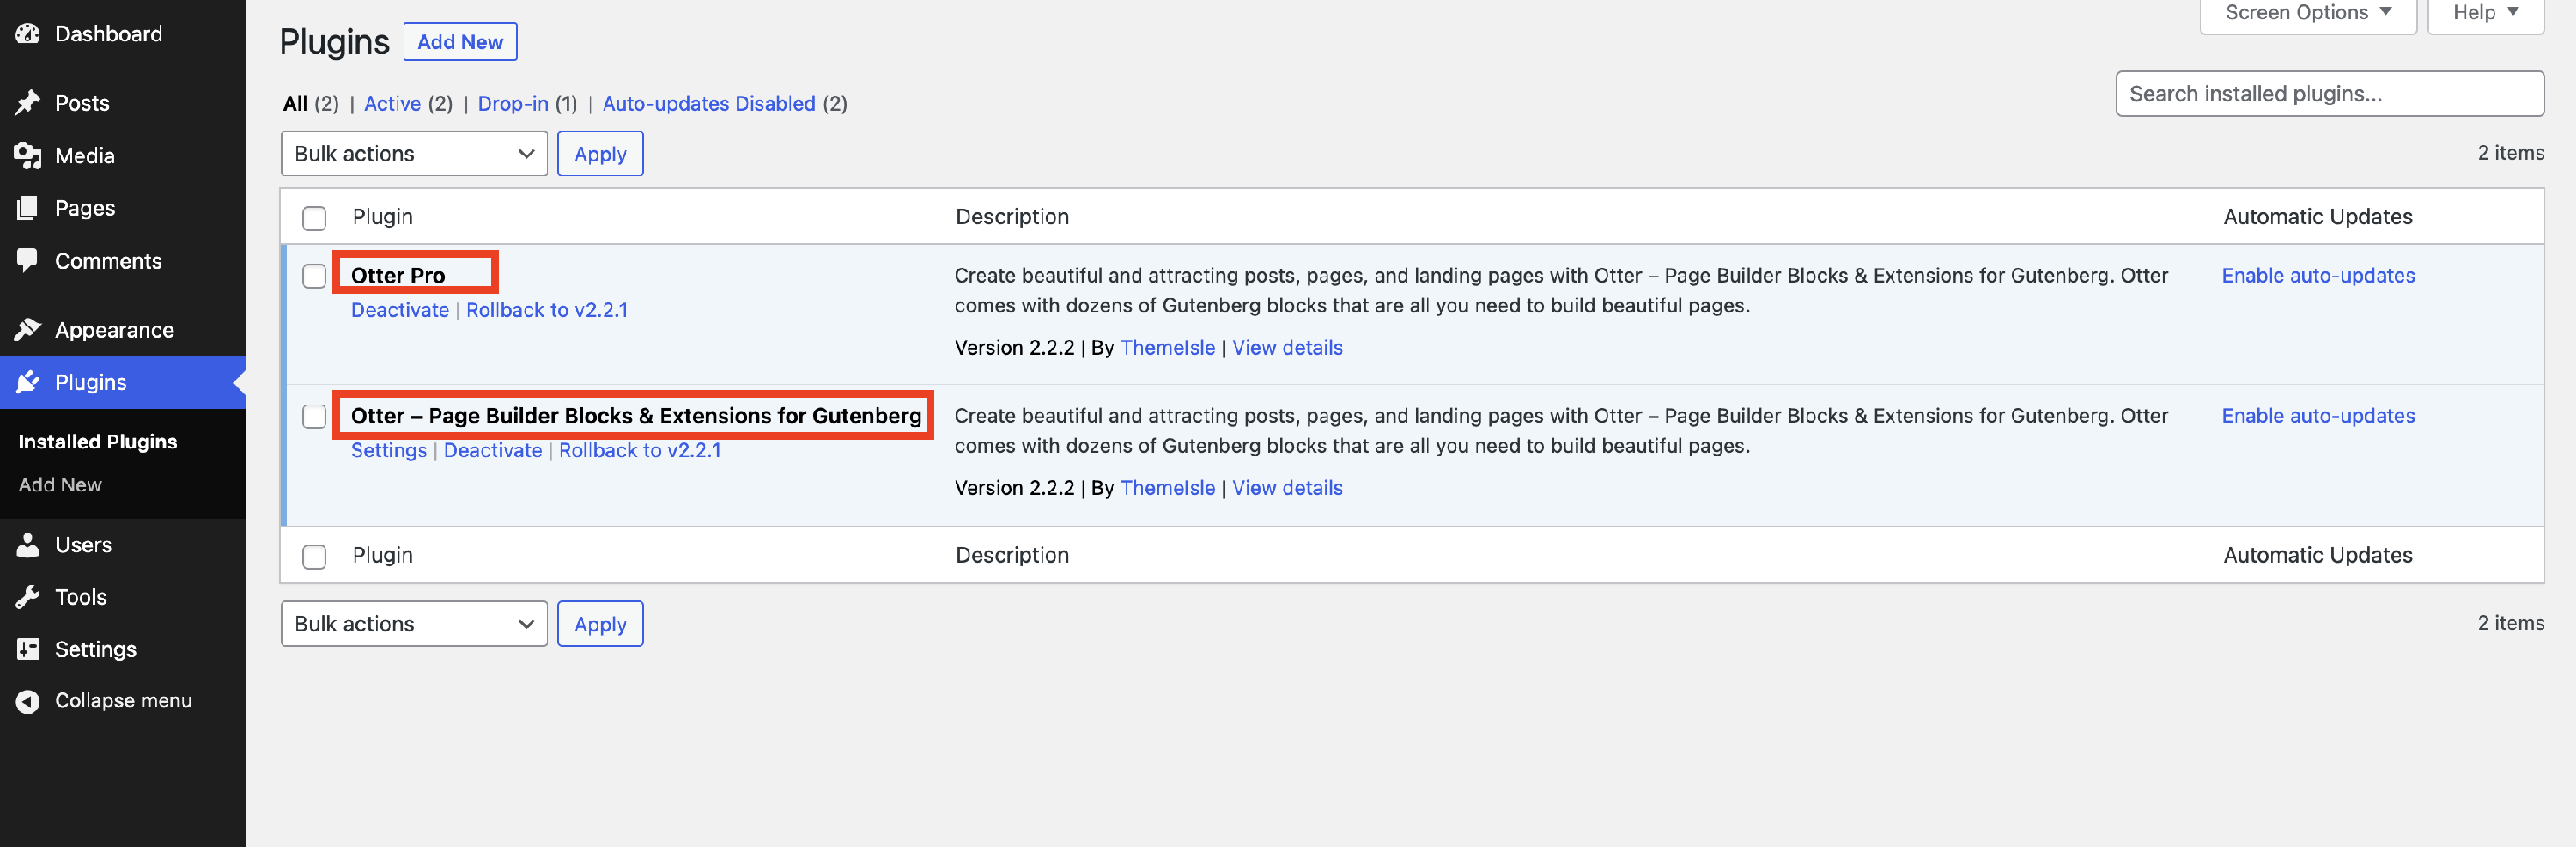
6. After Successful Uploading of the plugin, click on Activate Plugin.
Then, you should see both free and pro versions in the Plugins area:
🔐 Find your license key
Usually, the license key is automatically activated once you download the pro version of the plugin. However, sometimes it may not. In this section, we will present where you can get your license key and how to use it.
1. Navigate to the ThemeIsle store and search for Otter Pro.
2. Once it appears, click to copy the license key.
3. Navigate to your website, to Settings > Otter.
4. On the right side, you will see the license key field; paste it there.

📝 Note: To find out more about Otter Pro, check the primary documentation of the plugin here.