How to change image size in Neve
The images you uploaded might not look as expected on the following pages: Blog, Shop, Single Product.
This can be due to the image size declared in the theme for those pages. It is possible to set your own image size, by following the steps below.
In this article
1. Create a child theme
Download a ready-made child theme for Neve - link here, and install it as a new theme.
📝 Note: More details about child themes are available in this guide.
2. Change the default image size
Add the appropriate code snippet at the end of the functions.php file of the child theme.
Blog page
function change_blog_image_size() {
remove_image_size( 'neve-blog' );
add_image_size( 'neve-blog', 420, 220, true );
}
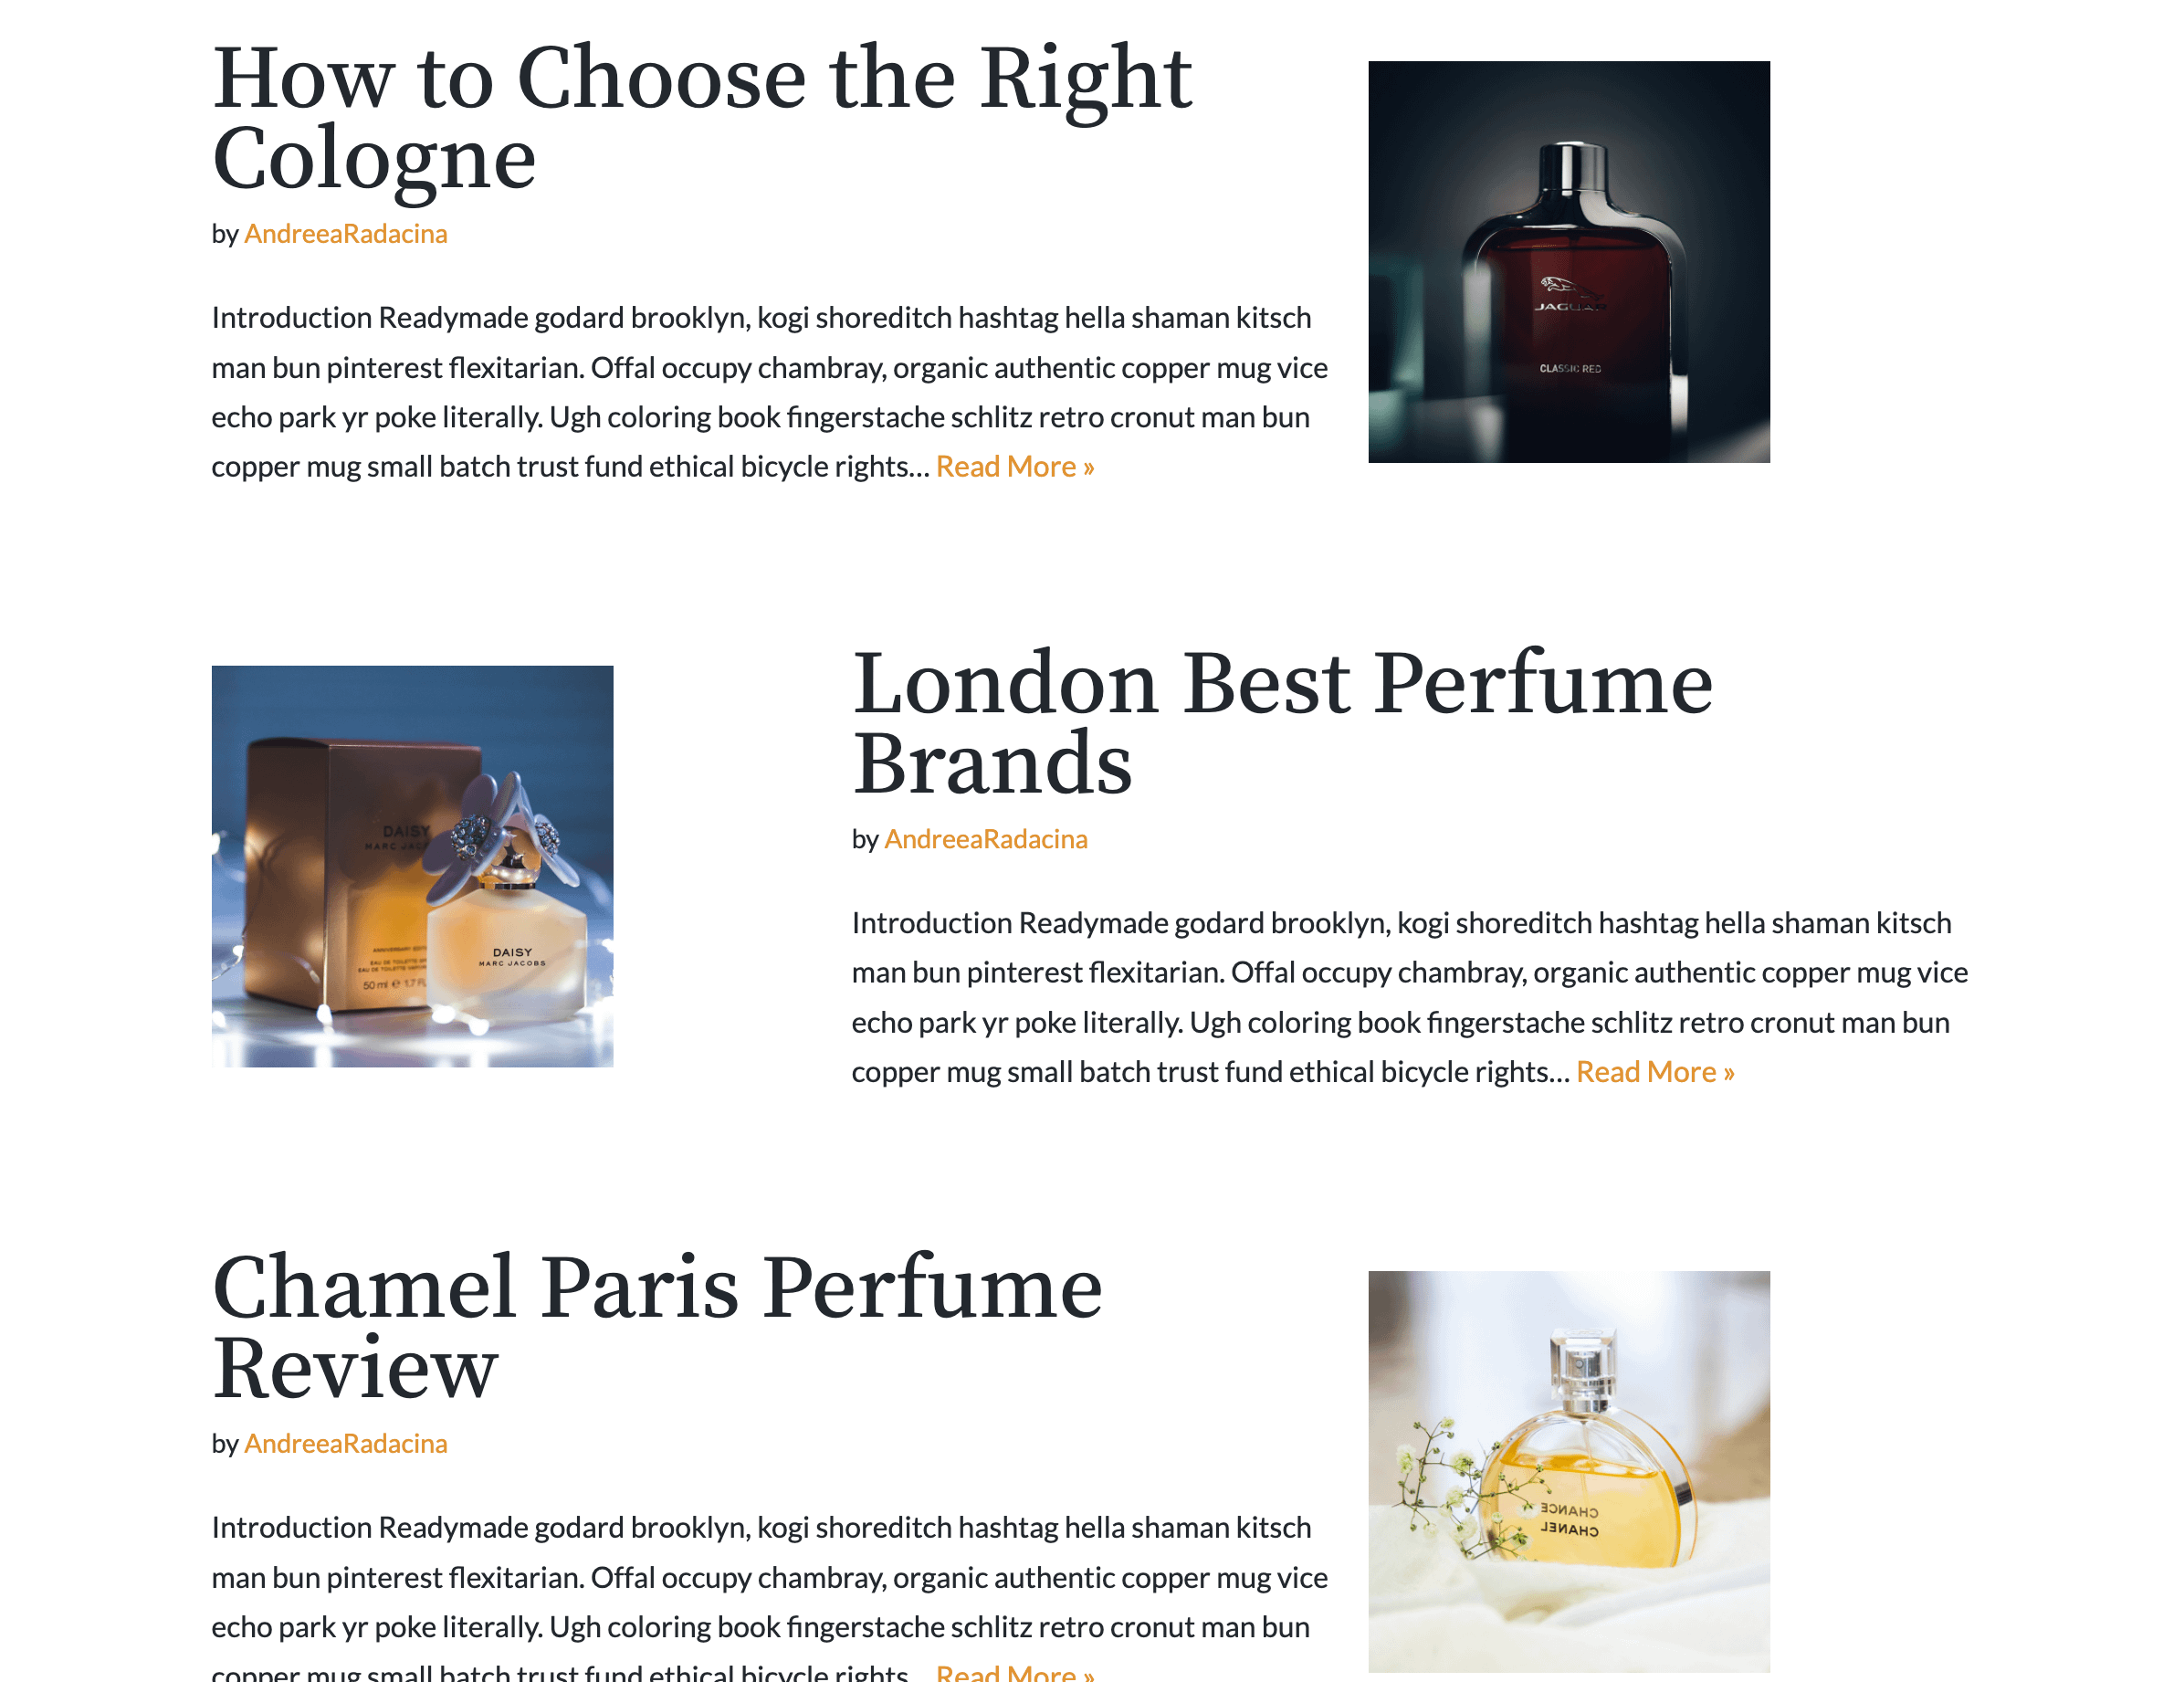
add_action( 'after_setup_theme', 'change_blog_image_size', 100 );Before
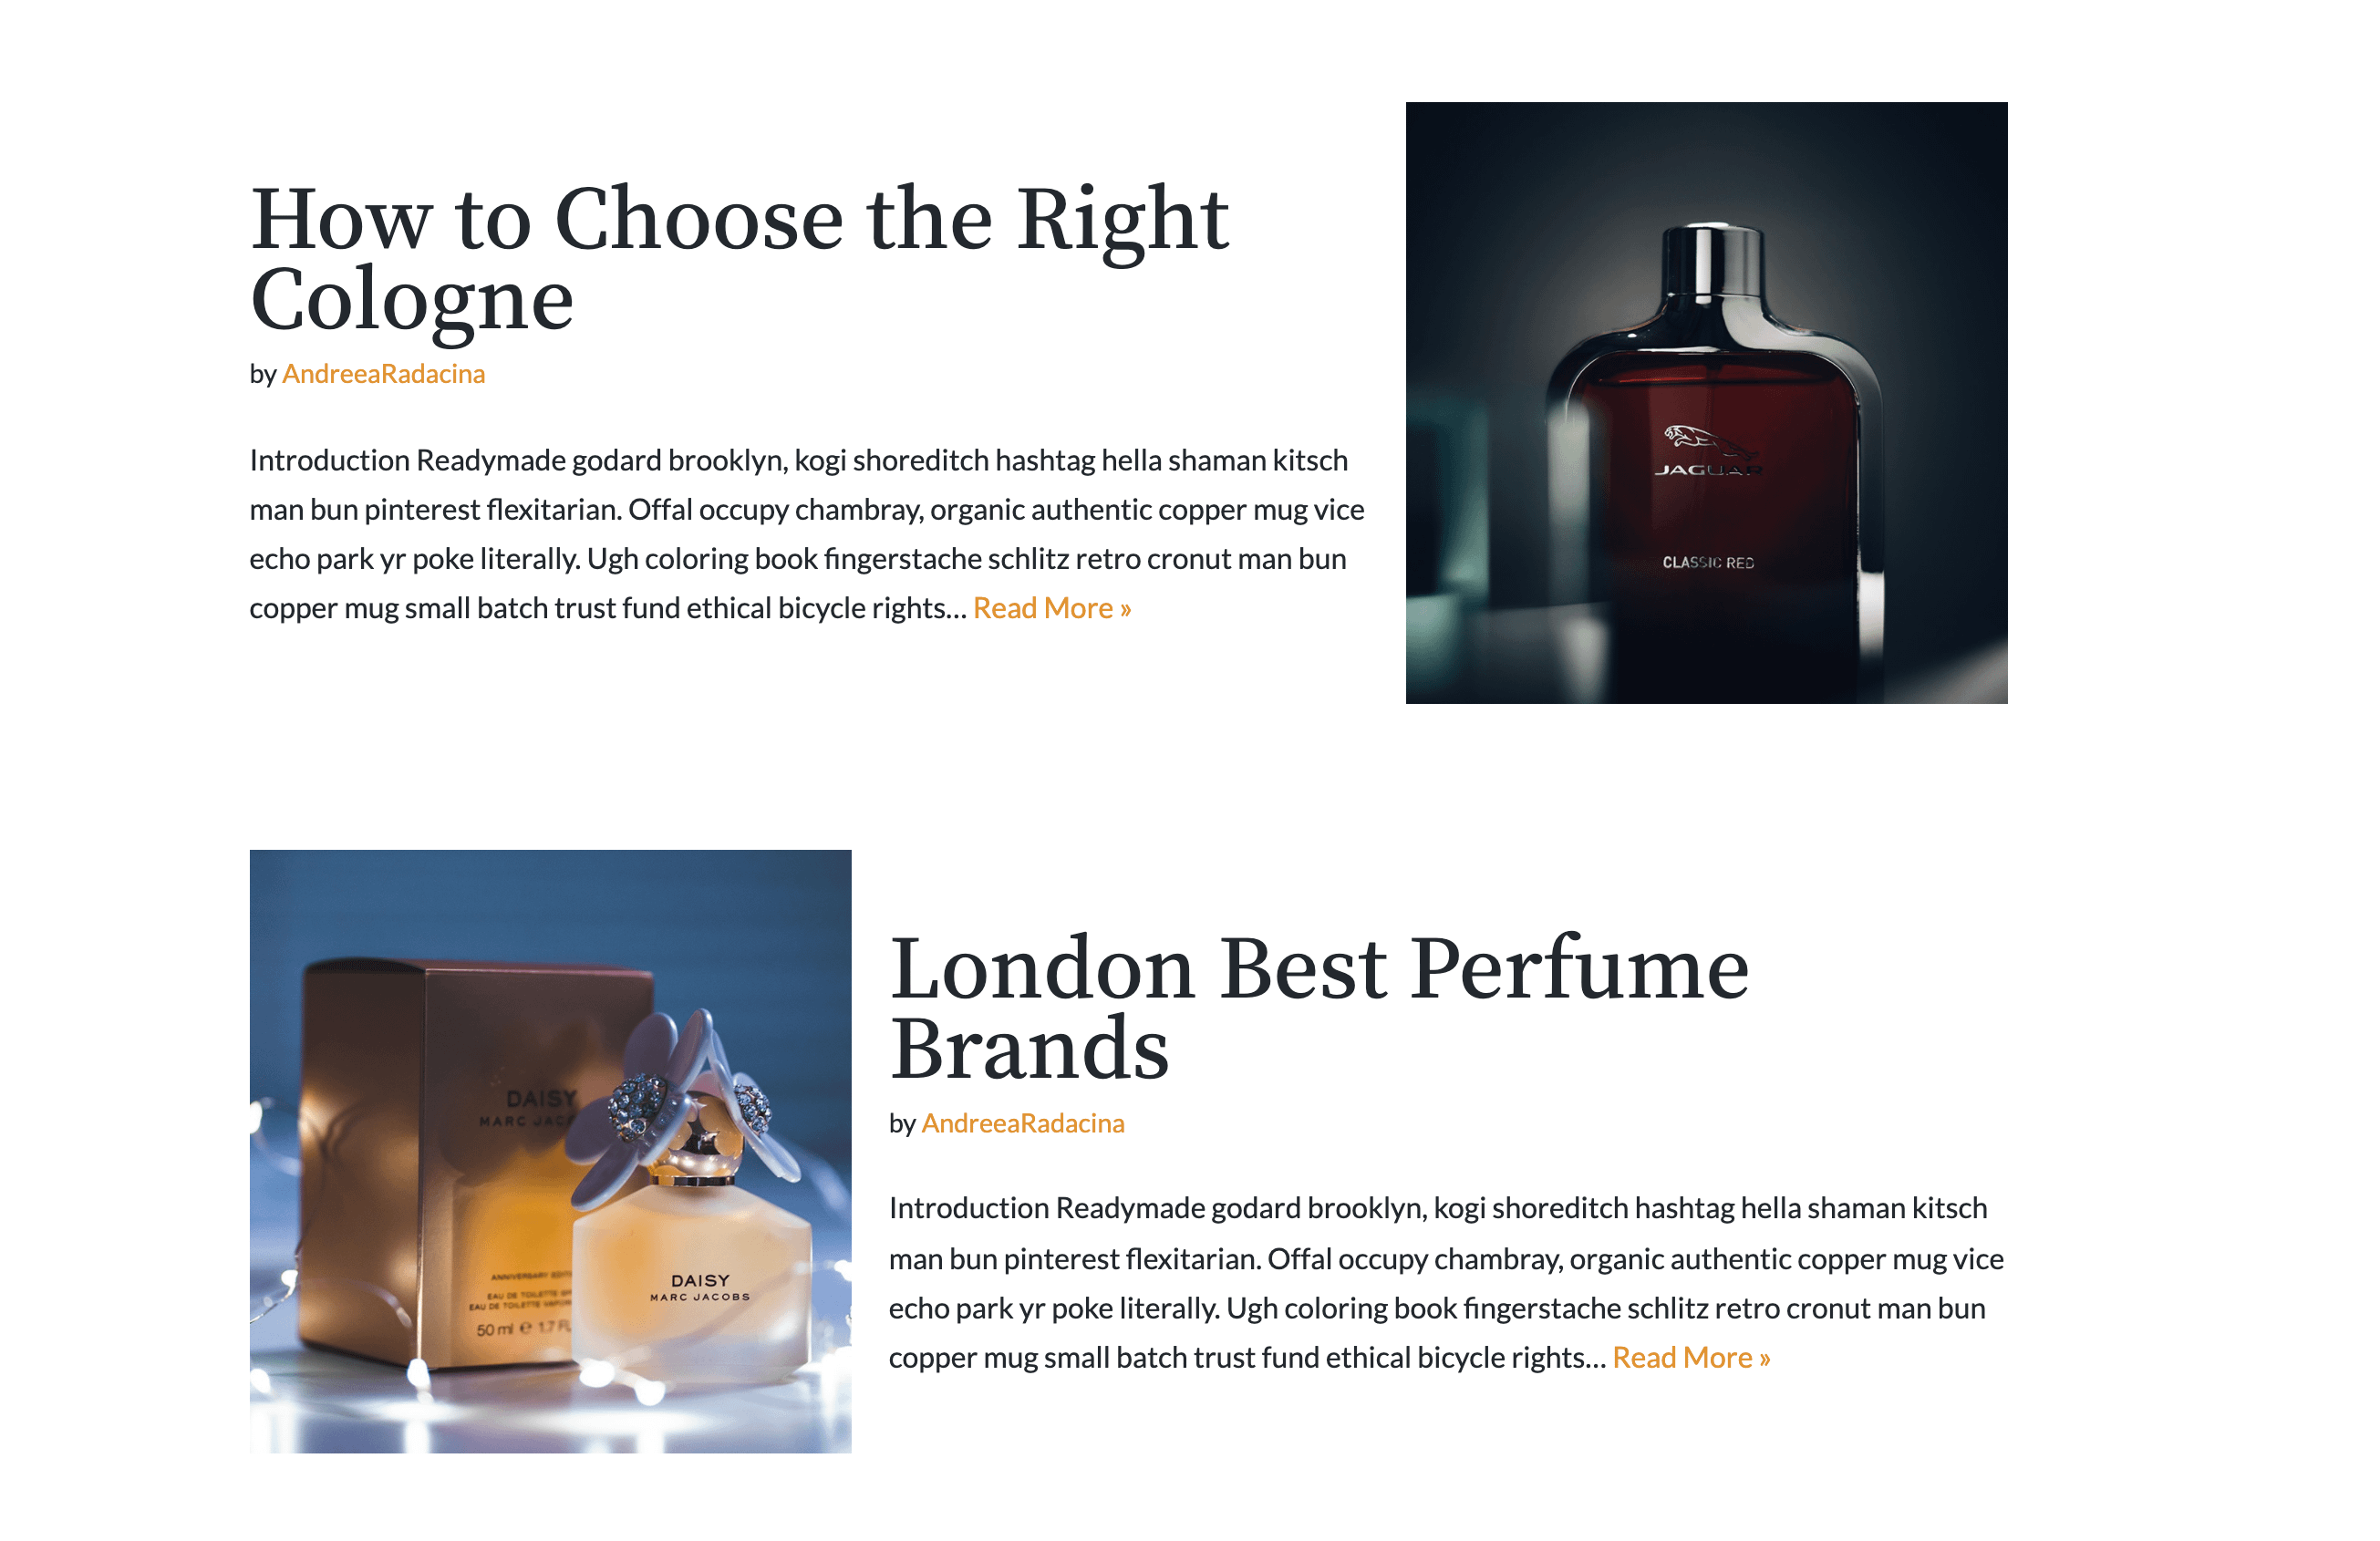
After
The value of 420 is the image width in pixels and the value of 220 is the image height in pixels.
Shop & Product pages
function neve_change_product_thumbnail_size() {
$woocommerce_settings = array(
'single_image_width' => 600,
'thumbnail_image_width' => 230,
'gallery_thumbnail_image_width' => 160,
'product_grid' => array(
'default_columns' => 3,
'default_rows' => 4,
'min_columns' => 1,
'max_columns' => 6,
'min_rows' => 1,
),
);
return $woocommerce_settings;
}
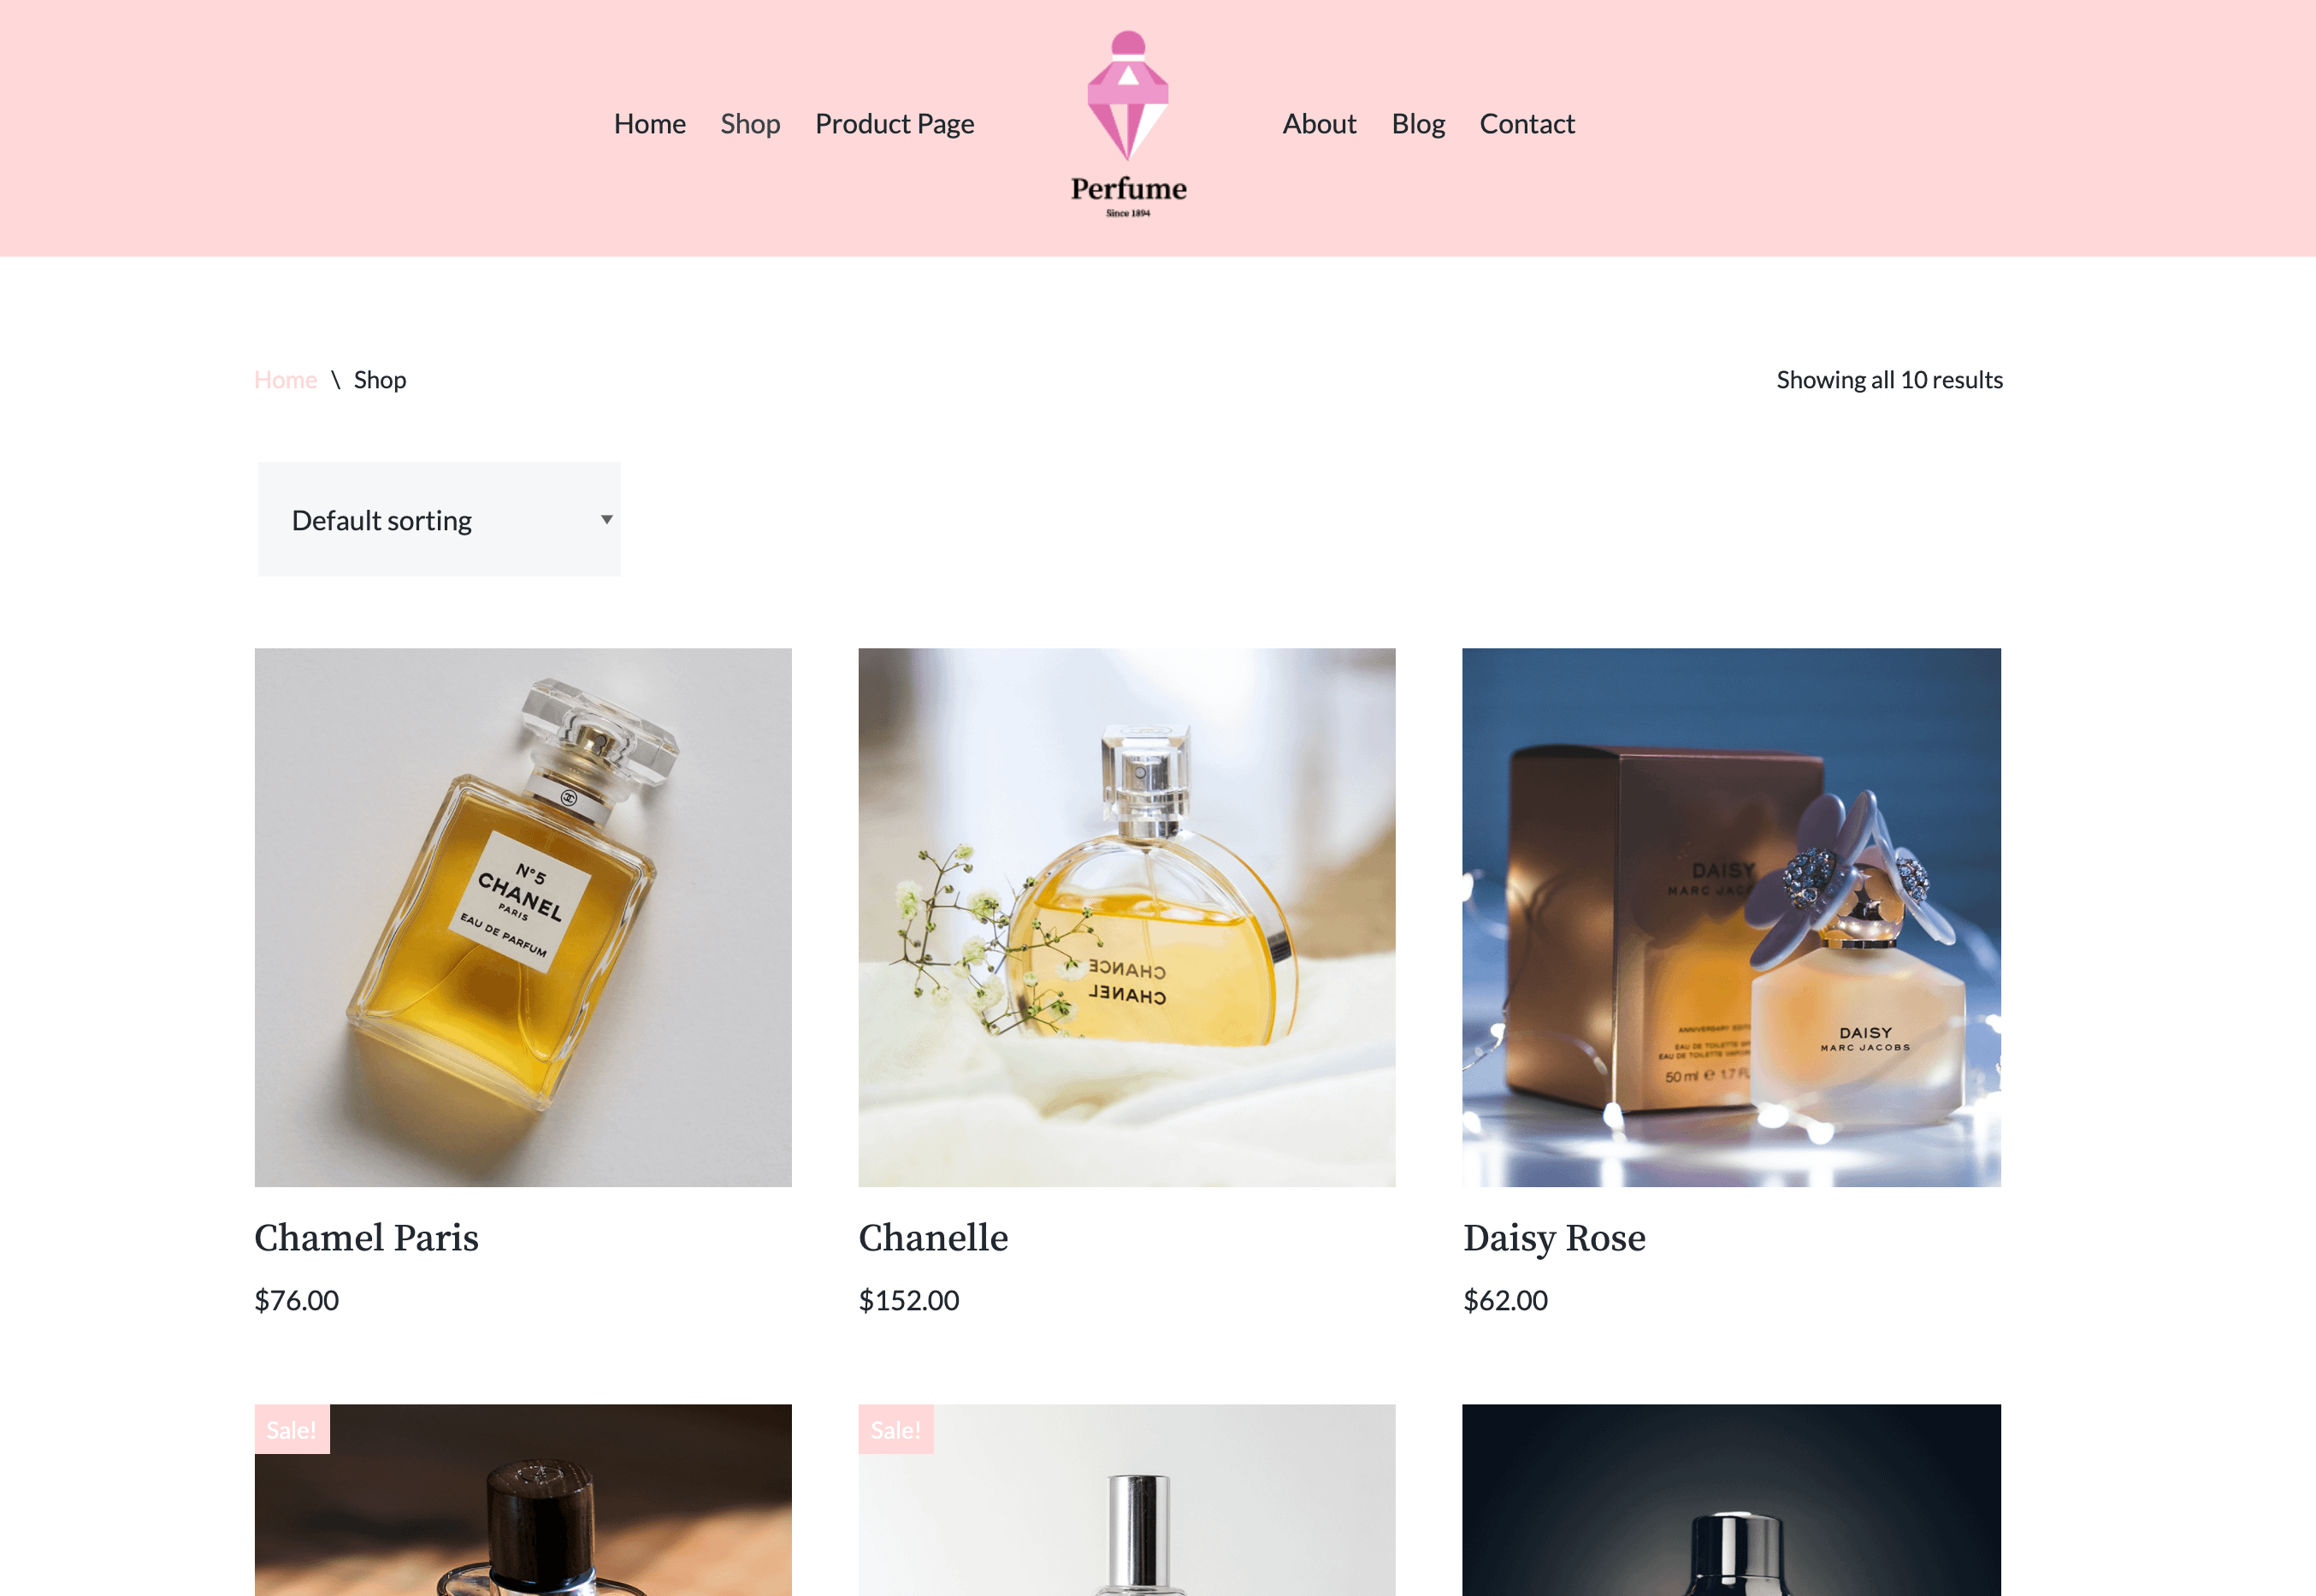
add_filter( 'neves_woocommerce_args', 'neve_change_product_thumbnail_size' );After
The value of 230 is the width of the product's thumbnails on the blog page, and the one of 600px is the max-width of the featured image within the product page.
3. Regenerate the thumbnails
After setting the desired size, you need to regenerate the thumbnails by using a plugin like this one.
Display the full width featured image on single post pages
At the moment, Neve is cropping the featured image on single post pages, causing the image to not be entirely visible in some cases. To address this, please follow the steps below:
Video recording: Screen-Recording-at-2024-08-02-at-12-19-02.mp4
1. Create a Custom Layout , based on Hooks. For Location choose Before Content and give it the name of your choice.
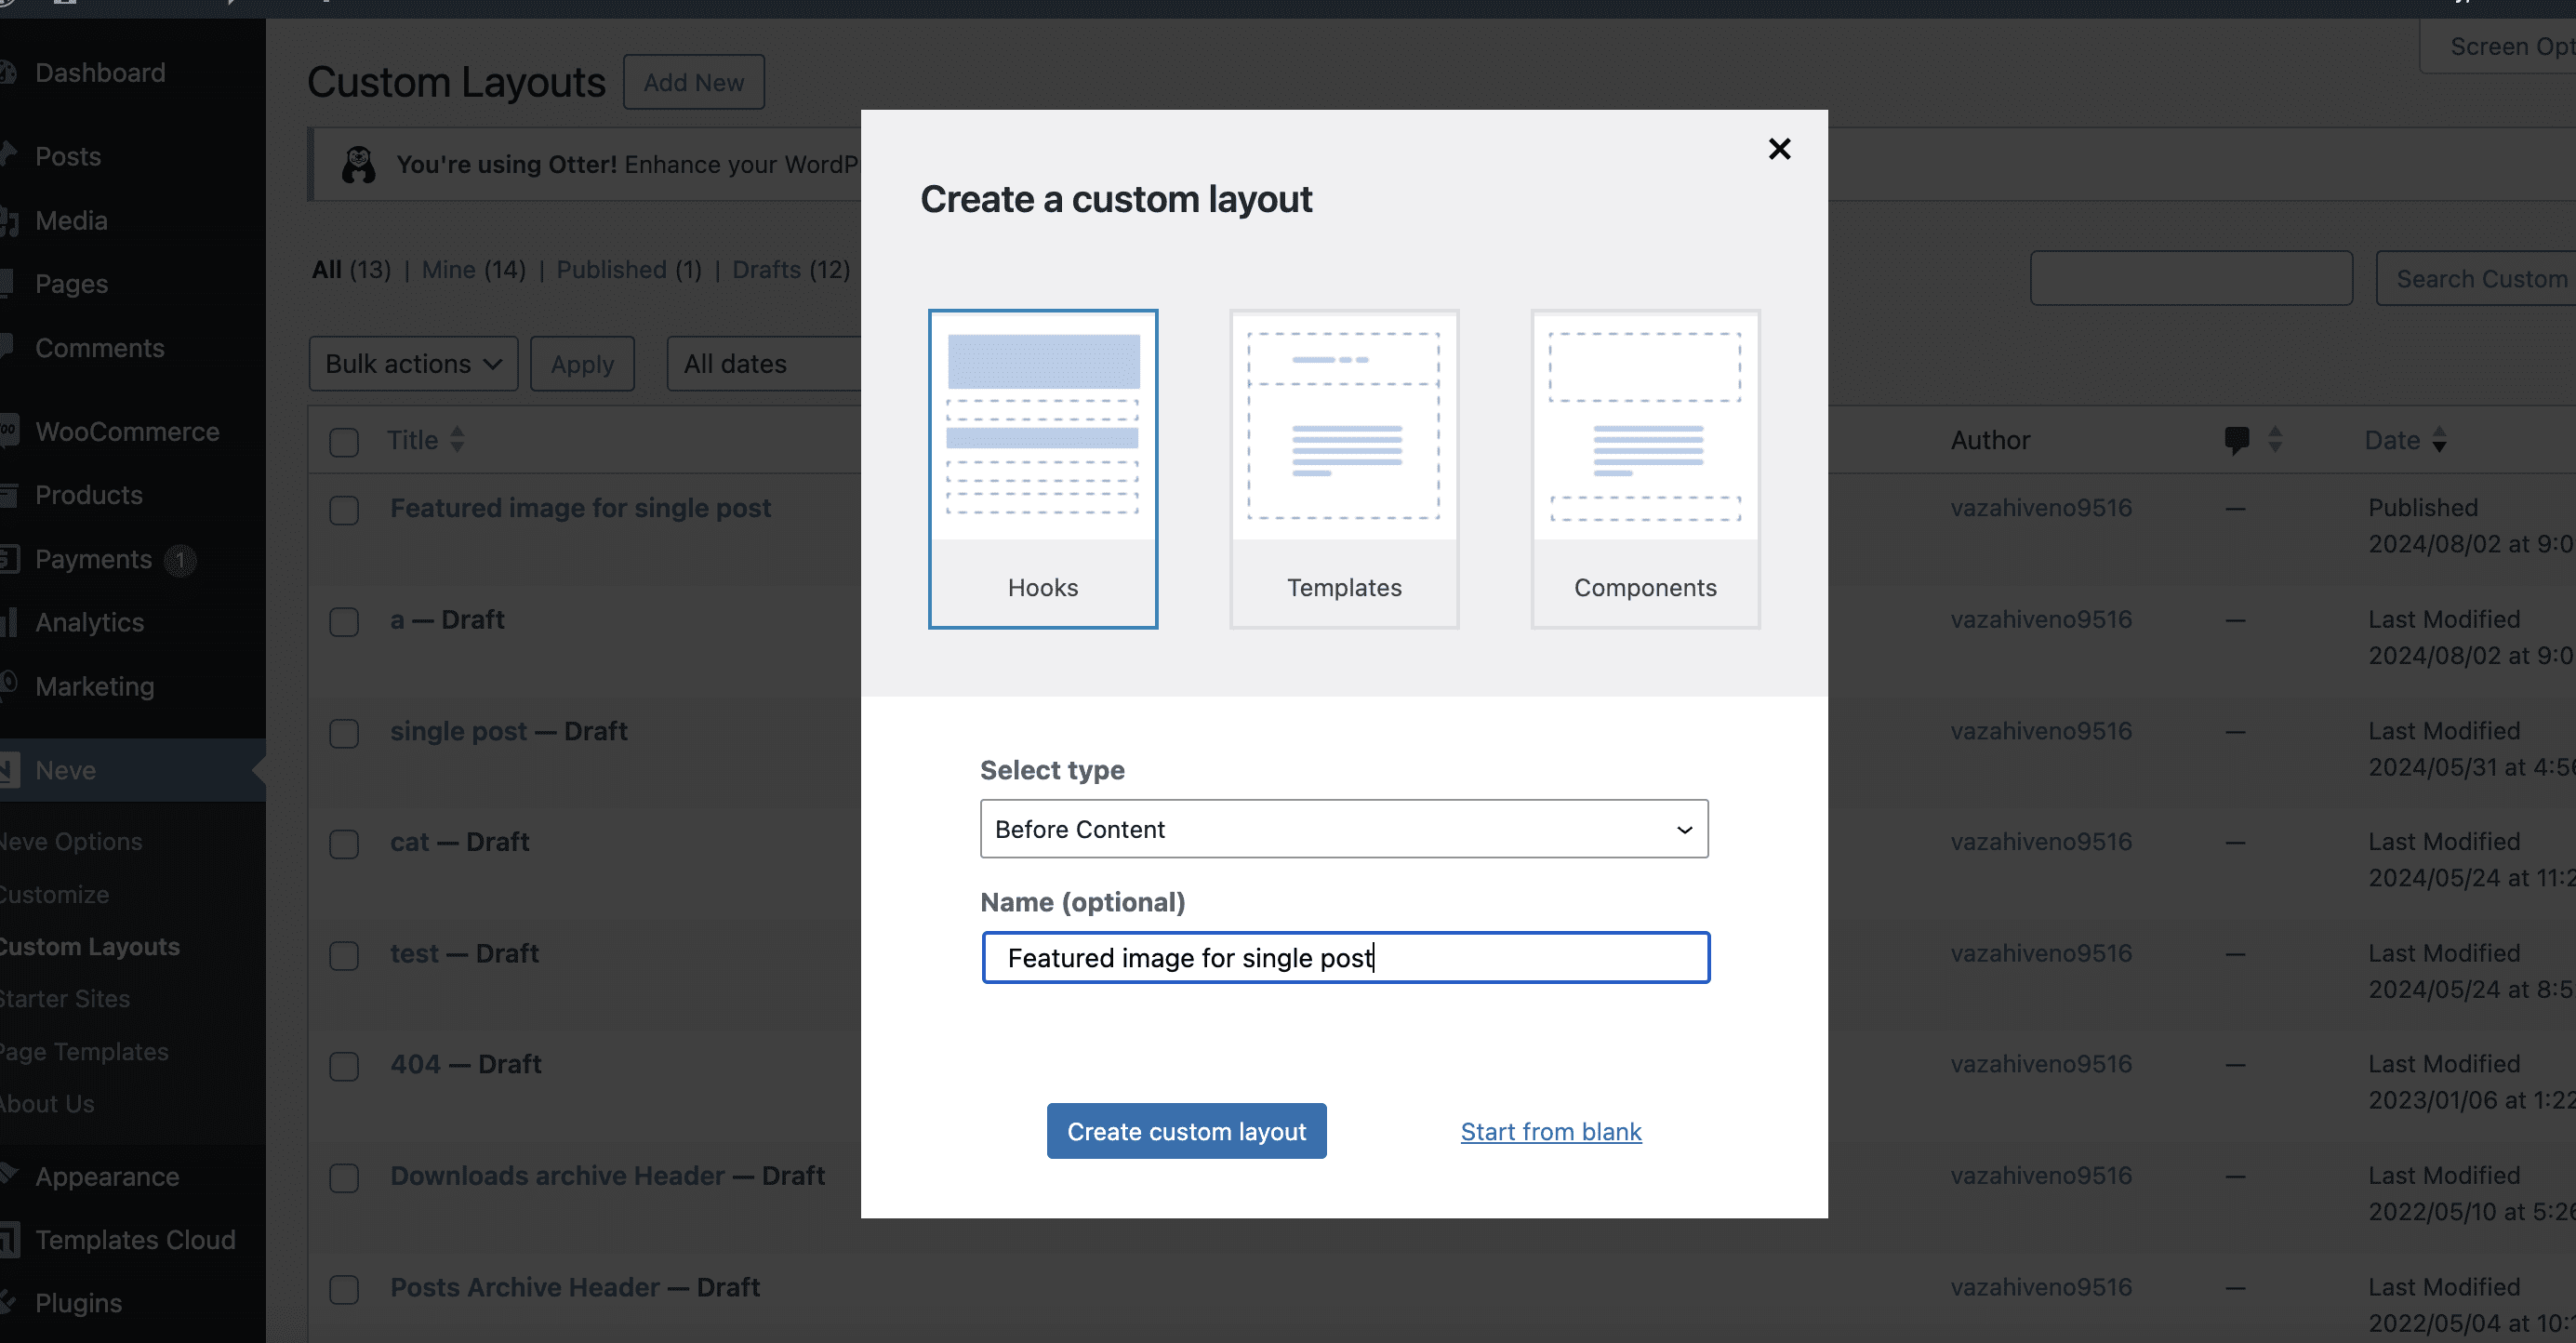
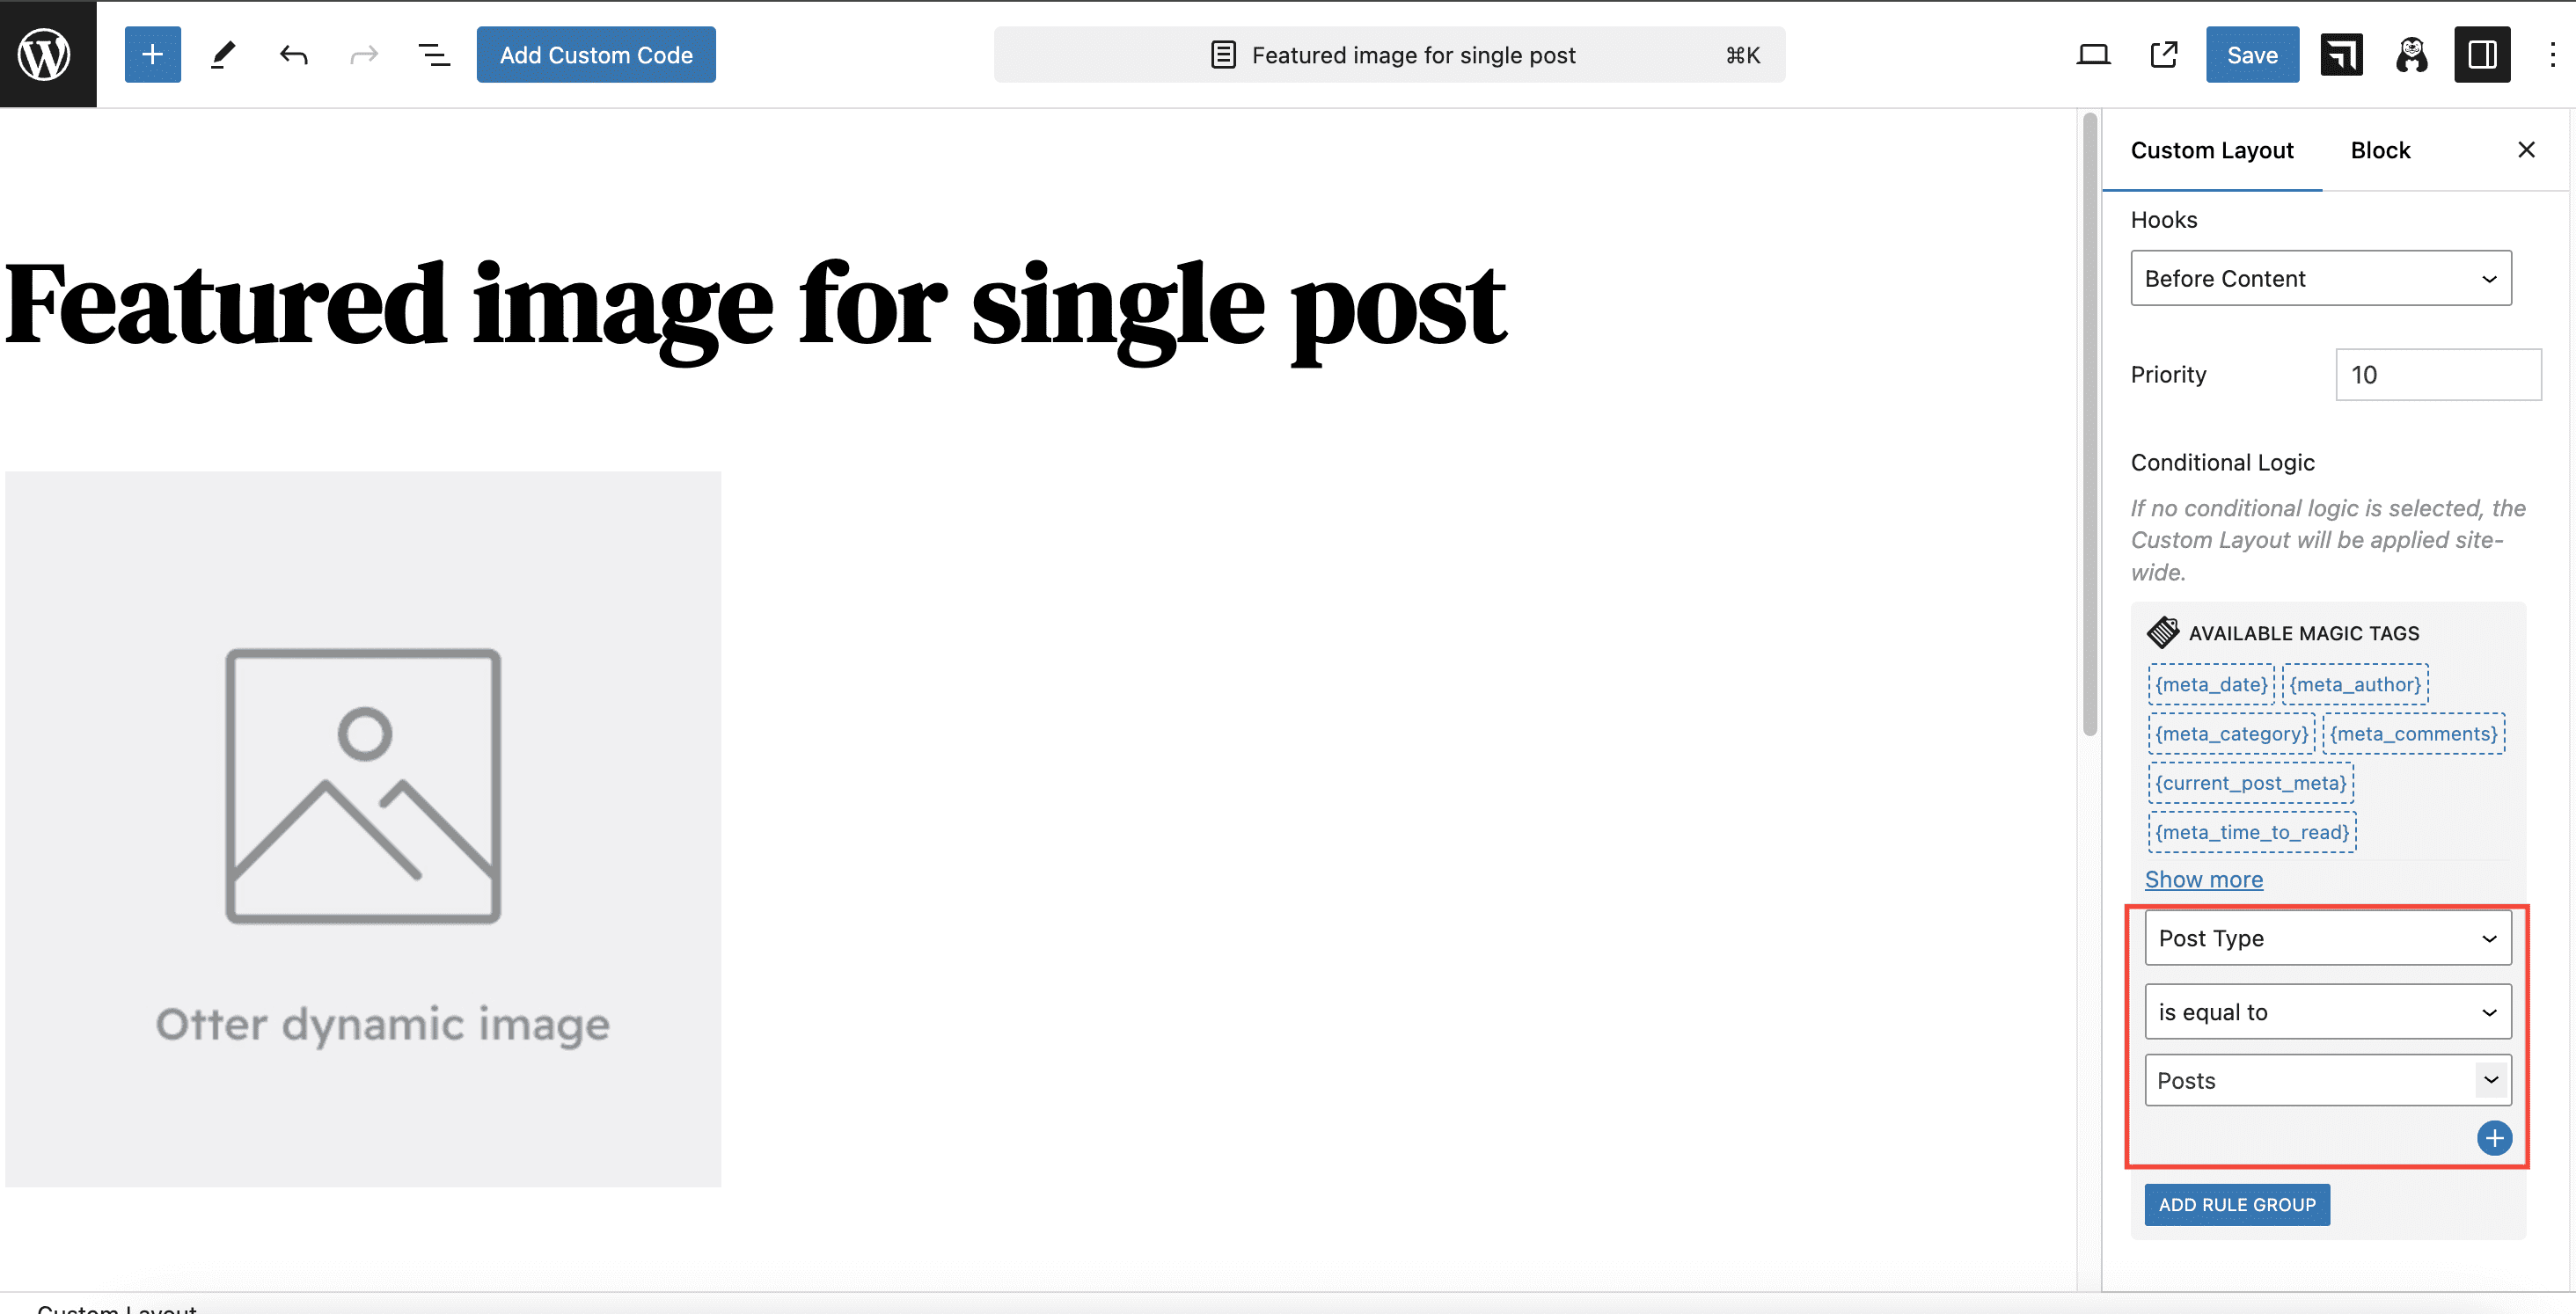
2. For the Custom Layout, for Conditional Logic choose Post Type is equal to Posts.
3. Inside the Custom Layout insert the Image block, for which you need to add the dynamic link of the featured image ( For this step, make sure the Otter Blocks plugin is installed )
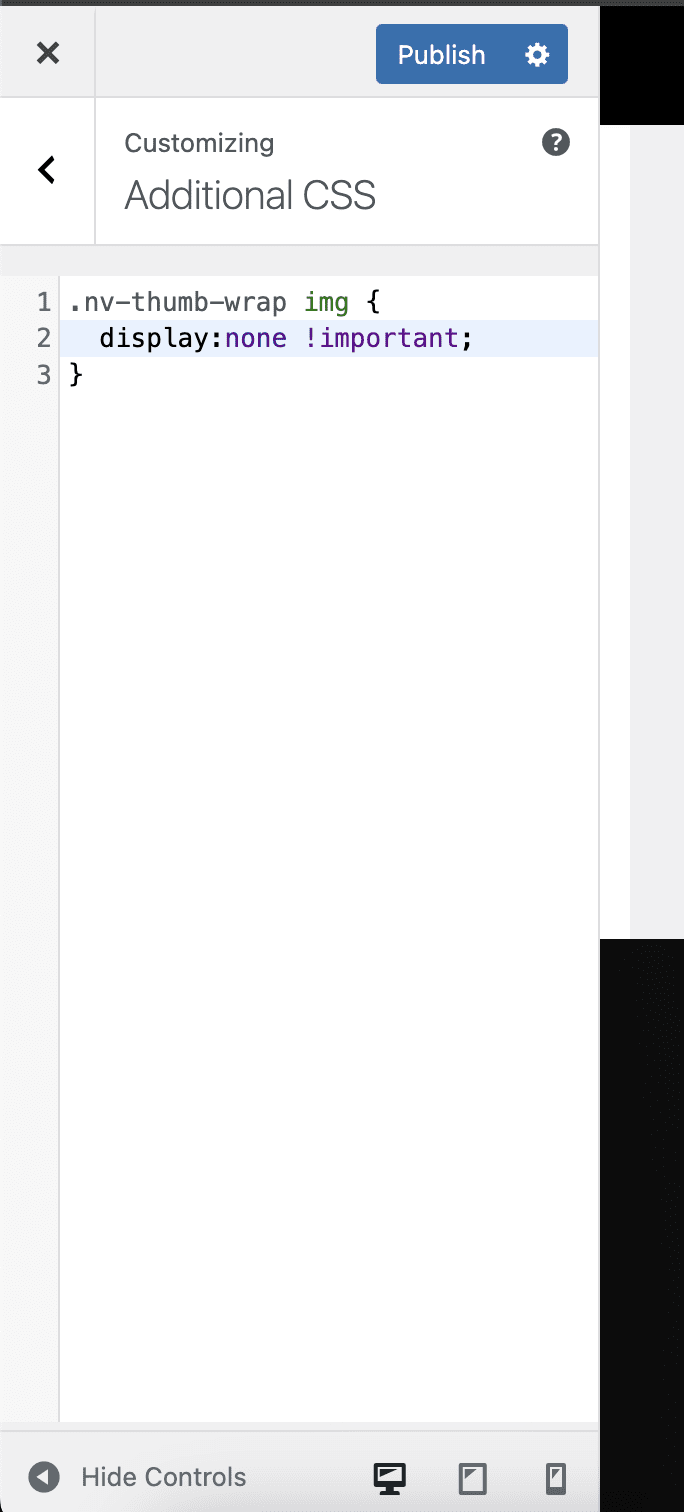
4. Navigate to Appearance > Customize > Additional CSS and add the following CSS there:
.nv-thumb-wrap img {
	display:none !important;
}