How to import the Demo Content
Themes provide the user everything he needs when it comes to customizing a website and happily, in WordPress, free themes that come with Demo Content are plenty.
There are 2 scenarios you can follow in order to access demo content:
In this article
First Scenario - using Starter Sites
Neve and Hestia are some of the most used themes and, by having ready-made S****tarter Sites, they simplify the whole process of creating a website.
Everything you need to know about Starter Sites for Neve can be found by following this link.
For our other theme, Hestia, Starter Sites are available only in the Pro version, and you can find out more by following this link.
Second Scenario - importing an XML file
Step 1:
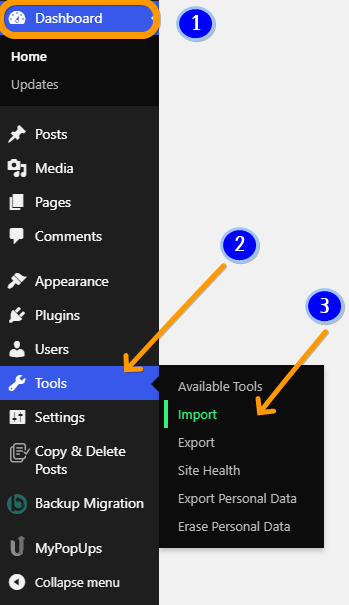
Log into your site Dashboard (1).
Make sure you have the theme for which you want to import the .xml file activated.
Step 2:
Go to Tools (2) > Import (3).
Step 3:
Choose “WordPress” from the list.
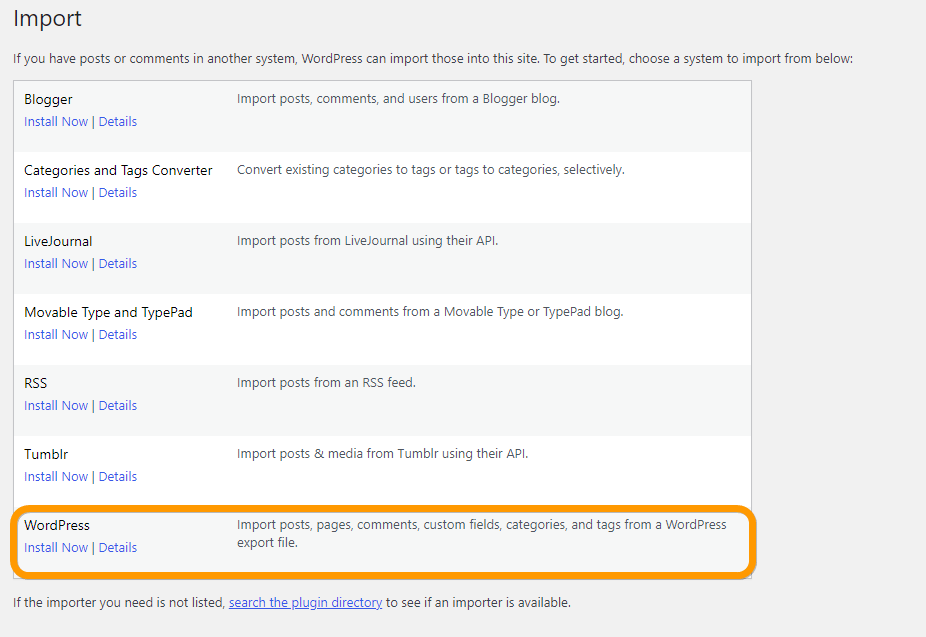
If you haven't done this before, click on I****nstall Now.
Step 4:
After installing, click on " Run the importer now".
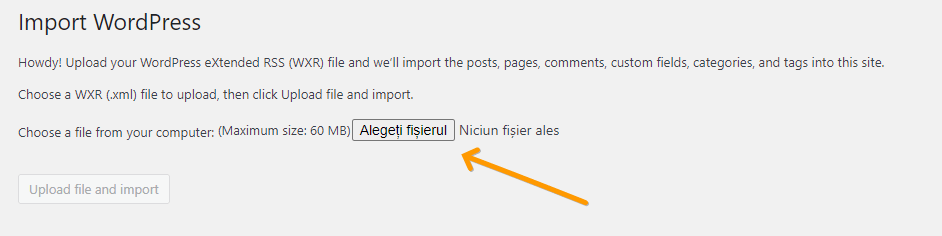
Step 5:
Upload the demo content .xml using the form provided on that page, and click on "Update file and import".
Step 6:
You will be asked to map the authors in this export file to users on the blog.
For each author, you may choose to map to an existing user on the blog or to create a new user.
Step 7:
You will have the choice to import attachments, so click on the “ Download and import file attachments” box.
Step 8:
Posts, Pages, Projects, and Menus are imported. You will need to assign the menu a theme location & you’ll need to configure widgets.
This is a limitation of WordPress’ import system.